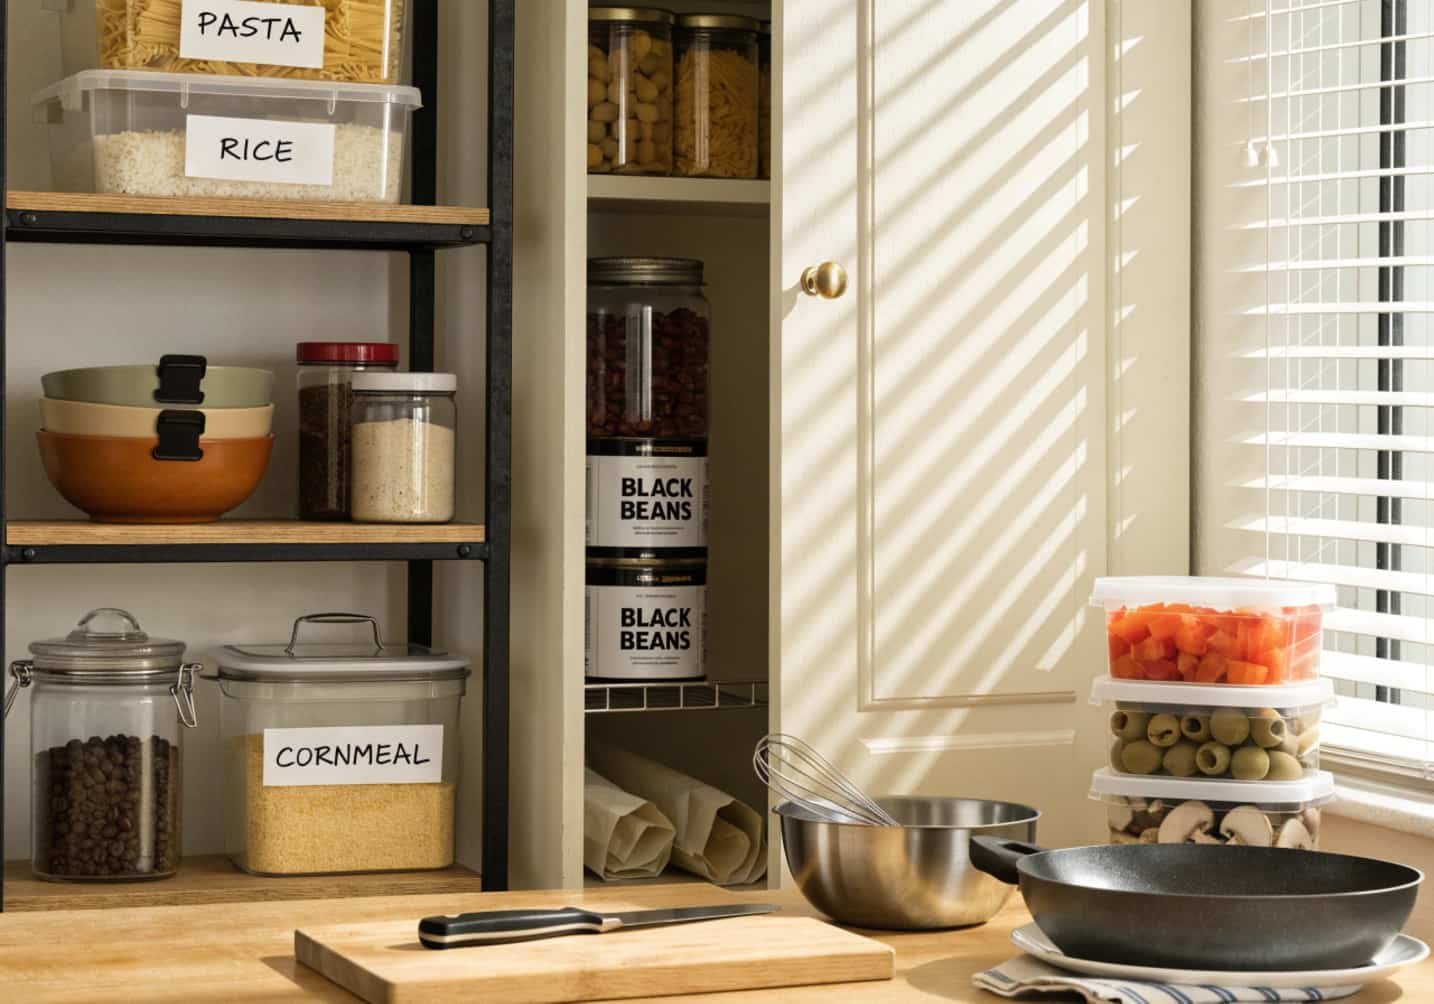
Let’s be honest. Most of us open our pantry door, sigh, and shut it again because we can’t find what we need. Cans hiding behind bags of flour, three half-open boxes of pasta, and a mystery jar in the back corner that’s been there since who-knows-when. Sound familiar? You’re not alone. I used to dread opening my own pantry, until I finally sat down and figured out a system that actually stuck. These kitchen pantry organization hacks aren’t fancy or expensive. They’re simple, doable, and they work even if you’re short on time, space, or patience. So grab a cup of coffee, and let’s get your pantry sorted for good.
Start With a Clean Slate: The Pantry Purge
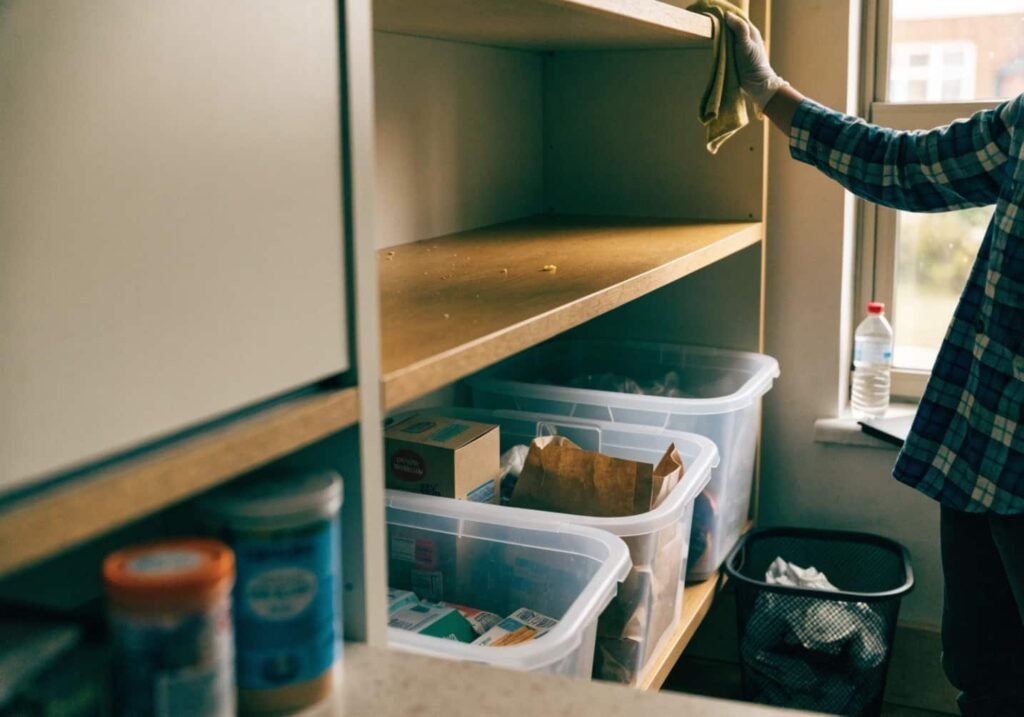
Before you buy a single container or label maker, take everything out. Yes, everything. Pull it all onto your counter or kitchen table so you can actually see what you’re working with. This step feels tedious, but honestly, it’s the one that makes the biggest difference. Check expiry dates as you go and toss anything that’s stale, expired, or something you know you’ll never use. Wipe down the shelves while they’re empty, since crumbs and sticky spills love to hide in pantry corners. Once everything’s out, you’ll probably realize you own four bags of the same spice. Starting fresh gives you a real idea of what you actually need to store, instead of guessing.
Clear Containers: See Everything at a Glance
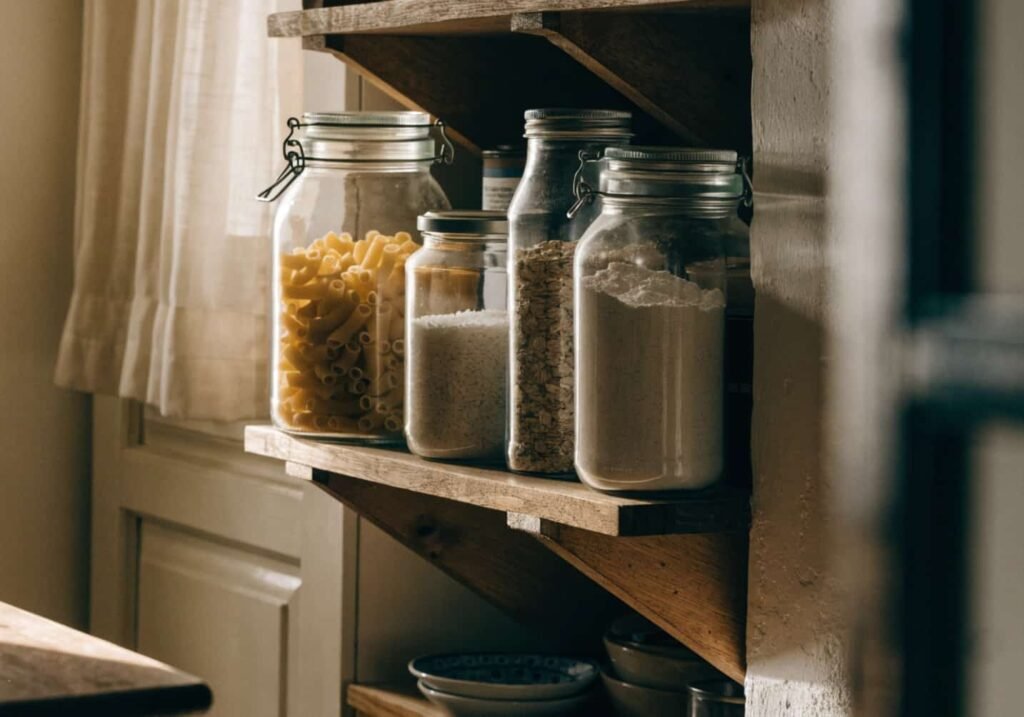
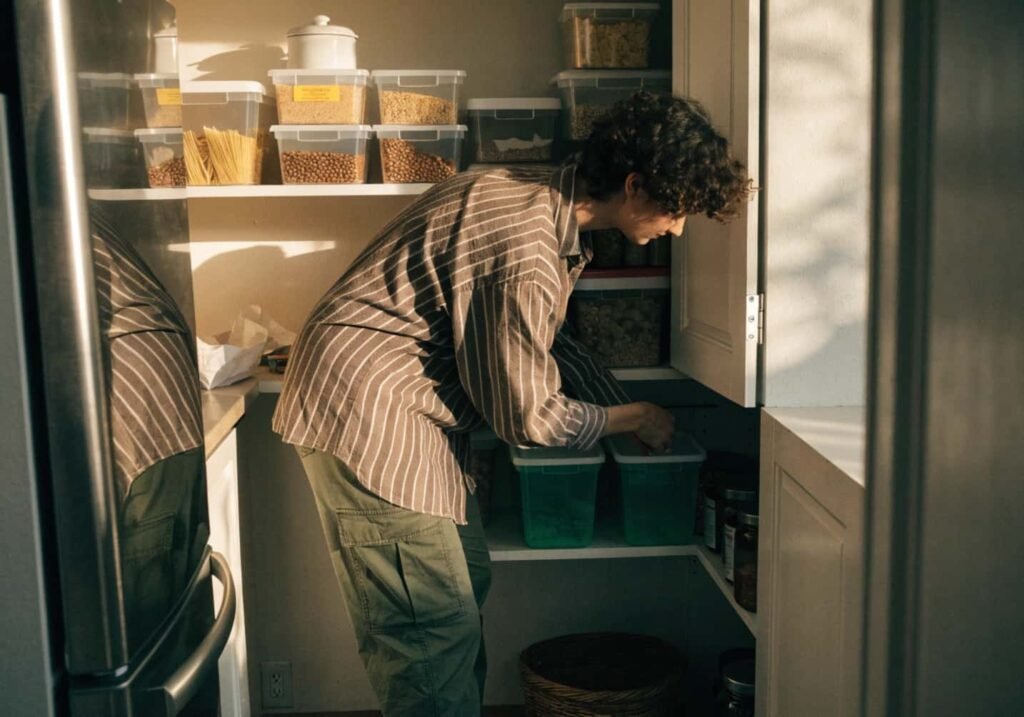
Here’s the thing about clear containers, they’re not just pretty, they actually save you money. When you can see exactly how much rice or oats you have left, you stop buying duplicates you don’t need. I switched my flour, sugar, and pasta into clear airtight bins a few years back, and it changed how I shop completely. No more digging through crumpled bags or guessing if something’s stale. Glass or BPA-free plastic both work fine, so don’t feel like you need to spend a fortune. Even repurposed jars from pasta sauce can do the job. The goal is simple: open the door and know instantly what you have and what you’re out of.
Create Zones for Every Category
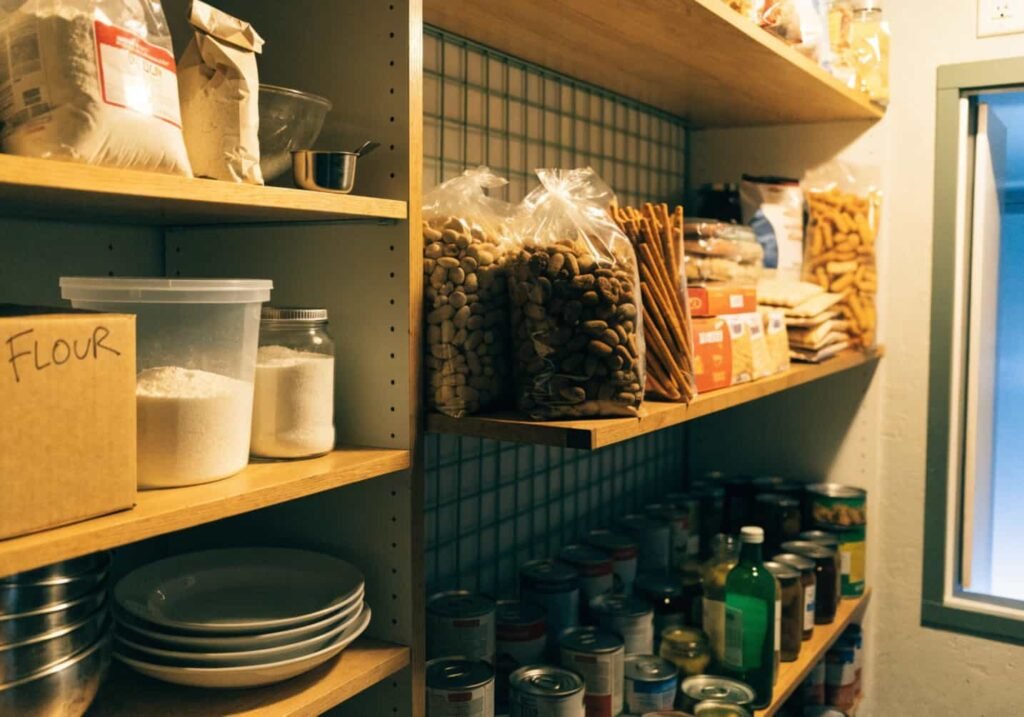
Zoning your pantry is basically like giving every item its own address. Baking supplies go together. Snacks go together. Canned goods get their own shelf. This might sound obvious, but most pantries end up as a free-for-all where things get shoved wherever there’s an empty spot. Once I started grouping items by category, meal prep got so much faster because I wasn’t hunting for the cumin between the cereal boxes. Try keeping breakfast items at eye level, since that’s what your family reaches for most often. Canned goods can go lower since they’re heavier. It takes maybe twenty minutes to set up zones, but it saves you way more time every single week after that.
Go Vertical: Maximize Every Inch of Space
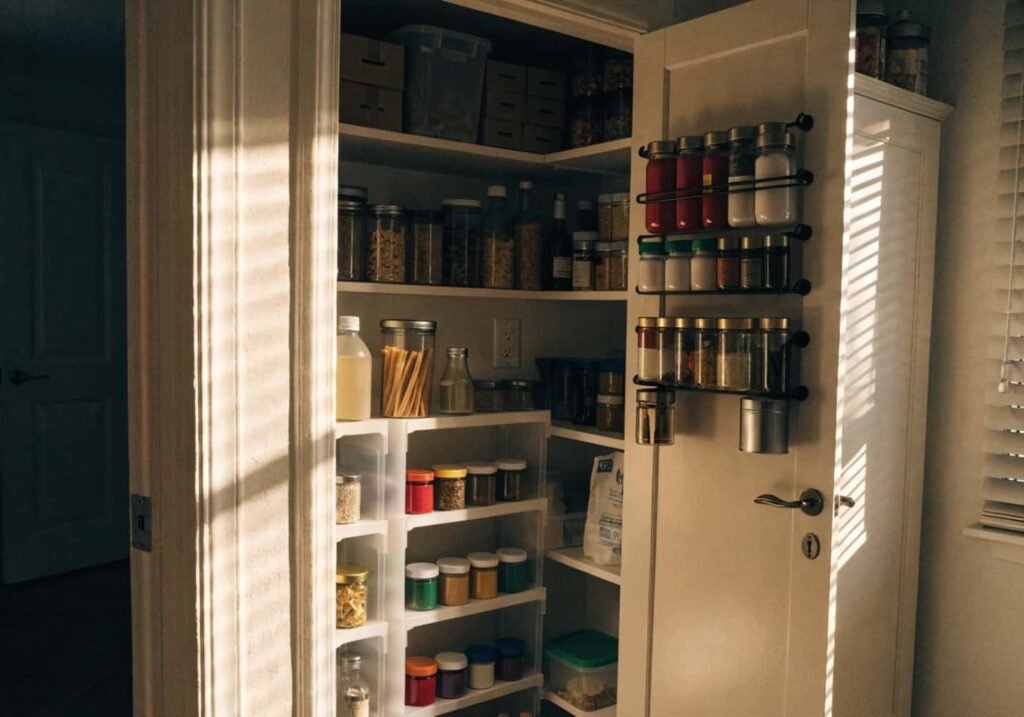
If your pantry feels small, don’t panic, chances are you’re just not using the vertical space. Stackable shelves, tiered risers, and hanging baskets can practically double your storage without any renovation. I added a simple wire riser to my top shelf and suddenly had room for spice jars I used to store in a drawer. Door-mounted racks are another underrated trick, they’re perfect for foil, plastic wrap, or small condiment bottles that usually get lost. Think of your pantry in layers instead of just flat shelves. Even a small closet-sized pantry can hold a surprising amount when you start using the height, not just the floor space.
Smart Labeling Tricks That Save You Time
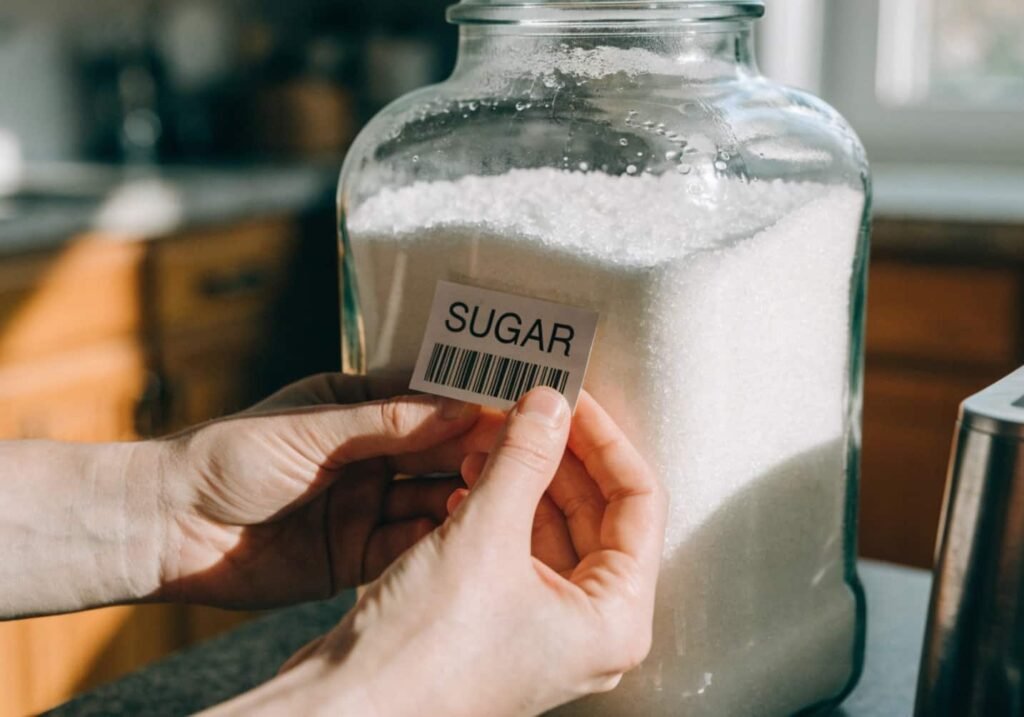
Labels aren’t just for looks, though they do make everything look nicer. The real magic is how much time they save your whole family. Once your containers are labeled, everyone in the house knows exactly where the flour goes back after baking, and no one’s asking “where’s the sugar?” for the tenth time. A simple label maker works great, but honestly, masking tape and a marker do the job too if you’re on a budget. I like adding the purchase or expiry date on rotating items like flour or spices, so nothing sits forgotten for months. It’s a small step, but it keeps the whole system running smoothly instead of slowly falling apart.
Lazy Susans and Turntables: Small Tools, Big Impact
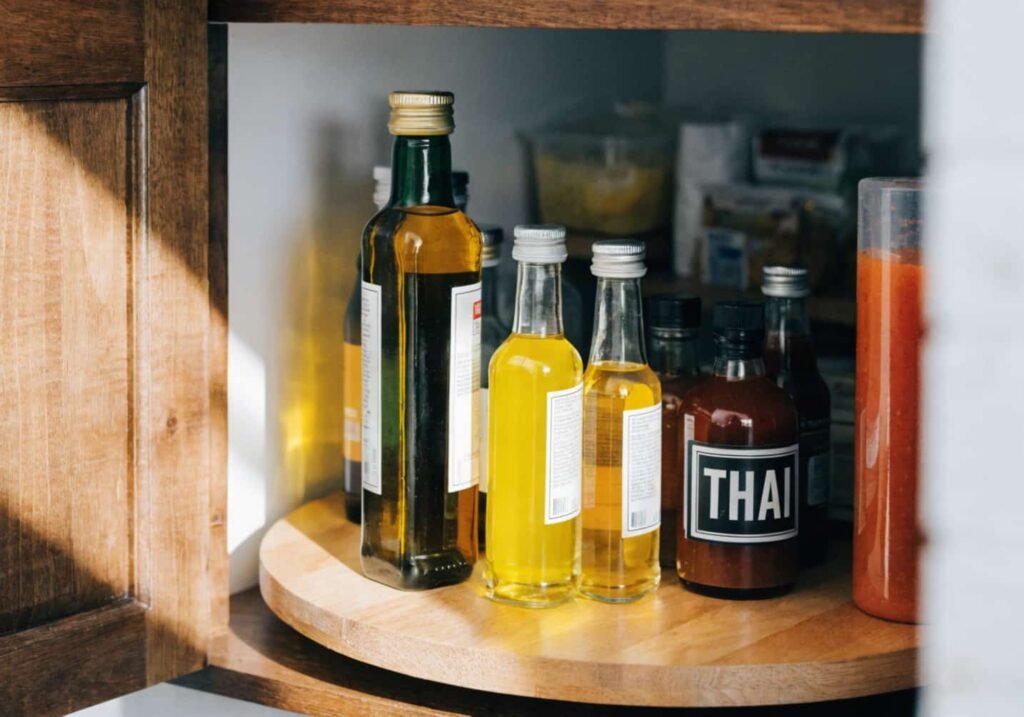
Deep shelves are notorious for swallowing bottles and jars, and you end up with three half-used containers of the same sauce because you forgot the other one was hiding in the back. A lazy Susan fixes this instantly. Just spin it and everything comes into view, no more reaching and knocking things over. I put one in my corner cabinet for oils and condiments, and it’s honestly one of the best five-dollar purchases I’ve made for my kitchen. Turntables work great for spices too, especially the tall skinny ones that always fall over when you’re searching for the right one. It’s a tiny tool, but it makes a noticeable difference every single day.
Never Miss an Expiry Date Again
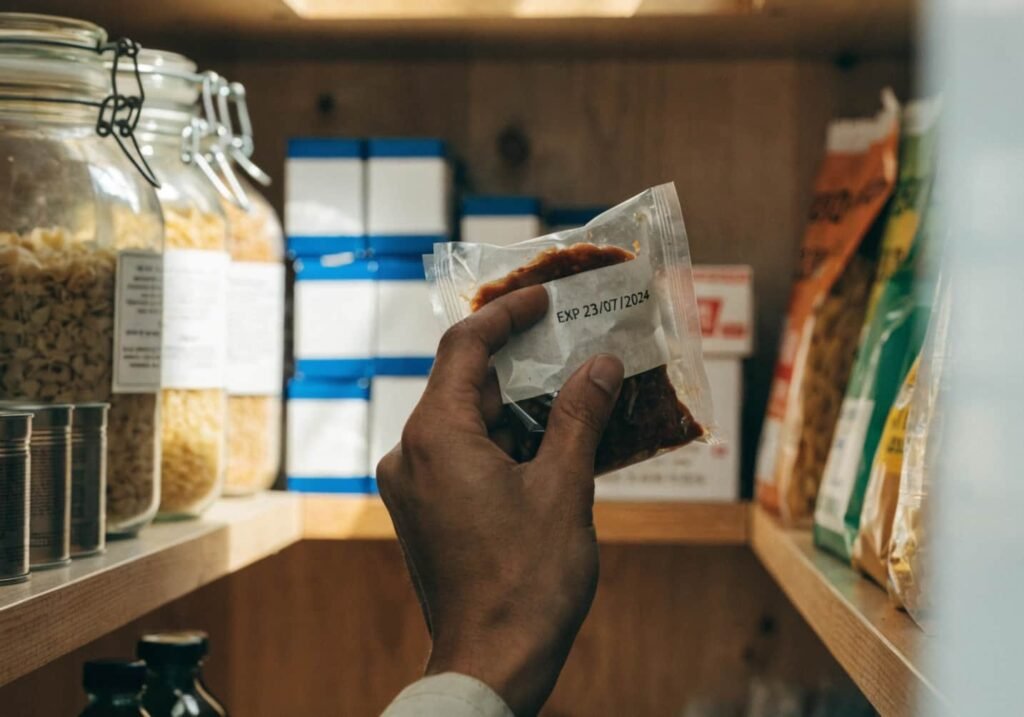
Nothing feels worse than reaching for baking powder only to realize it expired two years ago. A simple first-in, first-out system fixes this problem for good. Whenever you buy something new, push the older item to the front and place the new one behind it. That way, you naturally use up what you already have before opening something fresh. Some people write the purchase date right on the container with a marker, which honestly works better than trying to remember. I check my pantry every few months and do a quick expiry sweep. It only takes ten minutes, but it saves both money and the disappointment of a spoiled recipe attempt.
Budget-Friendly Storage Hacks That Actually Work
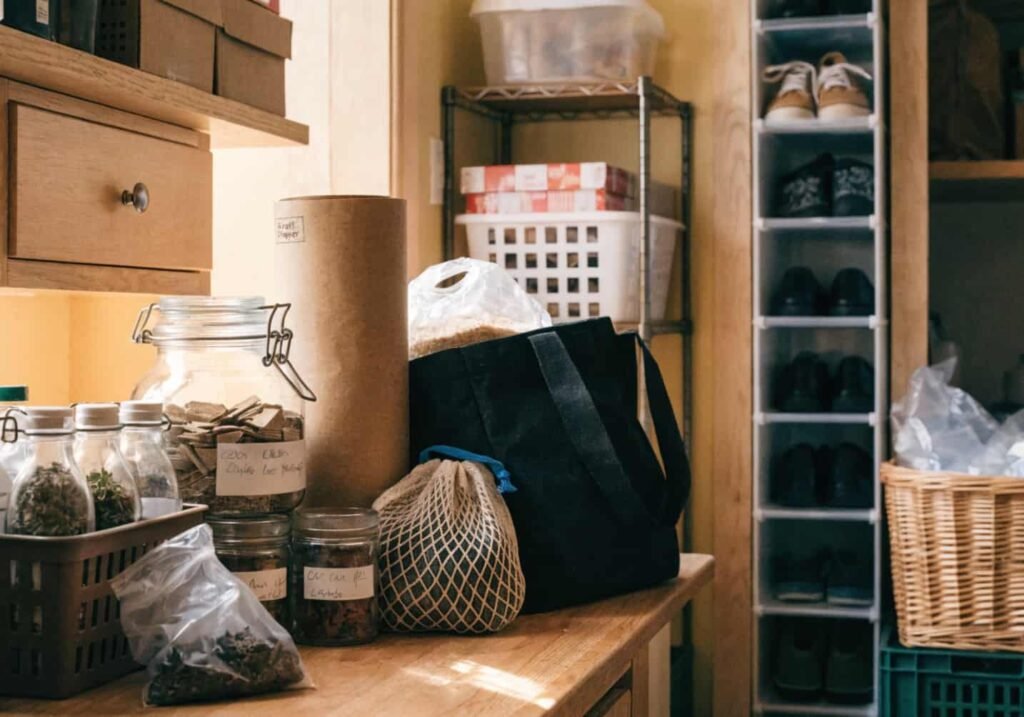
You really don’t need a Pinterest-worthy budget to get an organized pantry. Some of the best storage tools are things you probably already own. Empty jam jars, shoeboxes, and even shoe organizers meant for closets work surprisingly well for pantry storage. I turned an old magazine holder into a spot for storing flat items like tortilla packs and cutting boards, and it cost me nothing. Dollar stores are also goldmines for bins and baskets if you want a matching look without spending much. The trick is focusing on function first, then worrying about how pretty it looks later. A tidy pantry doesn’t have to come with a big price tag attached.
A Dedicated Zone for Snacks and Kids’ Favorites
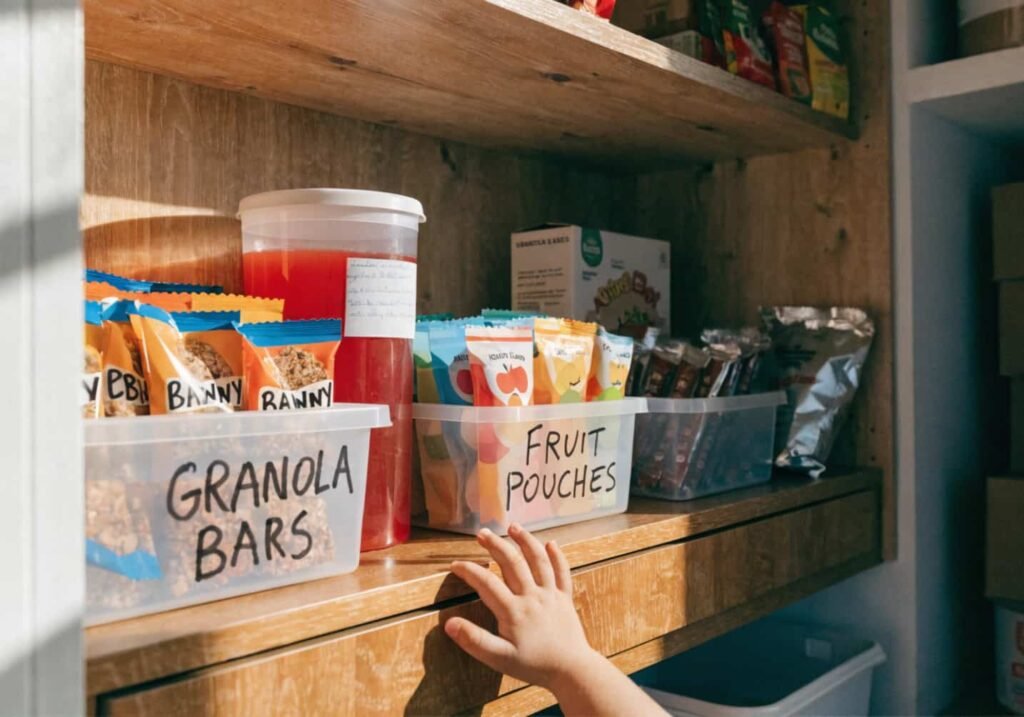
If you’ve got kids, or honestly even if you don’t, having a designated snack zone changes everything. Keep it at a lower shelf so little hands can reach their own snacks without needing help every time. This one small change stopped the daily “can I have a snack” chaos in my house. Use bins to separate sweet snacks from healthier options, so it’s easier to guide choices without turning it into a fight. Granola bars, fruit pouches, and crackers all fit nicely into labeled baskets. It also makes packing school lunches faster since everything’s already grouped together in one spot instead of scattered across different shelves.
Keep It Organized: Maintenance Habits That Stick
Getting your pantry organized is honestly the easy part. Keeping it that way is where most people fall off. The trick is building small habits instead of expecting perfection every single day. I do a five-minute tidy every Sunday before grocery shopping, just straightening bins and checking what’s running low. It takes almost no effort but keeps things from spiraling back into chaos. Involve the whole family too, since a system only works if everyone follows it, not just the person who set it up. Over time, putting things back in their zone becomes second nature, and that’s really the whole point of these kitchen pantry organization hacks in the first place.
Conclusion
An organized pantry isn’t about looking perfect for guests or matching every container on Pinterest. It’s about making your everyday cooking life easier, cutting down on wasted food, and saving yourself the daily frustration of digging through clutter. Start small if you need to, maybe just one shelf this weekend, and build from there. Once you feel how much smoother mealtime becomes, you won’t want to go back to the old chaos. Your pantry doesn’t need to be fancy, it just needs a system that works for you and your family.