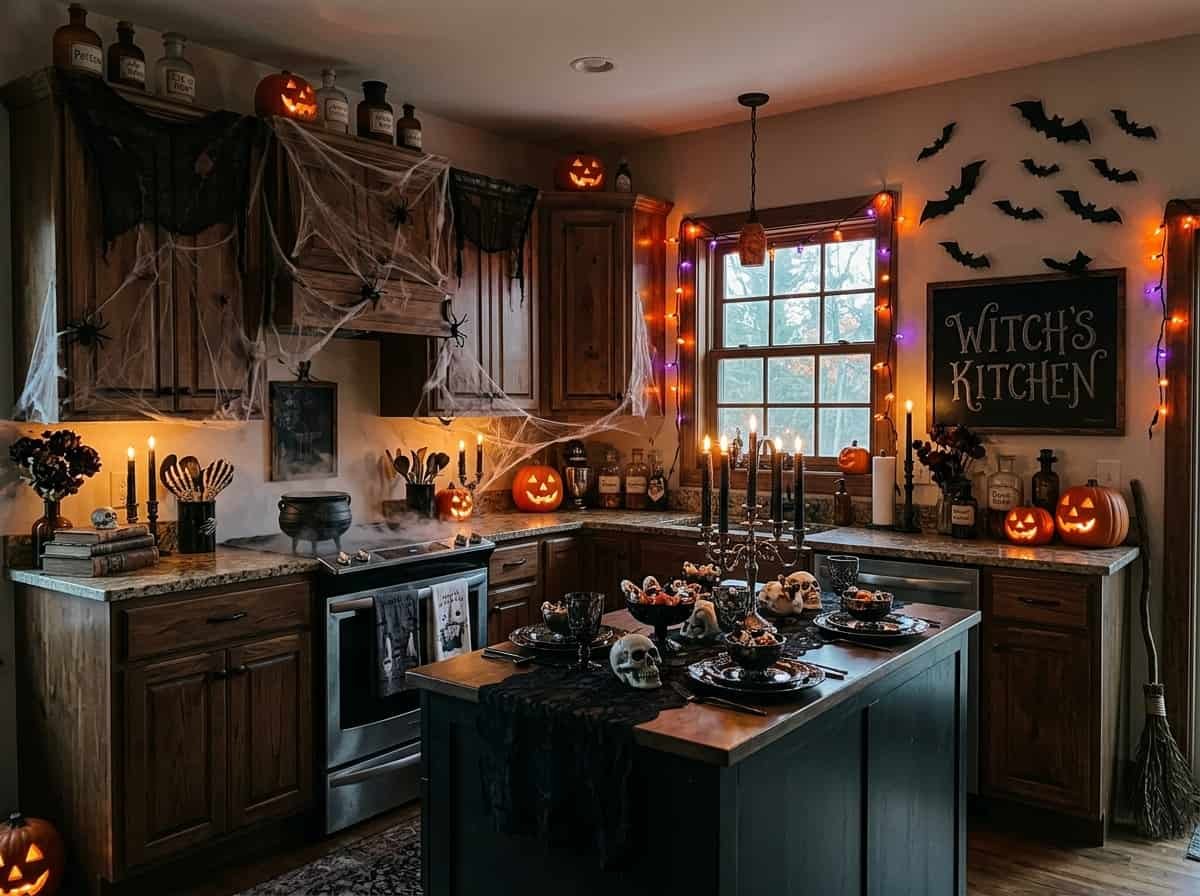
Every October the same thing happens. You buy a bag of plastic spiders, scatter them everywhere, and the kitchen ends up looking cluttered instead of creepy.
The fix is simple: treat your kitchen like a movie set, not a shelf. Pick one story, layer a few smart details, and let lighting do the heavy lifting. These spooky kitchen decor ideas will help you build a haunted haven that still works for real cooking.
Want to keep spending low? Try a few dollar store Halloween crafts and raid your own cupboards before you shop.
Setting the Haunted Mood Before You Buy Anything
Pick a Spooky Story for Your Kitchen
A kitchen that tells a story feels intentional. Choose one theme: a witch’s potion lab, a vampire’s dining room, or an abandoned haunted manor.
Once the story is set, every purchase has a job. If an item doesn’t fit the theme, leave it in the store.
Declutter First, Then Add the Creep
Clear the counters before you decorate. Spooky details only stand out when they have breathing room, and a messy counter makes even the best decor look like clutter.
Welcome Guests With a Haunted Kitchen Entrance
Doorway Curtains and Cobweb Frames
A sheer black curtain or stretchy cobweb across the doorway signals the mood before anyone steps inside.
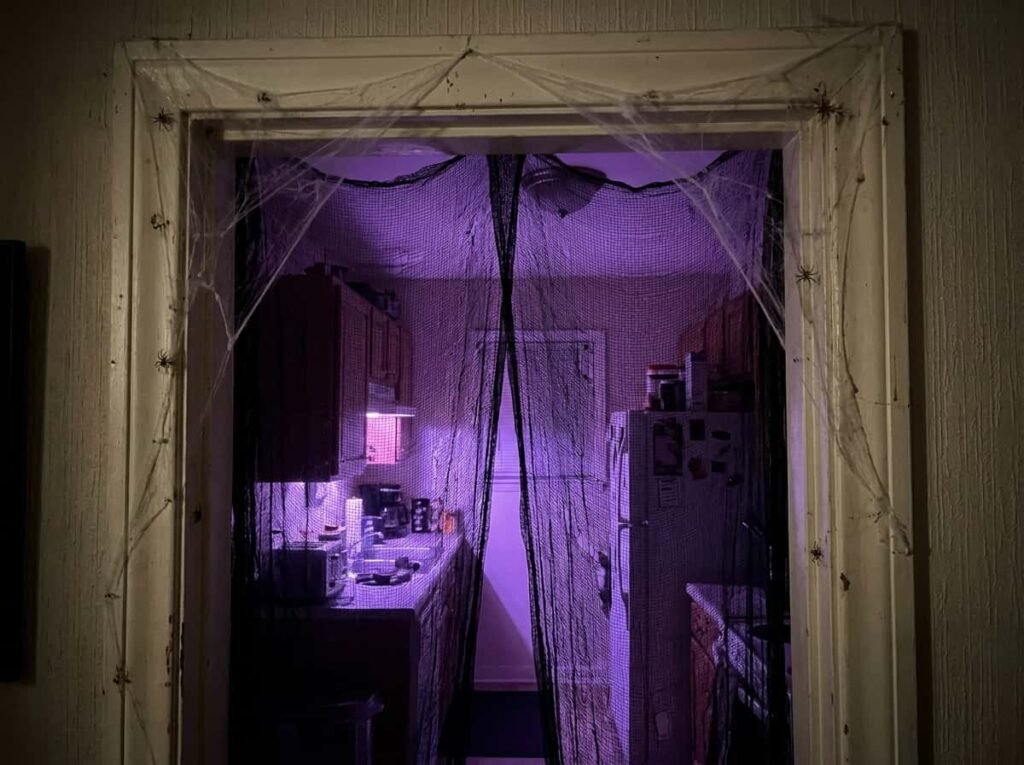
Tuck the cobweb into the corners and pull it thin. Thin and uneven looks far more real than a thick, even layer. For the outside of the door, try these DIY Halloween door decorations.
Warning Signs and Chalkboard Menus
Hang a small “Enter at Your Own Risk” sign or turn a chalkboard into a monster menu. Write playful dish names like “Witch’s Brew Soup” in uneven handwriting. It adds humor and personality for almost no cost.
Turn Your Walls Into a Haunted Gallery
Eerie Portraits and Framed Specimens
Vintage-style portraits with moody faces, or frames holding pressed bats and fake insects, make walls feel like a haunted manor hallway.
Mix frame sizes and tilt a few slightly. A perfectly straight gallery looks tidy, while a crooked one looks haunted.
Floating Shelves for Creepy Collectibles
Use floating shelves for skulls, candles, old books, and apothecary bottles. Group items in odd numbers and vary the heights. Keep each shelf to a single theme so it reads like a display, not a pile.
Peel-and-Stick Backsplash Overlays
Removable overlays in brick, damask, or cobweb patterns change the backsplash in minutes.
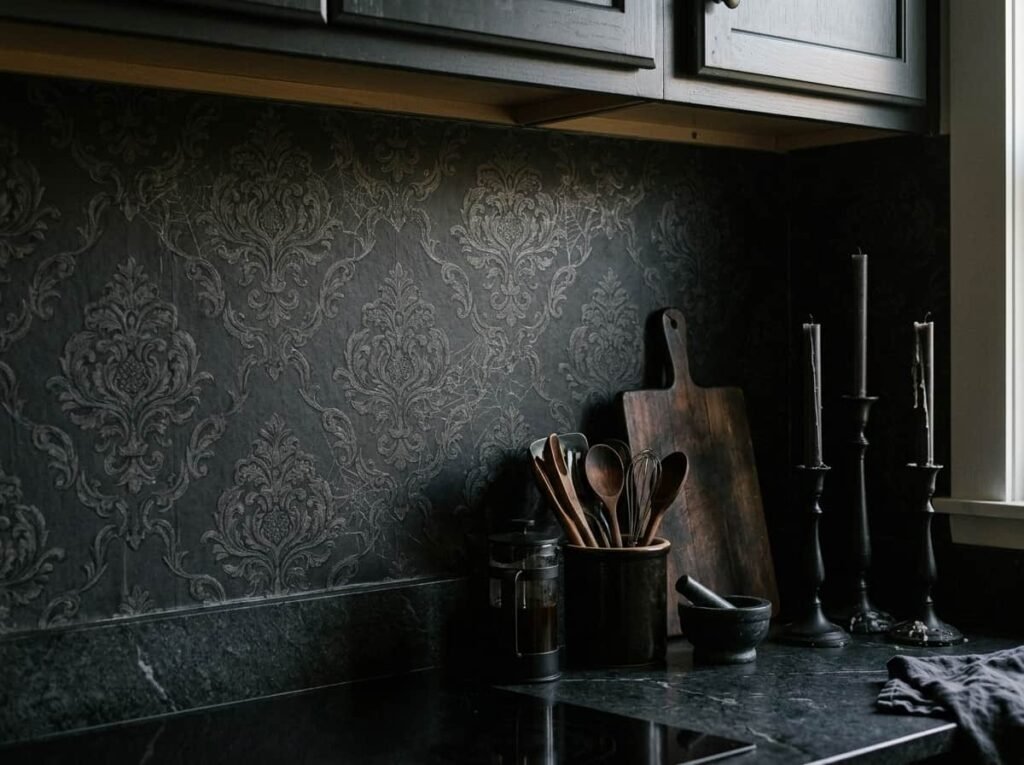
Clean and dry the surface first so the overlay sticks well, and peel it slowly after the season to protect your tiles.
Transform Your Cabinets and Open Shelves
Cabinet Labels That Read Like Potion Ingredients
Print or handwrite labels such as “Dragon Scales” for sugar and “Bat Wings” for tea bags. Stick them on jars or cabinet fronts with removable tape. Your pantry becomes part of the story, and you still know where everything is.
Glass Doors Dressed as Spooky Display Cases
If you have glass-front cabinets, treat them like museum cases.
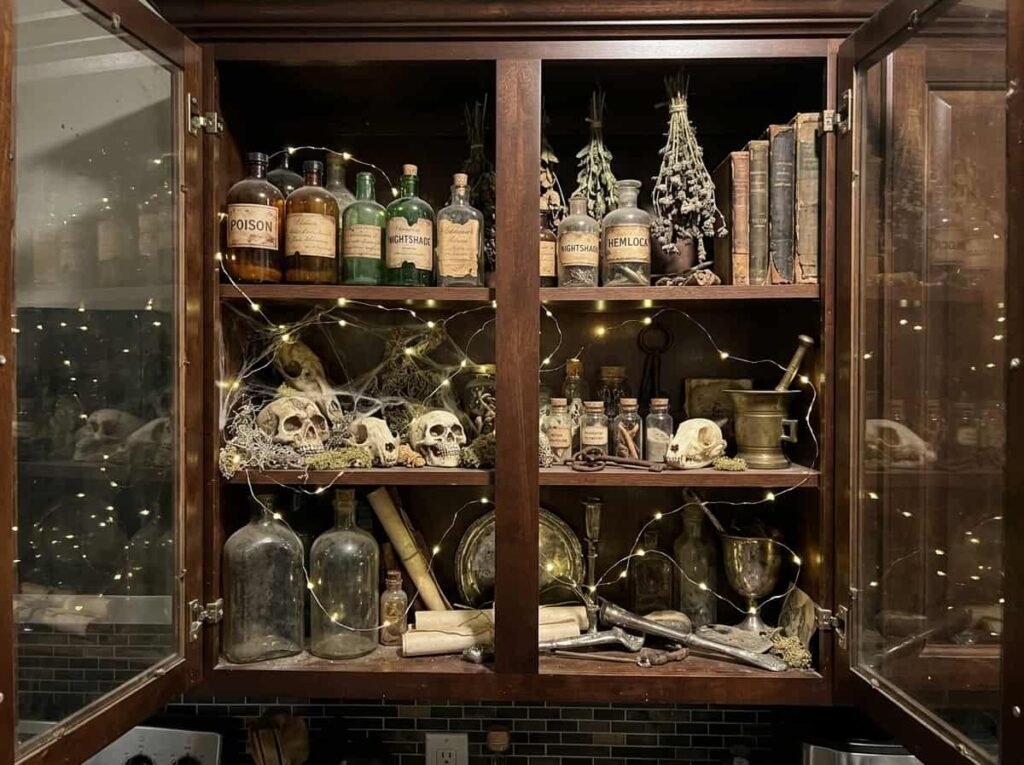
Place a few eerie objects on stands and add a tiny light inside. Less is more, so leave empty space around each piece.
Hanging Bats and Spiders From Shelf Edges
Dangle paper bats and spiders from shelf edges with clear thread. Vary the lengths so they look like they’re moving. A small cluster in one corner has more impact than bats spread across the whole kitchen.
Make Everyday Kitchen Items Look Haunted
Mugs, Glasses, and Serving Bowls
Swap everyday dishes for black, skull, or cracked-effect pieces.
You don’t need a full set. Two or three statement pieces on display change the whole mood.
Spooky Soap Dispensers and Dish Brushes
Small daily-use items are easy wins. A skull soap pump or a witch-hat brush holder makes the sink area fit the theme. Because you touch them often, they remind everyone the whole room is part of the fun.
Dish Towels, Oven Mitts, and Aprons
Textiles add pattern and color fast.
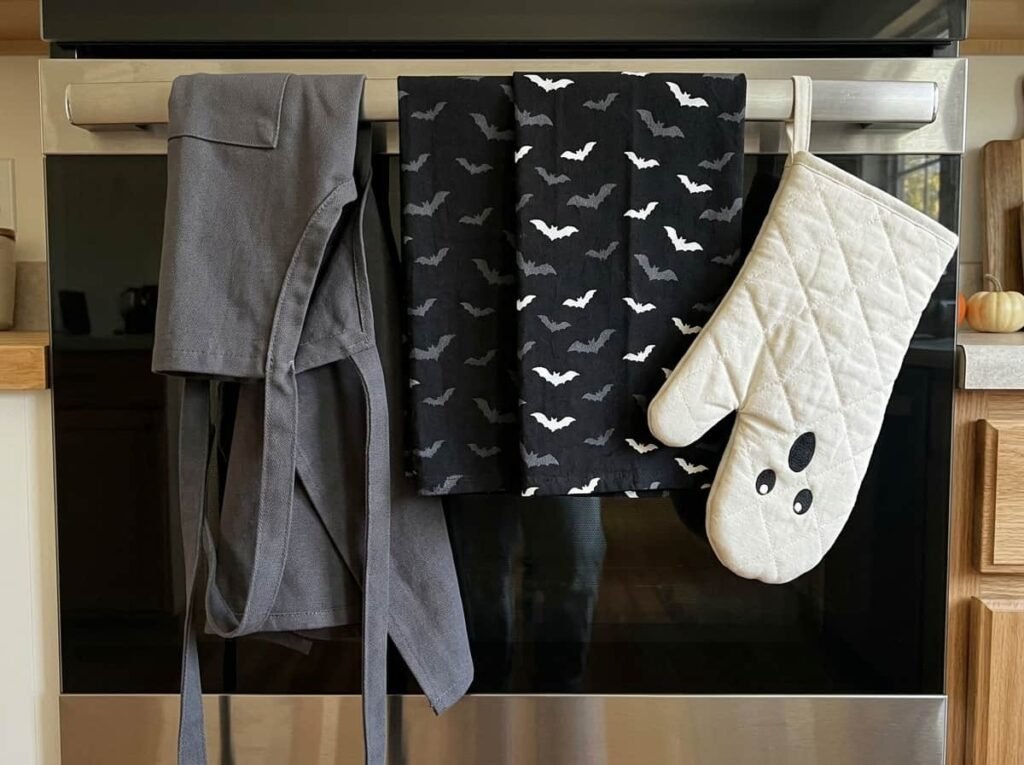
Choose washable fabrics and rotate them like normal towels. Cloth decor is the easiest to keep clean and the most practical to use.
Quick Tip: Pick two main colors, such as black and deep purple, and repeat them across towels, mugs and lighting. A tight palette makes cheap decor look styled.
Create a Creepy Cauldron Corner
Cauldron Planters and Bubbling Brew Props
Dedicate one counter corner to a cauldron. Fill it with a plant, battery candles, or green tissue “brew.” One strong focal point beats scattering small props everywhere.
Dry Ice and Fog Effects (Used Safely)
Fog makes a cauldron come alive, but dry ice needs care.
Always use gloves or tongs, keep the room ventilated, never seal it in a closed container, and keep it away from kids and pets. If that sounds like too much, a small fog machine or LED mist is safer.
Fridge Magnets and Monster Hands
Stick rubber monster hands, eyeballs, or spooky magnets on the fridge so it seems to be alive. It’s quick, cheap, and easy to remove on November 1st.
Ceiling and Window Haunting Ideas
Floating Candles and Hanging Skeletons
Hang battery candles at different heights with clear fishing line for a floating effect.
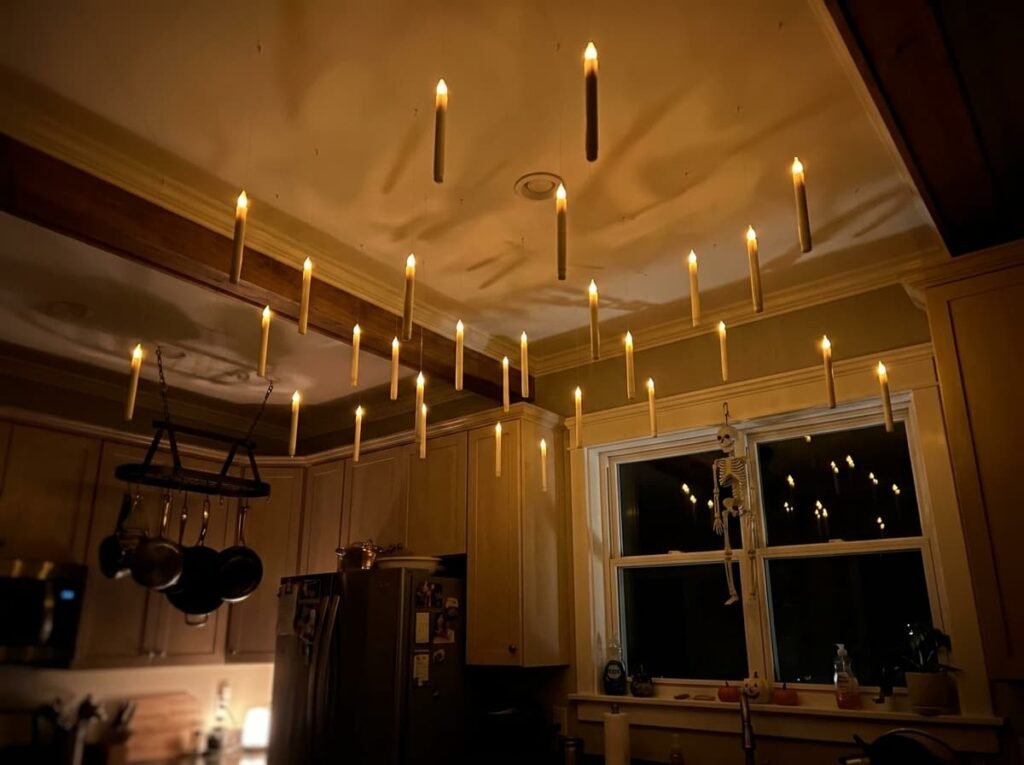
Secure hooks firmly into the ceiling or a beam, and keep everything out of your head’s way while you cook.
Window Silhouettes and Glowing Eyes
Cut black paper bats, cats, or trees and tape them to the window. Add pairs of glowing LED eyes behind curtains. From outside, the kitchen looks haunted before anyone arrives.
Light It Up Like a Haunted House
Color-Changing Bulbs and Under-Cabinet Strips
Light sets the mood more than any prop.
Purple, green, and orange work best. Dim the main light and let colored strips do the work. Keep one bright task light for cooking.
Flickering LED Candles and Lanterns
Flameless flickering candles and lanterns give a warm eerie glow without any fire risk. Group them in threes on trays or windowsills. They’re ideal near stoves, where real candles are a poor idea.
Spooky Food Styling That Completes the Look
Halloween Snack Stations
Set up a snack table with labeled treats and dark platters.
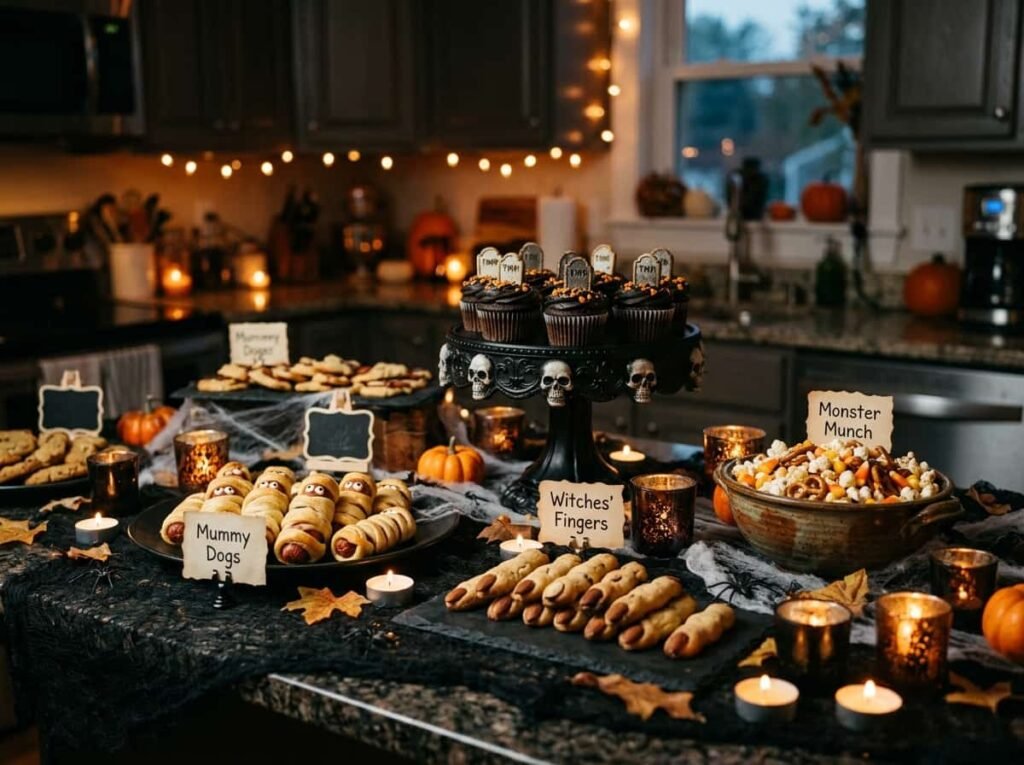
Use tiered stands to add height, and keep labels short and funny. Food styled to match the decor makes the whole room feel finished.
Creepy Drink Dispensers and Labels
Fill a glass dispenser with a colorful drink and label it “Witch’s Elixir” or “Vampire Punch.” Add a few floating fruit slices. Put it on a tray so spills stay contained and clean-up stays easy.
Keep It Practical and Safe
Keeping Decor Away From Stoves and Heat
Keep paper, fabric, and anything flammable well away from burners, ovens, and toasters. Choose battery lights instead of open flames. Decor should never block your workspace or your exits.
| Decor Type | Safe Spot | Avoid |
|---|---|---|
| Paper bats and cobwebs | Upper shelves, windows | Near stove or oven |
| LED candles | Counters, trays | Open flame candles |
| Hanging items | Away from cooking zones | Over burners |
Easy-to-Clean Decor for Busy Kitchens
Kitchens get grease and splashes, so choose wipeable plastic, glass, and washable fabric. Save fragile or dusty items for display shelves.
Frequently Asked Questions
How do I decorate a kitchen for Halloween without making a mess?
Choose removable items like peel-and-stick overlays, clear thread, and removable tape. Keep decor on shelves and ceilings, not work surfaces, so cleaning stays simple.
What are the best spooky decorations for a small kitchen?
Go vertical. Hanging bats, window silhouettes, and one small cauldron corner add atmosphere without eating up counter space. Lighting also works well because it takes no room.
How long before Halloween should I put up kitchen decor?
Many people start two to three weeks ahead, which lets you enjoy it without getting tired of it. Add lights and larger pieces first, then finish with food styling closer to the date.
Final Thoughts
A haunted kitchen doesn’t need a big budget, just one clear theme and a few well-placed details. This weekend, pick one corner, add a cauldron and a flickering light, and see how much that single change transforms the space.