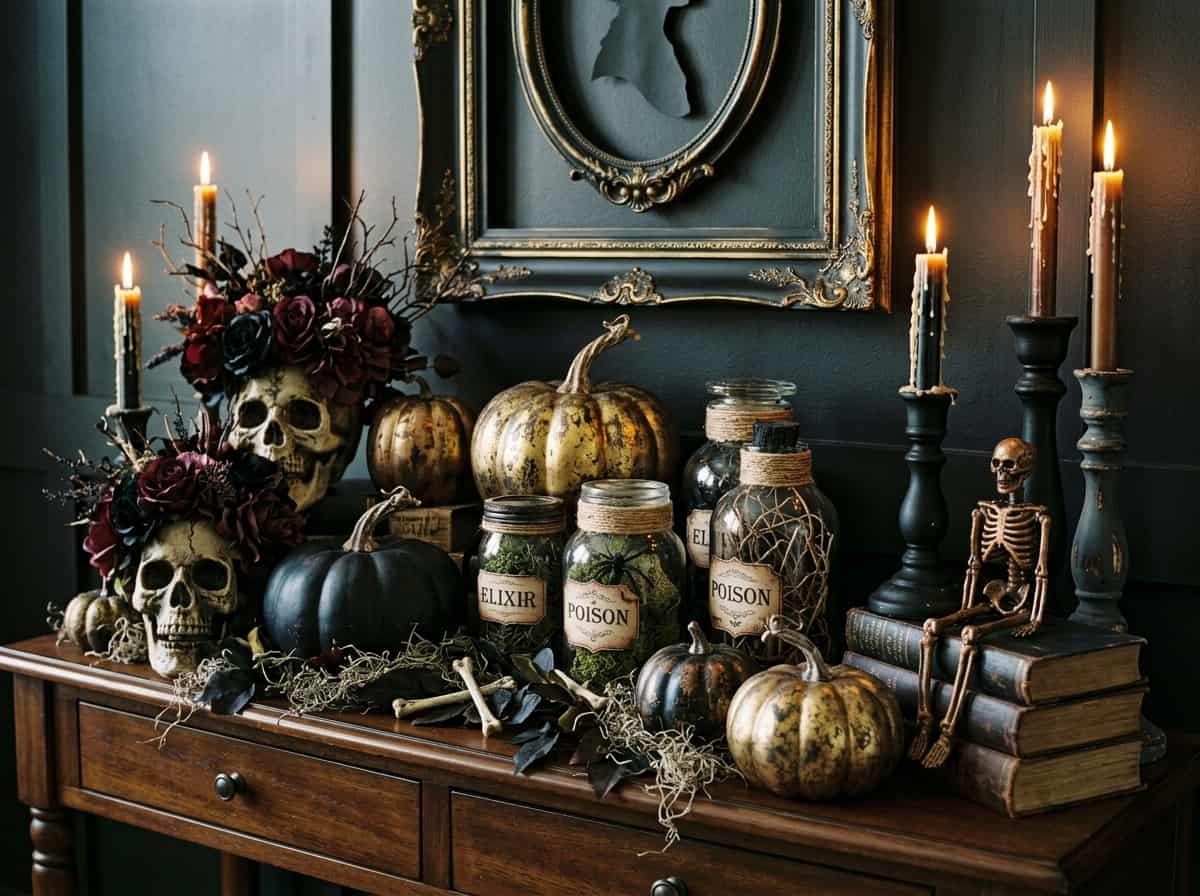
Every October, you walk into the dollar store with a plan and walk out with a basket of bright orange plastic. Then you get home, set everything on the table, and it looks exactly like what it is. If that sounds familiar, you are not alone. The good news is that the price of your supplies has very little to do with how the finished piece looks. What matters is color, finish, and how you group things together. These dollar store Halloween crafts all follow one simple idea: pick a tight color palette, change the surface of each item, and style it with care. Cheap pieces start to look like a collected set.
1. How to Make Cheap Supplies Look High-End
Expensive decor usually has three things in common: a limited color palette, a rich surface, and a bit of age or texture. Cheap decor usually has too many colors, shiny plastic, and a perfectly flat finish. So your job is simple. Choose two or three colors, such as black, antique gold, and bone white. Cover bright plastic with matte paint, then add a little metallic on top. Rub on some dark wax or watered-down brown paint in the corners so the piece looks handled and old. When everything shares the same finish, the whole table looks planned, even if every item cost one dollar.
| Old Rule | What Works Better Now |
|---|---|
| Use lots of bright Halloween colors | Stick to two or three deep, moody shades |
| Leave items in their original shiny plastic | Paint everything matte first, then add metallic |
| Spread small decorations across the whole room | Group items in odd numbers on one surface |
| Buy new for every craft | Reuse jars, cardboard, and old books you already own |
2. Dollar Store Shopping List for Spooky Crafts
Before you start any project, shop with your palette in mind. Skip anything with a loud printed pattern, because you cannot hide it with paint. Look for simple shapes, plain glass, and anything that feels a little heavy in your hand. Bring a small list so you do not wander toward the bright orange aisle. Think of this trip as collecting raw material, not finished decor. A plain jar, a foam pumpkin, and a pack of black roses can become three very different pieces once you add your own finish and a little patience at home.
| Item | What to Look For | Why It Works |
|---|---|---|
| Plastic skeleton hands | Smooth, detailed fingers | Paint takes well and looks like carved resin |
| Glass jars and bottles | Clear, simple shapes | Labels and tinted glaze make them look like antiques |
| Foam or plastic pumpkins | Plain, no printed faces | Easy to cover with paint and glitter |
| Faux flowers | Dark red, black, or deep purple | Moody color needs almost no extra work |
| Cardboard and old books | Plain covers, sturdy sides | Cheap base for houses and spell books |
| Taper candles or LED candles | Matte white or cream | Looks elegant once you add the wax effect |
Pro Tip: Buy one extra can of matte black spray paint and one of gold. Between them, you can finish almost every craft in this list.
3. Gold Spray Painted Skeleton Hands Centerpiece
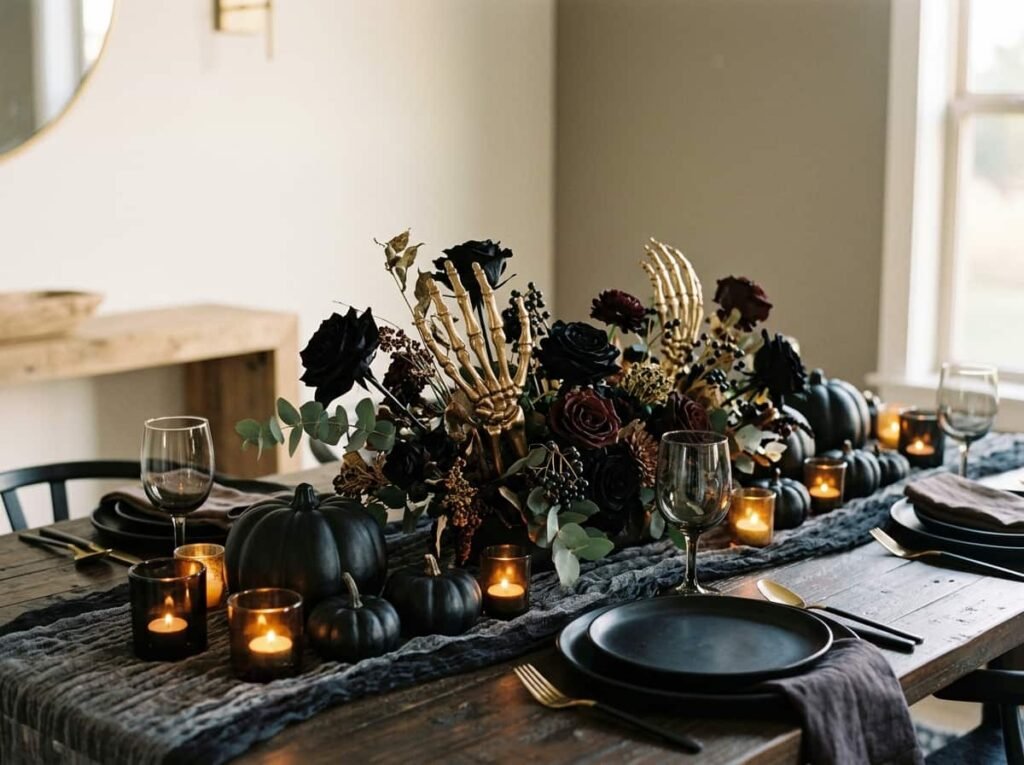
Skeleton hands are one of the easiest ways to make a table look like a designer set it. Start with a light coat of matte black spray paint, and let it dry fully. Then mist gold from about a foot away, so the gold lands on the raised parts and lets the black show in the cracks. This creates an aged metal look that plastic never has on its own. Set two or three hands upright in a shallow bowl of black pebbles, or let one reach out of a tall cloche. Keep everything else on the table quiet so the hands become the one thing guests notice first.
4. Apothecary Jar Halloween Display
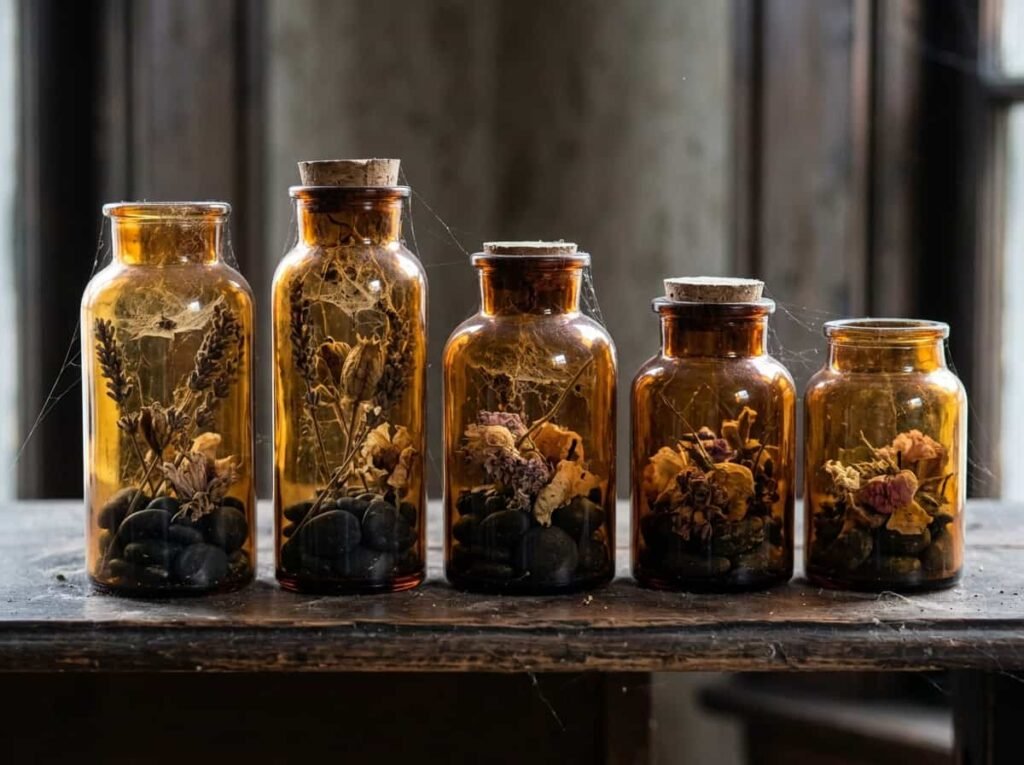
Plain glass jars become a spooky apothecary shelf with very little effort. Wash the jars, then brush on a thin coat of watered-down brown or amber paint on the inside to make the glass look old and cloudy. Fill them with cotton “cobwebs,” dried flower heads, black pebbles, or fake spiders, and put a cork or small lid on top. Group them in different heights on a tray or a wooden crate. Because the jars all share the same tint, the display looks like something from an old pharmacy. Odd numbers work best, so start with three or five jars and add more only if the space needs it.
5. Faux Antique Spell Book Stack
Old books from a thrift bin or a spare shelf turn into spell books in an afternoon. Cover the original title with a strip of brown paper, then brush the edges and corners with dark brown paint, and wipe most of it off with a damp cloth. This leaves stained, worn edges. Add a gold paint pen detail, such as a simple moon, a star, or a border line on the cover. Stack two or three books with different sizes, and set a candle holder or small skull on top. The stack works on a bookshelf, an entryway table, or beside a bowl of candy.
6. Black and Gold Glitter Pumpkins
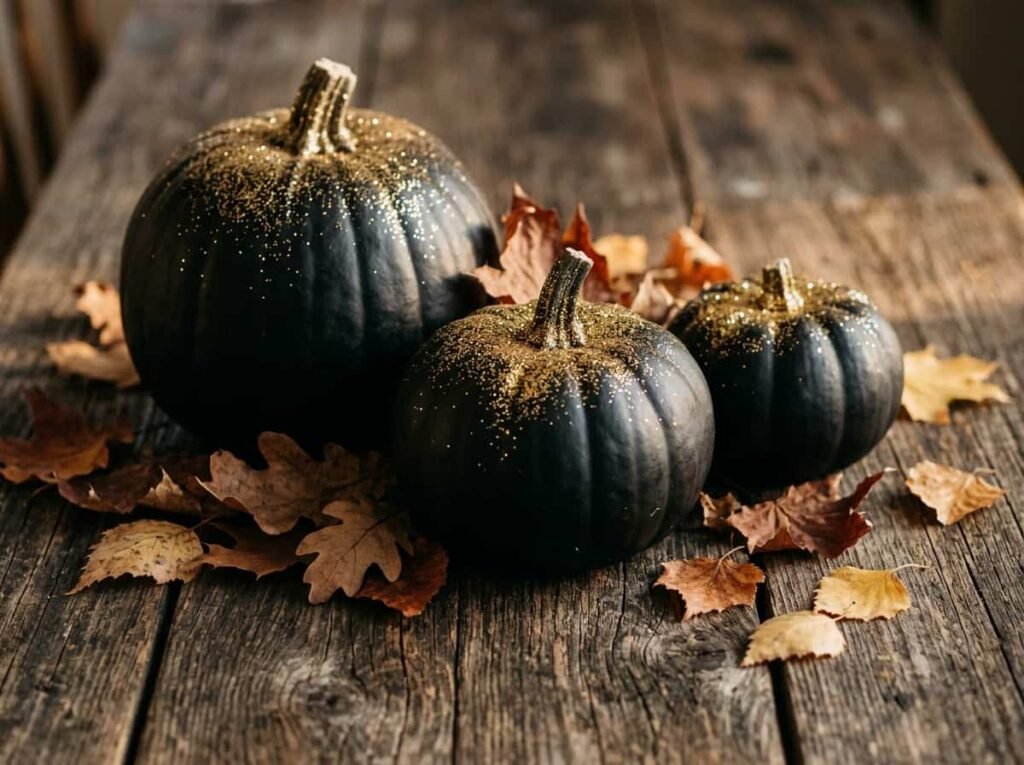
Glitter pumpkins can look cheap or very rich, and the difference is how you use the glitter. Paint a foam pumpkin matte black first. Then brush glue only on the top third, or around the stem, and sprinkle fine gold glitter over it. Leave the bottom plain black. This half-and-half finish looks intentional and keeps the pumpkin from feeling too sparkly. Use a real dried stem or a twisted brown paper stem for a more natural top. Set three pumpkins in different sizes on a tray with a few dried leaves, and you have a centerpiece that looks like it came from a boutique.
7. Elegant Candle Holders with Dripping Wax Effect
Old candle holders and even small jars can get that dramatic, melted-wax look without the mess. Use plain white or cream taper candles, or battery candles for safer display. For a real wax effect, hold a candle at an angle and let melted wax run slowly down the holder. For a no-flame version, use white hot glue, let it cool, and paint over it to match. Pour or press it around the rim so it looks like layers of old wax. Keep the holders in one color, such as black or aged gold, and place them in a cluster of three at different heights.
Pro Tip: If you have kids or pets nearby, battery candles with a flicker setting give you the same glow with no flame at all.
8. Vintage-Style Halloween Bottle Labels
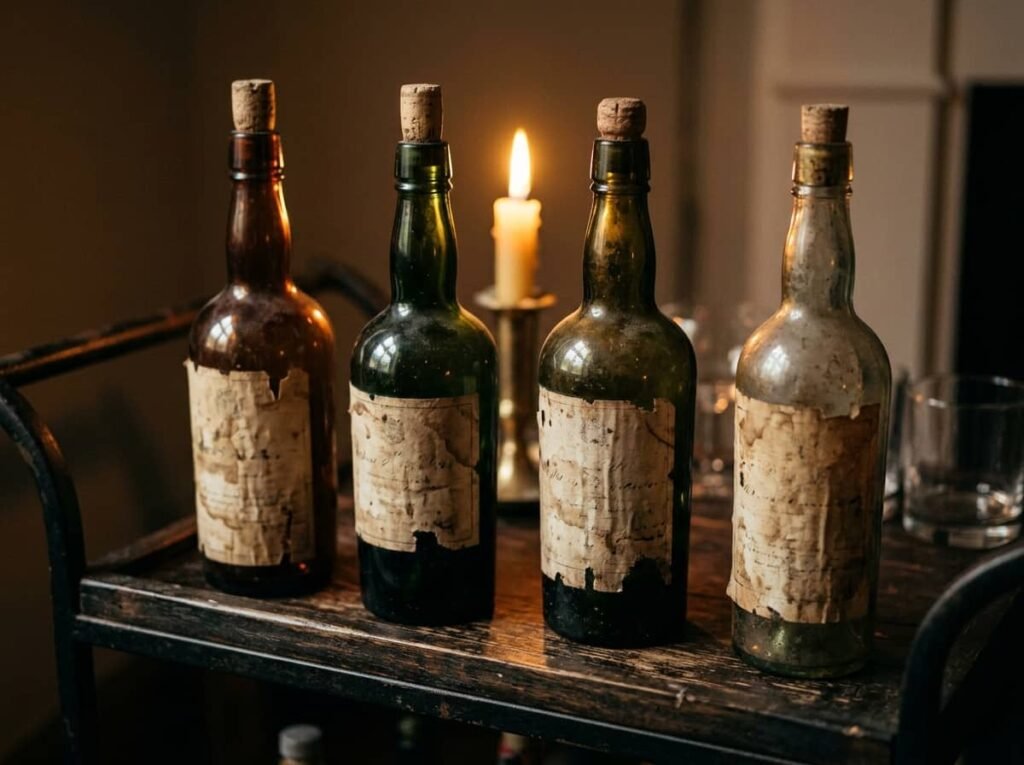
Labels are the cheapest way to make plain bottles feel like part of a story. Print labels in a simple old-style font on cream paper, then tear the edges by hand and rub a damp tea bag over the surface to stain them. Let them dry, then glue them to the bottles. Choose names that feel fun but simple, like “Witch’s Brew,” “Bat Wing Tonic,” or “Midnight Potion.” Fill the bottles with colored water, or leave them empty with a cork. Line them up on a bar cart or a mantel next to the apothecary jars for a full potion station that looks collected over time.
9. Moody Floral Arrangement with Black Roses
Faux flowers read as cheap when they are bright, but dark colors fix that fast. Pick black, burgundy, and deep plum roses, and cut the stems to different lengths so the bunch does not look stiff. Add a few dried branches or bare twigs for height, and a handful of dried leaves near the base. Set them in a tall, plain vase or a painted jar. Fluff the petals with your fingers so they open up and look less perfect. One full arrangement on the dining table, rather than many small ones, gives you a calm, rich look that suits almost any Halloween style.
10. Haunted House Mini Village from Cardboard
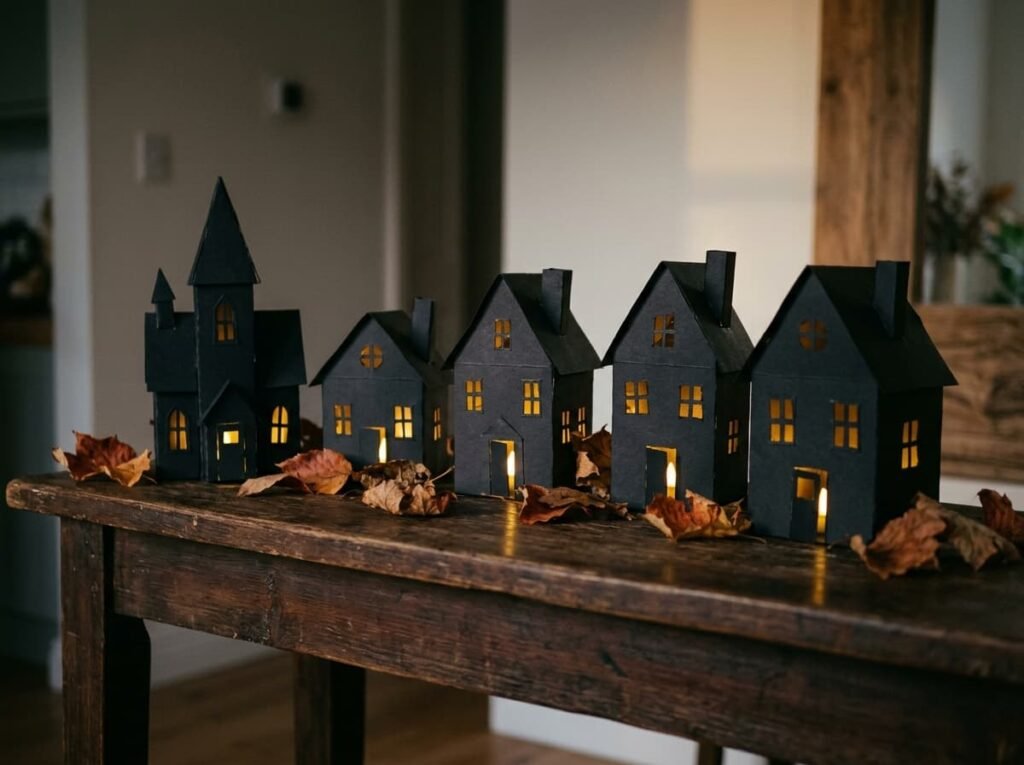
Cardboard boxes make a whole spooky village for almost nothing. Cut simple house shapes with tall roofs, small windows, and a crooked chimney. Paint them matte black or charcoal, then dry-brush a little gray on the edges so they look weathered. Cut out the windows and tape yellow tissue paper behind them, then place a small battery tea light inside each house for a warm glow. Make the houses different heights so the village feels natural. This one is a good project for beginners and for kids, because mistakes look like character, and the finished set looks great on a mantel or a console table.
11. Spooky Mantel Garland with Dried Leaves
A garland ties the whole room together, so it is worth making well. Use a length of twine or thin wire as the base, and attach dried leaves, small black feathers, faux berries, and a few paper bats. Keep the colors close to the rest of your decor. Let the garland drape unevenly, with one side hanging lower than the other, so it looks natural. If a mantel or shelf already feels crowded, move the garland to a doorway or a window instead. Dried leaves cost almost nothing, and they give the project a real texture that plastic garlands never match.
Keep it from feeling like a costume shop with these quick swaps:
- If the room feels too busy, try removing one item from every group.
- If the colors feel too dark, try adding one cream or bone white piece.
- If the decor feels too fake, try adding real elements like dried leaves or twigs.
- If the glitter feels like too much, try using it on just one item.
- If the display feels flat, try adding height with a book stack or a box under a cloth.
12. Styling Tips to Make Your Crafts Look Designer-Made
Good styling is what turns a pile of crafts into a room that looks finished. First, give one piece permission to stand out. This could be the gold skeleton hands or the pumpkin trio, and everything else should support it quietly. Second, group items in threes and fives, and mix heights so your eye can travel. Third, repeat one color or material in at least three places, such as gold on a pumpkin, a label, and a book. Last, leave empty space. A little breathing room makes your decor look chosen instead of crowded, which is exactly what expensive decor does.
| Situation | Formula | Why It Works |
|---|---|---|
| Dining table | One tall focal piece + two small pieces + candles | Gives you height without crowding the table |
| Mantel | Garland + three heights + one metallic | Looks balanced and full without much effort |
| Entryway | Book stack + jar + one pumpkin | Creates a welcome moment in a small space |
| Front porch | Pumpkin trio + dried leaves + lantern | Soft, warm, and easy to refresh |
| Bar cart | Labeled bottles + candle + black roses | Feels like a themed party station |
Quick Tip: Take a photo of your finished table. If your eye lands on one spot first, your styling is working.
Your Questions, Answered
What are dollar store Halloween crafts? They are DIY decorations made from low-cost supplies like foam pumpkins, glass jars, and plastic skeleton pieces. With paint, labels, and simple styling, they can look like pieces from a boutique.
Can beginners make these crafts? Yes. Most of these projects need only spray paint, glue, and a paintbrush. Start with the glitter pumpkins or the bottle labels, then try the cardboard village once you feel confident.
How do I make my decorations look less like plastic? Paint them with a matte finish, then add a small amount of metallic or dark wax to the edges. Matte surfaces and aged details are what make cheap pieces look real.
Do I need expensive tools or supplies? No. A can of matte black spray paint, a gold paint pen, a glue gun, and a pair of scissors cover nearly everything in this list.
How do I keep Halloween decor from looking tacky? Limit your colors to two or three and let one piece be the star. Add natural items like dried leaves, and leave some empty space around your displays.
13. Final Thoughts on Budget Halloween Decorating
Good Halloween decor has never been about how much you spend. It is about choosing a palette, finishing each piece with care, and letting one thing shine. This week, pick one project from this list, buy the supplies for under ten dollars, and spray paint a single skeleton hand gold. Set it on your table, and you will see how a small change can make everything else look richer.