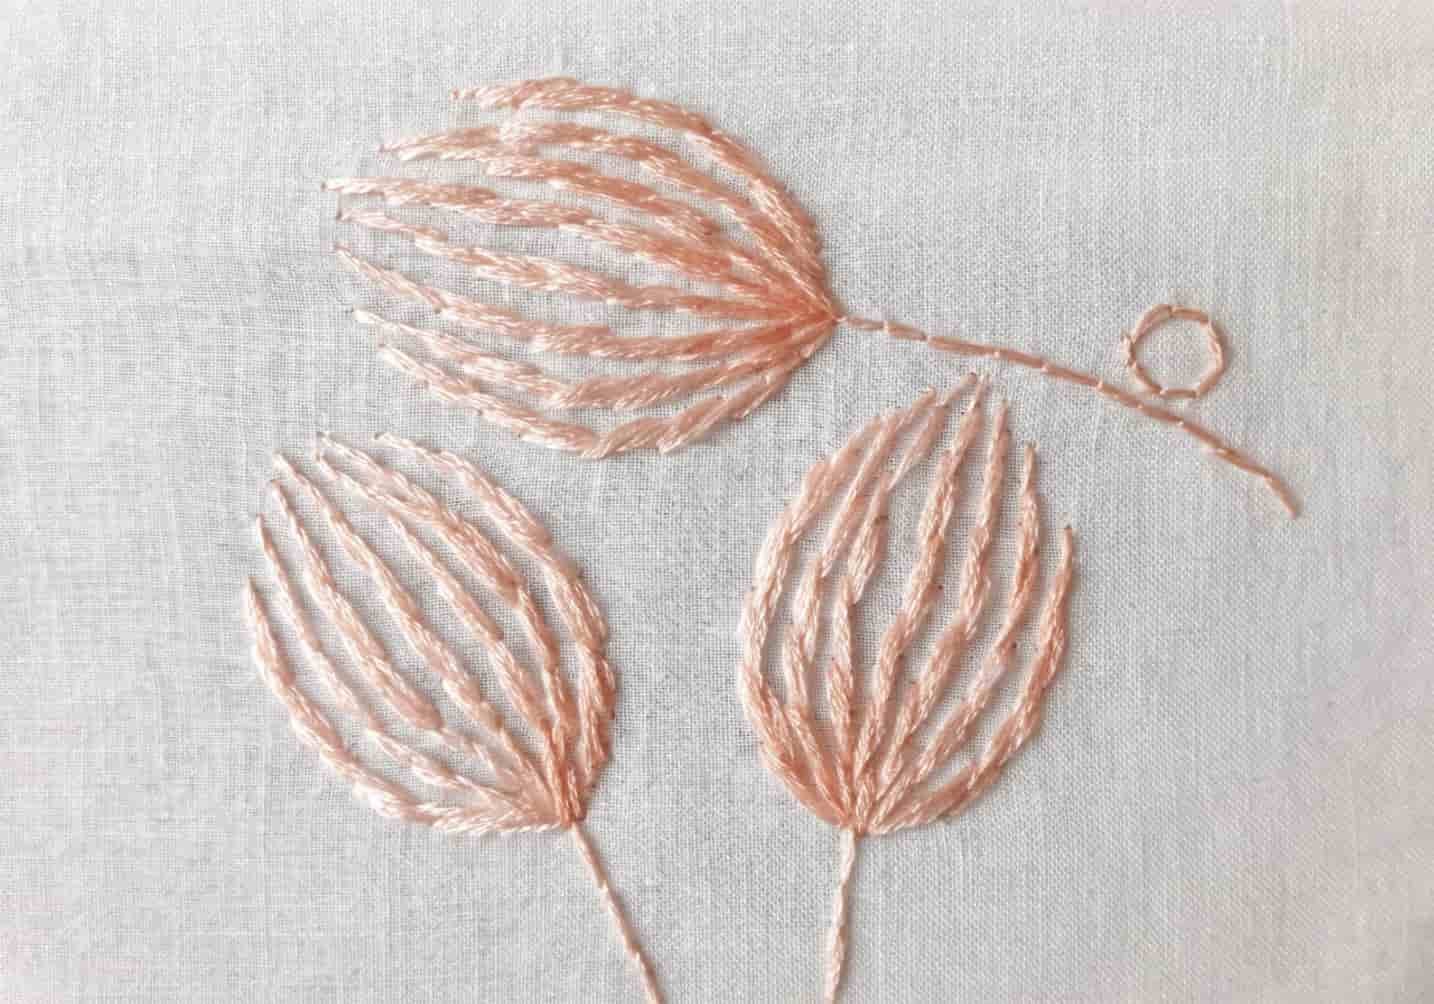
Floral Hand Embroidery has always found a way to reinvent itself, and right now it is going through one of its calmest, prettiest phases yet. People are stepping away from busy, heavily packed designs and moving toward something quieter, something that feels like a slow afternoon with a cup of tea. This shift has a name now, and crafters everywhere are calling it the Soft Stitch Era. If you have ever picked up a needle and felt overwhelmed by complicated patterns, this trend was basically made for you. It is forgiving, it is simple, and it still looks like something you would want to frame on your wall.
What Is the Soft Stitch Era? A New Embroidery Trend
The Soft Stitch Era is basically a gentler approach to hand embroidery. Instead of filling every inch of fabric with dense stitching, the focus is on negative space, light thread work, and designs that breathe. Think of one small rose sitting alone on a handkerchief instead of a whole garden crammed onto a cushion cover. This style borrows a bit from cottagecore and a bit from Scandinavian minimalism, mixing them into something soft and personal. My aunt started embroidering this way after years of intricate work left her wrists tired, and honestly, her pieces now look more elegant than anything she made before. It proves that less really can be more when it comes to needle and thread.
Why Minimalist Floral Embroidery Is Trending in 2026
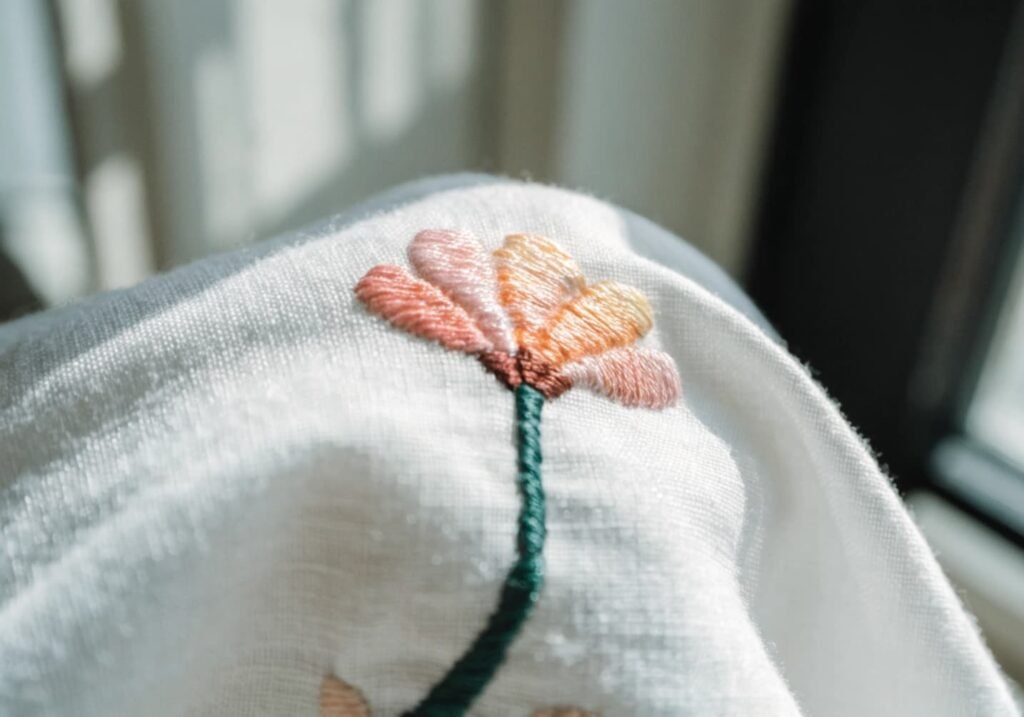
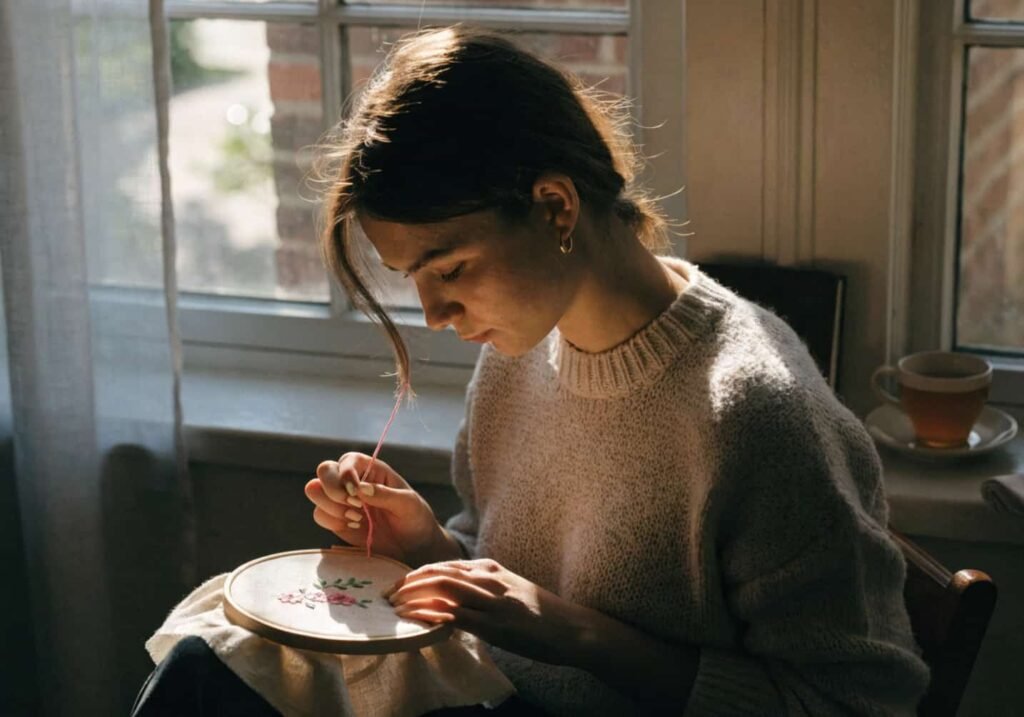
This year, people are craving slower hobbies, and embroidery fits right into that mood. Social media feeds are full of small, satisfying stitch-by-stitch videos, and minimalist florals photograph beautifully because they do not compete with busy backgrounds. There is also a practical side to it. A small floral motif takes less time to finish, which means beginners actually complete their projects instead of abandoning them halfway. I remember trying a huge floral wreath years ago and giving up after three days. When I switched to a single stem design, I finished it in one evening and actually felt proud of it. That quick sense of accomplishment is a big reason this trend keeps growing.
Essential Supplies – Hoop, Floss, Needle, and Fabric
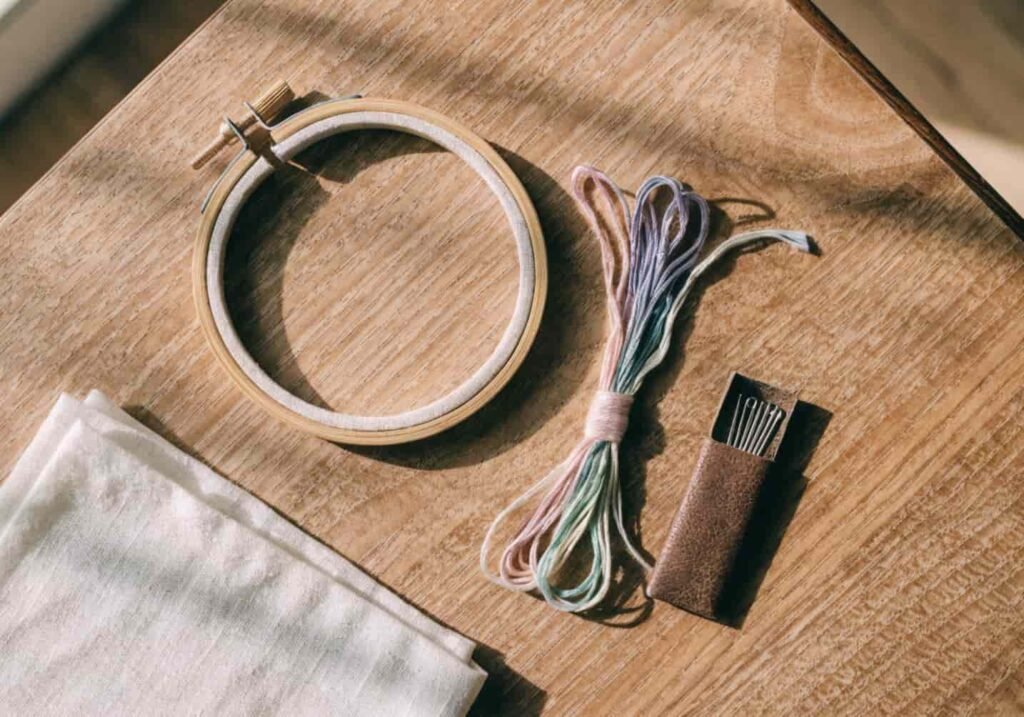
Before starting any project, it helps to gather a few basic tools so you are not stopping halfway to search for something. You will need an embroidery hoop, ideally wood or bamboo since it grips fabric better than plastic. Embroidery floss in a handful of soft, muted shades works best for this style, along with a sharp embroidery needle that has a large enough eye for threading. For fabric, plain cotton or linen is ideal because it holds stitches nicely without stretching too much. When I first started, I bought a huge kit with fifty thread colors, but honestly I only ever reached for six of them. Starting small and simple saves both money and confusion.
How to Choose a Simple Floral Design
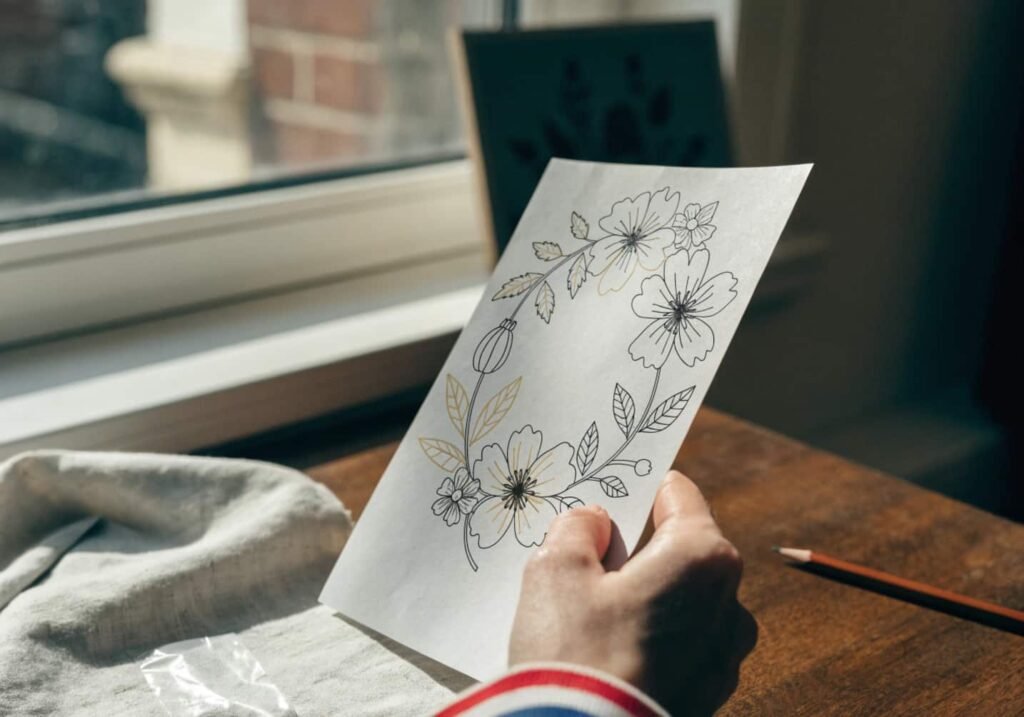
Picking the right design matters more than people expect. For a minimalist look, aim for something with clean lines and just one or two flower shapes, maybe with a small leaf or two for balance. Avoid patterns that ask for dense filling stitches or too many colors, since that defeats the whole purpose of keeping things soft and airy. Pinterest and embroidery pattern shops are full of single stem designs made exactly for this trend. When I picked my first pattern, I chose a tiny daisy with one leaf, and it turned out to be the perfect size for a tote bag patch. Starting with something small lets you build confidence before moving on to bigger florals.
Preparing Your Fabric and Hoop
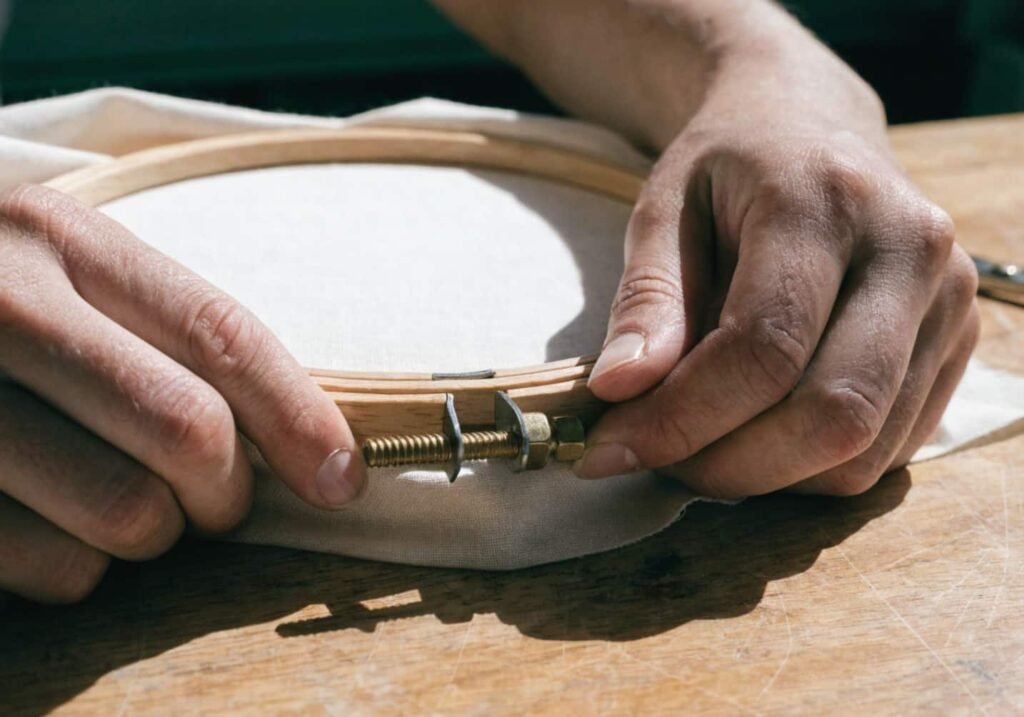
Good preparation makes the actual stitching so much easier. Start by ironing your fabric flat since wrinkles can throw off your design placement. Cut a piece slightly bigger than your hoop, leaving extra fabric around the edges to grip comfortably. Loosen the screw on your hoop, place the fabric over the inner ring, then push the outer ring down and gently pull the fabric taut like a drum. It should not sag but also should not be stretched so tight it distorts the weave. I used to skip this step when I was new, and my stitches always came out uneven because the fabric kept shifting. Taking those extra two minutes really does change the final result.
Transferring the Design onto Fabric
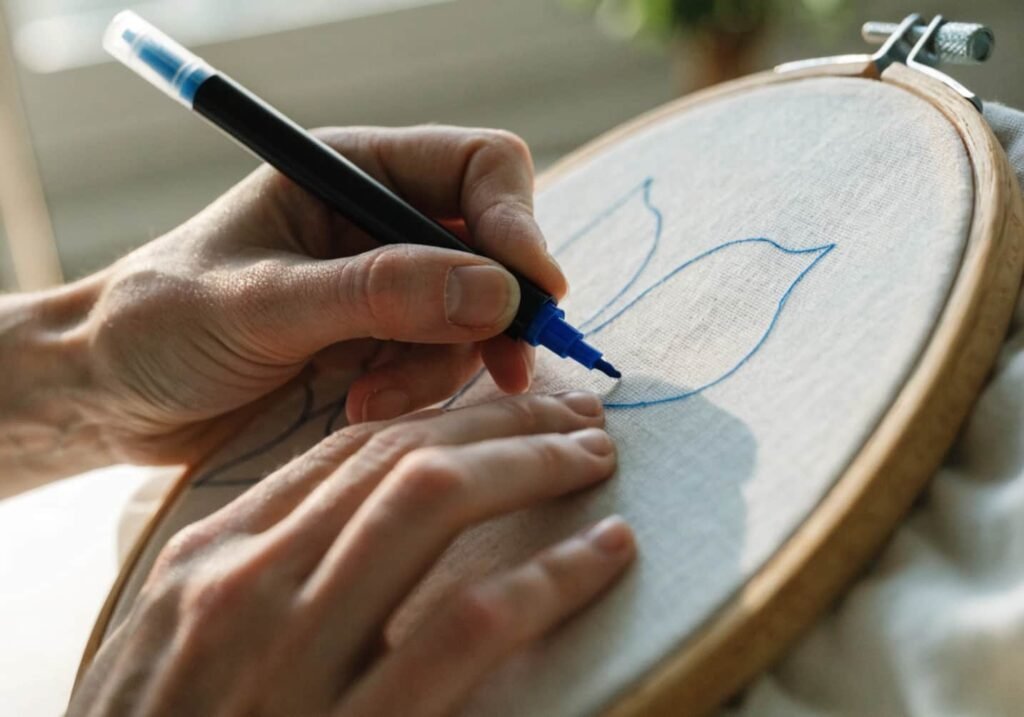
Once your fabric is hooped, you need to get your chosen pattern onto it. A water-soluble marker or a simple heat transfer pencil works well for light fabrics, and you can trace the design by holding it against a sunny window or a light pad underneath. For darker fabric, transfer paper is a better option since regular pens will not show up clearly. Keep your lines light because they need to hide completely under your stitches later. The first time I transferred a design, I pressed too hard with a regular pen and the ink bled through the fabric, ruining the piece. Using the right tool for your fabric type saves you that kind of frustration.
Basic Stitches You Should Know
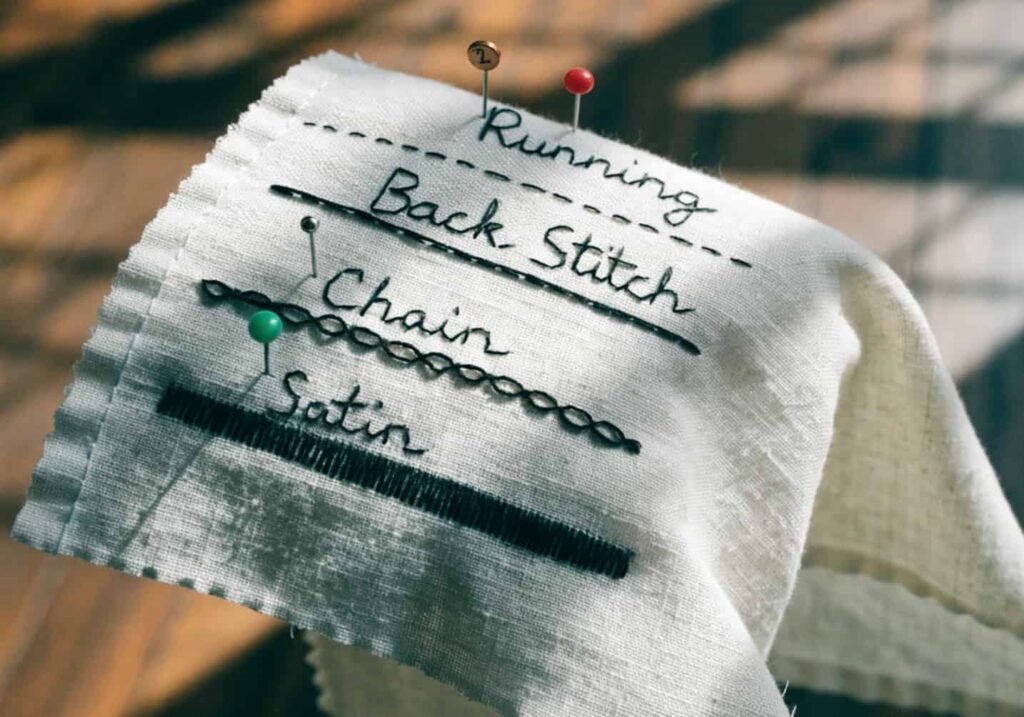
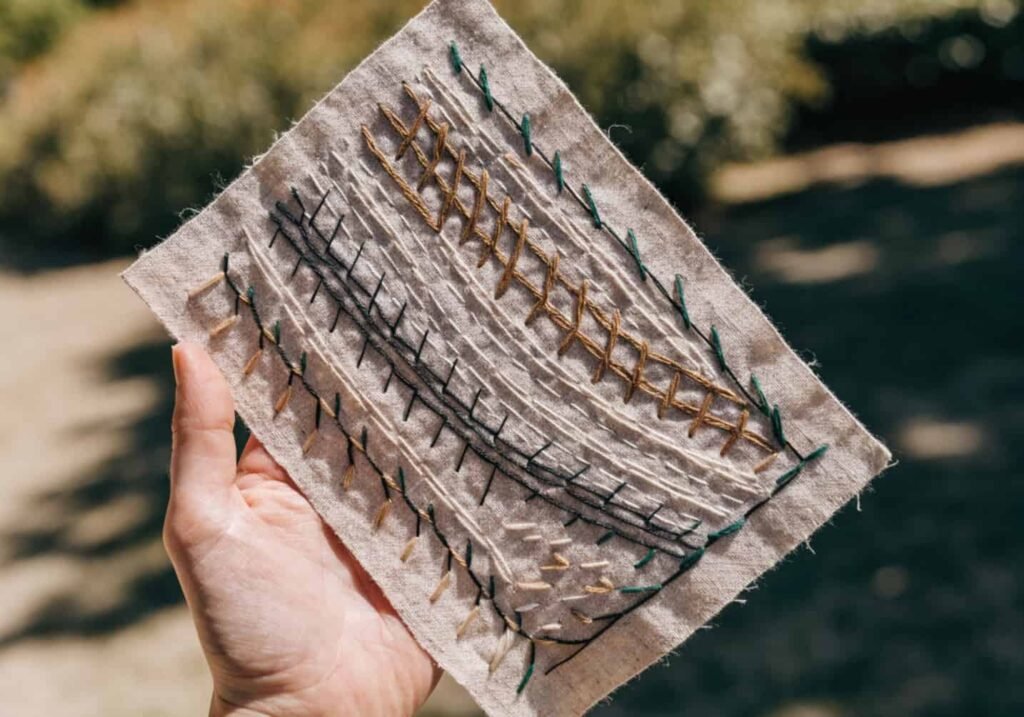
You really do not need dozens of fancy stitches for this style. Three or four basics will carry you through almost any minimalist floral design. The stem stitch is perfect for outlines and vines, the running stitch works well for simple petal shapes, the French knot gives you those cute little flower centers, and a basic satin stitch can fill in small shapes if needed. Learning these four stitches well is far more useful than knowing twenty stitches you barely remember how to do. When I finally sat down and practiced just these basics on a scrap fabric, my actual projects improved almost overnight because my hands stopped hesitating over every stitch.
Creating Delicate Lines with Stem Stitch
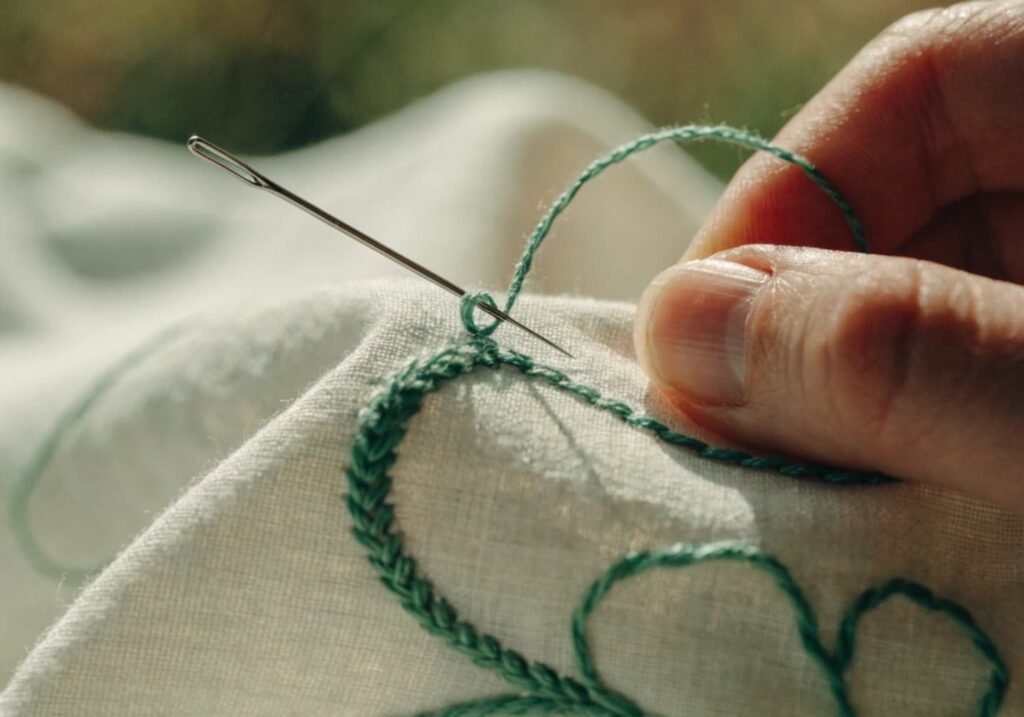
The stem stitch is your best friend when it comes to curvy, natural-looking lines like stems, vines, or flower outlines. To work it, bring your needle up at the start of your line, then take small backward-angled stitches, always keeping your thread on the same side as you go. This creates a slightly twisted rope-like line that looks organic rather than stiff. It takes a bit of practice to keep your tension even, so do not worry if your first few lines look wobbly. I practiced this stitch on a napkin for almost an hour before it clicked, and now it is honestly the stitch I use the most in every single project I make.
Simple Petal Designs with Running Stitch
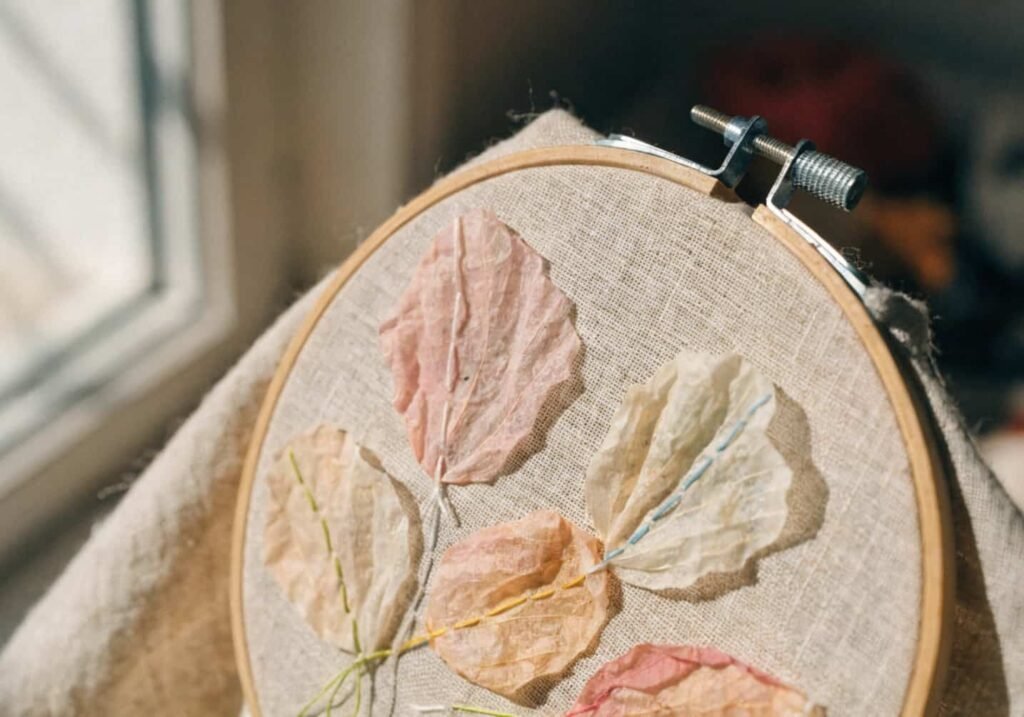
Running stitch is probably the easiest stitch in embroidery, and it works beautifully for soft, loosely shaped petals in this minimalist style. You simply pass your needle in and out of the fabric in a straight line, keeping your stitches and the gaps between them roughly equal in length. For petals, you can curve this line slightly to follow the petal shape, and layering a few rows close together gives a light, airy fill instead of a solid block of color. This stitch is where I usually tell beginners to start because there is very little room to mess it up, and it still looks intentional and pretty even if your spacing is not perfectly even.
Tiny Flower Centers with French Knots
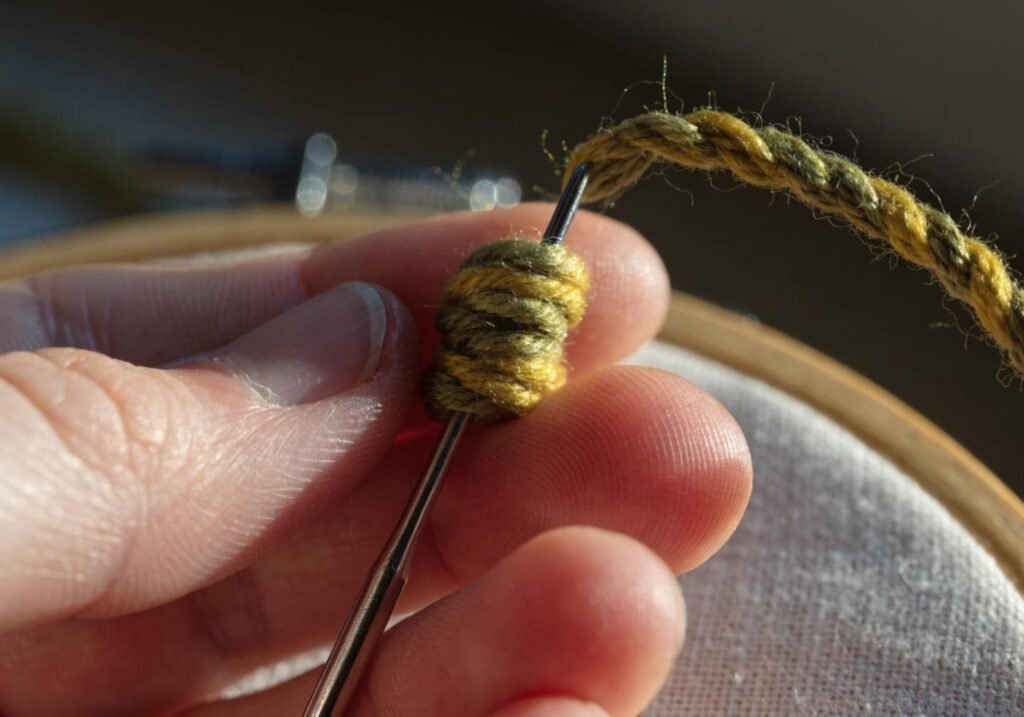
French knots might look intimidating at first, but once you get the hand motion down, they become almost relaxing to make. Bring your needle up through the fabric, wrap the thread around the needle two or three times, hold the thread slightly taut, then push the needle back down close to where it came up. The trick is not letting go of the tension until the knot sits snugly on the fabric surface. These little knots are perfect for flower centers or scattered accents around your design. My first attempts looked more like tangled blobs than neat knots, but after maybe ten tries, my hands finally understood the rhythm, and now they are one of my favorite details to add.
Single Stem Rose Embroidery Step by Step
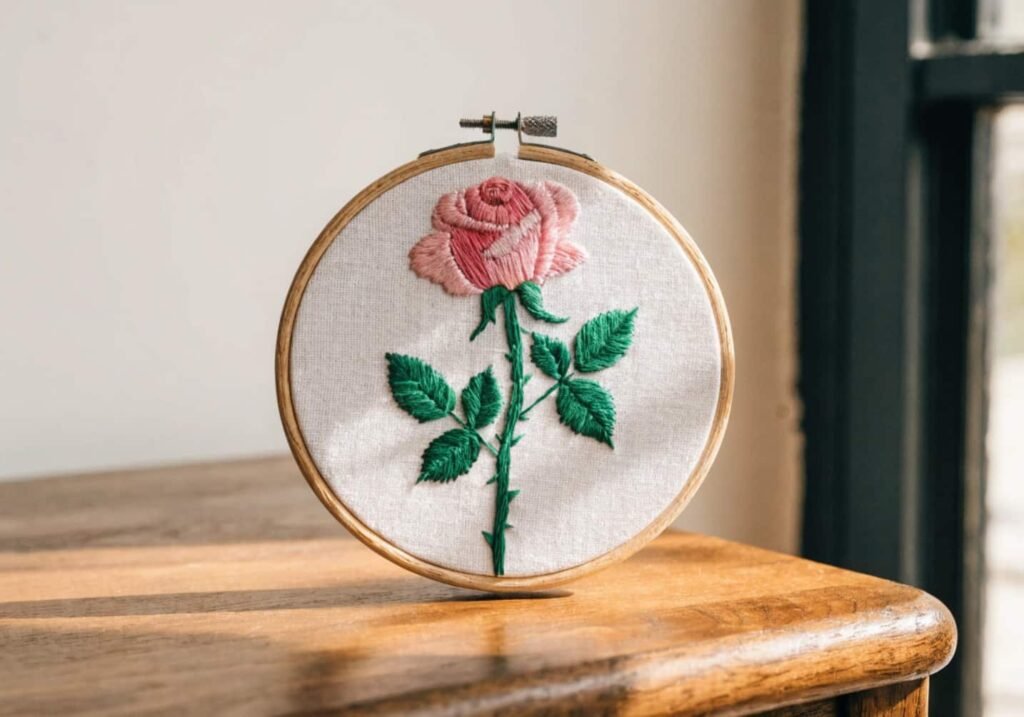
A single stem rose is the classic centerpiece of minimalist floral embroidery, and it is simpler to make than it looks. Start with a small spiral of straight or satin stitches for the rose bud, using a soft pink or red thread. Add a stem below it using stem stitch, curving it gently for a natural look. Then attach two or three small leaves along the stem using lazy daisy or fly stitches in a muted green. Keep the whole design compact, taking up only a small portion of your fabric so it stays true to the minimalist feel. The first rose I ever stitched sat crookedly on the fabric, but somehow that little flaw made it feel more handmade and personal rather than mass produced.
Finishing Touches and Securing Threads
Once your stitching is done, you still need to take care of the loose ends and small details that make the piece look polished. On the back of your fabric, weave your thread tail under a few existing stitches before trimming it, instead of tying tight knots that can create lumps on the front. Gently steam or press your fabric from the back to smooth out any hoop marks or wrinkles. If you plan to frame or display the piece, trim excess fabric neatly around the edges. Skipping this step used to bother me because my finished pieces always looked a little rough on the back, but once I started weaving my ends properly, everything looked cleaner and lasted longer through washing too.
Styling Your Minimalist Floral Embroidery
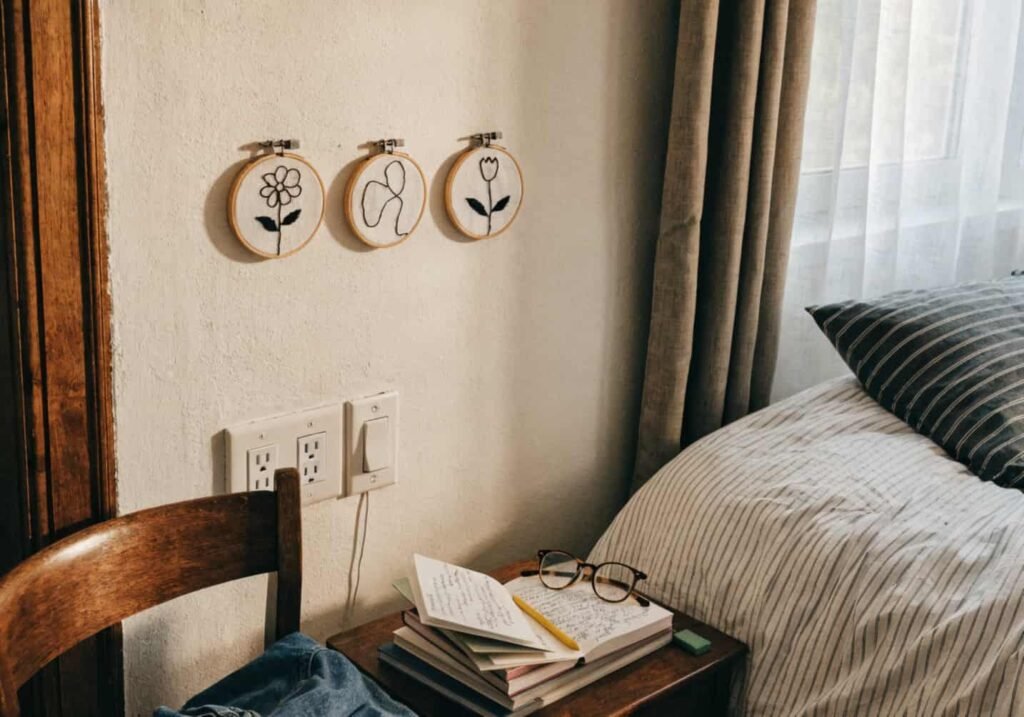
Once your piece is finished, there are so many charming ways to use it. Small hoops with a single flower look lovely hung together in a cluster on a wall, while a tiny floral patch works beautifully sewn onto a denim jacket, tote bag, or pillow cover. You can also turn a finished piece into a bookmark, a small pouch, or even a greeting card for a friend. I gave my sister a framed single stem embroidery for her birthday last year, and she still has it sitting on her bedside table. Simple, handmade pieces like this carry a personal warmth that store bought decor rarely has, which is really the whole spirit behind the Soft Stitch Era.
Conclusion
Minimalist floral embroidery is proof that a craft does not need to be complicated to feel meaningful. The Soft Stitch Era invites you to slow down, pick up a needle, and create something small but genuinely beautiful without the pressure of perfection. Whether you are stitching your very first stem or adding tiny French knots to a rose, every small imperfection just adds to the charm. Grab a hoop, pick one simple flower, and give it a try. You might just find your new favorite quiet hobby.