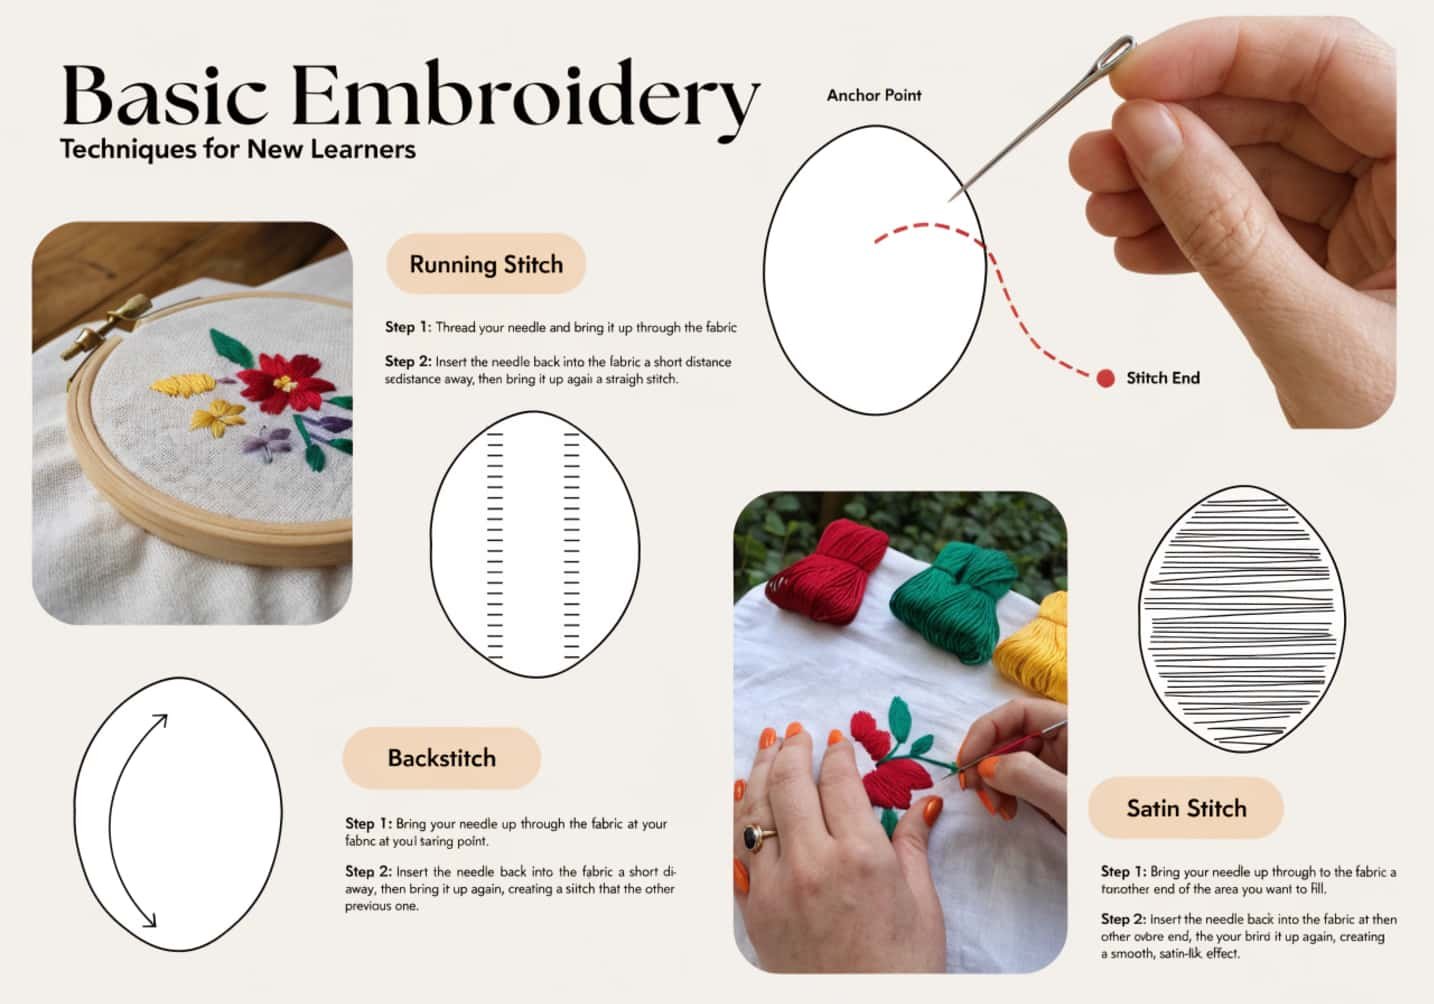
Embroidery techniques look like magic at first, but they’re really just a bunch of simple stitches done one after another with a little patience. I remember picking up a needle for the first time and feeling completely lost, wondering how anyone turns plain fabric into art. The truth is, every embroiderer started exactly where you are now, fumbling with thread and guessing which stitch to use. This guide walks you through the basics step by step, the same way I wish someone had explained them to me. No fancy jargon, just practical advice you can actually use on your very first hoop.
Choosing the Right Needle and Thread Combination
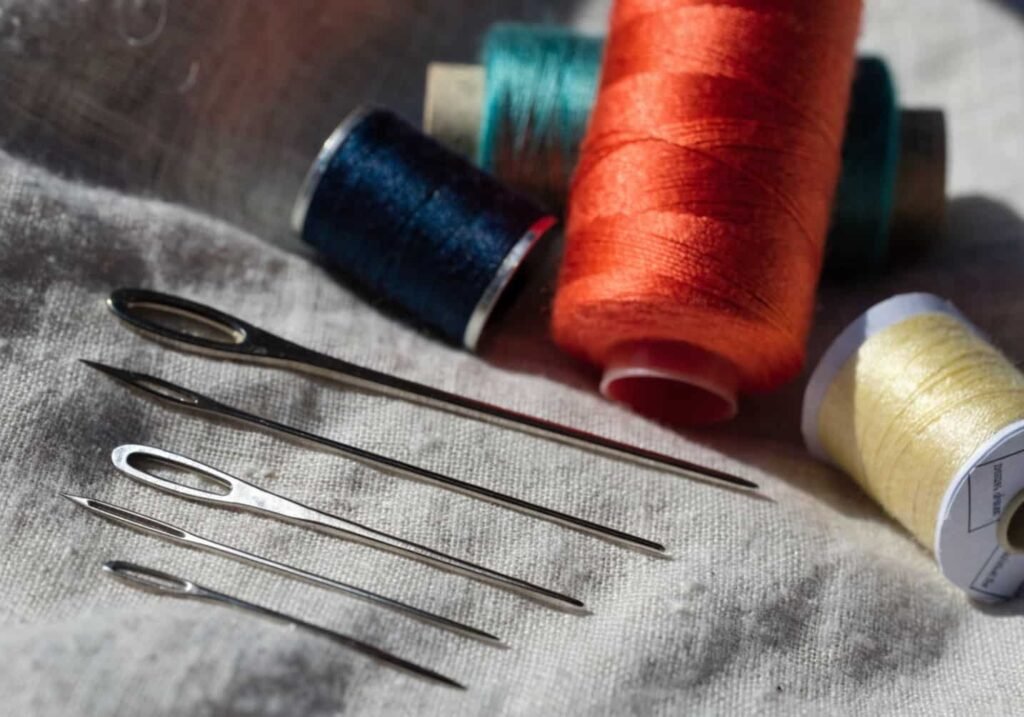
Getting your needle and thread combination right is where every good embroidery project actually begins. If your needle eye is too small, you’ll spend ten minutes just trying to thread it, and trust me, that gets frustrating fast. For most cotton embroidery floss, a size 7 or 8 crewel needle works beautifully because it has a sharp point and a wide enough eye. Thicker threads like pearl cotton need a bigger needle, while delicate silk threads pair better with finer ones. I learned this the hard way after snapping thread repeatedly on a project, only to realize my needle was completely wrong for the job. Matching these two properly saves you so much unnecessary hassle later on.
Knot Making the Right Way
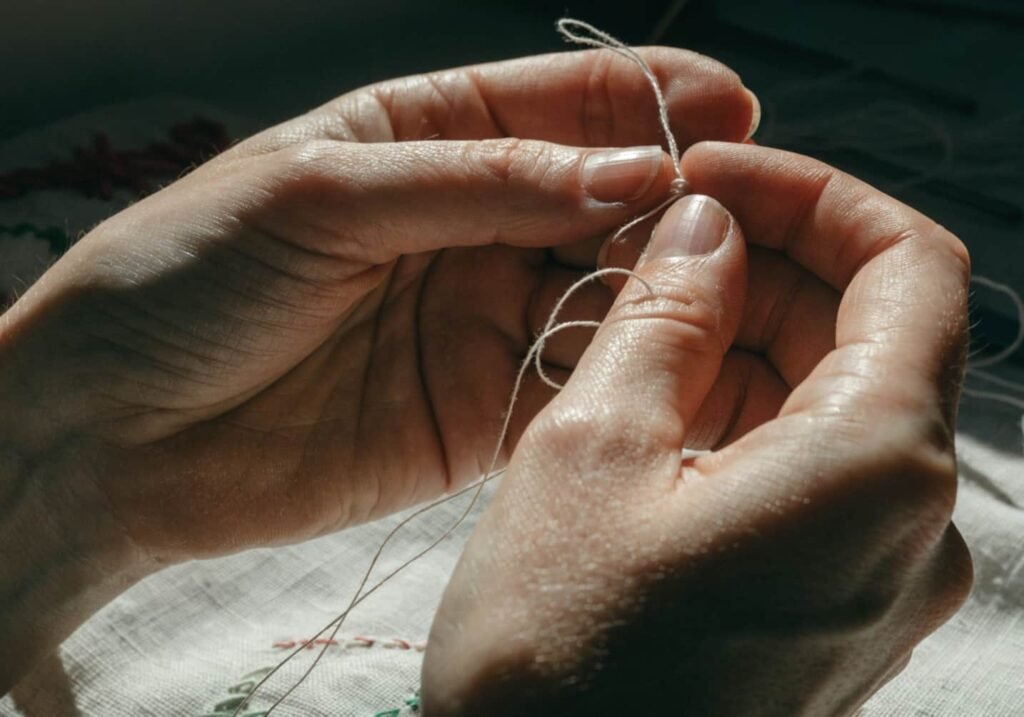
Nobody teaches you how important a good knot is until your stitches start slipping right through the fabric. A proper knot anchors your thread so it doesn’t pull loose while you work, and it honestly makes everything smoother from there. The easiest method for beginners is the double knot, where you loop the thread around your finger twice before pulling it tight at the end. Some stitchers prefer the waste knot technique instead, which keeps the back of the fabric neater for finished pieces. Whichever method you choose, practice it a few times on scrap fabric first. I still remember my first project unraveling completely because my knot was way too loose to hold anything.
Setting Hoop Tension the Correct Way
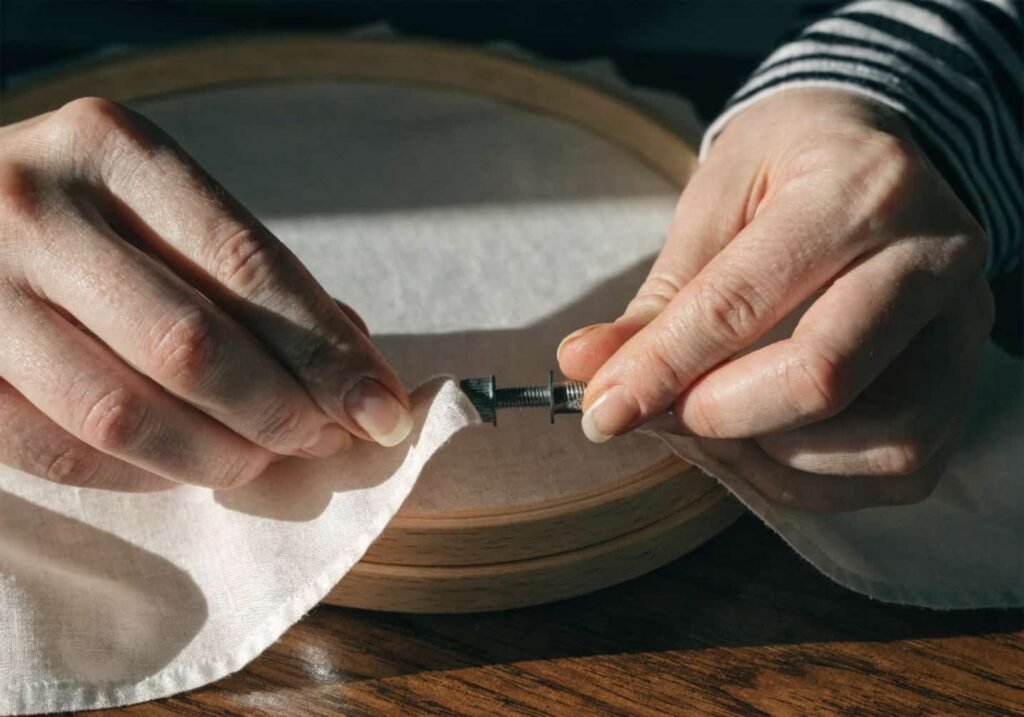
A tight, evenly stretched hoop makes stitching so much easier, and it’s something beginners often overlook completely. When your fabric sags in the hoop, your stitches end up uneven and puckered no matter how careful you are. To fix this, loosen the hoop screw first, place your fabric flat between the two rings, then gently pull the edges taut like a drum before tightening the screw again. You want the fabric snug but not stretched so tight that it distorts the weave. I always tap the fabric lightly with my finger to check the tension, and if it bounces back like a drum skin, that’s exactly right. Good tension really does change your entire stitching experience.
Running Stitch – The Very First Technique
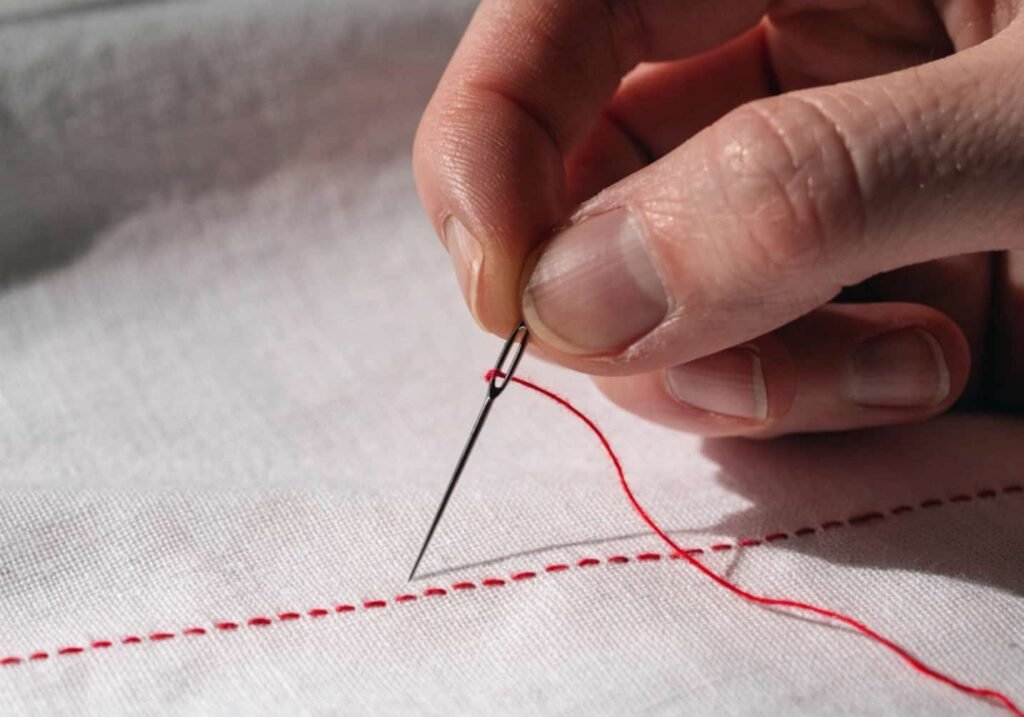
Every embroiderer’s journey starts with the running stitch, and honestly, it’s the perfect place to build confidence. You simply weave your needle in and out of the fabric in a straight line, keeping your stitches and the gaps between them roughly equal in length. It sounds almost too simple, but this stitch teaches you rhythm and control, which you’ll rely on for every technique that follows. I used to practice running stitch on old bedsheets before touching a real project, just to get my hand steady. Once you can keep your stitches consistent in size, you’re already ahead of where most beginners start. It’s humble, but powerful.
Backstitch – Creating a Solid Outline
Once running stitch feels comfortable, backstitch is the natural next step, and it gives you those clean, unbroken outlines you see in professional embroidery work. The trick is bringing your needle up ahead of your last stitch, then going backward into the same hole where the previous stitch ended. It creates a solid, continuous line without any gaps showing through. I use backstitch constantly for outlining flowers, letters, and any design that needs a crisp border. It does take a bit more concentration than running stitch, but once your hands find the rhythm, it becomes almost automatic. This one stitch alone can completely transform how polished your work looks.
Satin Stitch – Filling in Shapes
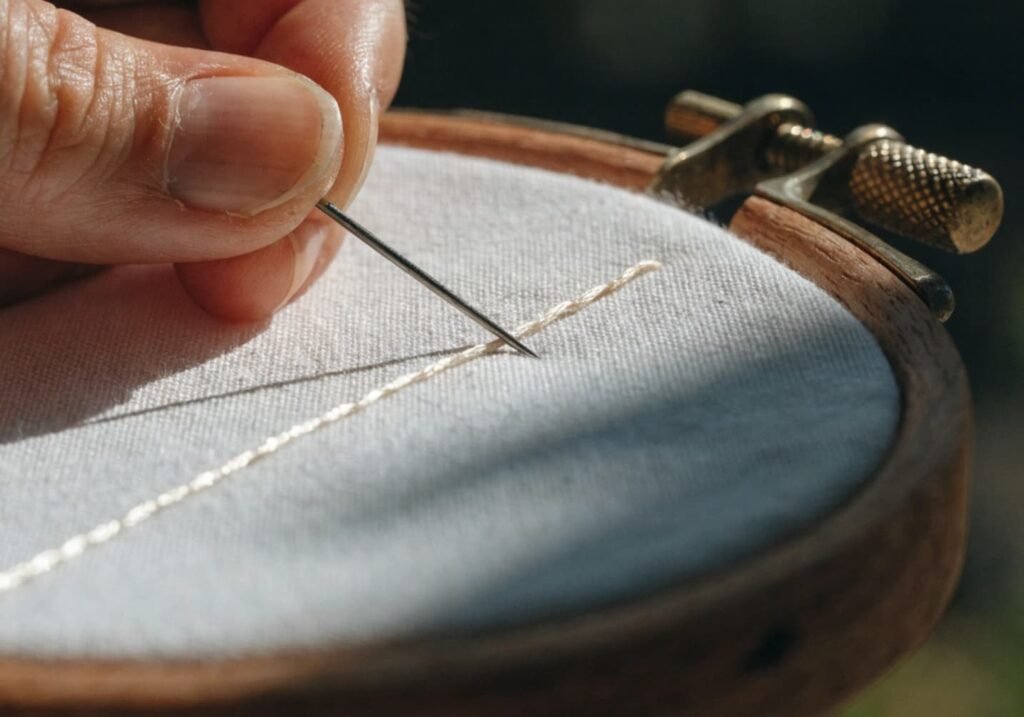
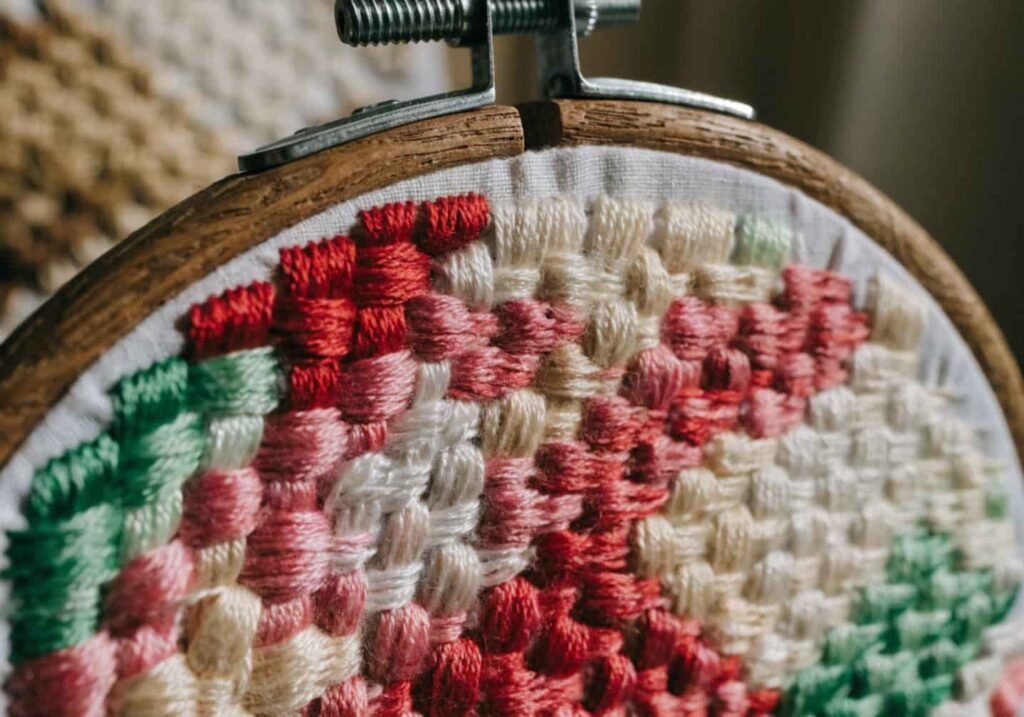
Satin stitch is where embroidery starts looking really impressive, because it fills entire shapes with smooth, glossy thread that catches the light beautifully. You work straight stitches close together, side by side, until the whole shape is completely covered with no fabric peeking through. The challenge is keeping your stitches parallel and evenly tensioned, or the fill starts looking messy and uneven. My first attempt at a satin stitch leaf came out lumpy because I rushed through it without paying attention to spacing. Slowing down and outlining the shape first with a split stitch actually helps keep your satin stitch neat and professional looking every single time.
Split Stitch – Getting Smooth Curved Lines
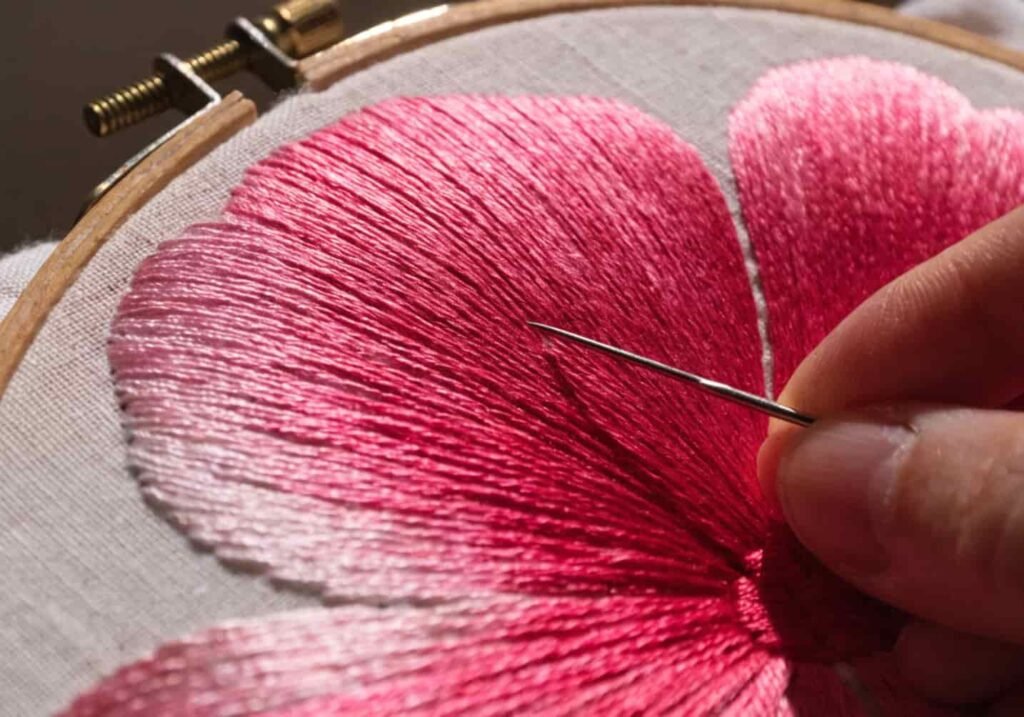
Split stitch might look tricky at first glance, but it’s honestly one of the most satisfying techniques once you get the hang of it. You bring your needle up through the middle of the previous stitch, literally splitting the thread as you go, which creates a soft, rope-like texture along the line. This makes it perfect for curved shapes and fine details where backstitch feels too rigid. I love using split stitch for outlining faces and delicate botanical designs because it flows so naturally along curves. It does take a slightly steadier hand than backstitch, but the smooth, textured result is absolutely worth the extra effort.
Chain Stitch – Decorative Border Technique
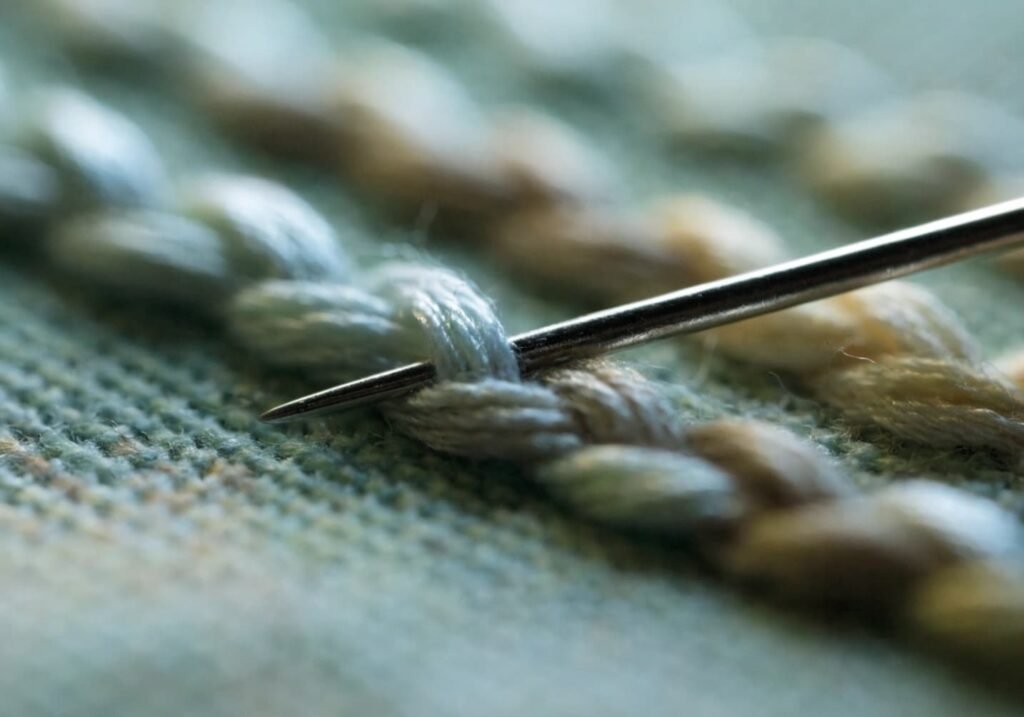
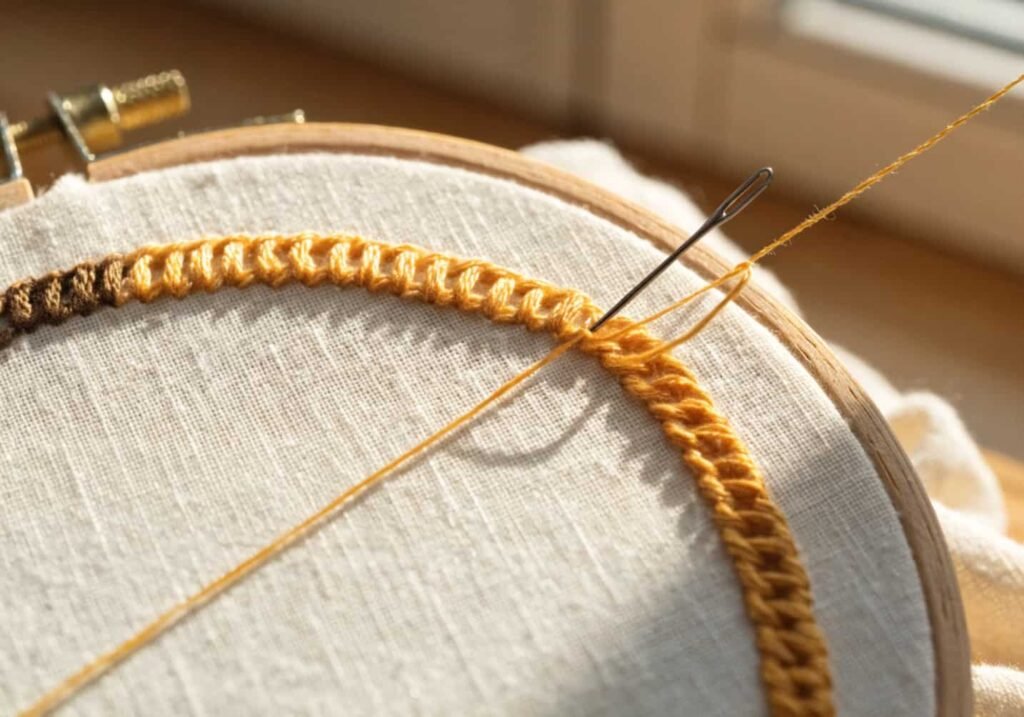
Chain stitch has this lovely, looping texture that instantly adds character to borders, letters, and decorative edges. You create it by looping the thread under your needle before pulling it through, forming a small connected loop that links into the next one. Repeated in a line, these loops form a chain-like pattern that looks intentional and elegant. I first used chain stitch to border a monogram, and it completely elevated a plain design into something that looked handmade with care. It’s a slightly slower stitch than running or backstitch, but the decorative payoff makes it one of my personal favorites for finishing touches.
French Knot – Adding Texture and Detail
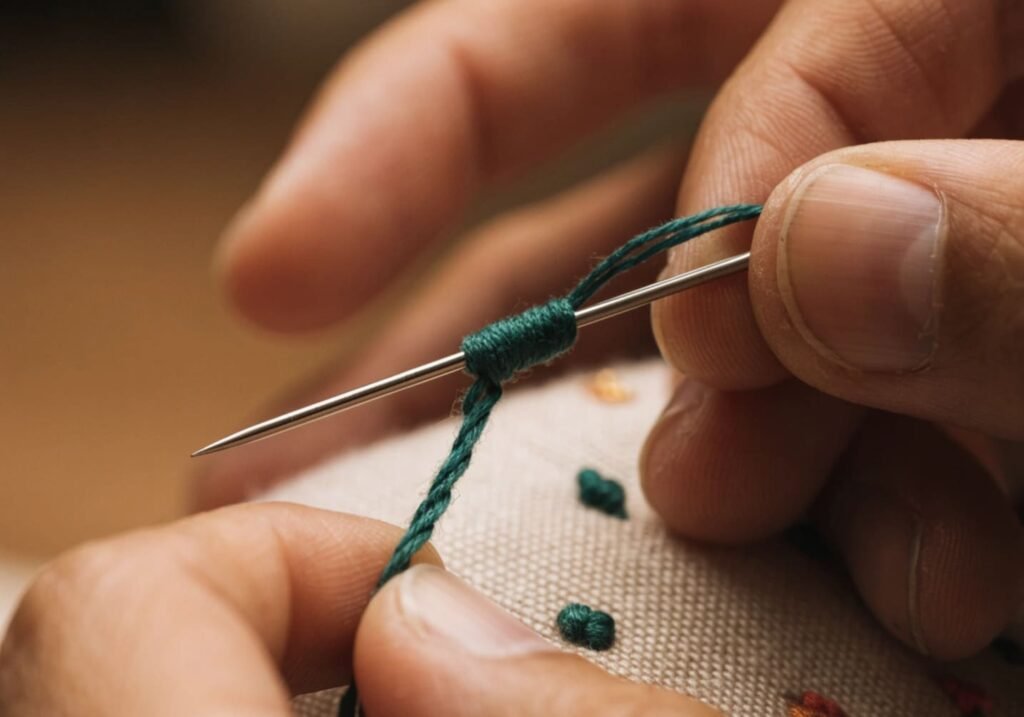
French knots are those tiny raised dots you see scattered across embroidered flowers, and they add such lovely texture once you master the wrap. You wrap the thread around your needle two or three times, hold it snug, then push the needle back down close to where it came up. The tension while wrapping is everything here; too loose and the knot falls apart, too tight and it won’t pull through smoothly. I struggled with French knots for weeks until I finally learned to hold the thread taut with my non-dominant hand throughout. Now they’re one of my favorite details for adding little bursts of texture to any design.
Lazy Daisy Stitch – Making Flower Petals
Lazy daisy stitch is basically how you make those pretty little petal shapes you see on embroidered flowers everywhere. You bring your needle up, loop the thread, then anchor that loop down with a tiny straight stitch at the tip, creating a petal-like teardrop shape. Repeat this five or six times in a circle, and suddenly you have a full flower blooming on your fabric. It’s deceptively simple but incredibly effective for beginners who want quick, charming results. I remember making an entire border of tiny daisies using just this one stitch, and it turned a plain tote bag into something genuinely special looking.
Paying Attention to Stitch Direction and Spacing
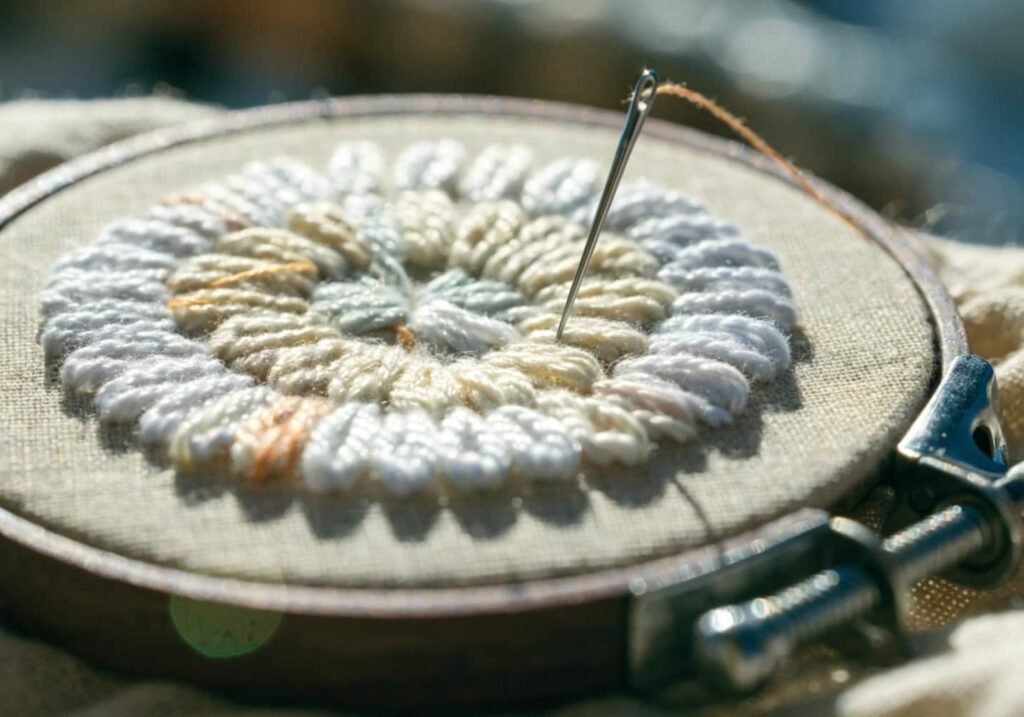
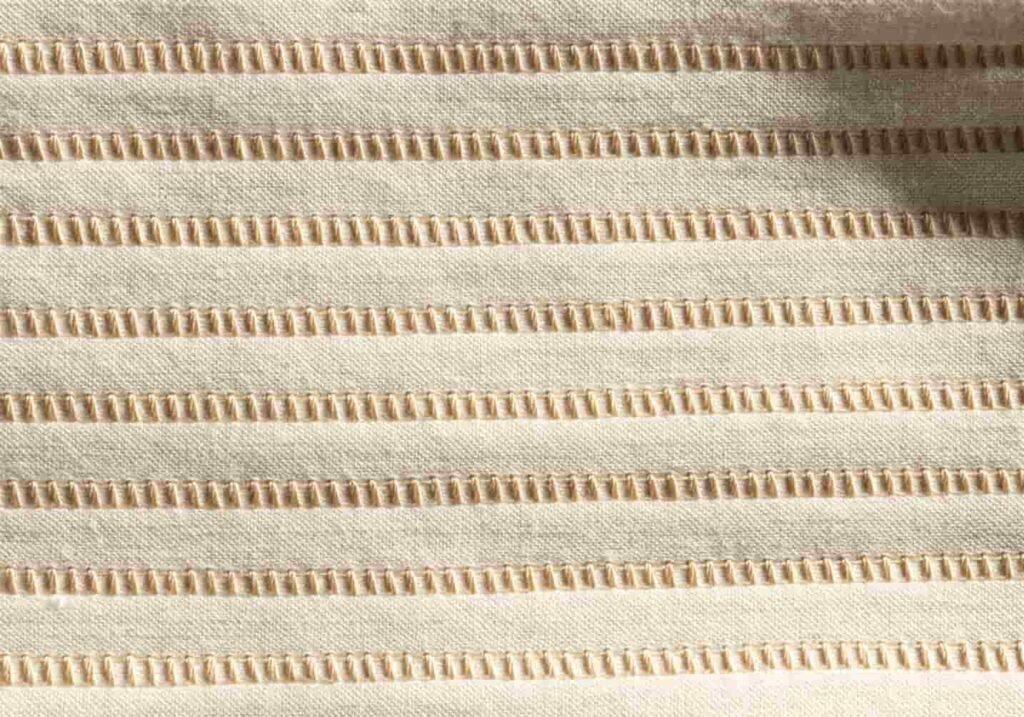
Consistency in stitch direction and spacing is what separates amateur looking embroidery from work that actually looks polished and intentional. When your stitches all lean the same way and sit evenly apart, the design reads as clean and deliberate, even if the pattern itself is simple. I used to ignore this completely, stitching in whatever direction felt convenient, and my early pieces looked scattered and messy as a result. Now I always plan my stitch direction before starting a fill, especially with satin stitch, since inconsistent angles catch the light differently and look sloppy. Taking those extra few seconds to plan really does make a visible difference in the final result.
Avoiding Thread Tangles While Stitching
Thread tangling is probably the most annoying part of embroidery, especially when you’re just starting out and haven’t developed a feel for it yet. Using shorter thread lengths, around eighteen to twenty four inches, helps a lot because longer strands twist and knot far more easily as you stitch. I also let my needle and thread hang freely every few stitches, which allows the twist to naturally unwind itself before it turns into a tangled mess. Running the thread through a bit of beeswax also helps it glide smoother through fabric with less friction. These small habits took me a while to build, but once they became routine, tangles stopped ruining my stitching sessions.
Transitioning Smoothly Between Stitches
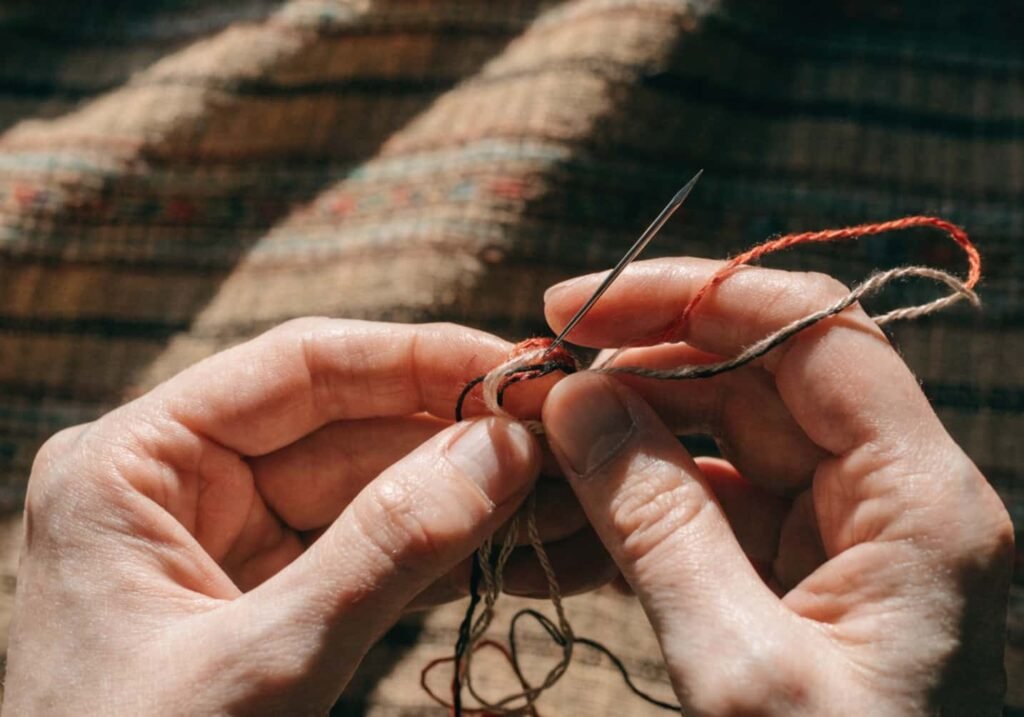
Moving from one stitch to another without leaving messy knots or loose ends on the back takes a bit of practice, but it’s a skill worth building early. Instead of cutting thread and starting fresh every time, I try to weave the needle through nearby stitches on the back of the fabric to secure it before beginning the next technique. This keeps the reverse side neat and avoids unnecessary bulk building up under your hoop. When I first started combining stitches, my fabric backs looked like a tangled mess of knots and loose threads. Learning to plan transitions in advance made my finished pieces look far more professional on both sides.
Practicing With Sample Pieces to Master Techniques
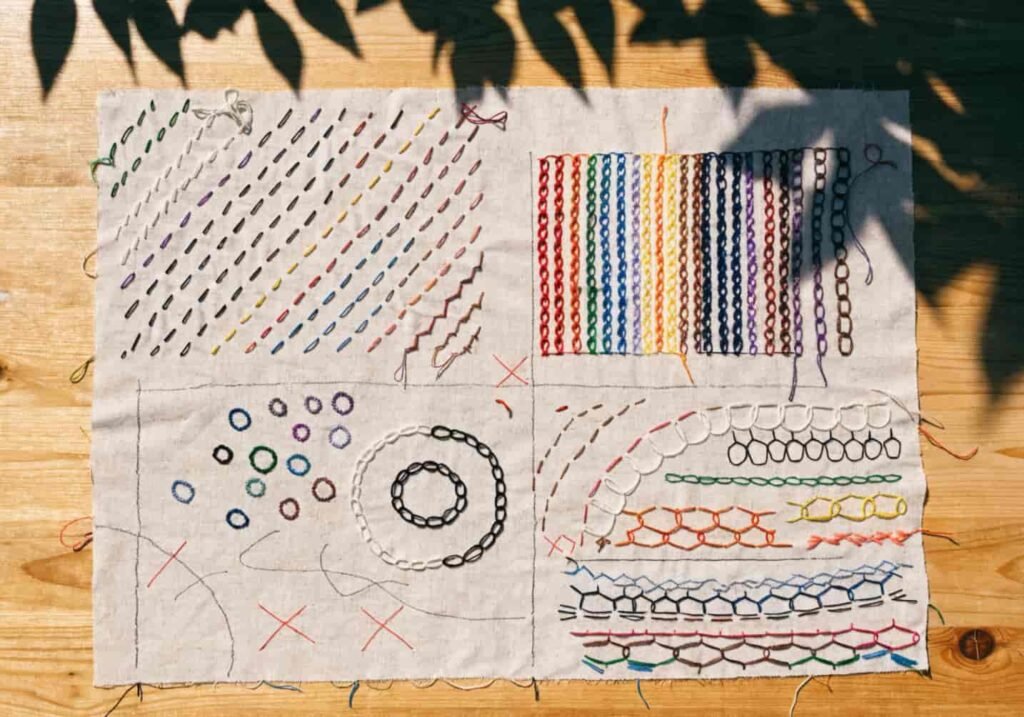
The fastest way to actually get good at embroidery is making a simple sample piece where you practice every stitch in one place. Grab a plain fabric scrap, divide it into small sections, and dedicate each one to a different technique you’re learning. This way you can compare your running stitch next to your backstitch and immediately see where your tension or spacing needs work. I still keep my very first sample cloth tucked away, and looking back at those wobbly stitches reminds me how far consistent practice can take you. There’s no shortcut here, just repetition, patience, and the willingness to let your early attempts look a little rough around the edges.
Final Thoughts
Learning embroidery isn’t about getting every stitch perfect on your first try, it’s about building patience one loop of thread at a time. Every stitch covered here, from the humble running stitch to the delicate French knot, builds on the last one, so there’s no need to rush through them. Give yourself permission to make wonky petals and uneven knots in the beginning, because that’s genuinely how every embroiderer learns their craft. Keep a practice cloth handy, revisit stitches you find tricky, and celebrate small improvements along the way. Before long, you’ll look back at your first hoop and barely recognize how far your hands have come.