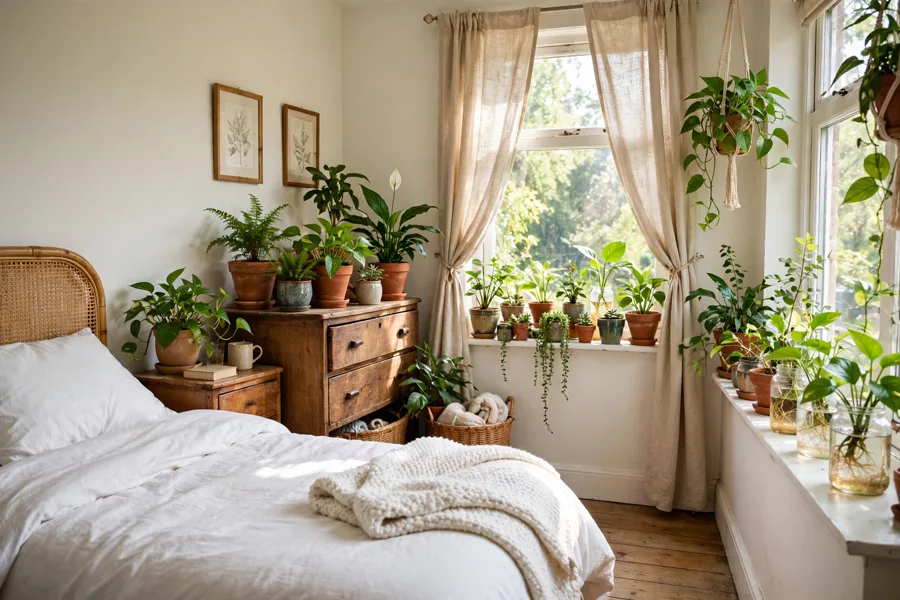
You are standing in the plant shop doing quiet maths. The leafy plant you actually want is $34, the pot that suits it is $26, and the stand in the display is $45 — over a hundred dollars for one corner of a bedroom that currently has no green in it at all. So the plant goes back on the shelf, the bedroom stays bare, and the cutting your friend offered you last month is still sitting in its jam jar, rooting happily and costing nobody anything.
Here is the part the shop display does not mention: the green itself is the cheap part. The forgiving bedroom plants — pothos, philodendron, spider plants, ferns — multiply for free from cuttings, turn up for a few dollars on supermarket markdown shelves, and change hands at plant swaps for nothing. Even roundups of budget greenery bedroom ideas keep landing on the same shortlist of tough, inexpensive plants. The money in a plant-filled bedroom is mostly pots, stands and impatience — and all three can be worked around.
The 16 ideas below run roughly from free to a few dollars: cuttings and swaps first, thrifted pots and rescued plants in the middle, and one small deliberate spend where it genuinely changes the result. None of them needs a jungle, a greenhouse or a big weekend. They do ask for a little patience — cheap green grows at plant speed, not delivery speed.
The Budget Greenery Formula That Keeps a Cheap Bedroom Looking Intentional
- Free plants first: cuttings, pups and swaps come before any purchase, so the collection starts at zero and grows from there.
- Pots from the thrift pile: containers are where the real savings hide, so hunt them second-hand and match by size, not by matching sets.
- Repeat one cheap hero: one forgiving plant repeated in several spots looks deliberate, while a mixed haul of bargains looks accidental.
- Spend once where it shows: a single good-looking piece lifts everything free and thrifted arranged around it.
For example: a free pothos cutting in a thrifted brass pot, a rescued fern on a second-hand stand, and fresh cuttings rooting in water on the windowsill reads as a styled, plant-filled bedroom — not a sale rack.
1. Beg, Borrow and Snip: Start With Free Cuttings
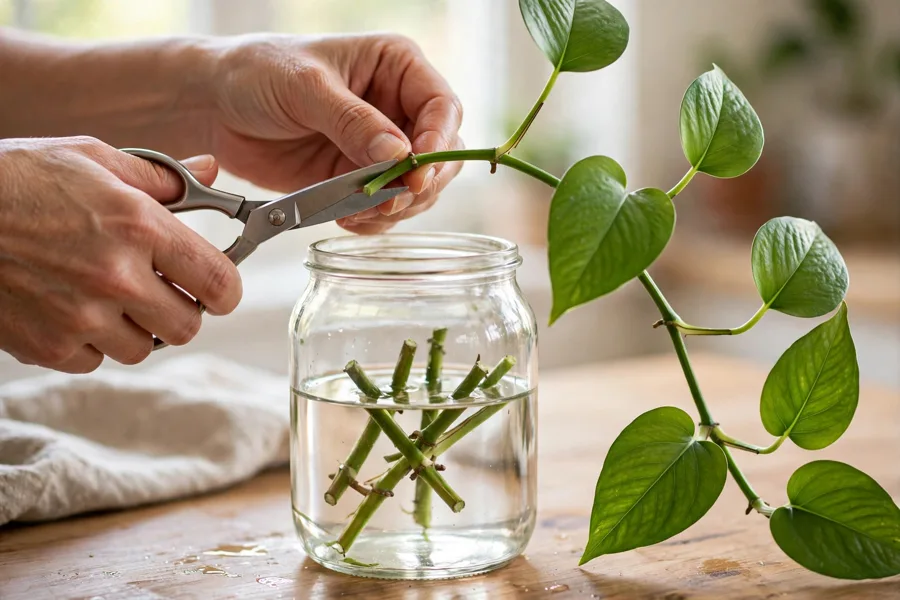
Before money changes hands, look at the plants already growing in your friends’ and family’s homes. A pothos, heartleaf philodendron or spider plant with long, leggy growth is carrying your free bedroom garden on its stems: one snip below a leaf node gives a cutting that roots in water, and spider plants hand over ready-made babies. Ask plainly — plant people are famously generous, because pruning helps their plant too. The honest catch is patience: a cutting is a promise, not a plant, and most need three to six weeks before they look like decor.
Why it works:
- Cuttings skip the shop price entirely — the plant, the pot hunt and the fun all start at zero
- Pruned parent plants grow back bushier, so your request genuinely helps the giver
- One parent plant can supply three or four cuttings, enough to repeat green across a whole room
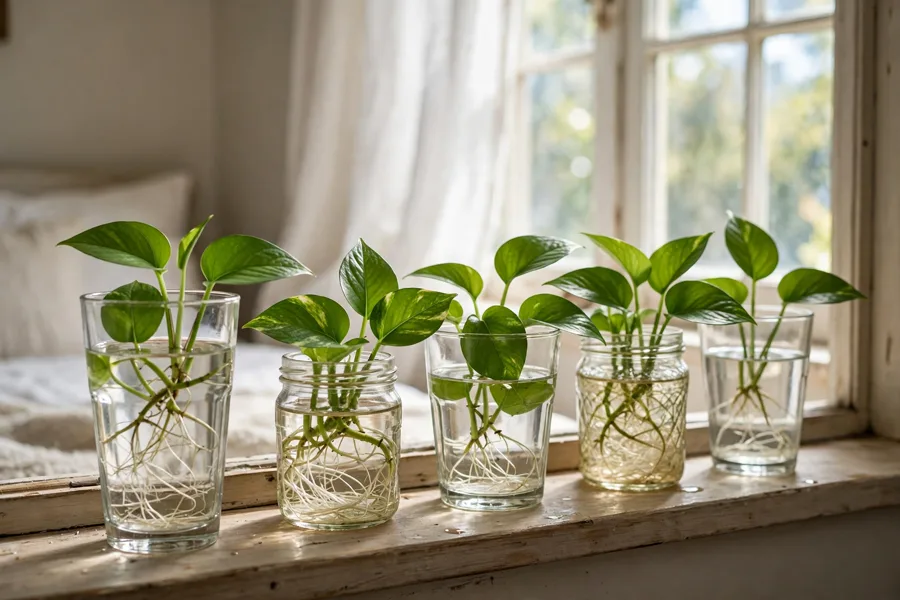
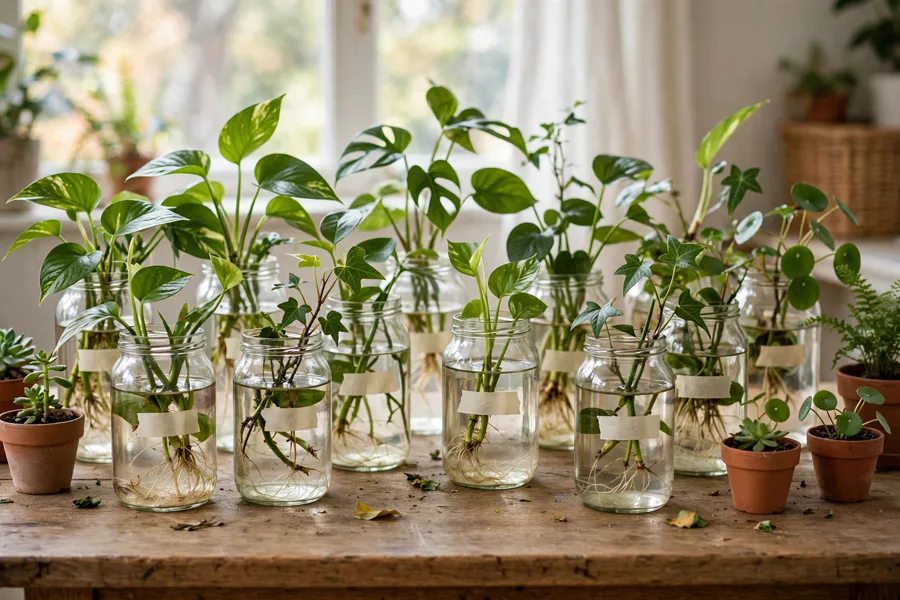
2. The Windowsill Rooting Row
Line up your cuttings in clear glasses and jam jars on the bedroom windowsill, each stem sitting in an inch or two of water with the leaves held above the surface. Change the water every few days and the row becomes living decor while it works: white roots thread down through the glass, and a plain sill turns into the greenest strip in the room. Keep jars narrow enough that stems stand upright rather than slumping. The trade-off is tidiness — a rooting row can drift into science-experiment territory if you let old jars linger past their potting date. If your sill faces the bed, the row is the first green thing you see every morning.
Texture note: clear glass and water against green stems keeps even a scruffy row looking light and deliberate.
3. One Good Propagation Station Beats Ten Scruffy Jars
Jars are free, but a bedroom is also where you sleep, and a parade of cloudy pickle jars can cheapen the whole effect. This is the one place a small spend earns its keep: a single tidy set of vases that holds several cuttings in a row, looks like decor from day one, and moves to the light in one lift. The CYLINDER vase set from IKEA is $24.99 — three clear glass cylinders in graduated heights, each holding a cutting with its stem upright and roots on show. The trade-off is capacity — it roots a handful of cuttings at a time, not a jungle’s worth.
Budget note: buy the station once, and every plant it ever roots for you after that costs nothing at all.
4. Thrift the Pots Before You Buy a Single Plant
Thrift stores price pots by the shelf, not by the trend, and this is where the current hunt for dream thrift finds pays off: heavy ceramic, brass and terracotta pots that would cost real money new regularly sit at a dollar or three. Shop with a tape measure and buy for the nursery pots you already own — a cachepot needs to be an inch or two wider than the plastic pot it hides. Wash finds thoroughly and scrub old soil out before use. The trade-off is the mix-and-match look, which is charming until it tips into jumble sale. Measure your emptiest bedroom corner before you go, and let the pots you find decide what grows there.
Fit check: a 6-inch nursery pot needs a cachepot at least 7 inches across inside, or the rim will jam halfway down.
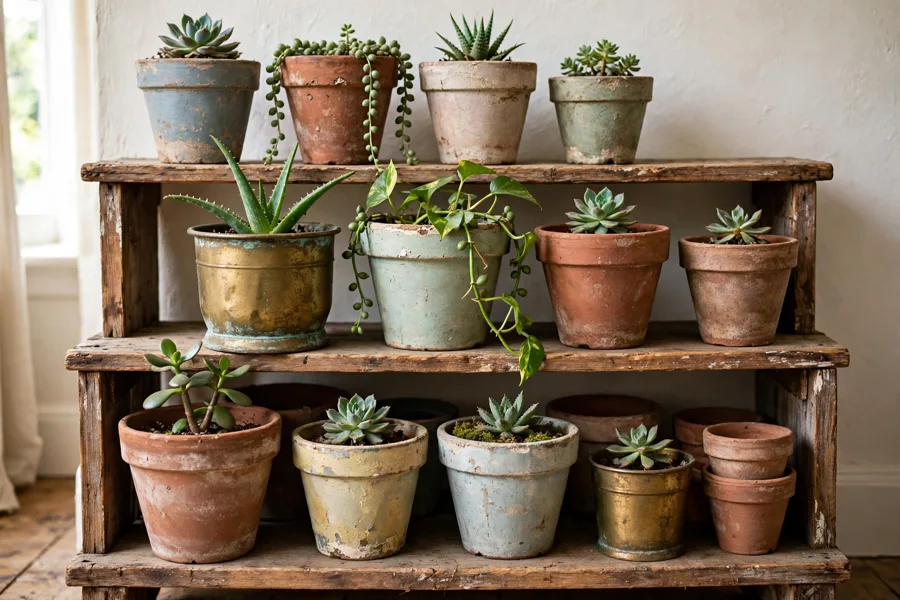
5. The Dream Thrift-Find Stand
A plant on the floor reads as an afterthought; the same plant raised on a stand reads as furniture. Second-hand shops and estate sales are full of the raw material: wooden stools, small side tables, plant stands from decades past, even sturdy magazine racks that cradle a pot. One good find lifts a rescued plant toward windowsill height, where it gets better light and actually shows in the room. Check wobble and water damage before you buy, and pass on anything that rocks. The trade-off is timing — the right stand appears on its own schedule, not yours. If you spot a good one before you own the plant, buy it anyway: stands are the half of this hobby that never goes on sale new.
Space note: raising one plant frees the dresser surface and gives a low, empty corner a top layer.
6. Rescue the Supermarket Markdown Plant
Grocery stores discount plants brutally once the display changes, and a droopy fern or leggy palm at a couple of dollars is often one good watering away from handsome. Check before you commit: leaves should feel firm rather than papery, the soil should not smell sour, and there should be no webbing or white fluff hiding under the leaves. At home, keep the rescue quarantined on its own for two weeks and repot it out of its soggy shop soil. The trade-off is real — some rescues carry root rot too deep to fix, and a few dollars is still a few dollars. Pair a rescue with the rest of a budget bedroom makeover and the whole room lifts for less than one shop-bought statement plant.
Best for: anyone who wants one bigger, fuller plant now instead of waiting on cuttings.
| Route | Typical cost | Ready when | Watch out for |
|---|---|---|---|
| Cuttings from a friend | Free | 3–6 weeks to pot up | Patience — it is a promise, not a plant |
| Plant swap | Free | Same day | Unpredictable stock; inspect for pests |
| Supermarket rescue | A few dollars | Same day | Hidden root rot or pests; quarantine first |
| Thrifted pot + small nursery plant | Under $10 | Same day | Pot needs a wash and a drainage check |
7. Kitchen Glassware Into Cachepots
Somewhere in your kitchen is a chipped mug, a spare mason jar, a teapot with a lost lid. Slipped over a nursery pot, each becomes a planter with a story, and the plant keeps its drainage because the plastic pot stays inside. Solid, opaque glassware hides the nursery pot best; clear glass belongs to the rooting row instead. After watering, tip out any water pooled in the bottom so roots never sit in it. The trade-off is weight and fragility — a glass cachepot on a wobbly shelf above a bed is a bad night waiting to happen. Renters and dorm dwellers, this is your route: nothing to buy, nothing to install, nothing to leave behind.
Easy swap: swap the cachepot with the seasons — enamel mug in winter, plain jar in summer — and the plant never gets disturbed.
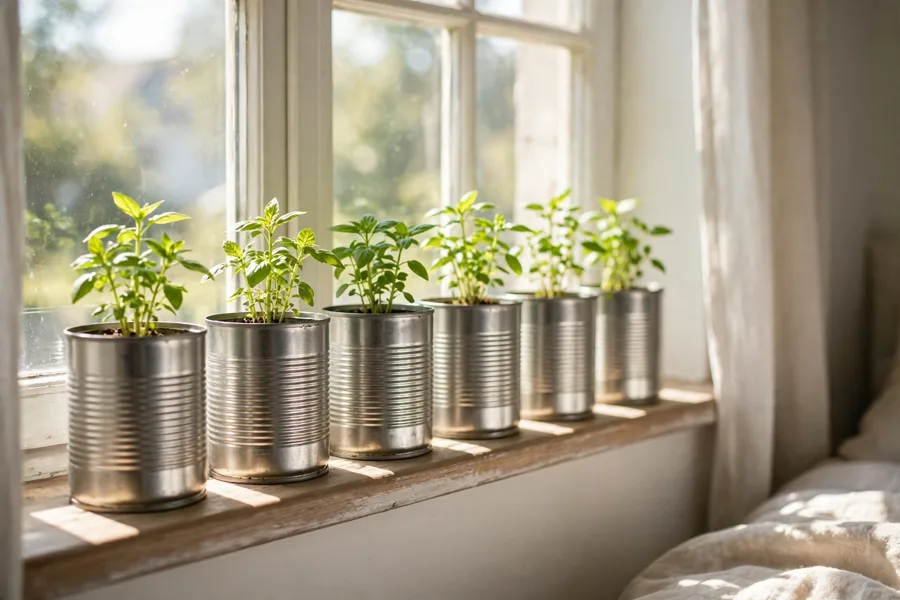
8. Tin Cans, Washed and Punched
Large food tins — the kind tomatoes and peaches come in — make honest little planters once they are washed, de-labelled and given drainage. Punch four or five holes in the base with a nail and hammer, file or sand any sharp rim, and set the tin on a saucer. The metal suits herbs and small trailers, and a row of three matching tins looks surprisingly deliberate on a sill. The trade-off is rust: tins stain surfaces and slowly corrode, so treat them as a two-or-three-season home, not a forever pot. Cook one big tomato sauce this week and your planter budget for the month is sorted.
Texture note: brushed metal against soft trailing leaves gives cheap tins a designed edge.
9. Plant Swaps: New Varieties for Zero Dollars
Libraries, neighborhood groups and local plant societies run swap tables where rooted cuttings change hands for nothing. Bring your extras potted or in jars with the plant’s name on a tape label, arrive early for the best pick, and inspect anything you take home — check leaf undersides for pests before it joins your bedroom. Swaps are where common plants become variety: your spare pothos becomes someone else’s spider plant, fern or tradescantia. The trade-off is unpredictability; you shop a table of whatever the neighborhood grew, and the rare find is luck, not a plan. Even one swap a season keeps new green arriving without a single checkout.
Seasonal swap: spring and early autumn swaps are the fullest, when everyone is dividing and pruning at once.
10. Divide One Plant Into Three
A mature spider plant, snake plant or fern is secretly several plants sharing one pot. Tipped out and teased apart at the roots — or cut through with a clean knife on a snake plant — one purchase becomes a bedroom set: the mother back in her spot, babies on the nightstand and dresser. Water divisions well and keep them out of harsh sun while they settle. The trade-off is a short sulk: divided plants pause growth for a few weeks, and a plant that was barely established should never be divided at all. If a friend offers you a whole plant instead of cuttings, this is how you turn their kindness into a roomful.
Space note: divisions let one plant answer three empty spots, so a single buy can finish a whole room.
11. Your Own Plants Become the Supply
Once your first pothos or philodendron reaches a good length, the collection starts funding itself. Every trim is a handful of cuttings; every spider plant throws babies you did not pay for. Keep one jar permanently on the sill as the nursery, pot up what roots, and give away or swap the surplus. Within a year the bedroom fills from a starting spend of almost nothing. The trade-off is sameness — a room grown from two parents is a room of two plants, which is exactly why the swap table in idea 9 matters. Look at your longest vine today: that is next month’s nightstand plant, already paid for.
Budget note: after the first two parent plants, your cost per new plant drops to the price of a thrifted pot.
| Cutting | First roots | Ready to pot |
|---|---|---|
| Pothos | 1–2 weeks | When roots reach 2–3 inches, about 3–4 weeks |
| Heartleaf philodendron | 1–2 weeks | About 3–4 weeks |
| Tradescantia | About 1 week | About 2–3 weeks |
| Spider plant baby | Often already rooted | As soon as roots are an inch long |
| Snake plant leaf cutting | Several weeks | Slow — often 2 months or more |
12. Dress Up the Free Nursery Pot
Every plant arrives in a black plastic nursery pot, and replacing all of them is where budgets quietly die. Dress them instead: a cuff of brown paper or scrap fabric tied with twine, a coat of leftover paint, or the pot slipped inside a paper gift bag folded to height. The plant keeps its perfect drainage, the room loses the garden-center look, and the whole trick costs pennies per pot. The trade-off is durability — paper and fabric sleeves sulk when they get wet, so lift the pot out to water, or accept a rustic kind of shabby. This is the five-minute fix to try first if your plants look fine but the room still looks cheap.
Style note: one repeated sleeve — all kraft paper, or all leftover linen — makes a shelf of free pots read as a chosen set.
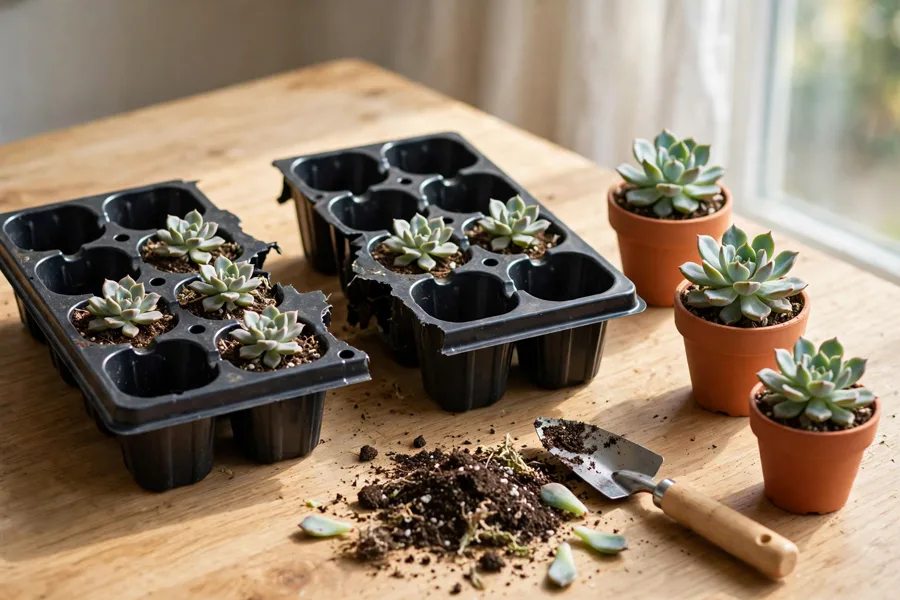
13. Split a Succulent Multi-Pack
Small succulents are sold in multi-packs priced for the tray, not the plant, and each rosette separates into its own tiny pot. Teased apart gently and settled into 2-inch thrifted pots or your punched tins, one pack becomes a whole windowsill or a dotted line along a shelf. Give them your brightest sill and a very light hand with water. The trade-off is speed: succulents grow slowly, so the display stays miniature for months. For arrangement ideas once they settle, these succulent planter ideas show how far a few small pots can stretch.
Fit check: each split rosette needs a pot just wider than its leaves — oversized pots hold wet soil and rot the roots.
14. The Buying Order: One Hero Plant First
If any money is going on plants, spend it in order. First, one hero: the biggest, healthiest forgiving plant your budget reaches — a full pothos, a mid-size snake plant — because one established plant changes a room in a way five seedlings cannot. Second, its pot, thrifted. Third, height for it if the corner is low. Everything after that can arrive free through cuttings and swaps. The trade-off of hero-first is patience everywhere else: the room looks top-heavy for a while, with one star and a cast still rooting on the sill. Decide your hero by the emptiest corner, not by the prettiest photo — size and light decide what thrives there.
Best for: first-time buyers with a small, firm budget who want the room to feel done early.
15. Buy the Small Size and Grow It
Starter plants in 2-inch and 4-inch pots cost a fraction of their grown selves, and the forgiving kinds close the gap fast: a small pothos or fern bought in spring can be a trailing, room-changing plant by the following year. What you are really buying with the big size is time, so if time is the currency you have, spend that instead. Keep small pots somewhere you will actually water them — tiny pots dry out far faster than big ones. The trade-off is the wait itself, plus a year of windowsill toddlers before the room looks grown. Two small plants bought today beat one large plant admired monthly and never afforded.
Easy swap: swap instant size for a lower ticket — the same plant, one pot size down, and a season of patience.
| Order | Buy | Why it comes at this point |
|---|---|---|
| 1 | One hero plant | It changes the room immediately and anchors everything else |
| 2 | Its pot (thrifted) | The hero deserves the best container you own |
| 3 | A stand or height | Raises the hero into the light and the sightline |
| 4 | Nothing — propagate | Cuttings and swaps fill the rest for free |
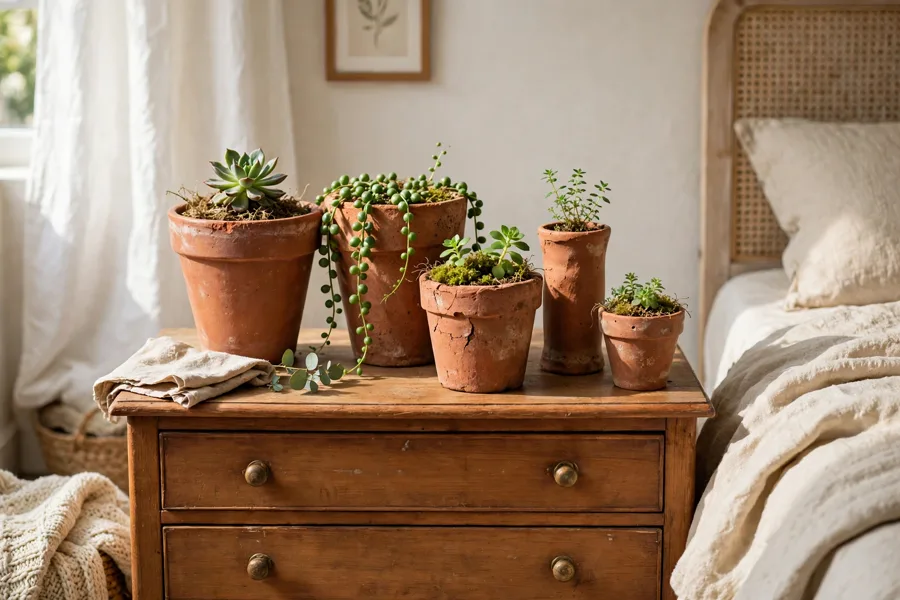
16. Make Mismatched Finds Look Like a Set
Cheap green looks cheap only when every pot tells a different story. Unify the haul: pick one finish — terracotta, white ceramic, brass — and let it dominate, then group plants in threes at different heights so the eye reads an arrangement instead of a queue. A shared top dressing of small pebbles or bark across every pot finishes the trick for pennies. The trade-off is discipline: the perfect odd pot at the thrift store gets left behind when it breaks the set. Your bedroom will thank you for the restraint.
The formula:
- Main piece: the hero plant in your best thrifted pot
- Supporting piece: two or three small plants in the same finish
- Texture or material: one repeated material — terracotta, brass or white ceramic
- Finishing touch: the same pebble or bark top dressing in every pot
A Green Bedroom That Costs Less Than One Shop-Bought Plant
None of these routes asks for a big spend, and together they compound: the cutting becomes the parent plant, the parent plant funds the swaps, and the thrifted pots keep the whole thing looking chosen rather than gathered. A bedroom greened this way also pairs naturally with a calmer, less cluttered room — these minimalist bedroom setups show how little a restful room actually needs around the green.
Your one next step: this week, send one message asking a plant-owning friend for a cutting, and stop at one thrift store on your way home for a single pot to put it in — two small errands, and your bedroom garden has officially started.