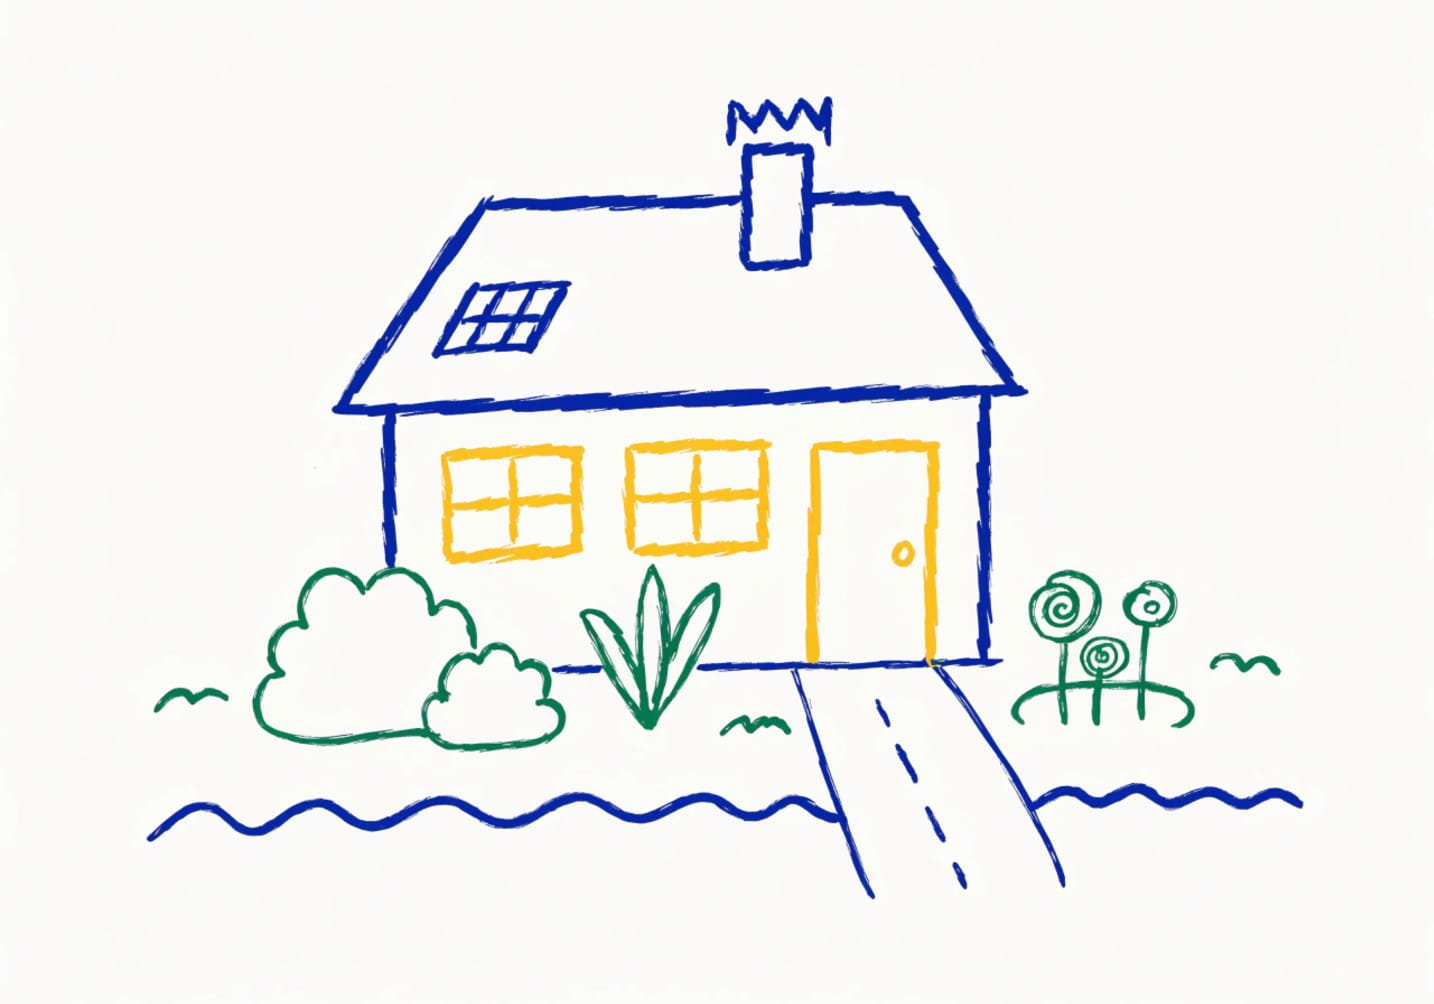
Drawing a house with a garden is one of the first things most of us try when we pick up a pencil for fun. It feels simple on the surface, but there is actually a nice mix of shapes, lines, and creativity packed into it. Whether you are a parent helping your kid with homework, a student practicing for an art class, or just someone who wants a relaxing hobby, this guide walks you through the whole process step by step. No fancy art degree needed here. Just a pencil, some paper, and a little patience. By the end of this article, you will have a full picture in your head of how to turn a blank page into a cozy little house surrounded by trees, flowers, and a winding path.
Things You Need Before You Start Drawing
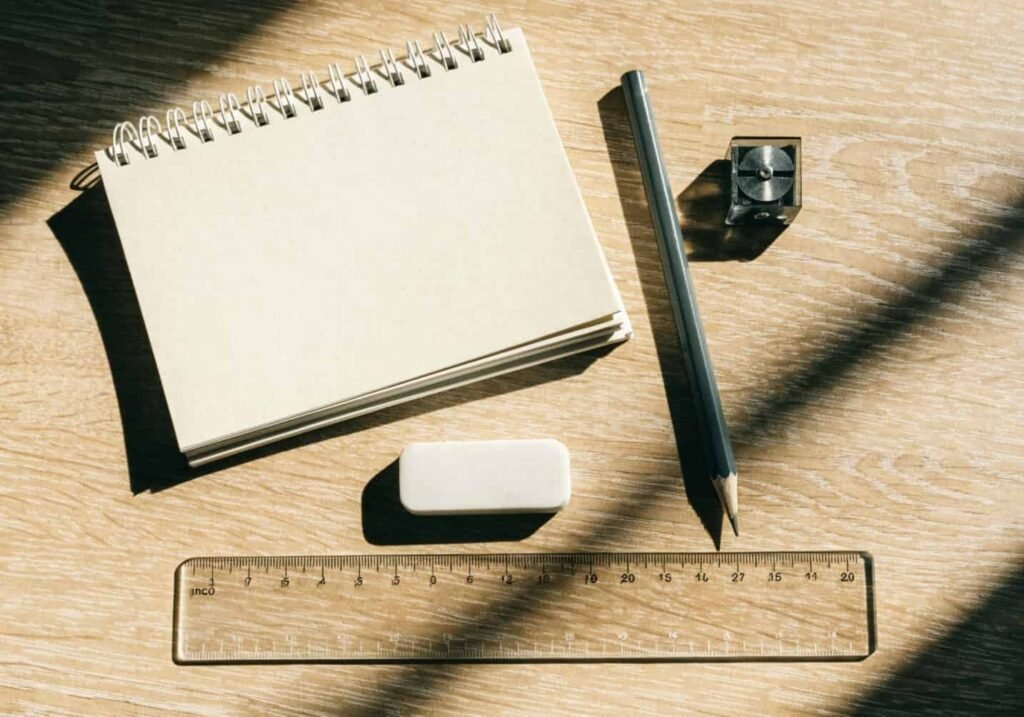
Before you even touch the paper, it helps to gather your materials so you are not running around mid-sketch looking for an eraser. You really only need a few basics: a regular pencil (HB works fine), a good eraser, a ruler for straight lines if you want extra neatness, and some plain white paper. If you plan to add color later, keep your colored pencils, crayons, or watercolors nearby too. I remember when my niece wanted to draw her dream house, she got frustrated halfway through because she had to keep leaving her seat to find a sharpener. Save yourself that hassle. Lay everything out on the table first. A calm, ready workspace makes the whole drawing process smoother and way more enjoyable, especially for beginners who are still building confidence with their hand movements.
How to Draw the House Outline Using Basic Shapes
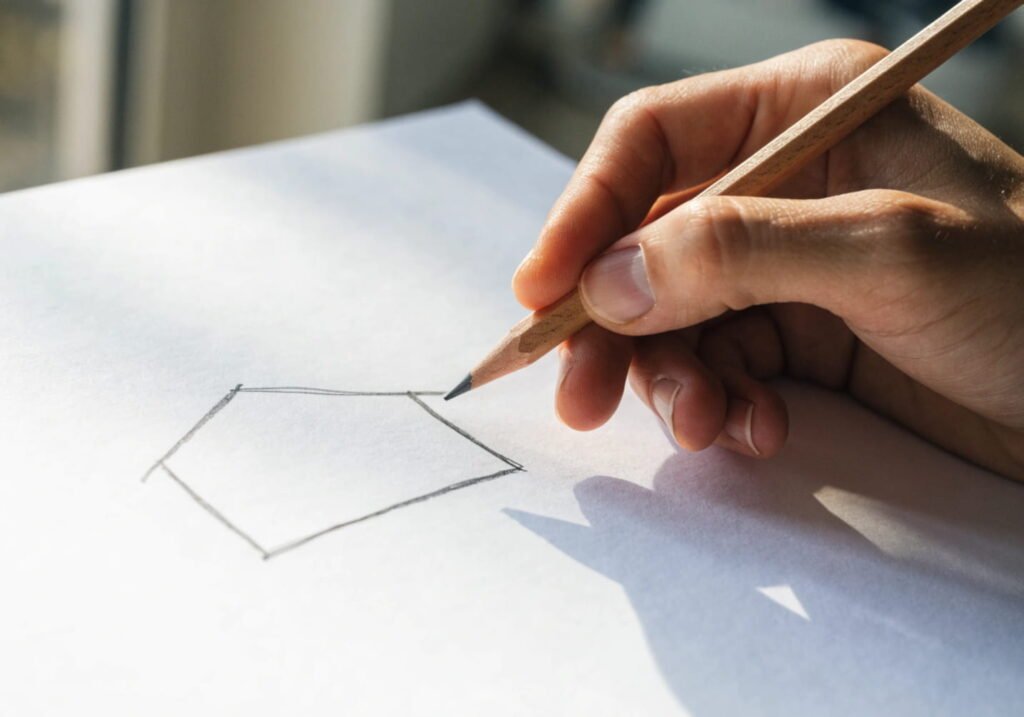
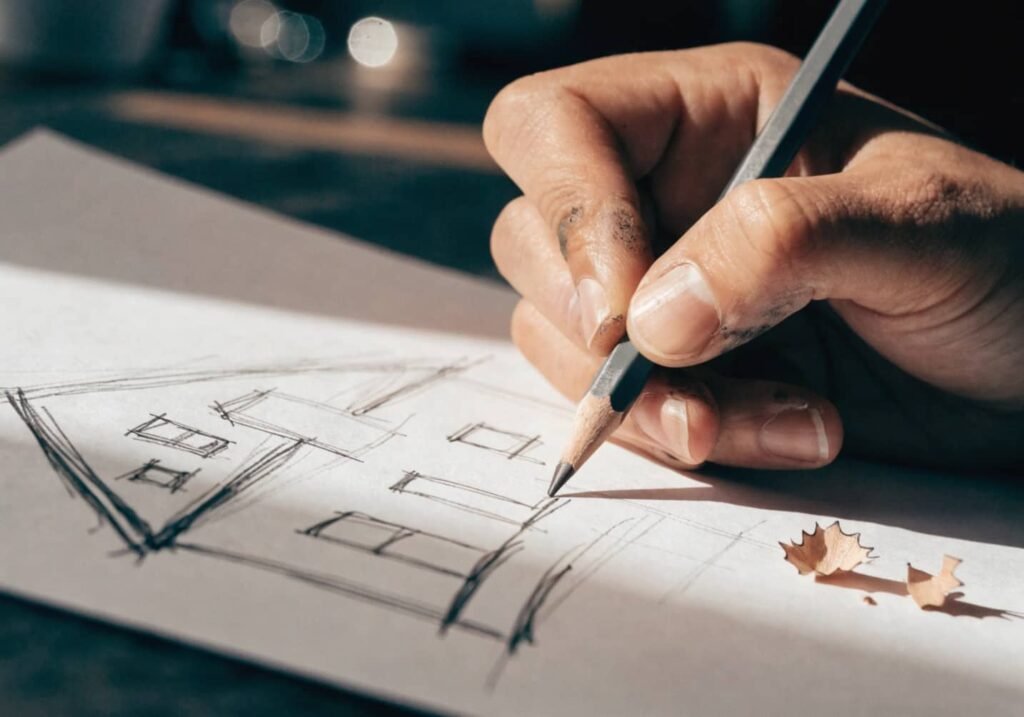
Here is the secret that makes house drawing so approachable: almost every house starts with just a square or rectangle. Draw a simple rectangle in the middle of your page to form the main wall section of the house. Leave enough space around it on the paper so you have room for the garden later. Once your rectangle is in place, you are already halfway to a recognizable house shape. Kids often struggle here because they try to make it perfect on the first try, but honestly, a slightly wobbly rectangle still works fine at this stage since you can clean it up later with your eraser. Keep the lines light in the beginning. This way, if you need to adjust the size or position, you can erase without leaving harsh marks on your final drawing. Think of this step as laying the foundation, just like building a real house.
Simple Sketching Technique for Roof and Walls
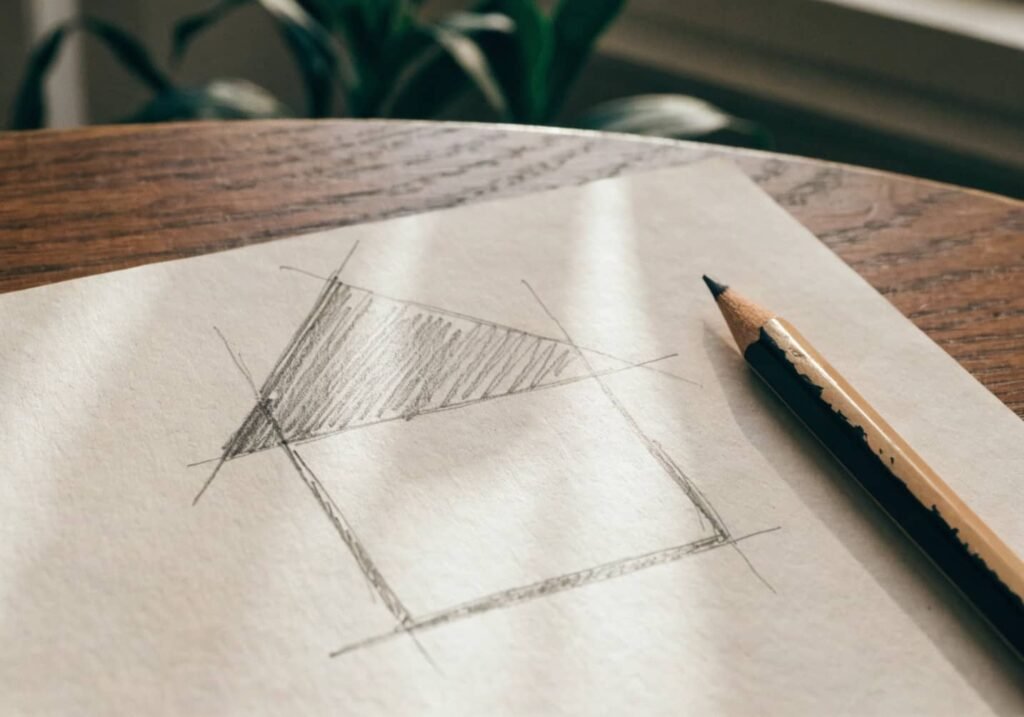
Once your rectangle is ready, it is time to give your house some personality with a roof. The easiest roof shape for beginners is a simple triangle placed right on top of the rectangle. Just connect the two top corners of your rectangle with a peak in the middle, and you have got yourself a classic triangular roof. If you want something a little different, you can try a slanted single-line roof for a more modern look. For the walls, you do not need to add much extra since the rectangle already covers that part, but you can add a few vertical lines to suggest wooden panels or brick texture if you like that detail. I always tell beginners to keep their first few houses simple. You can always go back later and add texture once your confidence grows. Practice really does make this part faster and more natural over time.
How to Add Windows and Doors
Windows and doors are what really bring your house to life on paper. Start with the door first since it usually sits at the bottom center or slightly off to one side of your house. A simple rectangle works perfectly, and you can add a small circle or dot near the edge to represent a doorknob. For windows, small squares placed symmetrically on either side of the door look neat and balanced. You can divide each window square into four smaller sections with a plus sign inside to make it look like real glass panes. My daughter loves adding little curtains inside her window squares, which honestly makes the whole drawing feel warmer and more lived-in. Do not worry about perfect symmetry at first. Even slightly uneven windows still give that charming, handmade look that beginner drawings are known for.
Easy Steps to Draw a Garden Fence
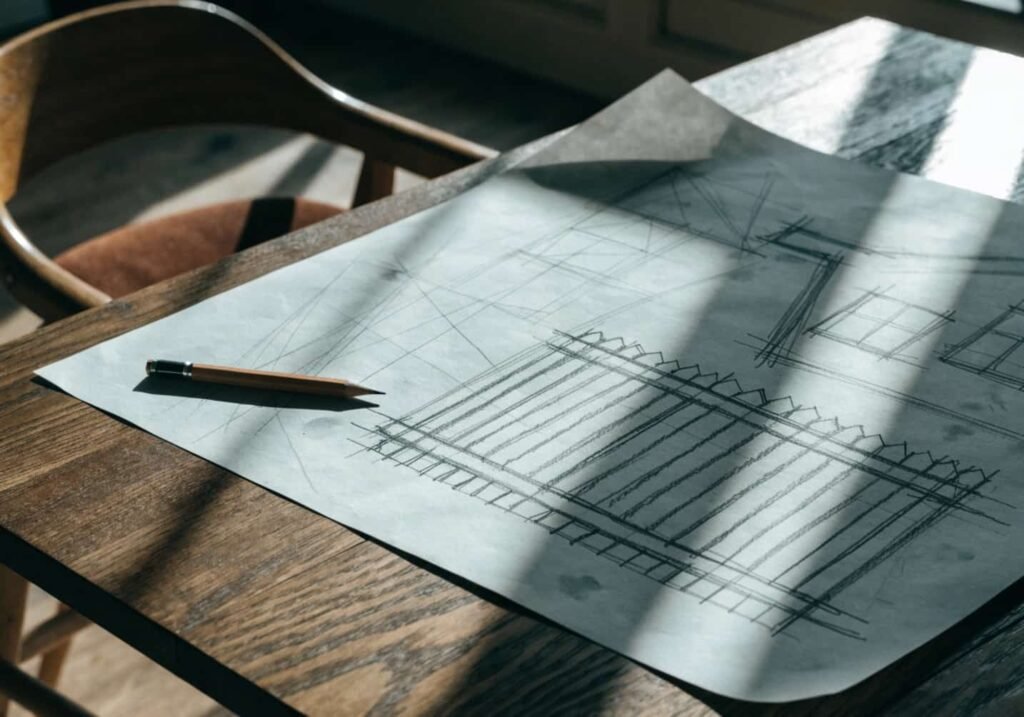
Now that the house is taking shape, let us bring the garden into the picture starting with a fence. A fence gives your drawing a defined boundary and makes the whole scene feel like a real little property. The easiest way to draw one is with a series of short vertical lines connected by two horizontal lines, one near the top and one closer to the bottom. Space the vertical lines evenly, but do not stress if they are not machine-perfect. A slightly uneven fence actually looks more charming and handmade. You can run the fence along the front edge of your garden area or wrap it partway around the house for a cozy, enclosed feel. Some beginners like adding a small gate in the middle by leaving a gap and drawing two fence posts facing each other. This little detail adds a nice welcoming touch to the whole drawing.
Simple Drawing Tips for Trees and Bushes
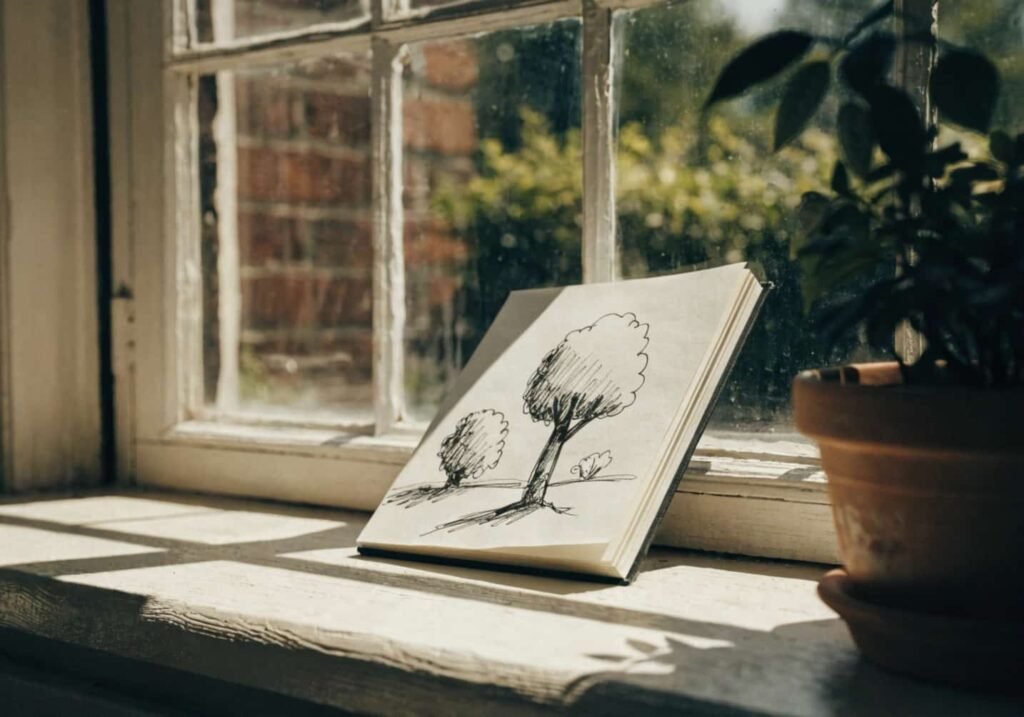
Trees and bushes add life and softness to your drawing, balancing out all those straight lines from the house and fence. For a basic tree, draw a simple trunk using two slightly curved vertical lines, then add a big cloud-like shape on top using a series of connected curves or bumps. This bumpy circle technique is beginner friendly and does not require perfect control of your pencil. For bushes, just draw smaller versions of that same cloudy shape near the ground, without any trunk lines. Placing one or two trees near the corners of your paper and a few bushes near the fence or house creates a natural, balanced look. I always suggest starting with rounder, softer shapes before trying detailed leaves, since it is much easier to build confidence with simple forms first and add detail once you feel more comfortable.
How to Sketch Flowers and Plants
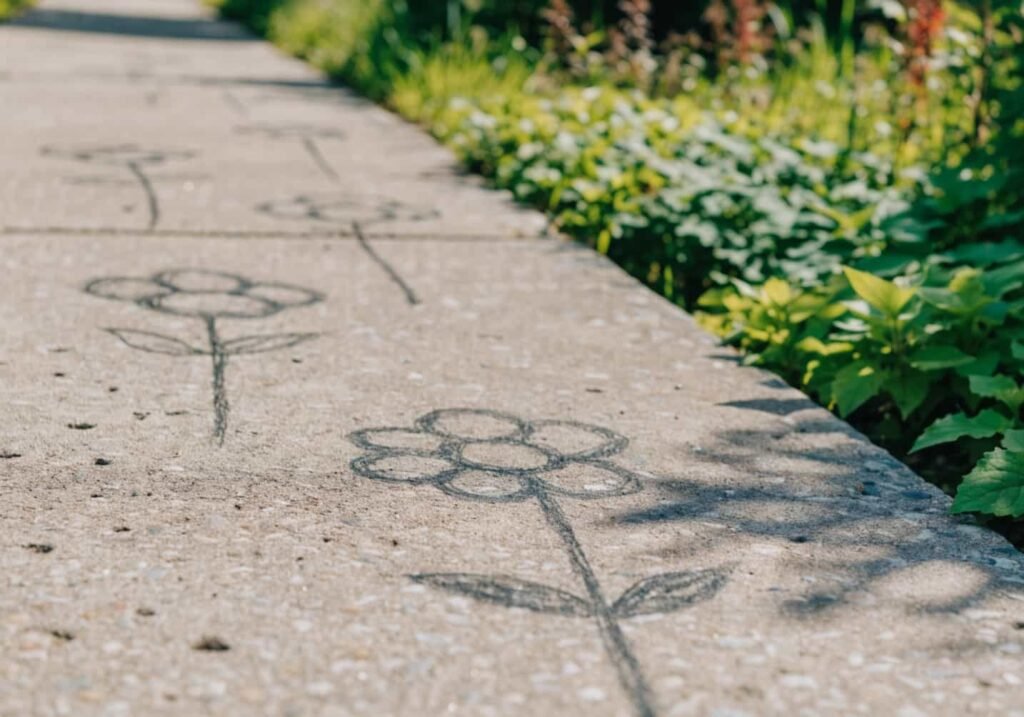
Flowers are where you can really let your creativity shine, and thankfully they are one of the easiest things to draw. A basic flower can be made with five small oval or circle petals arranged around a tiny circle center. Draw a thin stem line down to the ground and add two small pointed leaves on either side. Repeat this a few times along your pathway or fence line, varying the size slightly so it looks natural rather than copied and pasted. You do not need botanical accuracy here. Even simple dot flowers, made from a cluster of small circles, look lovely scattered near the garden edges. My personal trick is mixing a few different flower styles together, like tulip shapes next to round daisy shapes, since it makes the garden feel fuller and more alive instead of repetitive and stiff.
Adding a Pathway and Walkway Design
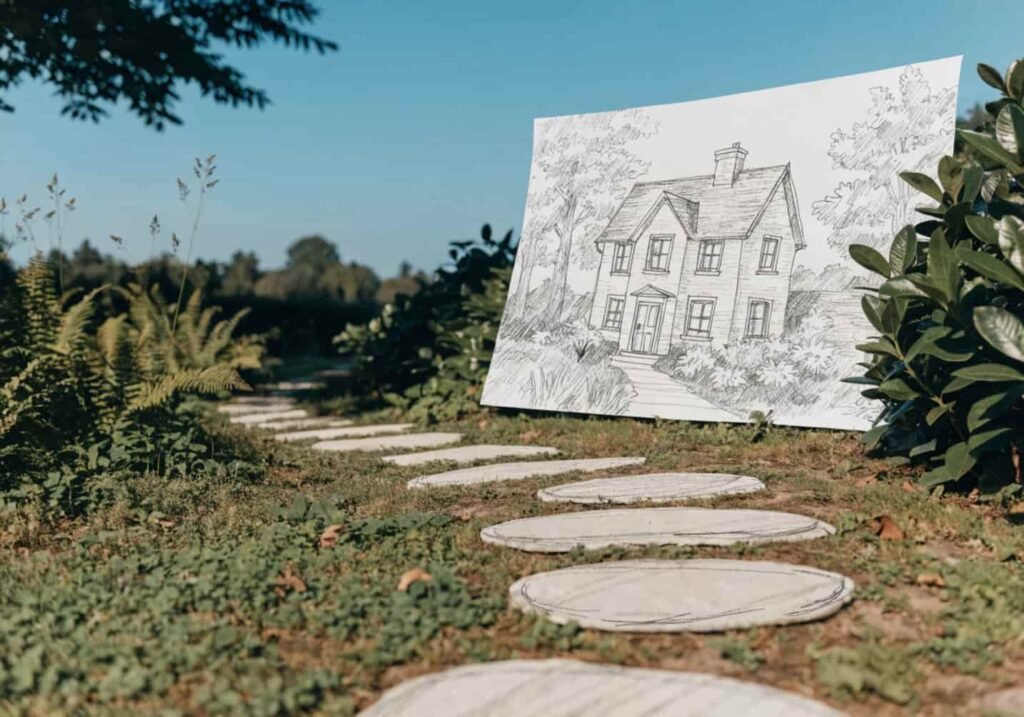
A pathway leading up to the front door instantly makes your drawing feel complete and intentional. Start by drawing two curved or straight lines running from the bottom edge of your paper up to the house door, slightly narrowing as they get closer to the house for a sense of perspective. Inside this path, you can add small rectangles or ovals to look like stepping stones, or leave it plain and simply shade it lightly with diagonal pencil strokes to suggest gravel or dirt texture. Some beginners like a curved, winding path instead of a straight one since it gives the garden a softer, more storybook feel. Either style works well, so pick whichever matches the mood you are going for. This small addition ties the whole house and garden scene together, guiding the eye naturally from the bottom of the page right up to the front door.
Drawing Sun, Clouds and Sky Elements
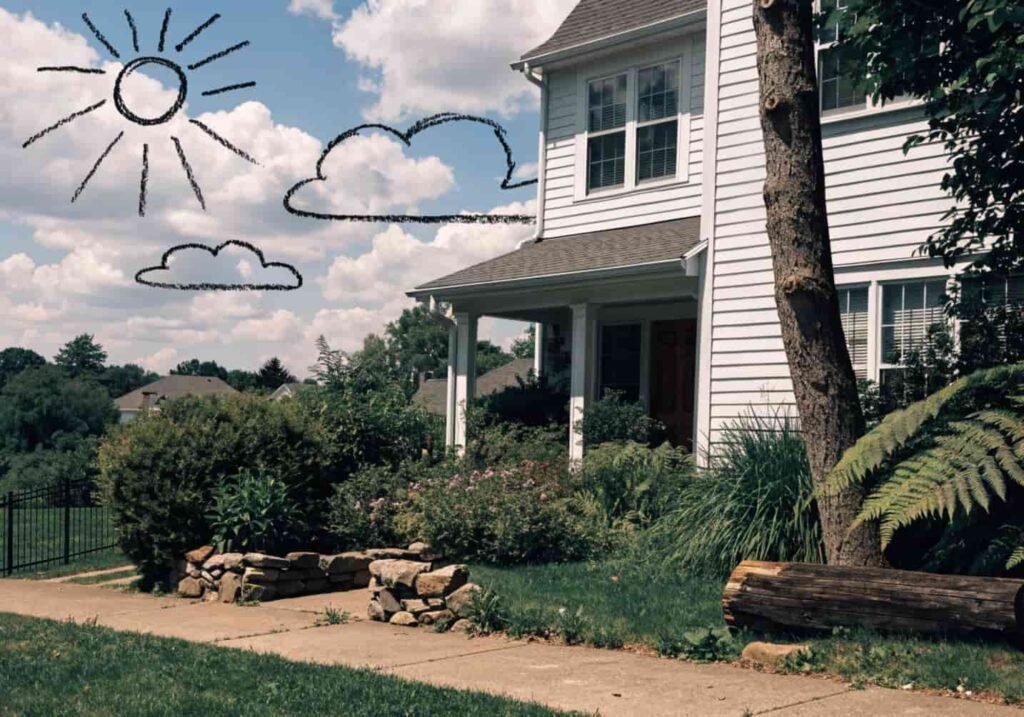
Once the ground level of your drawing is full of life, it is time to look upward and fill in the sky. A classic beginner sun is simply a circle with several short straight lines radiating outward like rays. Place it in one of the top corners of your page so it does not compete with the roof of the house. For clouds, use the same bumpy cloud technique from the tree tops, just stretched out horizontally and left unfilled or lightly shaded. A couple of small birds, drawn as simple “M” or “W” shapes in the sky, can add a nice finishing touch without much extra effort. These sky elements might seem like small details, but they really do change the overall feel of the drawing, making it feel open, bright, and complete rather than empty at the top.
Shading and Shadow Techniques for Beginners
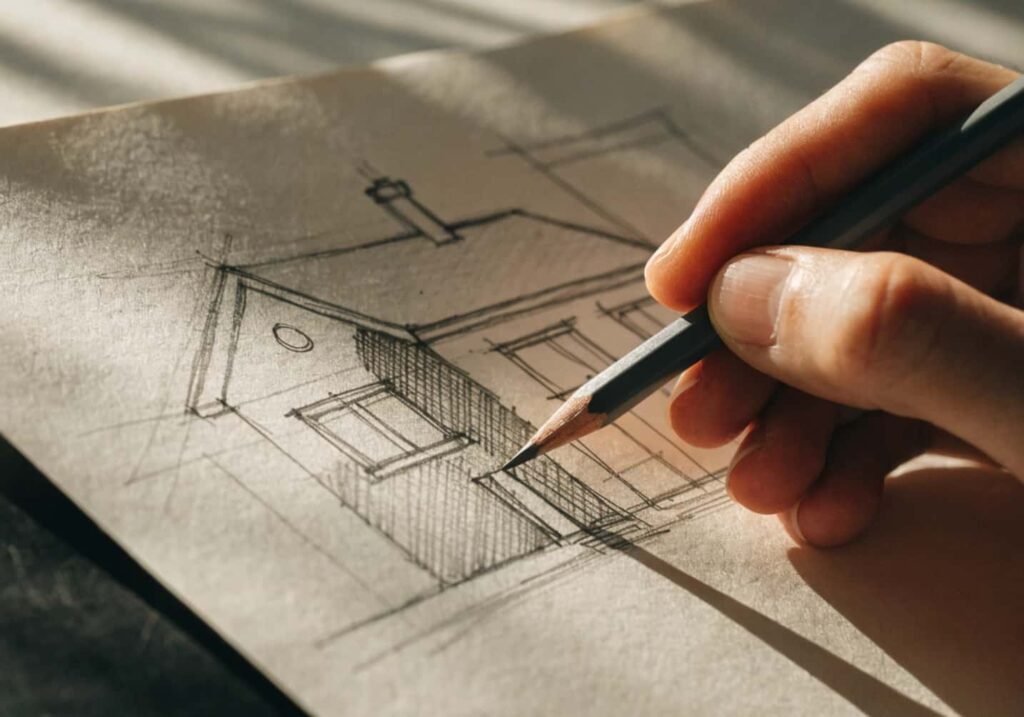
Shading is what turns a flat outline into something that looks a bit more three-dimensional and realistic. You do not need advanced techniques to start. Simply figure out where your light source is coming from, usually the sun in the corner of your page, and shade the opposite side of each object a little darker. For the house, this might mean shading the right wall slightly if your sun is on the left. For trees and bushes, add small clusters of shorter pencil strokes on the underside of the leafy shapes to suggest depth. A soft, light shadow beneath the house and trees, drawn as a stretched oval shape, also helps ground your objects instead of making them look like they are floating on the page. Start light and build up gradually, since it is always easier to darken an area later than to lighten one that got too heavy too fast.
Coloring Tips – Pencil Colors or Watercolor
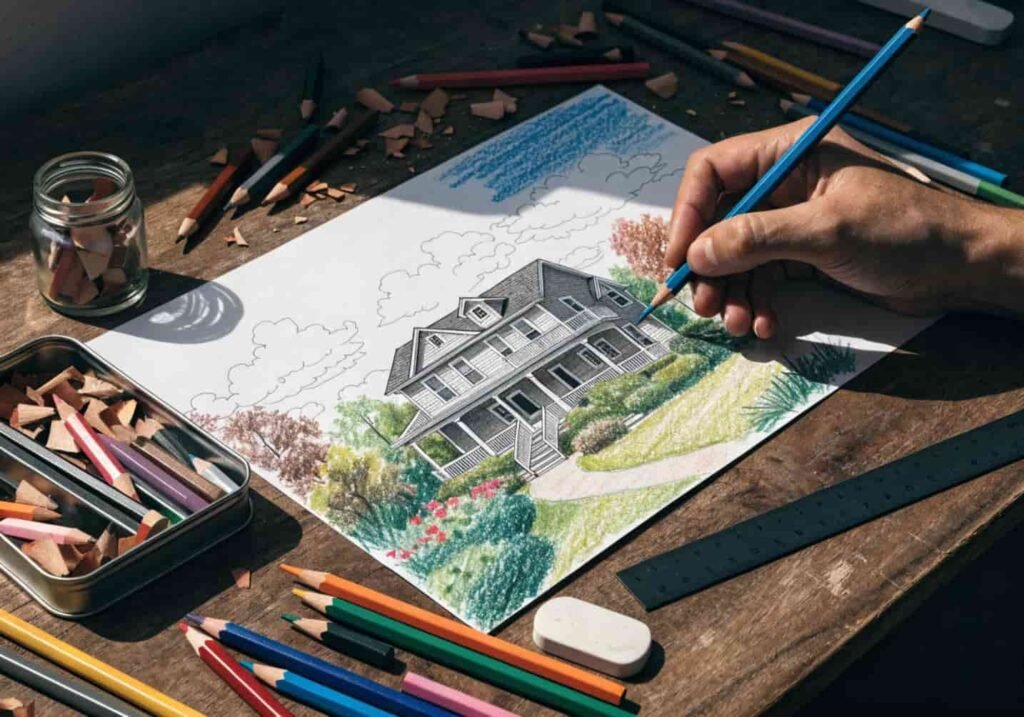
Once your pencil sketch is complete and you are happy with the shapes and shading, coloring brings the whole scene to life. Colored pencils are a great beginner-friendly choice since they give you control and let you build up color gradually in layers. Start with light base colors first, like a soft blue for the sky and a light brown for the house walls, then build darker tones on top for shadows and details. If you prefer watercolor, keep your first layers very light and watery, letting them dry before adding deeper colors on top, since watercolor spreads and blends more than pencil. Whichever method you choose, try to keep your color choices somewhat realistic but do not be afraid to have fun with it. A bright purple door or pink-roofed house can look absolutely charming, especially in a playful, beginner-style drawing like this one.
Common Mistakes Beginners Should Avoid
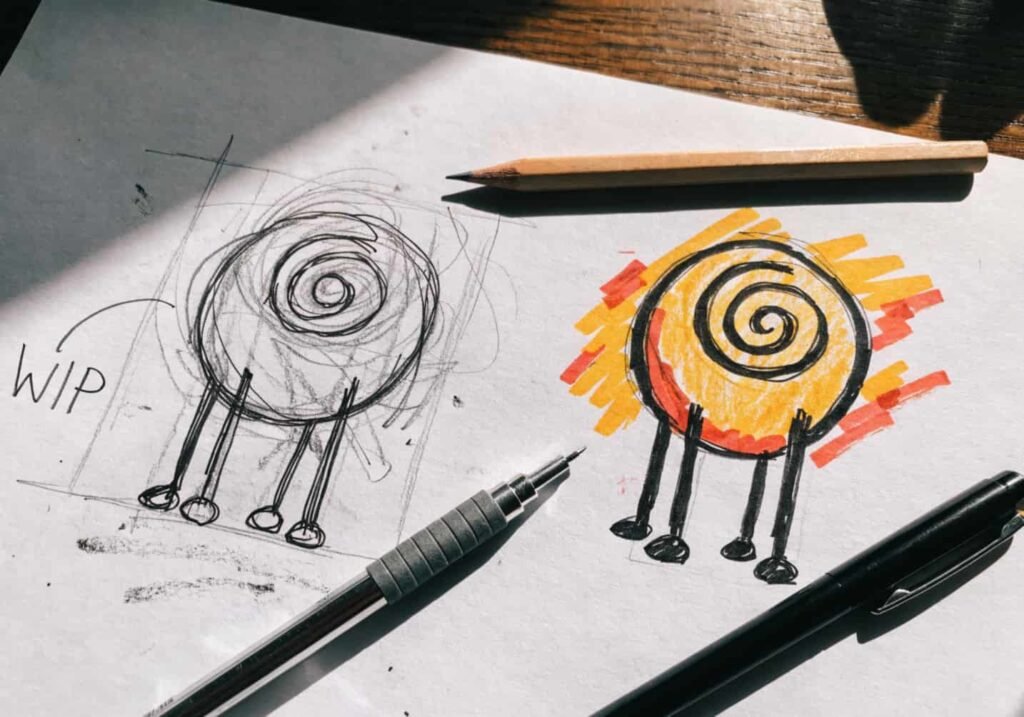
Every beginner runs into a few common hiccups, and knowing about them ahead of time can save you a lot of frustration. One big mistake is pressing too hard with the pencil from the very start, which makes mistakes harder to erase cleanly later. Another common issue is making the house too large or too small compared to the trees and fence, throwing off the whole sense of scale in the drawing. Try to plan your layout lightly first before committing to darker lines. Rushing through the outline stage is another trap, since a shaky foundation leads to a messier final result. Lastly, many beginners avoid shading altogether because it feels intimidating, but skipping it leaves the drawing looking flat. Take your time, use light pencil pressure early on, and remember that even professional artists redo their sketches multiple times before getting it right.
Easy Drawing Exercises for Practice
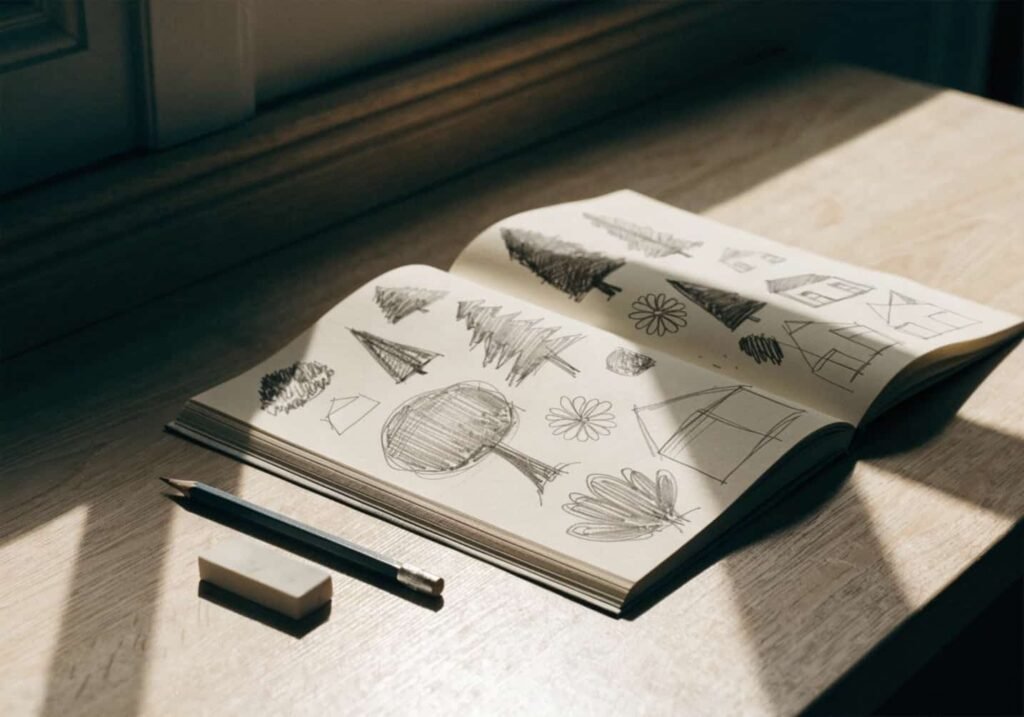
If you want to get better at this style of drawing, a little regular practice goes a long way. Try setting aside just ten to fifteen minutes a few times a week to sketch small parts of the scene separately, like practicing five different tree shapes on one page or ten different flower styles on another. This kind of focused, small-scale practice builds muscle memory much faster than always trying to draw the whole scene from start to finish every time. You can also try timed sketching, giving yourself just two minutes to draw a quick house outline, which forces you to loosen up and stop overthinking every line. Another fun exercise is copying simple house drawings you find in books or on package designs, just to study how other artists break shapes down. Over a few weeks of steady practice like this, you will notice your lines getting more confident and your shapes getting more consistent.
Conclusion – Complete Your First Drawing
By now, you have gone through every piece needed to create a full house and garden drawing, from the very first rectangle outline all the way to shading, color, and small finishing details like a sun in the sky. Remember that the goal at this stage is not perfection but progress, and every wobbly line or slightly uneven window is part of the learning process. I still remember my own early sketches looked nothing like the tidy little houses I imagined in my head, but with regular practice, things slowly clicked into place. Take your time working through each section of this guide, and do not be afraid to redraw a part if it does not feel right the first time. Grab your pencil, set aside a quiet half hour, and give this a try today. Your first finished house and garden drawing is closer than you think.