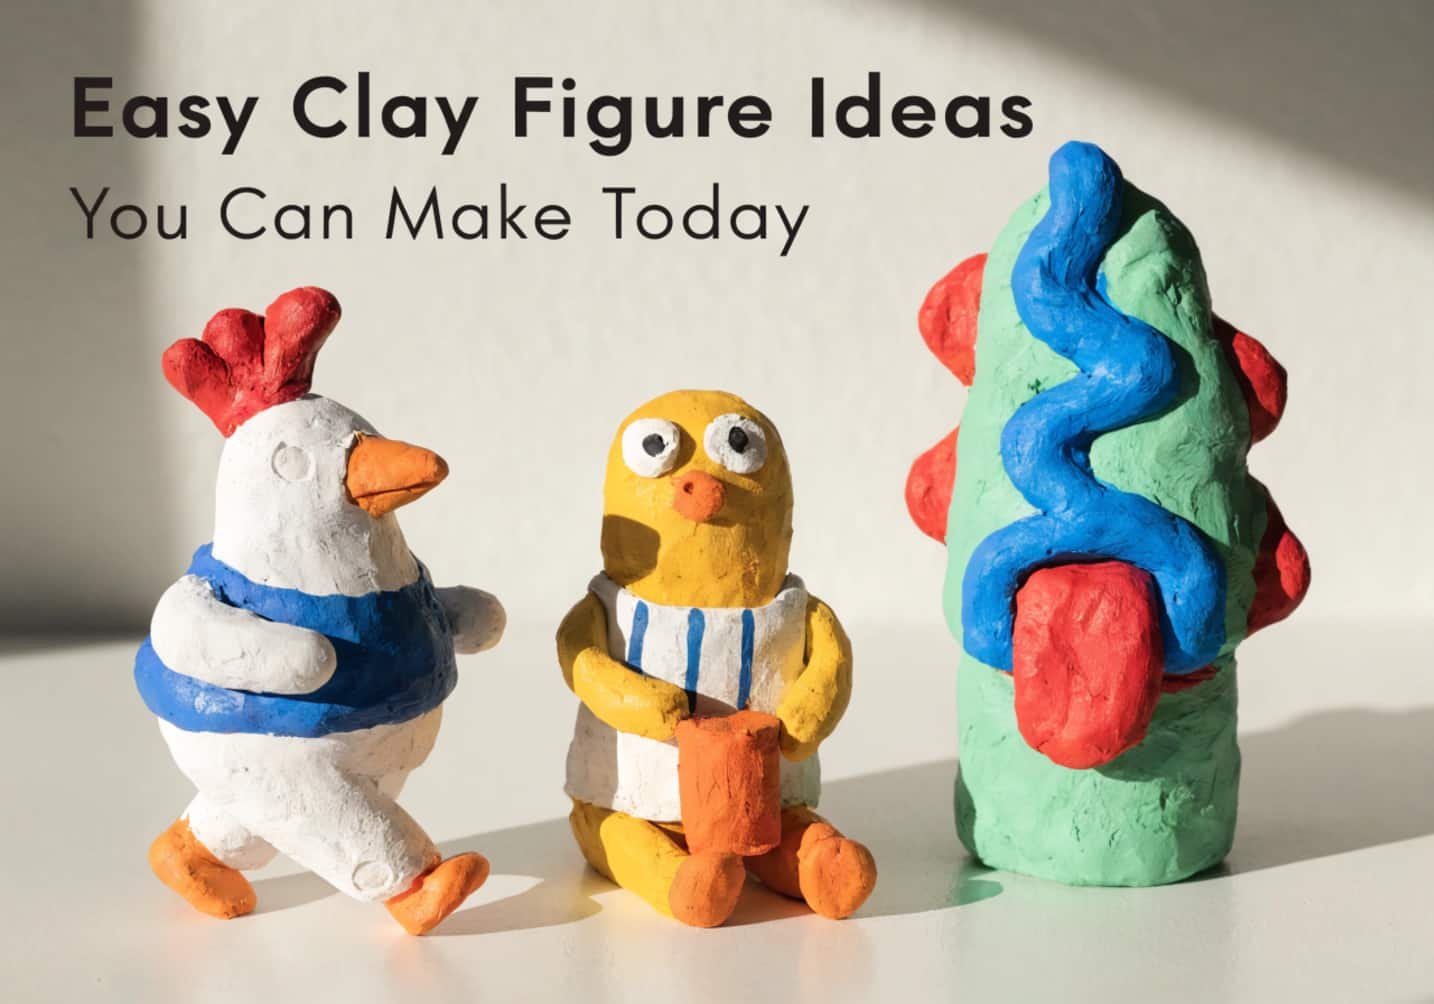
Clay has this weird magic to it. You sit down with a lump of something soft and messy, and twenty minutes later there’s a tiny animal or a little food figure sitting on your table looking back at you. I remember the first time I tried this. I was sitting at my kitchen table, hands covered in clay dust, convinced I was going to make a perfect little cat. What came out looked more like a potato with ears. But that’s the thing nobody tells beginners — your first figure is never going to be your best one, and that’s completely fine. This guide walks you through everything I wish someone had told me before I started, step by step, without the confusing jargon.
Why Mini Clay Figures Are Perfect for Beginners
If you’ve never touched clay before, mini figures are honestly the best place to start. You don’t need a full sculpture studio or expensive tools. A small workspace, a bit of clay, and maybe an hour of free time is all it takes. I started with mini figures because I didn’t want to waste a whole block of expensive clay on something big that might fail. Small projects mean small mistakes, and small mistakes are easy to fix or just start over. Plus, there’s something satisfying about finishing a project in one sitting instead of leaving it half done for weeks. For anyone who gets easily discouraged, this instant sense of progress keeps you coming back.
Materials You’ll Need
Best Clay Types for Mini Figures (Polymer Clay vs Air-Dry Clay)
This is where most beginners get stuck before they even start. Polymer clay, like Sculpey or Fimo, needs to be baked in a home oven to harden, and it holds fine details really well, which makes it great for tiny features like eyes or little paws. Air-dry clay, on the other hand, hardens on its own over a day or two without any baking, so it’s more beginner friendly if you don’t want to deal with oven temperatures. I personally started with air-dry clay because I was nervous about baking something wrong, but once I got comfortable, I switched to polymer clay for more detailed pieces. Both work great, it really depends on your comfort level and how much detail you want.
Essential Tools for Beginners
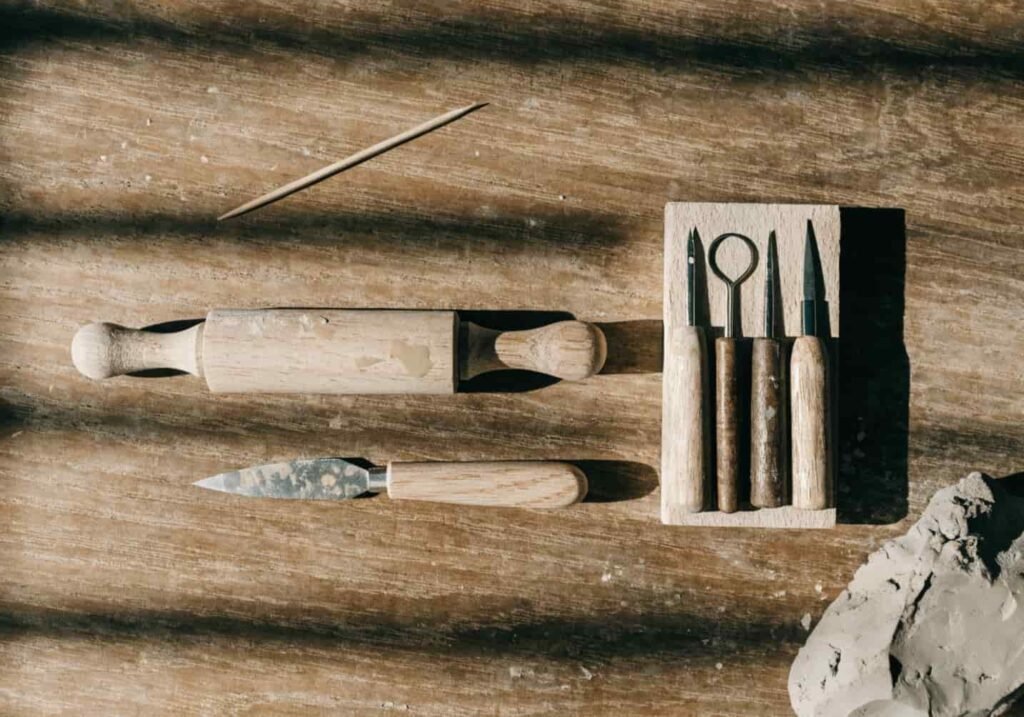
You really don’t need a huge toolkit to get started, and that surprised me too. A basic clay sculpting tool set, a toothpick, a small rolling pin or even a smooth glass jar, and a clay knife will cover almost everything you need for mini figures. I also keep a small cup of water nearby to smooth rough edges and a toothpick for poking in tiny details like eyes or dots. If you’re on a budget, honestly a toothpick and a butter knife from your kitchen drawer can get you through your first few projects. Fancy tools come later once you know what you actually enjoy making.
Step-by-Step Guide to Making Mini Clay Figures
Step 1: Preparing and Conditioning Your Clay
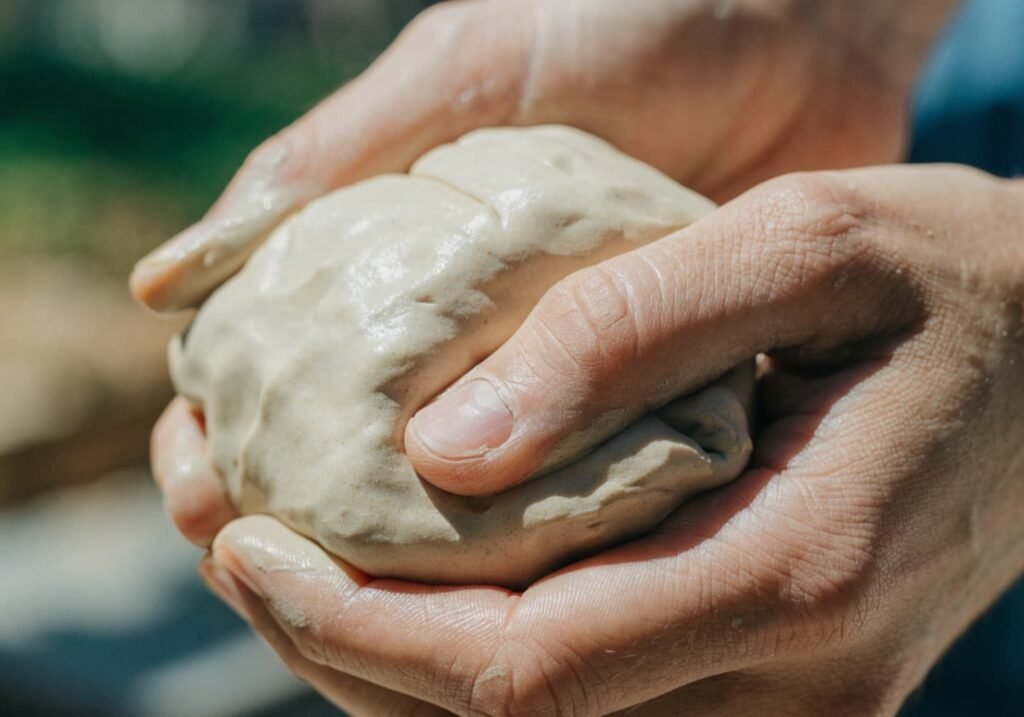
Before you shape anything, your clay needs to be soft and workable, this step is called conditioning. Take your clay and knead it with your hands for about 5 to 10 minutes until it feels smooth and bendy instead of stiff and crumbly. I remember skipping this step in my first attempt and my clay cracked immediately while shaping. Warming the clay slightly between your palms helps a lot too, especially in cold weather. If the clay still feels too hard after kneading, try rolling it between your palms in short quick motions for another few minutes. This little step makes every other step so much easier.
Step 2: Choosing a Simple Shape or Design
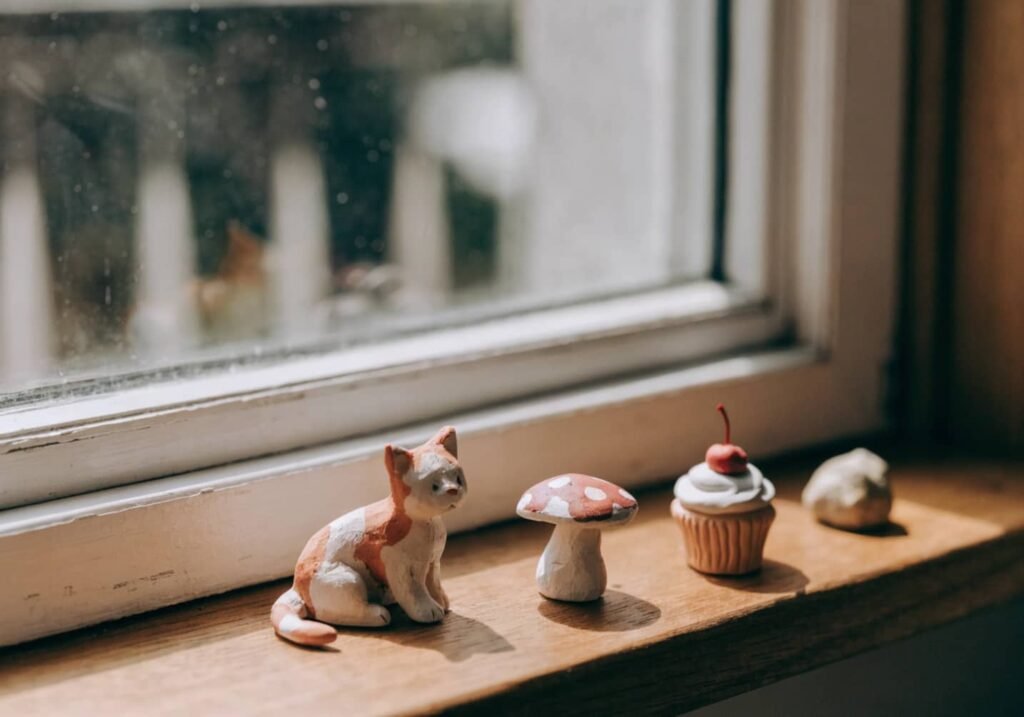
For your very first figure, pick something with a simple round or oval base shape, like a cat, a mushroom, or a small egg-shaped bird. Avoid anything with thin legs or long arms at first because those parts break easily before you get the hang of handling clay. When I made my first mini figure, I chose a tiny hedgehog because it was basically just a teardrop shape with little lines poked into it for spikes. Simple shapes let you focus on learning how the clay behaves instead of worrying about complicated proportions right away. Once you’re confident, you can move on to more detailed designs.
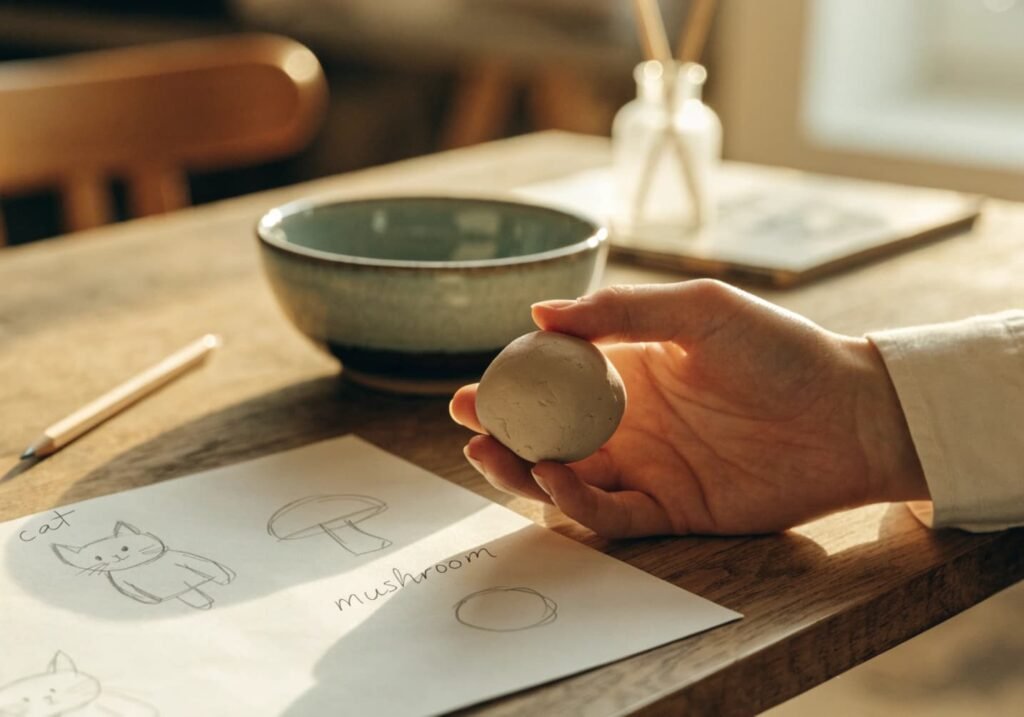
Step 3: Sculpting the Basic Form
Once you’ve picked your design, start with the biggest part of the figure first, usually the body. Roll your clay into a ball, then gently shape it into an oval or teardrop depending on what you’re making. Use your fingers to pinch and pull the clay rather than forcing it, since clay responds better to slow gentle pressure. For a mini cat, I rolled a ball for the head and a slightly bigger oval for the body, then pressed them together gently. Don’t rush this part, take about 10 to 15 minutes just getting the basic silhouette right before adding any small details.
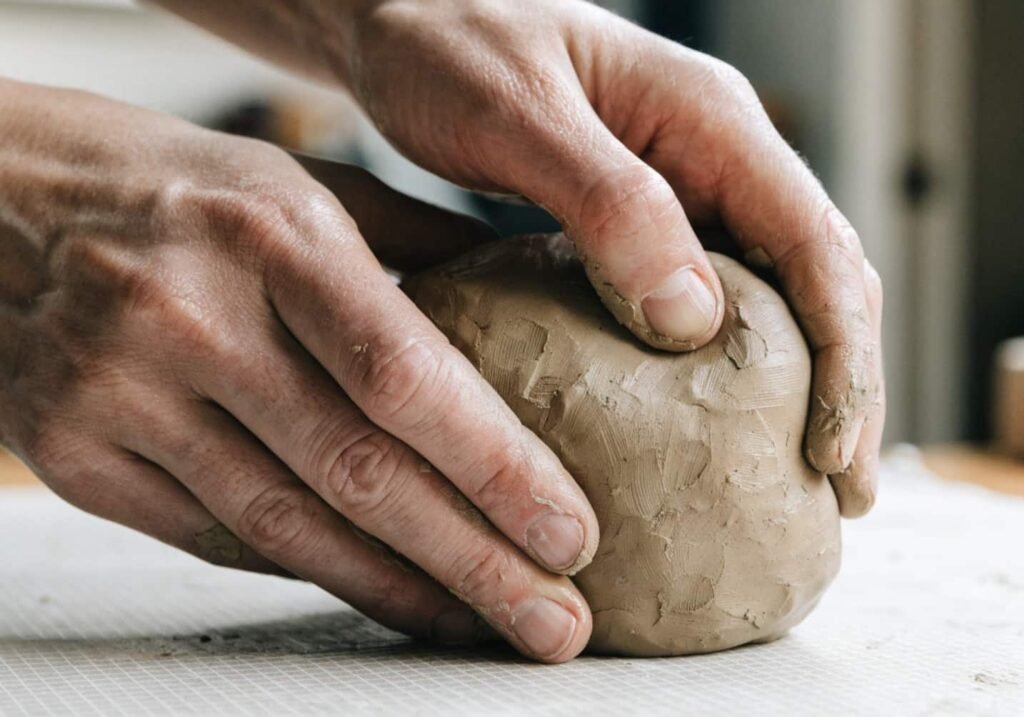
Step 4: Adding Details and Texture
This is the fun part where your figure actually starts looking like something. Use a toothpick to add small dots for eyes, tiny lines for fur or texture, and a clay knife for cutting small shapes like ears or wings. Go slow here because pressing too hard can flatten parts you already shaped. For my hedgehog, I used the tip of a toothpick to poke in dozens of tiny spike lines across its back, which took about 15 minutes but made a huge difference in how realistic it looked. Small details are what separate a beginner blob from a figure people actually recognize.
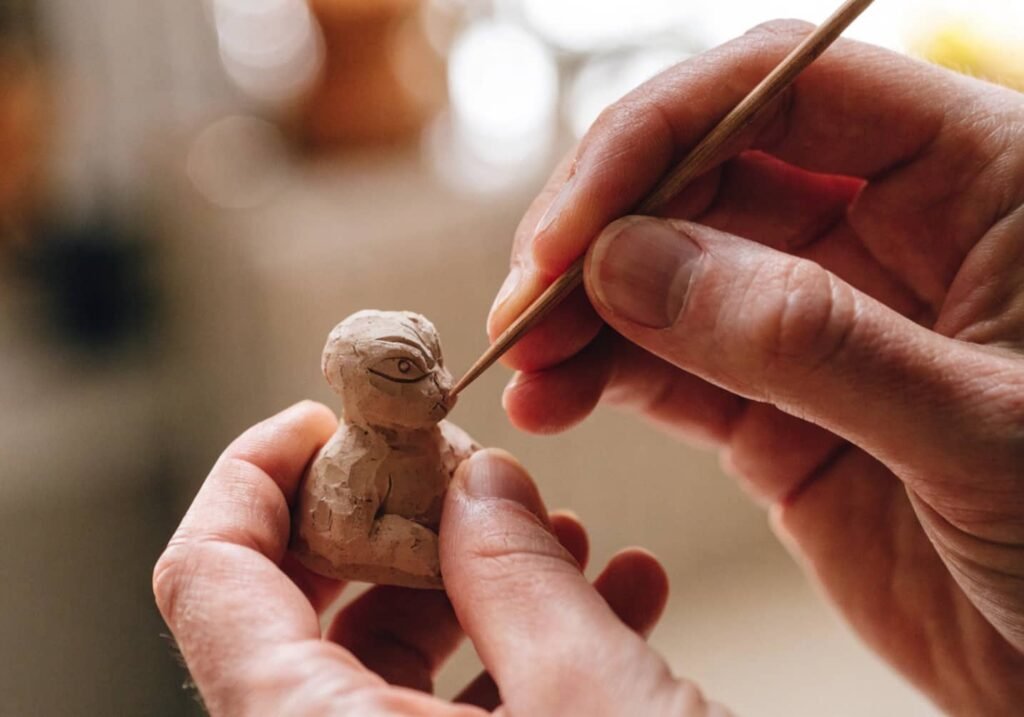
Step 5: Smoothing and Fixing Imperfections
Once your details are in place, dip your finger lightly in water and gently smooth over any rough or cracked spots. This step fixes a lot of small mistakes without you needing to start over completely. I learned this trick after my first few figures had visible fingerprints all over them, which honestly looked kind of messy. A small amount of water goes a long way, so don’t overdo it or your clay might get too sticky and lose its shape. Take your time smoothing the seams where two clay pieces meet, like where the head connects to the body, since that’s usually where cracks show up first.
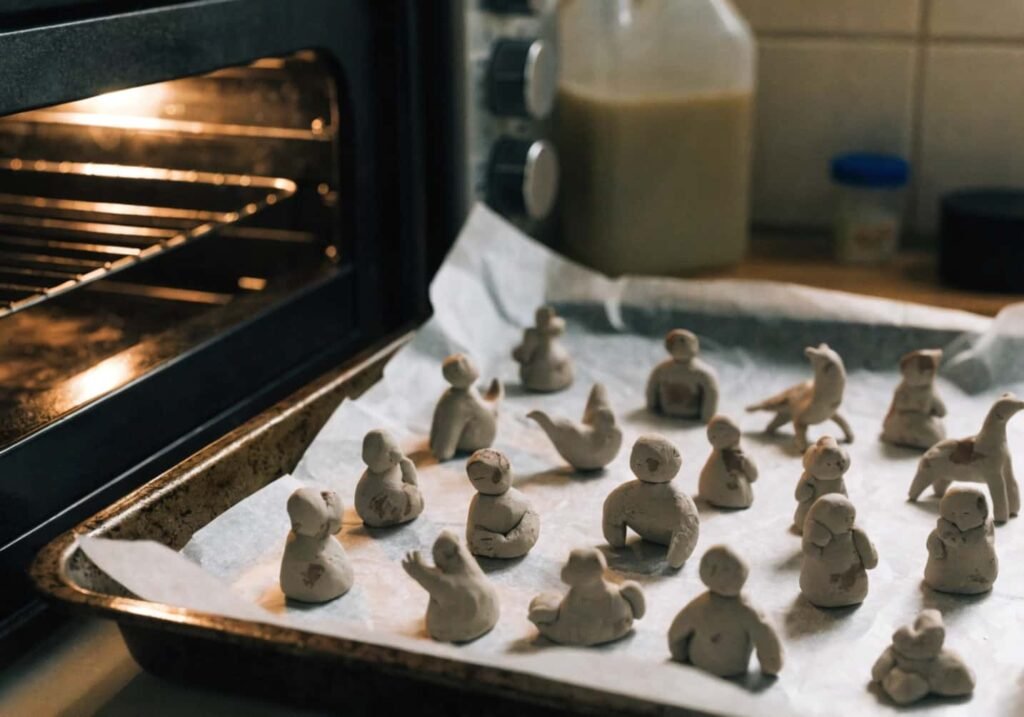
Step 6: Baking or Air-Drying Your Figure
If you’re using polymer clay, bake it according to the package instructions, usually around 130 degrees Celsius for 15 to 30 minutes depending on the size of your figure. Always let it cool completely before touching it since it stays soft right out of the oven. If you’re using air-dry clay, just leave your figure somewhere flat and dust-free for 24 to 48 hours, flipping it occasionally so it dries evenly on all sides. I once rushed this step and moved my figure too early, which left a flat dent on one side. Patience really pays off here more than in any other step.
Step 7: Painting and Sealing (Optional)
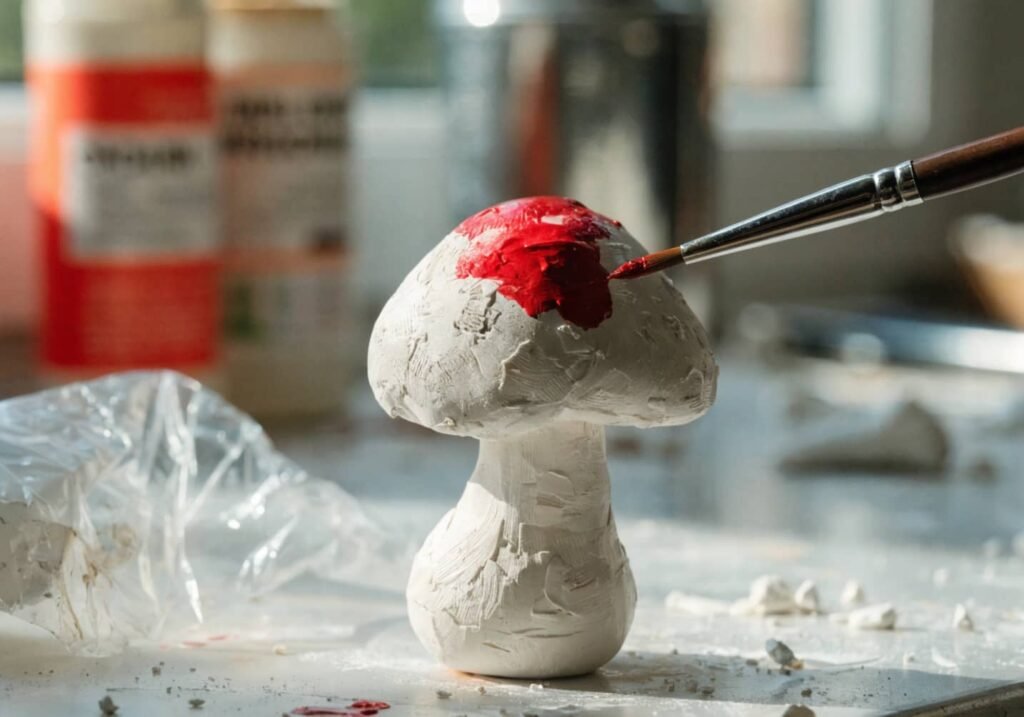
Once your figure is fully hardened, you can leave it as is or add some color with acrylic paint and a small brush. Let each layer of paint dry for about 20 minutes before adding another coat so the colors stay clean and don’t smudge together. A clear sealant or varnish at the end gives it a nice finish and protects the paint from chipping over time. When I painted my first mini mushroom figure, I used just two colors, red and white, and it still looked adorable sitting on my desk. You really don’t need to be a painting expert to make your figures look finished and polished.
Common Mistakes Beginners Make (And How to Avoid Them)
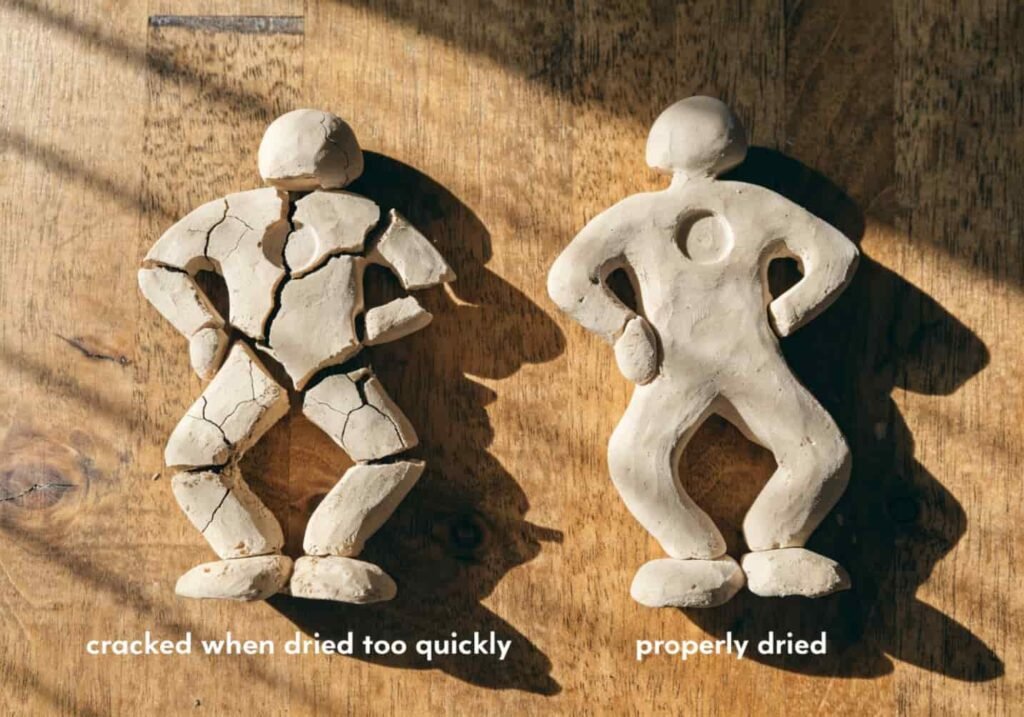
Almost every beginner runs into the same handful of problems, so don’t feel bad if this is you too. Cracking usually happens when the clay is too dry or when it dries too fast in sunlight, so always dry your figures in a shaded spot away from direct heat. Another common mistake is making parts too thin, like tiny arms or legs, which snap off easily before they even harden. Overworking the clay is another one, if you knead or smooth for too long, the clay gets sticky and loses its shape. I made almost every one of these mistakes in my first month, and honestly, that’s how you actually learn what works.
Pro Tips for Better Results
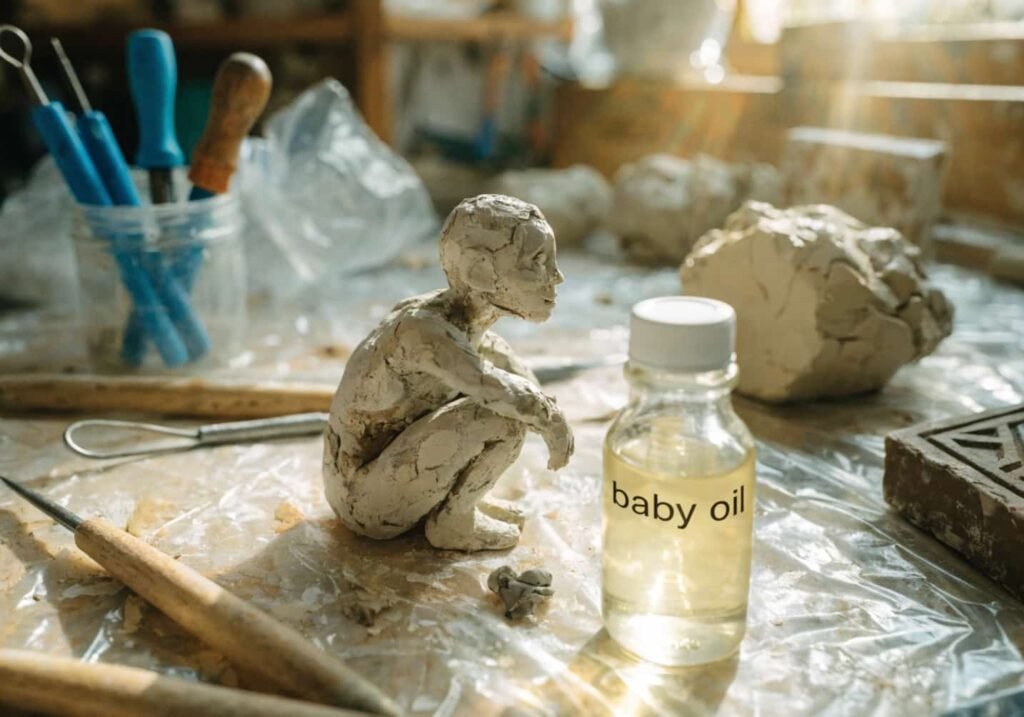
Here’s a trick that took me way too long to figure out on my own, rub a tiny bit of baby oil on your fingertips before smoothing your clay figure. It gets rid of fingerprints and rough texture without making the clay too wet or sticky, and it gives your finished piece a much cleaner look. Another tip is keeping your clay wrapped in plastic wrap between sessions so it doesn’t dry out before you’re done shaping it. I also like keeping a small bowl of cornstarch nearby, dusting my hands lightly with it stops the clay from sticking too much during hot weather. These small habits make the whole process smoother and way less frustrating.
Easy Mini Clay Figure Ideas to Try First
Cute Animals
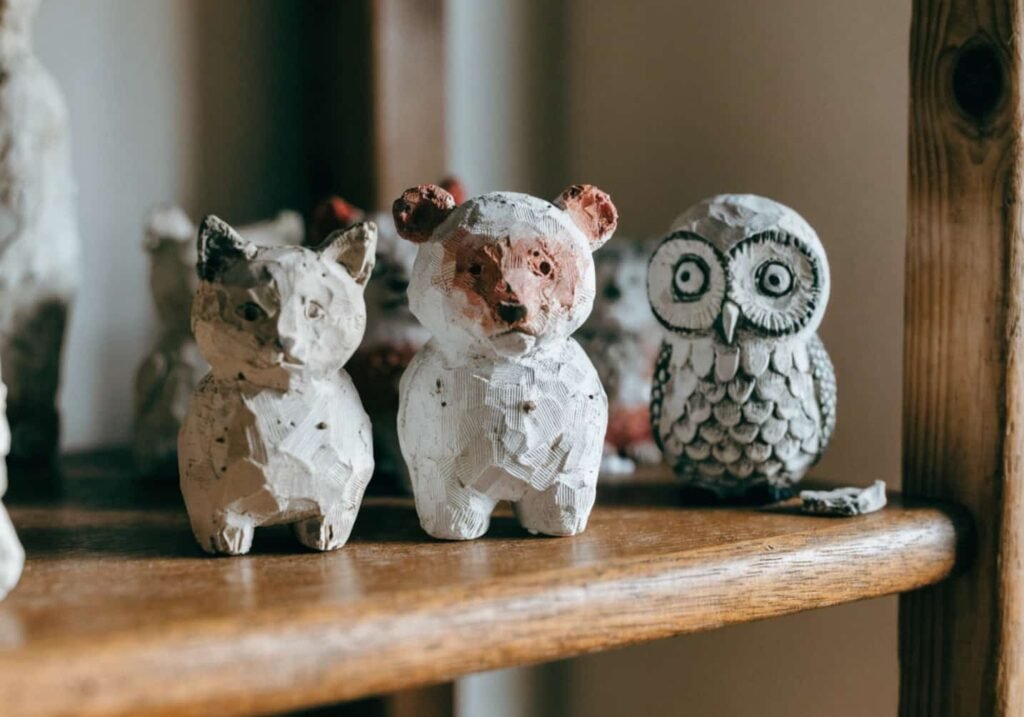
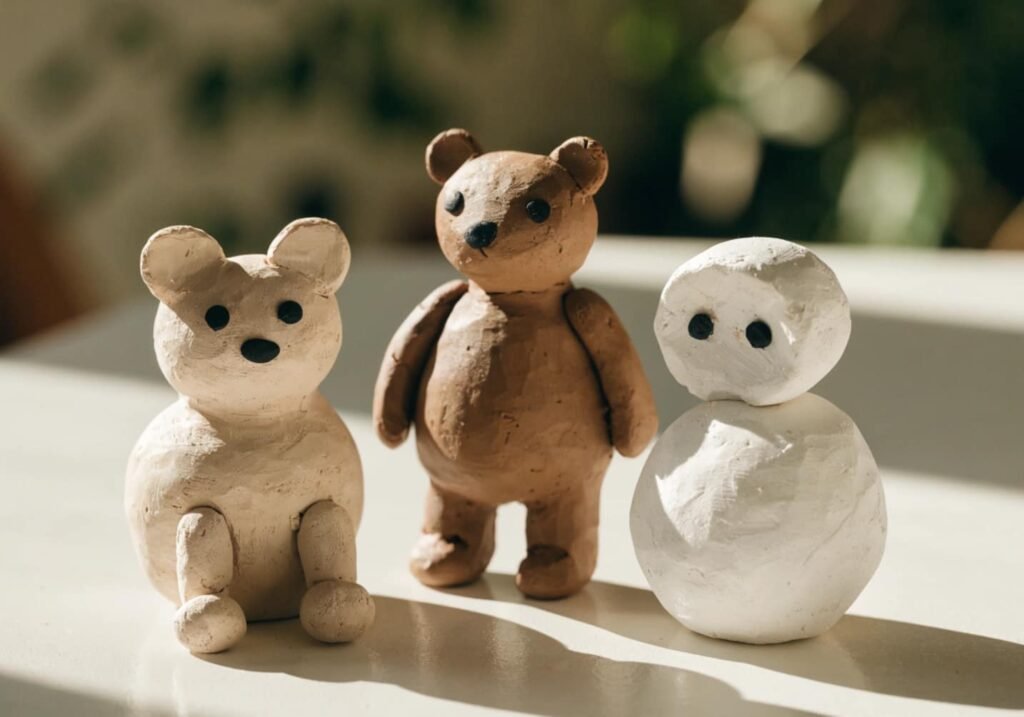
Animals are probably the most popular first project, and for good reason, they’re simple, cute, and forgiving if the proportions aren’t perfect. A little cat with round ears, a tiny bear with stubby limbs, or a small owl made of just two shapes are all great starting points. I made a whole tiny zoo over my first few weeks, and even the wonky ones ended up looking charming in their own way. Animals also let you experiment with texture, like fur lines or feather patterns, without needing super advanced skills. Start with whatever animal you personally love, that connection makes the process way more enjoyable.
Mini Food Figures
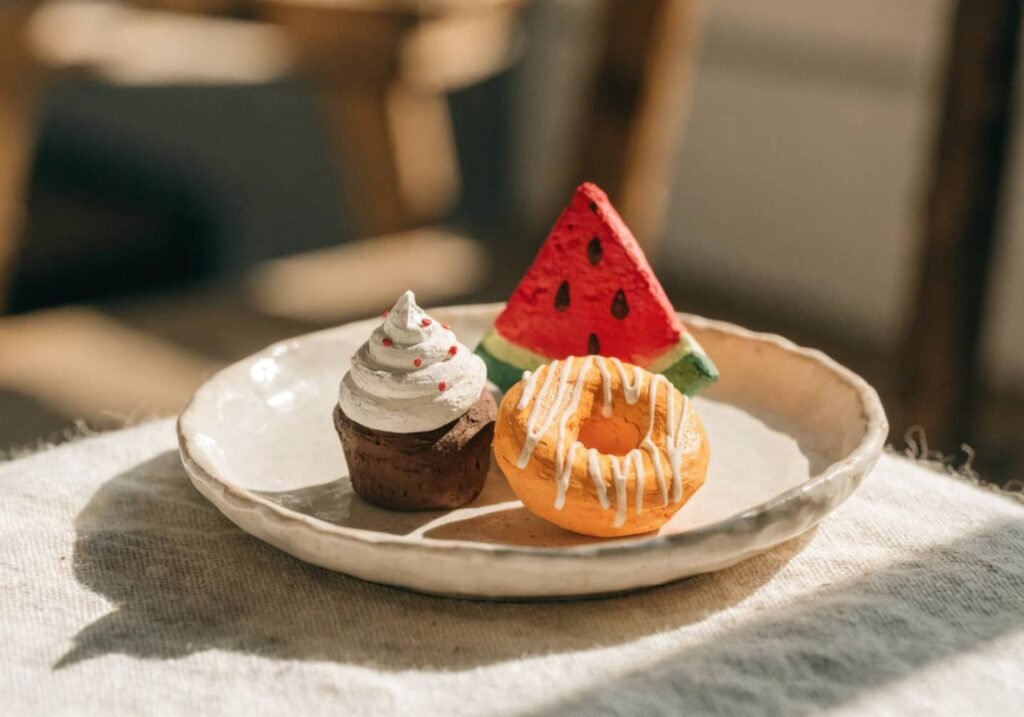
Tiny food figures are another favorite among beginners because they’re small, colorful, and don’t require perfect symmetry. Think mini cupcakes, little donuts, or a tiny slice of watermelon, these are forgiving shapes that still look adorable even if they’re not flawless. I made a mini strawberry cake as my third project ever, and it’s still one of my favorite pieces because of how much fun the texture work was. Food figures are also great for practicing color mixing since you’re working with fun shades like pink frosting or golden brown crusts. They make lovely little decorations for a shelf or even a phone charm.
Simple Characters
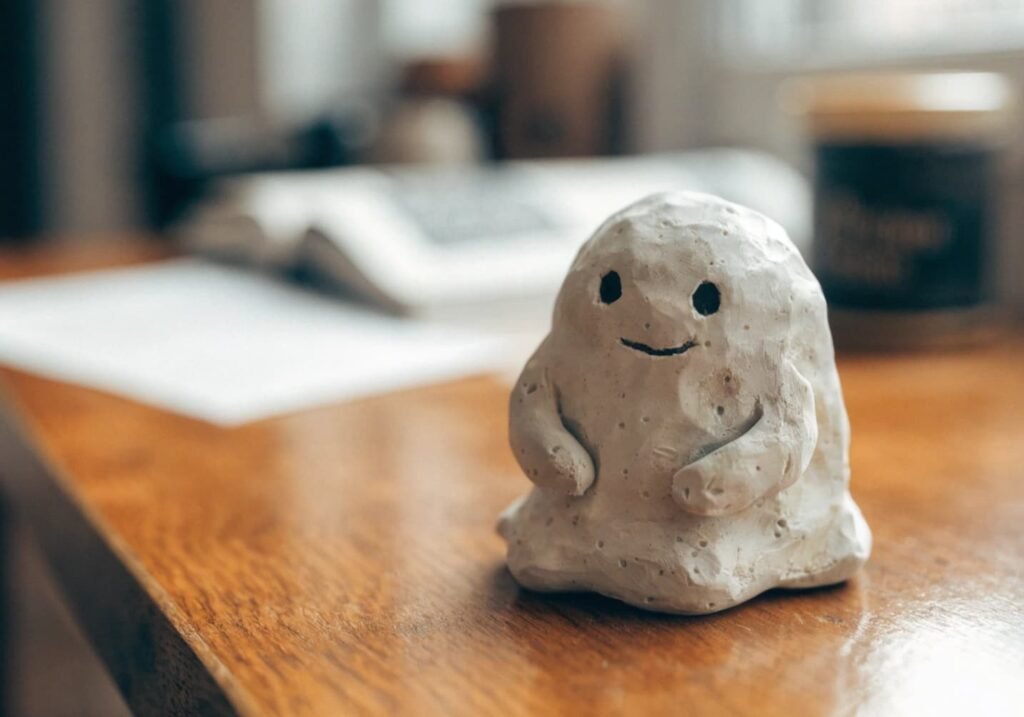
Once you’re comfortable with basic shapes, try making a simple little character, like a round-bodied ghost, a chibi-style person, or a tiny robot made from stacked shapes. These don’t need detailed faces at first, even two dot eyes and a small curved smile can bring a character to life. My first character was a tiny round ghost with a wobbly smile, and it honestly became one of my most loved figures because of how expressive it looked despite being so simple. Characters are a great next step because they combine everything you’ve learned, shaping, smoothing, and adding small details, into one fun project.
FAQs
How long does clay take to dry?
Air-dry clay usually takes 24 to 48 hours to fully harden depending on the thickness of your figure and the humidity in your room. Thicker pieces can take even longer, sometimes up to 72 hours, so it helps to check by gently pressing a hidden spot before assuming it’s done. Polymer clay is different since it hardens through baking rather than air drying, so it only takes 15 to 30 minutes in the oven. If you’re working somewhere humid, drying naturally can take extra time, so patience really matters here more than people expect.
Can I use regular clay for miniatures?
Regular pottery or ceramic clay isn’t really recommended for tiny figures because it tends to crack easily at small sizes and usually requires a kiln to harden properly, which most beginners don’t have at home. Polymer clay and air-dry clay are made specifically for detailed small scale work and are much more forgiving for beginners. If you already have regular clay lying around, it’s better to save it for bigger pottery projects and pick up a small block of air-dry or polymer clay instead for your mini figures.
How do I prevent cracks?
Cracks usually happen from drying too fast, working with clay that’s too dry, or making parts too thin. Keep your figures away from direct sunlight or heaters while drying, and always smooth your seams well with a bit of water before letting them harden. Adding a tiny bit of water while shaping thicker joints, like where a head meets a body, also helps prevent weak spots. I found that slowing down during the shaping process and not rushing the drying time cut my cracking issues down by more than half.
Final Thoughts
Making mini clay figures is one of those hobbies that looks intimidating from the outside but turns out to be way more relaxing and forgiving than you’d expect. Your first figure probably won’t be perfect, mine certainly wasn’t, but that lopsided little potato-cat taught me more than any tutorial ever could. Every crack, every smudge, every wonky shape is just part of learning how the clay moves and behaves under your hands. Grab a small block of clay today, pick something simple, and just start shaping. You’ll be surprised how quickly a lump of nothing turns into a tiny little creation you’re genuinely proud of.