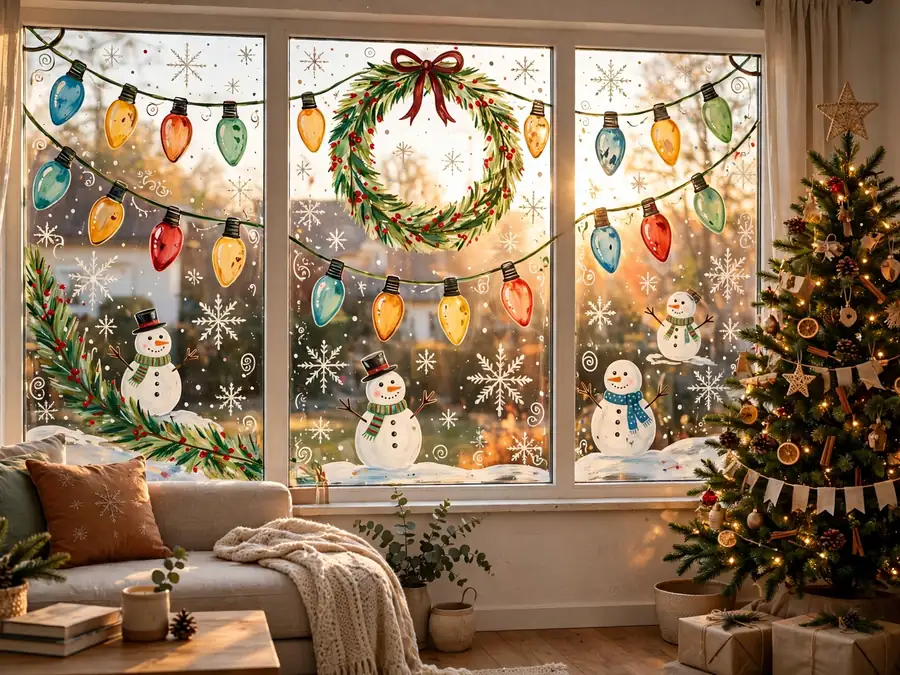
Every parent knows the scene: a child, a pot of paint, and a window they have been told not to touch since March. By the time the masterpiece is finished there is paint on the sill, a streak on the curtain and one painted sleeve, and somebody is upset about the smear that ruined the star. The window itself is barely visible under the drips.
The versions that work follow one rule: everything stays washable, contained and planned before the first stroke. Paint goes on the inside face of the glass, one colour at a time, inside taped edges — which is why the best Christmas window painting ideas end up looking like decorations, not accidents. The glass does the showing off; the system does the tidying.
Below are 18 designs to paint on your windows with your kids, from toddler thumbprints to big-kid lettering, most of them using washable tempera, window markers and sponges you probably already own. Pick one pane, set out one tray, and let them start.
The Christmas Window Painting Formula That Keeps Busy Windows Looking Bright, Not Splattered
- Washable paint only: every colour that touches the glass is washable tempera, a window marker or a solid tempera stick, so January clean-up is one warm cloth, never a scraper.
- White plus two: build each pane from white and at most two bright colours, so every design reads clearly from the street instead of turning into a rainbow blur.
- Tape, tray, towel: tape the pane’s edges, park all the paint in one tray under the window and keep a damp cloth on the sill before anyone starts.
- One colour out: only one colour is open at a time, and any mistake wipes straight off, so a wobble costs a cloth, not the whole afternoon.
For example, one kitchen pane gets a white snowbank along the bottom, a single 10-inch green pine, red dot berries and nothing else — four shapes, ten minutes, and a window that wipes clean in January.
| # | Idea | Best ages | Mess level |
|---|---|---|---|
| 1 | A Big Snowflake Trio in White | 4+ | Low |
| 2 | Paper Snowflake Stencils, Sponge-Dabbed | 3+ | Low |
| 3 | A Reindeer Traced From the Other Side | 6+ | Low |
| 4 | Candy Cane Stripes Along the Sill | 5+ | Low |
| 5 | A Painted String of Lights Across the Top | 4+ | Low |
| 6 | A Snowman Family Sized to Your Kids | 3+ | Medium |
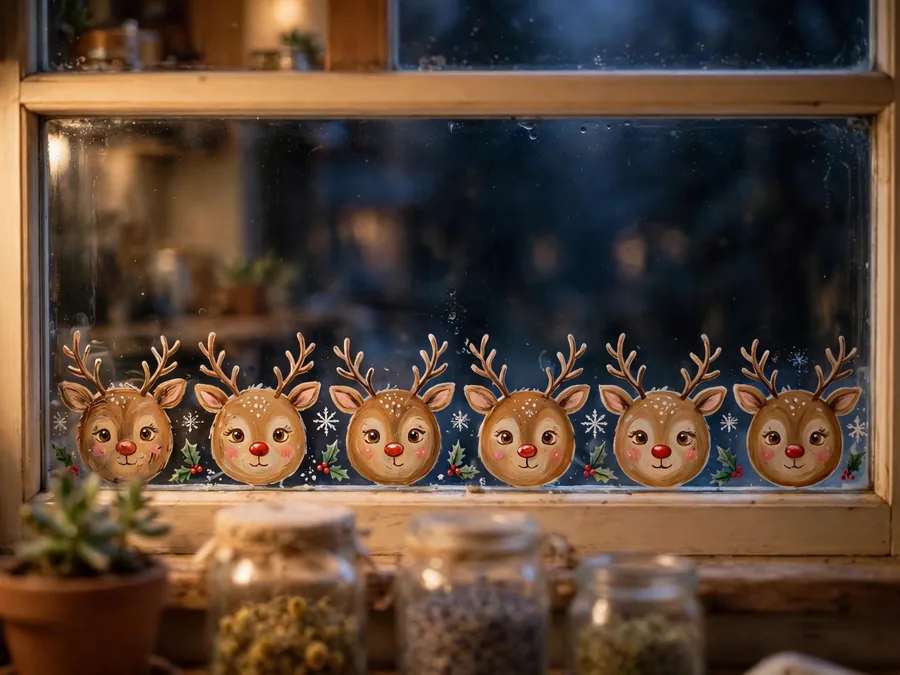
| 7 | Fingerprint Reindeer Along the Bottom Pane | 2+ | Medium |
| 8 | Stained-Glass Panes With Painter’s Tape | 7+ | Medium |
| 9 | Merry Christmas Letters, Traced in Reverse | 8+ | Low |
| 10 | A Gingerbread House on the Patio Door | 6+ | Medium |
| 11 | A Penguin Family Built From Dots | 3+ | Low |
| 12 | Countdown Stars, One More Every Day | 4+ | Low |
| 13 | A Painted Wreath in the Middle of the Glass | 5+ | Low |
| 14 | A Night Sky With One Bright Star | 8+ | Medium |
| 15 | A Cocoa Mug for the Kitchen Window | 5+ | Low |
| 16 | A Snowy Pine Line Along the Bottom | 4+ | Medium |
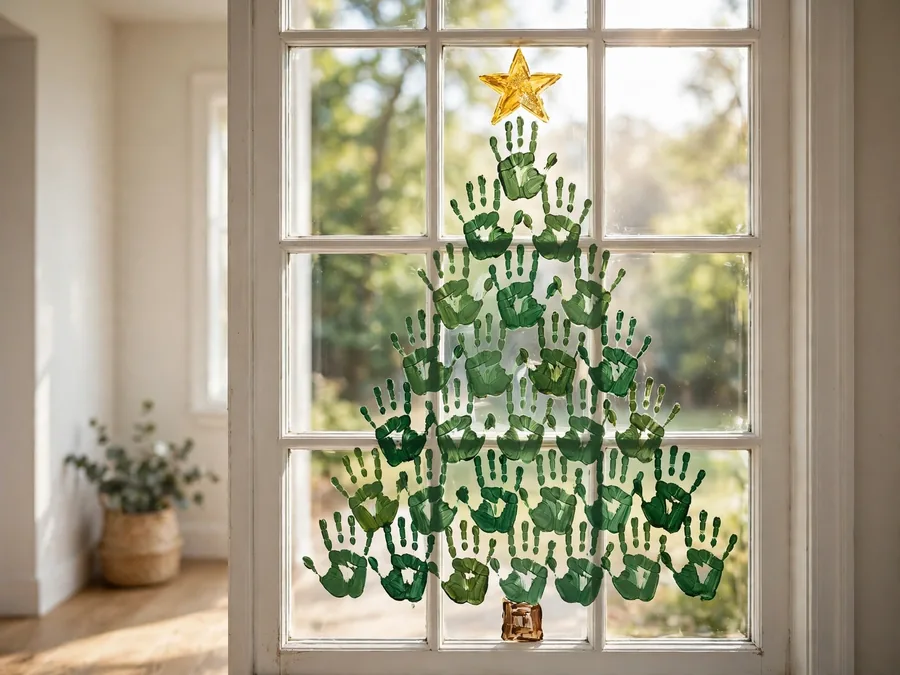
| 17 | A Handprint Christmas Tree | 2+ | Medium |
| 18 | Three Painted Candles for the Dining Window | 7+ | Low |
1. A Big Snowflake Trio in White
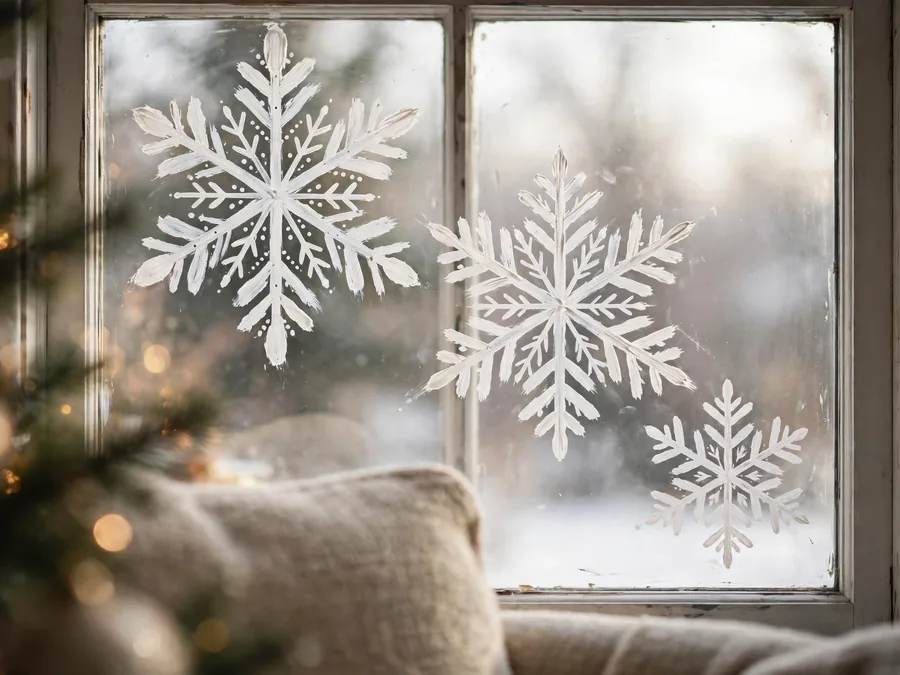
Open with the design that forgives every wobbly line: three big snowflakes in plain white washable paint. Draw one 10-inch flake in the centre of the pane — six straight strokes crossed like a star, with a small V near the end of each arm. Add a 6-inch flake in each top corner, and let each child dot the arm ends with a fingertip. White needs two coats to read from the street, so let the first dry five minutes before the second. The trade-off is real: against a bright midday sky the flakes almost vanish, but at dusk they glow against the dark glass.
Best for: a first family session with mixed ages at one window.
2. Paper Snowflake Stencils, Sponge-Dabbed
Fold a sheet of printer paper and cut a snowflake, then tape it flat to the outside of the glass with a loop of tape at each point. Inside, your child sponge-dabs white washable tempera over the holes, using almost no paint on the sponge — a loaded sponge floods under the paper and blurs the points. Peel the paper off while the paint is tacky and the flake stays crisp. Trade-off: each paper stencil survives only two or three flakes before it softens, so cut several at once and treat them as disposable.
Fit check: test one corner first — if paint seeps past the paper edge, the sponge is too wet; wring it drier.
3. A Reindeer Traced From the Other Side
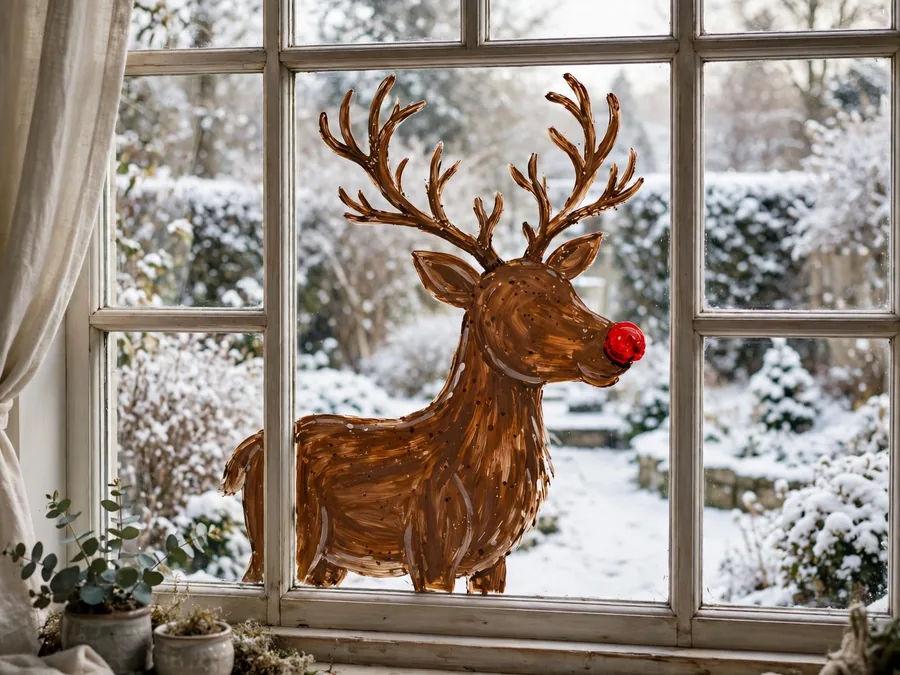
For a design with real detail, let the paper do the drawing. Print a simple reindeer outline at about 14 inches tall and tape it to the outside of the window, facing in. Your child traces the lines from inside with a brown window marker, then fills the body with washable tempera dabbed on with a sponge for a soft, furry texture. Add a red circle nose and a white dot eye last. Those soft, storybook edges suit whimsical Christmas decor perfectly. The trade-off: traced work reads in reverse from the street, so choose shapes that look the same both ways.
The formula: paper template + traced outline + sponge-dabbed fill.
4. Candy Cane Stripes Along the Sill
Stripes forgive shaky hands and still look sharp. Run a 2-inch band of painter’s tape along the bottom edge of the pane and another 2 inches above it, leaving a clean channel. Kids paint diagonal red stripes inside the channel with a wide brush, leaving white gaps the same width, so the band reads as one long candy cane lying along the sill. Peel the tape while the paint is tacky for edges that look ruled. Trade-off: the band sits low, so from the street it reads best on ground-floor windows and doors rather than upstairs panes.
Color note: red and white carry the whole band; one green stripe at each end keeps it festive, not warning-sign.
5. A Painted String of Lights Across the Top
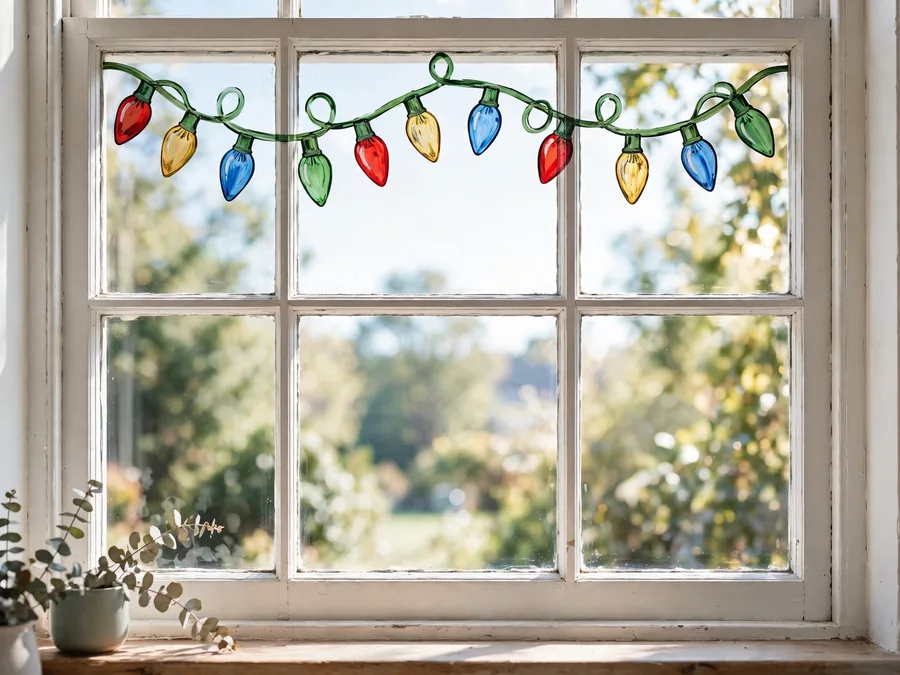
Paint the lights you cannot hang indoors. Draw one curve in green marker across the top pane, sagging twice like a wire. Along it, each child paints bulbs 2 inches long in red, gold, blue and green, close together. Solid tempera sticks beat brushes: the Kwik Stix Tempera Paint Sticks, Set of 12 Classic Colors ($15.99), glide onto glass with no water cup, one stroke per bulb. Trade-off: they never twinkle, though a lamp behind the pane backlights them.
Get the look:
- Main piece: one sagging green curve on the top pane
- Supporting piece: bulbs in red, gold, blue, green
- Texture or material: solid tempera stick, one stroke each
- Finishing touch: a white highlight dot per bulb
6. A Snowman Family Sized to Your Kids
Measure your children, then paint their snowmen to match. The tallest snowman stands as high as your oldest child’s chin on the glass, the smallest reaches a toddler’s shoulder, each built from three white circles dabbed with a sponge. Give every snowman one family detail — a green scarf, a pink hat, a carrot nose pointing the wrong way. Faces are two dot eyes and a dotted smile; arms are brown strokes. Trade-off: sponge circles dry with fuzzy edges, so this family looks cosy rather than crisp; outline each circle with a marker once dry if you want edges.
Space note: keep the family on one pane no wider than 36 inches; a second pane splits the joke.
7. Fingerprint Reindeer Along the Bottom Pane
No brushes, no cups: just fingertips. Press each child’s thumb into brown washable tempera on a paper plate and stamp a row of round bodies along the bottom pane, about 3 inches apart. When they dry, an adult or older sibling adds antlers with a fine marker — two branching lines per print — plus a red dot nose on the leader. Small prints from small thumbs make the baby reindeer at the end of the line. Trade-off: prints smudge if little hands press and twist, so practise on the plate first and lift straight up.
Budget note: this one costs almost nothing — one plate of brown paint, one marker and one red dot cover a whole window.
8. Stained-Glass Panes With Painter’s Tape
Older kids love this one because it looks like real glasswork. Tape straight lines across one pane to make six or eight panels, pressing every edge down hard. Fill each panel with a different jewel colour — ruby, emerald, gold, deep blue — dabbing the washable paint thin so daylight still comes through. When it is fully dry, peel the tape slowly to reveal clean white leading between the colours. Trade-off: one badly pressed edge bleeds, and a bleed means repainting that panel, not wiping the whole window.
Why it works:
- Tape does the precision, so shaky hands still get straight lines
- Thin paint keeps the room bright while the colours glow
- One pane finishes in a single afternoon
9. Merry Christmas Letters, Traced in Reverse
Words read backwards from inside, so borrow the window’s own trick. Print MERRY CHRISTMAS in a chunky font at about 5 inches tall, tape the sheet to the outside of the glass, and trace the letters from inside with a white window marker. Fill each letter with red diagonal stripes or leave them white and dot snow around them. Remove the paper and the message reads to everyone on the street. Trade-off: thin script fonts tear and blur, so stay with bold, simple letters — the chunkier the font, the prouder the result.
Style note: one word in red among white letters — usually CHRISTMAS — gives the message its focal point.

| Paint | Best for | Clean-up |
|---|---|---|
| Washable tempera | Big filled shapes and sponge work | Warm water and a cloth |
| Window markers | Outlines, lettering and small details | Wipes off with a damp cloth |
| Solid tempera sticks | Toddlers and bold blocks of colour | Warm water; no cups to spill |
| Liquid chalk markers | Crisp lines for older kids | Damp cloth; test one corner first |
10. A Gingerbread House on the Patio Door
A patio door is the biggest canvas in the house. Outline a gingerbread house about 3 feet wide in the centre of the door: brown washable paint for the walls, a white icing line along the roof edge, and a door your toddler can reach to colour in. Add two candy windows and a gumdrop path of coloured dots leading away from the step. If the same door wears curtains, choose curtain and window ideas that frame the glass instead of covering it. Trade-off: door glass gets touched constantly, so expect small fingerprints in the icing by Boxing Day.
Texture note: dab the brown with a dry sponge for a baked, crumbly look; smooth brushstrokes read as chocolate, not gingerbread.
11. A Penguin Family Built From Dots
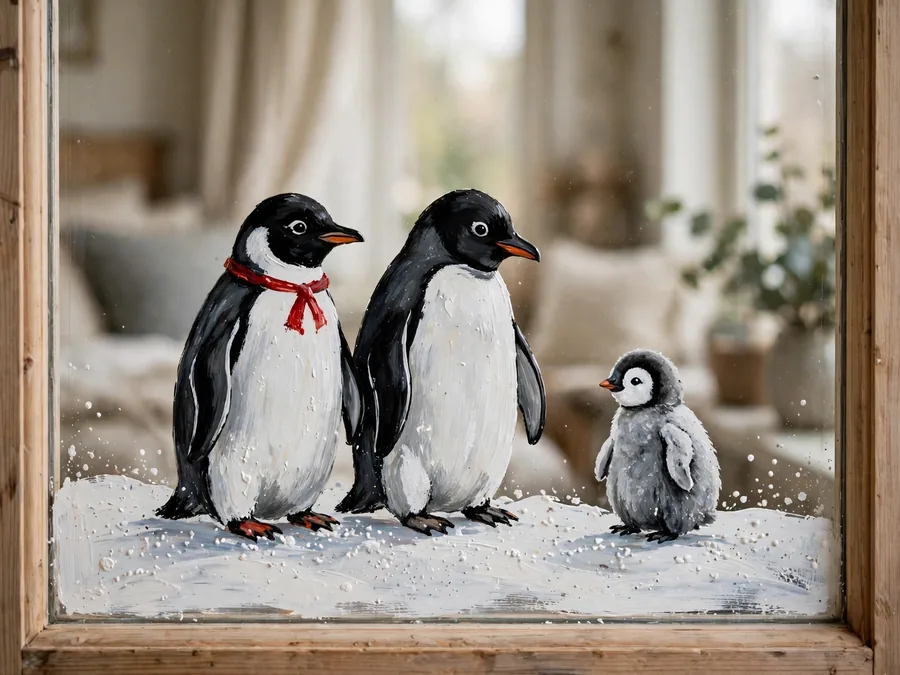
Penguins are just ovals, which makes them perfect first figures. Sponge one white oval per bird at the bottom of the pane, about 6 inches tall, then a black oval over it, leaving a white belly showing. Cotton buds dot the eyes; a small triangle of orange makes the beak. Give the smallest penguin a red scarf painted by the youngest child, wobbles and all. Stand the family on a white painted snowbank so they are going somewhere. Trade-off: black over white needs the white fully dry first — ten patient minutes — or the bellies turn grey.
Easy swap: swap the scarves for painted woolly hats in each child’s favourite colour and the penguins become a family portrait.
12. Countdown Stars, One More Every Day
Turn December into a slow reveal. On the first of the month, paint one gold star in the top corner of the living-room window. Every evening after dinner, a different child adds one more star — big, small, five-pointed, six-pointed — until the pane holds a whole sky by Christmas Eve. Keep the marker in a mug on the sill so the ritual takes two minutes and nobody has to hunt for supplies. Trade-off: the window looks half-finished for the first week, which bothers tidy-minded adults far more than it bothers children.
Seasonal swap: in January the same corner becomes falling snow — one flake a day — until the pane fills and you wipe it clean together.
13. A Painted Wreath in the Middle of the Glass
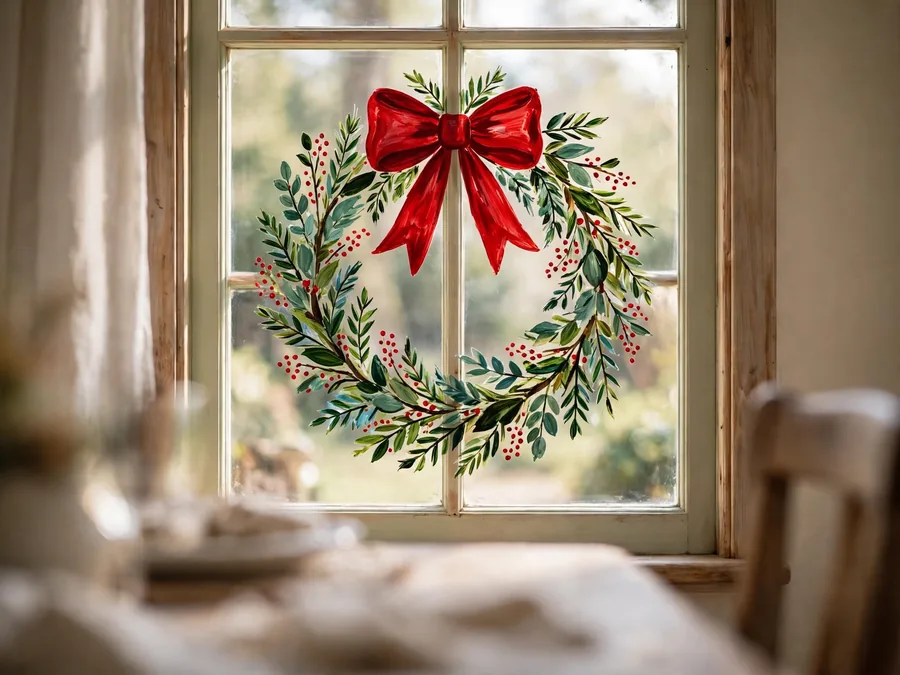
A wreath you paint cannot wilt, drop needles or need a hook. Draw a circle 12 inches across in the centre of the pane with a green window marker, then go around it twice more with dabbed sponge strokes so the ring looks leafy. Add eight red dot berries in two clusters and one bow at the bottom — two triangles and a knot. Paint it on a hall or dining-room window at eye height so it greets people face-on. Trade-off: a painted wreath only reads from straight on; from an angle it flattens into the glass.
Color note: two greens — dark ring, lighter dabs — keep the circle from looking like a flat doughnut.
14. A Night Sky With One Bright Star
Save this for the oldest kids, after dark, when the glass turns into a night sky. Sponge deep blue washable paint across the top two-thirds of the pane, dabbing lighter near the bottom. While it dries, plan the stars: one big eight-pointed star in gold, high in the corner, then a scatter of small white dots and crosses. A row of black rooftops along the bottom, each with one tiny yellow window, grounds the scene. Trade-off: dark paint blocks real daylight, so this belongs on a window the room can spare until January.
Best for: a quiet evening project with one older child, hot chocolate afterwards.
15. A Cocoa Mug for the Kitchen Window
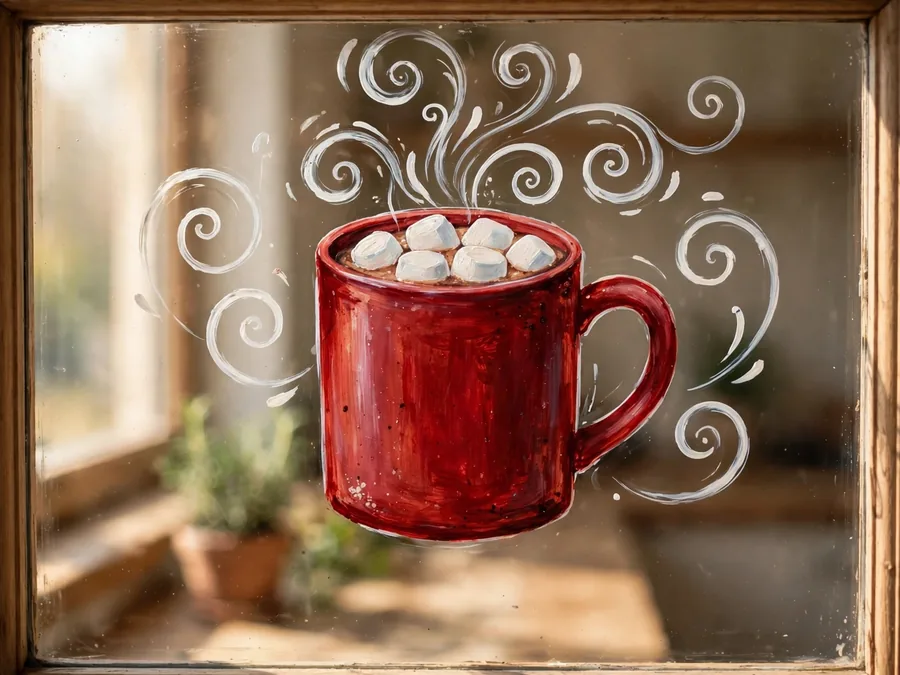
The kitchen window earns a mug of its own. Paint one mug 8 inches tall, low in the pane so it sits on the sill: red for the cup, white for the marshmallows on top, three grey steam swirls curling up in S shapes. Children can outline the mug from a template — a mug traced on paper, taped outside — then colour inside the lines. Trade-off: steam swirls are the hardest part, and wobbly ones read as smoke; keep them short, thick and few.
Get the look:
- Main piece: an 8-inch red mug at sill height
- Supporting piece: three grey steam swirls
- Texture or material: flat marker colour, no shading
- Finishing touch: two white marshmallow ovals
| Age | Their job | The adult’s job |
|---|---|---|
| 2–3 | Dots, fingerprints and handprints | Everything else, plus the wash bowl |
| 4–6 | Stencils, stripes and sponged shapes | Outlines, edges and tape lines |
| 7–9 | Tracing templates and tape panels | Holding templates flat, mixing colours |
| 10+ | Lettering and night-sky scenes | Clean-up, photos and hot chocolate |
16. A Snowy Pine Line Along the Bottom
Give the window a horizon. Sponge a white snowbank about 4 inches deep along the bottom edge, then plant pine trees on it: triangles in two greens, the tall ones 10 inches, the small ones 5, each on a short brown trunk. Toddlers dab snowy texture over the bank with a cotton bud while older children draw the trees. It earns its place beside the season’s other easy DIY decorations in twenty minutes flat. Trade-off: the bank hides the bottom of the view, which the family cat will treat as a personal insult.
Fit check: stand outside before you start — if the sill plants sit within 6 inches of the glass, shrink the trees to clear the pots.
17. A Handprint Christmas Tree
The messiest-looking idea is actually the most contained. Pour green washable tempera onto a paper plate, press one child’s whole hand flat into it, and print handprints on the glass in rows — five at the bottom, then four, three, two and one at the top — fingers up, forming a tree. A brown rectangle trunk and a yellow star finish it. Work hand, print, wash: each hand goes straight from the glass to the bowl of warm water waiting on the sill. Trade-off: prints blur if the hand slides, and small hands make a small tree.
The formula: green handprints + brown trunk + one gold star.
18. Three Painted Candles for the Dining Window
End with the calmest window in the house. On the dining-room glass, paint three candles in a row at sill height: cream columns about 6 inches tall, each with a teardrop flame in gold and a smaller orange heart inside it. Older children can add a soft halo — a yellow circle dabbed around each flame — and a green sprig under each candle. Trade-off: painted low, candles collect small fingerprints fast, so set this row above toddler reach.
Why it works:
- Symmetry looks grown-up, suiting the room guests sit in
- Three flames take ten minutes, start to finish
- It glows politely after the real candles are blown out
One Pane This Weekend, the Rest Can Wait
You do not need all eighteen. One window, painted happily and wiped without tears in January, is the whole tradition in miniature — and next year they will be the ones asking for two panes. Start small, keep the tray by the window, and let the sill fill up at its own pace.
Your one next step: choose the window your family sees most, tape its edges tonight, and set out white paint in a tray ready for the morning.