1. Simple 5-Petal Folded Flower
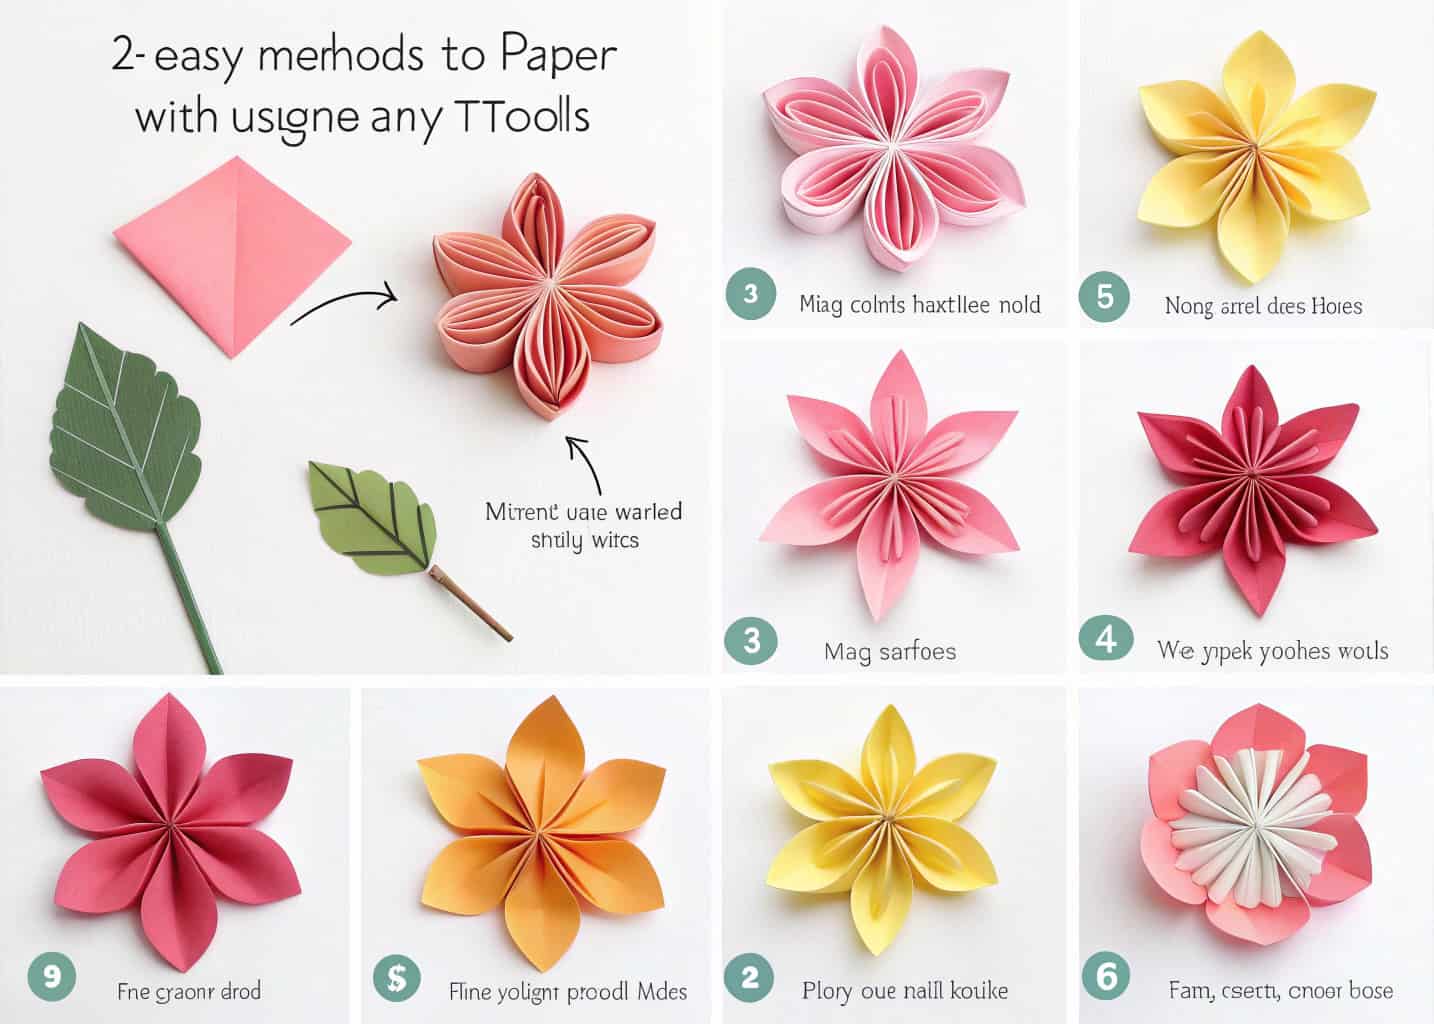
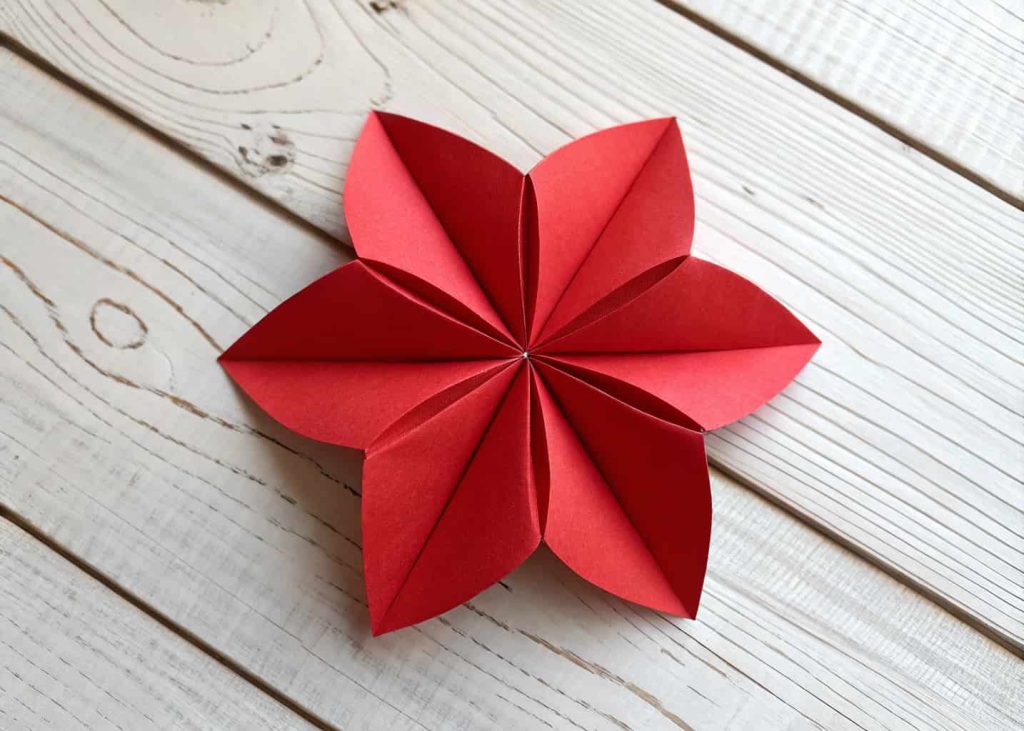
Making a simple 5-petal folded Flower with Paper is the perfect starting point for anyone new to paper crafts. You just need one square sheet of paper and your hands. Fold the paper in half diagonally, then fold it again into a triangle. Round the open corners slightly by tearing or pressing them into a curve, then open up the shape carefully. What you get is a beautiful 5-petal flower that looks stunning. You can use any color you like — red, pink, yellow — and even layer two or three of these together to make a fuller bloom. No scissors, no glue needed at all.
2. Origami Rose (Kawasaki Style)
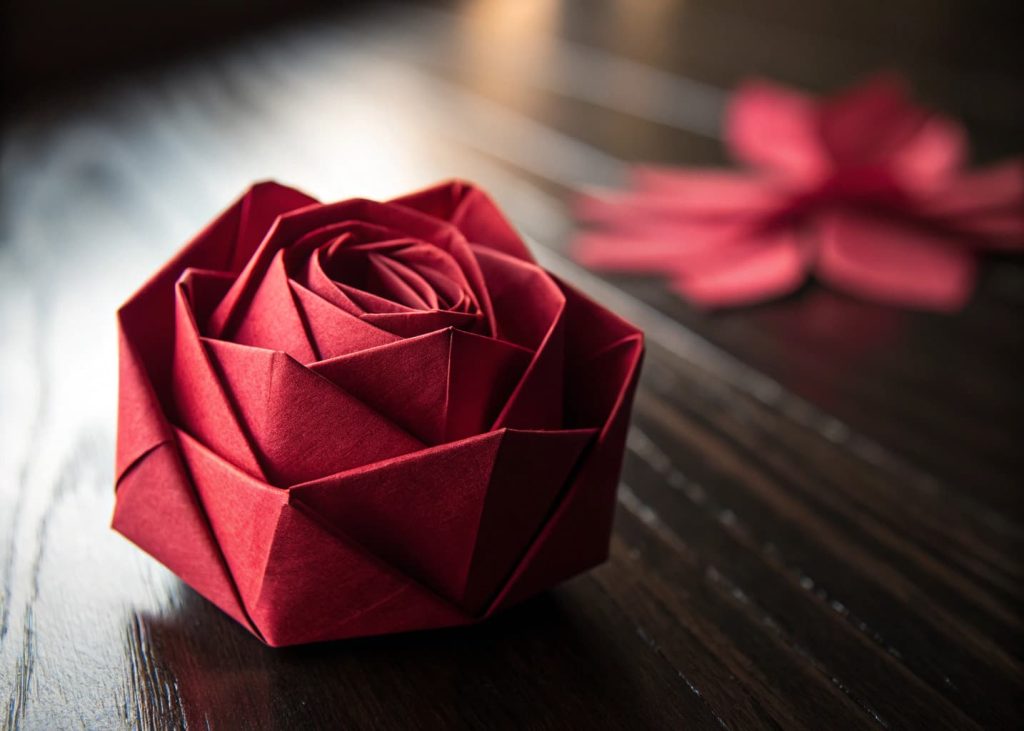
The Kawasaki rose is one of the most loved origami flowers in the world, and the best part is you only need your fingers and a square sheet of paper. Start by dividing your paper into a grid of folds, then create diagonal creases from each section. The magic happens when you twist the center gently while pressing the outer petals outward. This creates that iconic spiral rose shape that looks almost real. It takes a little practice, but once you get the hang of the twisting motion, you can make it in just a few minutes. Deep red or peach paper gives the most realistic result.
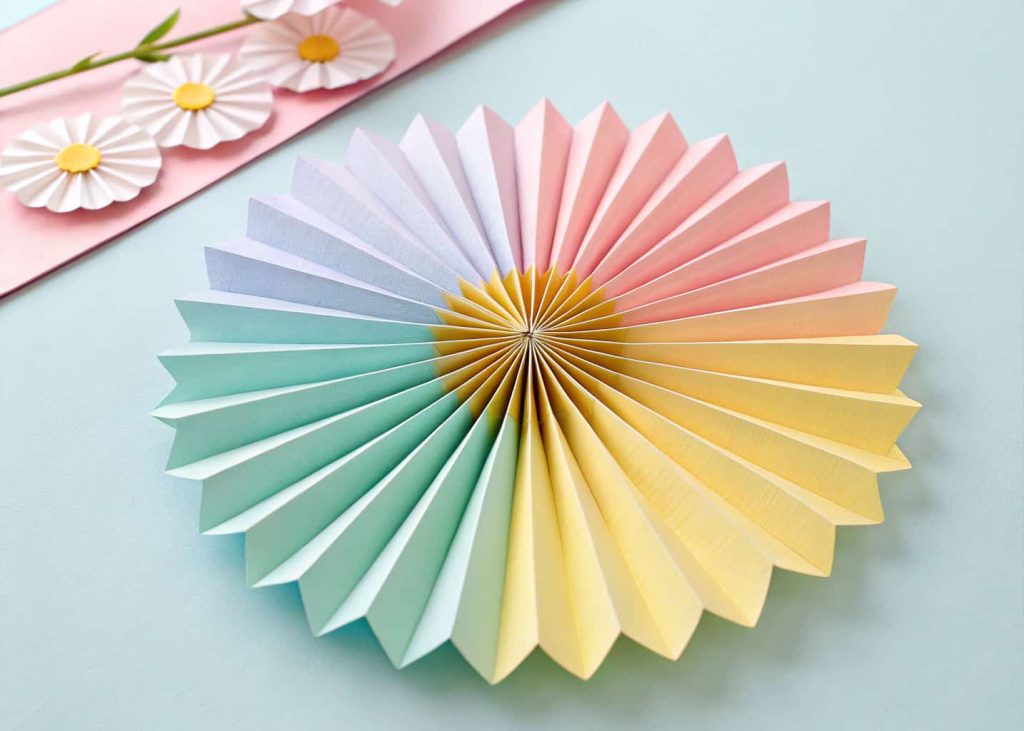
3. Accordion Fan Flower
The accordion fan flower is so easy and satisfying that even young children can make it. Take a rectangular piece of paper and fold it back and forth like a fan, making equal folds all the way to the end. Once fully folded, pinch it tightly in the middle and bend it in half. The two halves fan out into a half-circle, and when you press them together, you get a round, full flower shape. You can hold the center together by wrapping a small strip of paper around it. Use multiple sheets in different colors and join them for an extra-large, gorgeous flower that looks amazing on walls or tables.
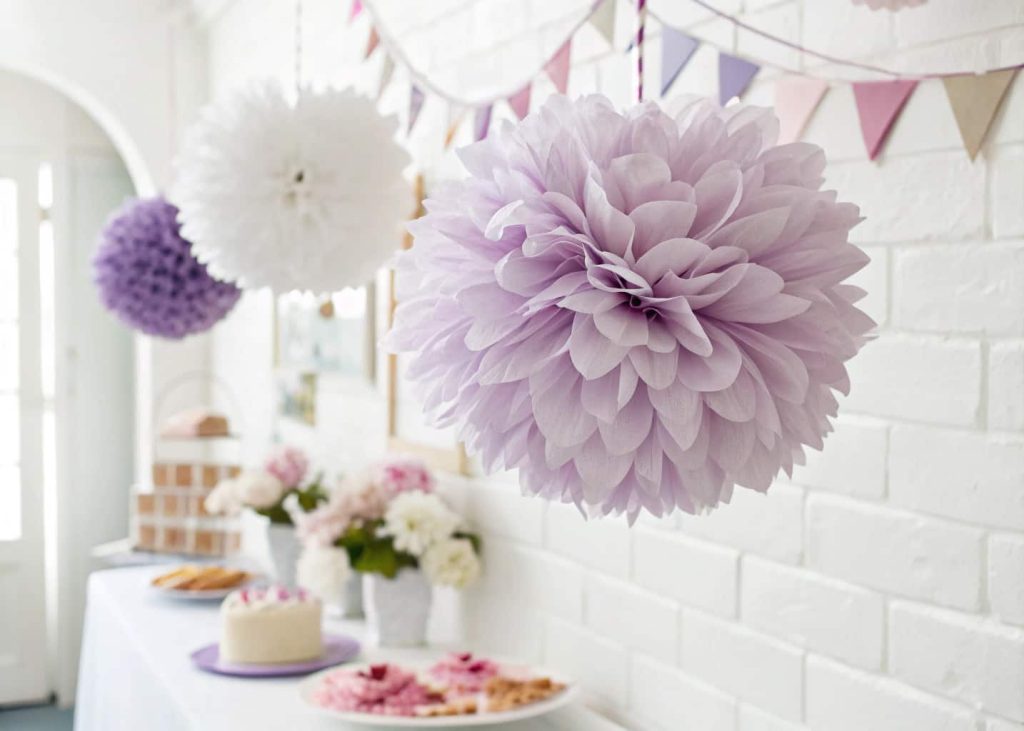
4. Tissue Paper Pom-Pom Flower
Tissue paper pom-poms are one of the most popular paper decorations for parties and events, and you can make them with just your hands. Stack about eight to ten sheets of tissue paper on top of each other, then fold them all together accordion-style. Pinch the whole stack tightly in the middle and tie a small strip of tissue around it or just hold it. Then gently pull each layer of tissue upward and away from the center one by one. Do this on both sides, and you will end up with a big fluffy flower-like ball that looks incredible. Hang it from the ceiling or place it as a centerpiece anywhere.
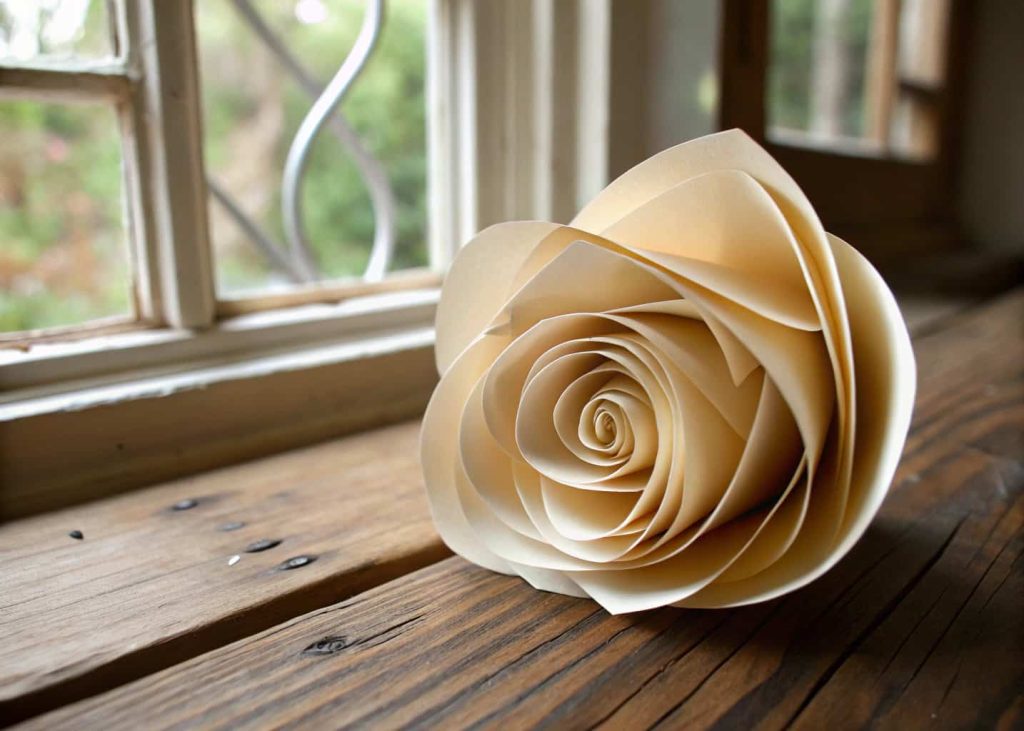
5. Spiral Paper Rose
The spiral rose technique produces one of the most elegant paper flowers, and all you need is one sheet of paper and steady hands. Draw a spiral on the paper starting from the edge and going toward the center, making it wider at the outside and narrower as it reaches the middle. Then carefully tear or rip along the spiral line using your fingers. Starting from the outer end, roll the strip tightly inward and slowly release it so it loosens naturally into a rose shape. The center end becomes the base. Press it flat slightly and you have a gorgeous rose. Thick or textured paper works especially well for this method.
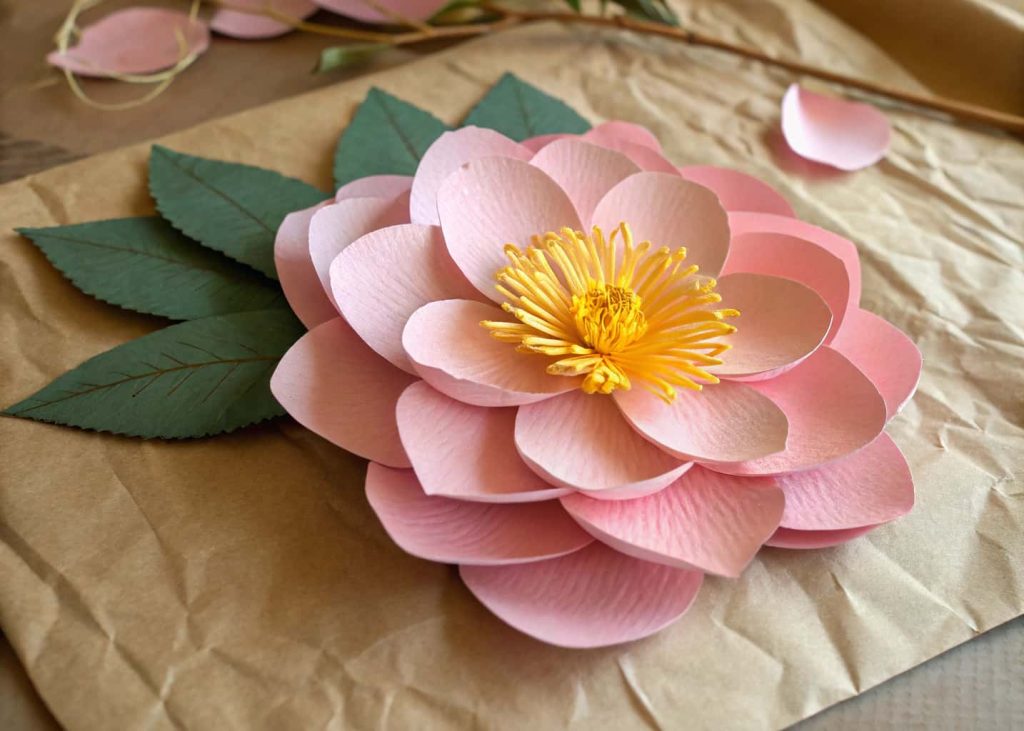
6. Cupped Petal Flower
Cupped petal flowers look incredibly lifelike because of the three-dimensional shape of each petal. Cut out petal shapes from paper — or simply tear them freehand for a more natural look — and then cup each petal by pressing your thumbs gently into the center and curling the edges outward. Once you have five or six cupped petals, layer them in a circle, overlapping each slightly. Press them all together at the base and wrap a thin strip of paper around the bottom to hold everything in place. You can add torn yellow paper strips in the center for realistic stamens. These flowers are perfect for bouquets and gift decorations.
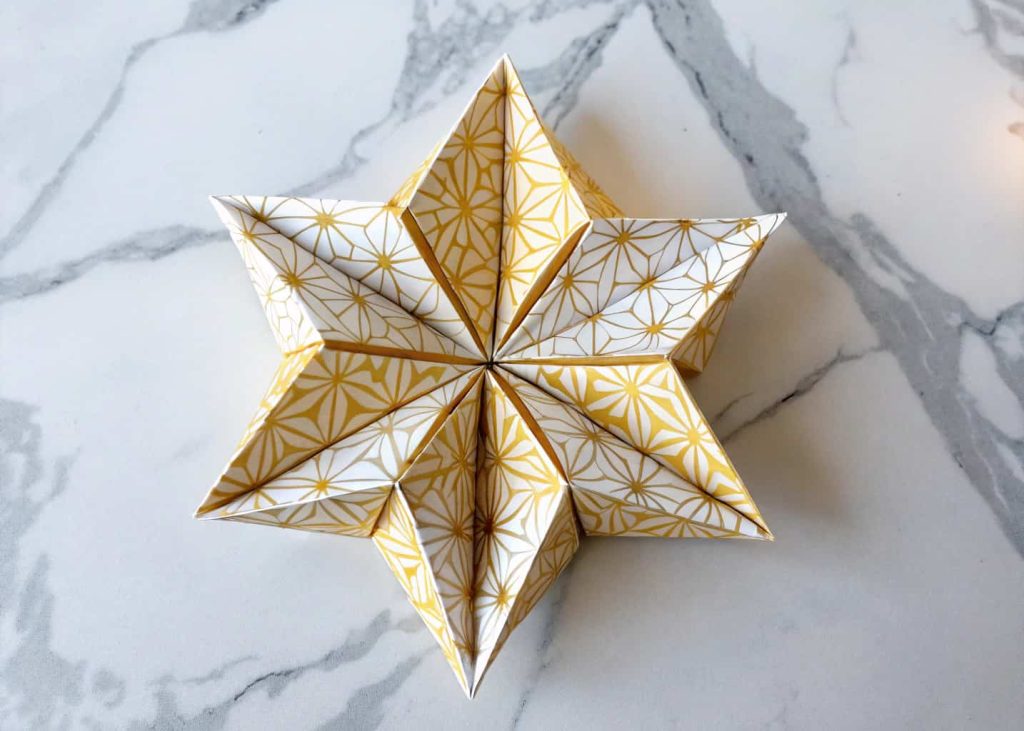
7. Star-Folded Flower
The star-folded flower gives you a bold, geometric bloom that is different from traditional round flowers. Start with a square piece of paper and fold it in half both ways to create a cross crease, then fold it diagonally both ways too. Push the sides inward to collapse it into a small square. From each corner, fold the flap up to the top point, then open it back out and push the edges inward to form a petal shape. Repeat for each section. When you open the full shape, you get a stunning star-like flower with sharp, clean petals. This method works beautifully with patterned or two-toned paper for an extra visual punch.
8. Torn Paper Wildflower
Not every paper flower needs precise folds — the torn paper wildflower celebrates imperfection and looks charmingly natural. Tear thin strips of colorful paper in slightly irregular widths, then layer them in a loose circular pattern. The rough, uneven edges actually mimic the look of real petals quite beautifully. Press the strips together at the center and add a small torn ball of contrasting paper in the middle as the stamen. Because you are using torn edges rather than cut ones, no tools are needed at all. This is a wonderful creative activity for children and makes for wonderfully rustic decorations for scrapbook pages, cards, or wall art.

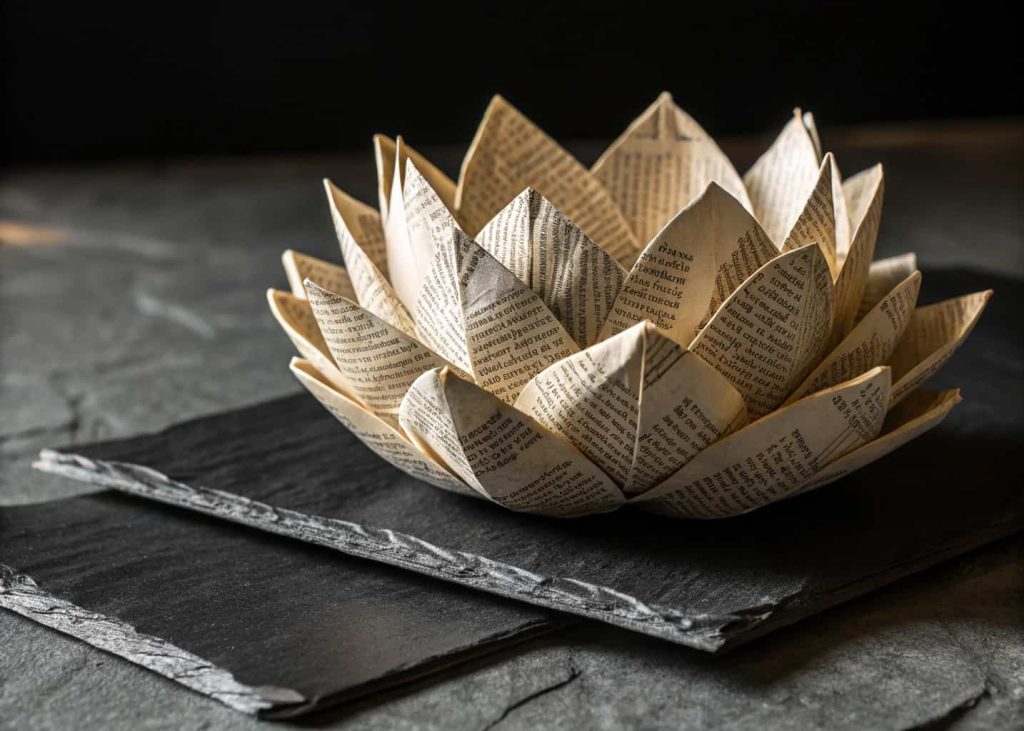
9. Newspaper Lotus Flower
Old newspapers or magazine pages can be transformed into a stunning lotus flower with just folding and shaping. Take a square of newspaper and fold all four corners into the center point. Repeat this step two more times on the same paper. Then carefully reach under and pull the flaps up from underneath to form the outer petals. Pull up the next layer to form the inner petals. What emerges is a layered lotus with multiple rows of petals that is surprisingly sophisticated-looking. Newspaper gives a beautifully textured, monochrome result, but colored magazine pages produce vibrant and eye-catching flowers. These lotus shapes make wonderful table centerpieces for events.
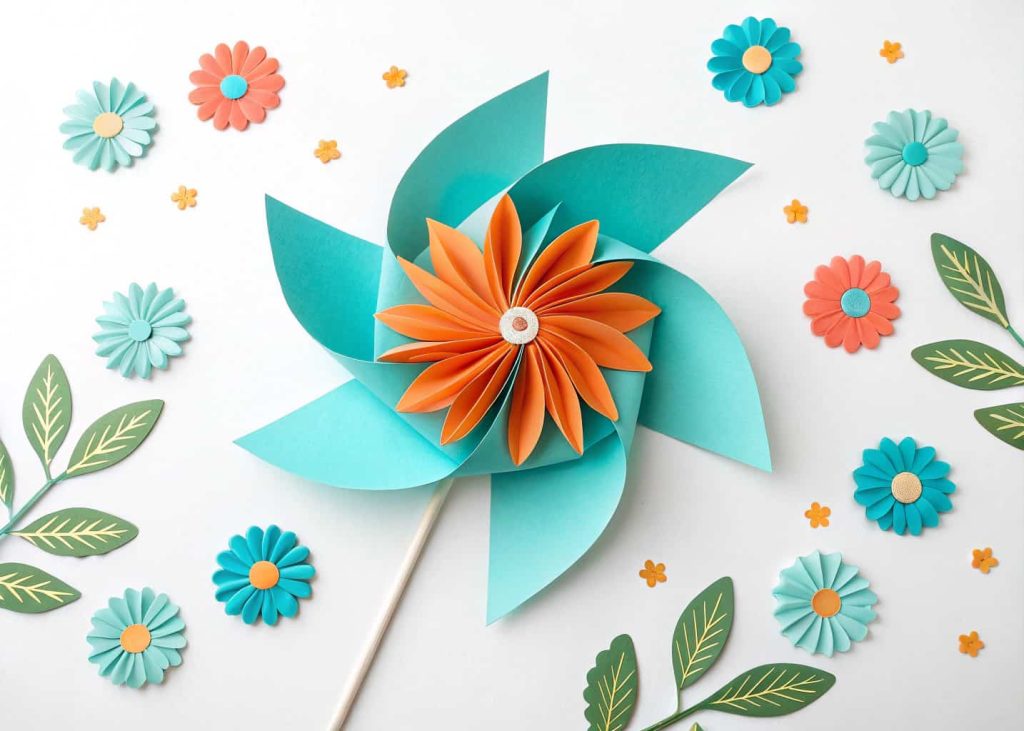
10. Pinwheel Paper Flower
The pinwheel flower is a fun, whimsical design that combines the look of a pinwheel and a flower in one shape. Take a square piece of paper and fold it in half twice to mark the center. Make diagonal cuts from each corner toward the center, stopping about halfway. Take every alternate corner point and fold it into the center, pressing it down firmly. Once all four alternate corners are folded, you get a four-pointed pinwheel flower that looks both playful and bright. Layer two pinwheel flowers of different sizes and colors on top of each other for a more complex look. Add a small paper dot in the center to finish it off perfectly.
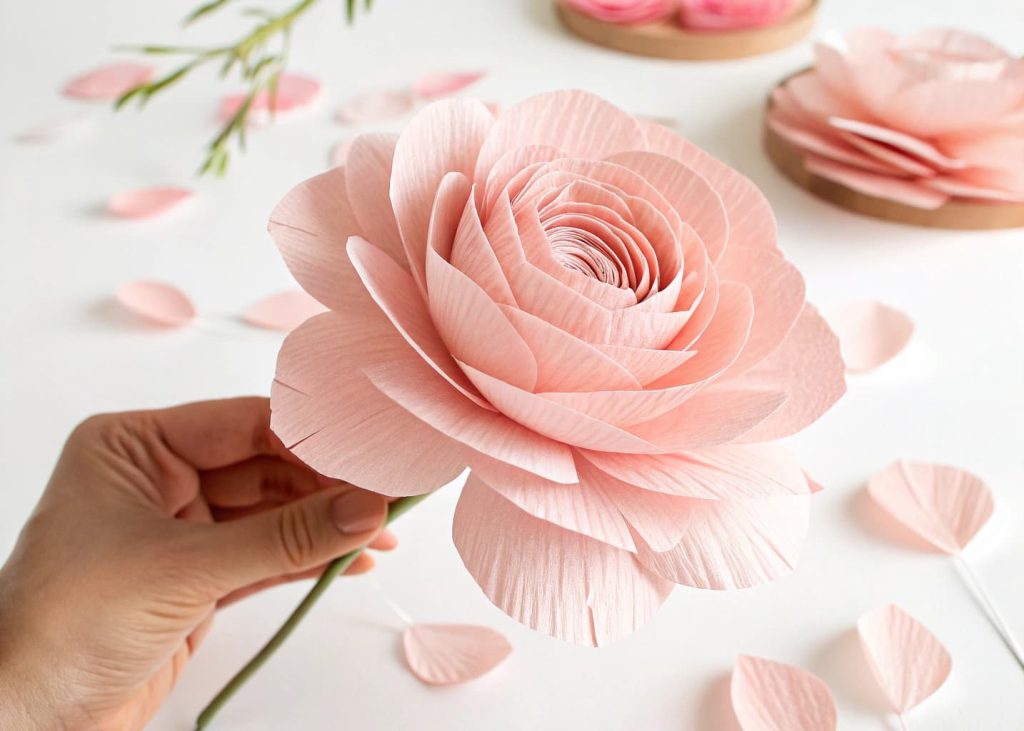
11. Rolled Crepe Paper Flower
Crepe paper is stretchy and soft, which makes it perfect for creating flowers with realistic, natural-looking petals. Tear off a long strip of crepe paper and stretch the center of it gently with both thumbs to give it a cupped, petal-like shape. Roll the strip slowly from one end, keeping the base tight and letting the top flare out loosely. As you roll, the flower shape naturally begins to form, with petals fanning out from the center. Tear the strip off when you are happy with the size and wrap the bottom tightly with another strip to hold it together. Crepe paper flowers look soft and romantic, perfect for bouquets, headbands, or gift wrapping decorations.
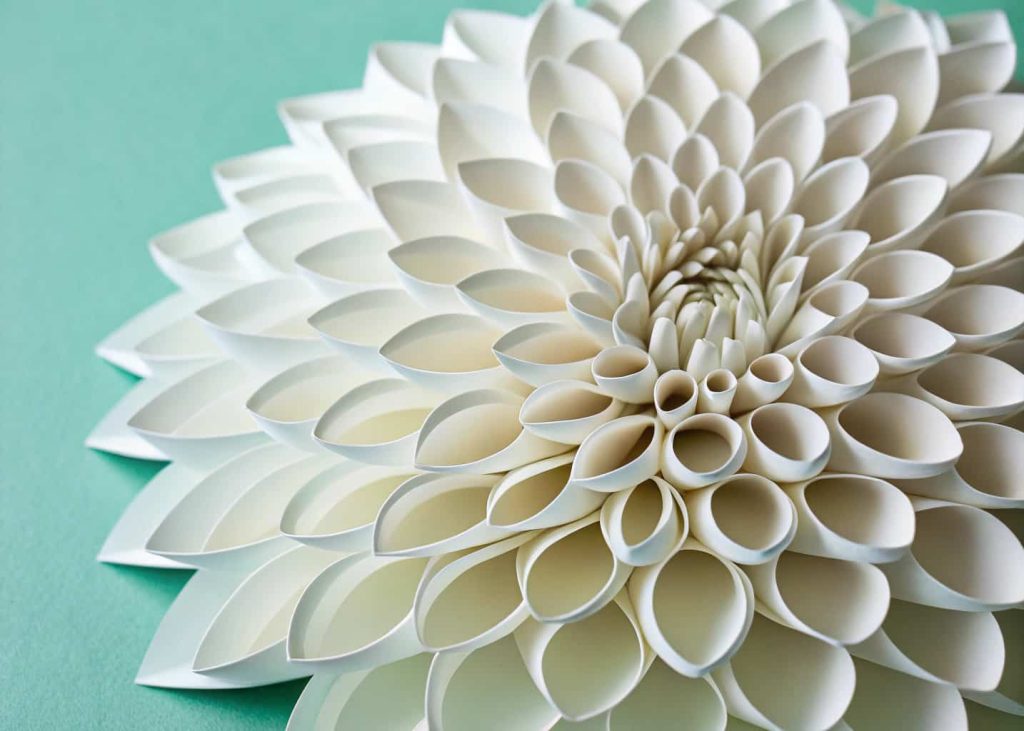
12. Paper Dahlia from Strips
Making a paper dahlia from strips is one of the most rewarding paper flower projects because the finished result looks incredibly full and professional. Tear or fold a sheet of paper into long, narrow strips. Take each strip and loop it into a small teardrop shape, pressing the ends together at the bottom. Make as many of these teardrop loops as you can — the more you make, the fuller your dahlia will be. Arrange the first ring of loops in a circle, then build ring after ring on top, each layer slightly smaller than the last. The center finishes with a tight little cluster of the smallest loops. The layered result looks like a real dahlia in full bloom and is truly impressive.
Conclusion
Making paper flowers without any tools is a joyful, creative activity that anyone can enjoy at any age. Whether you prefer the precise elegance of origami or the relaxed freedom of torn and layered paper, there is a method on this list that will suit your style perfectly. These flowers cost almost nothing to make and yet they create beautiful results you can display, gift, or use as decorations for any occasion. The best part is that you do not need scissors, glue, or any special equipment — just paper and your hands. Start with the simpler methods and work your way up to the more detailed ones. With a little practice, your paper flowers will look absolutely stunning.