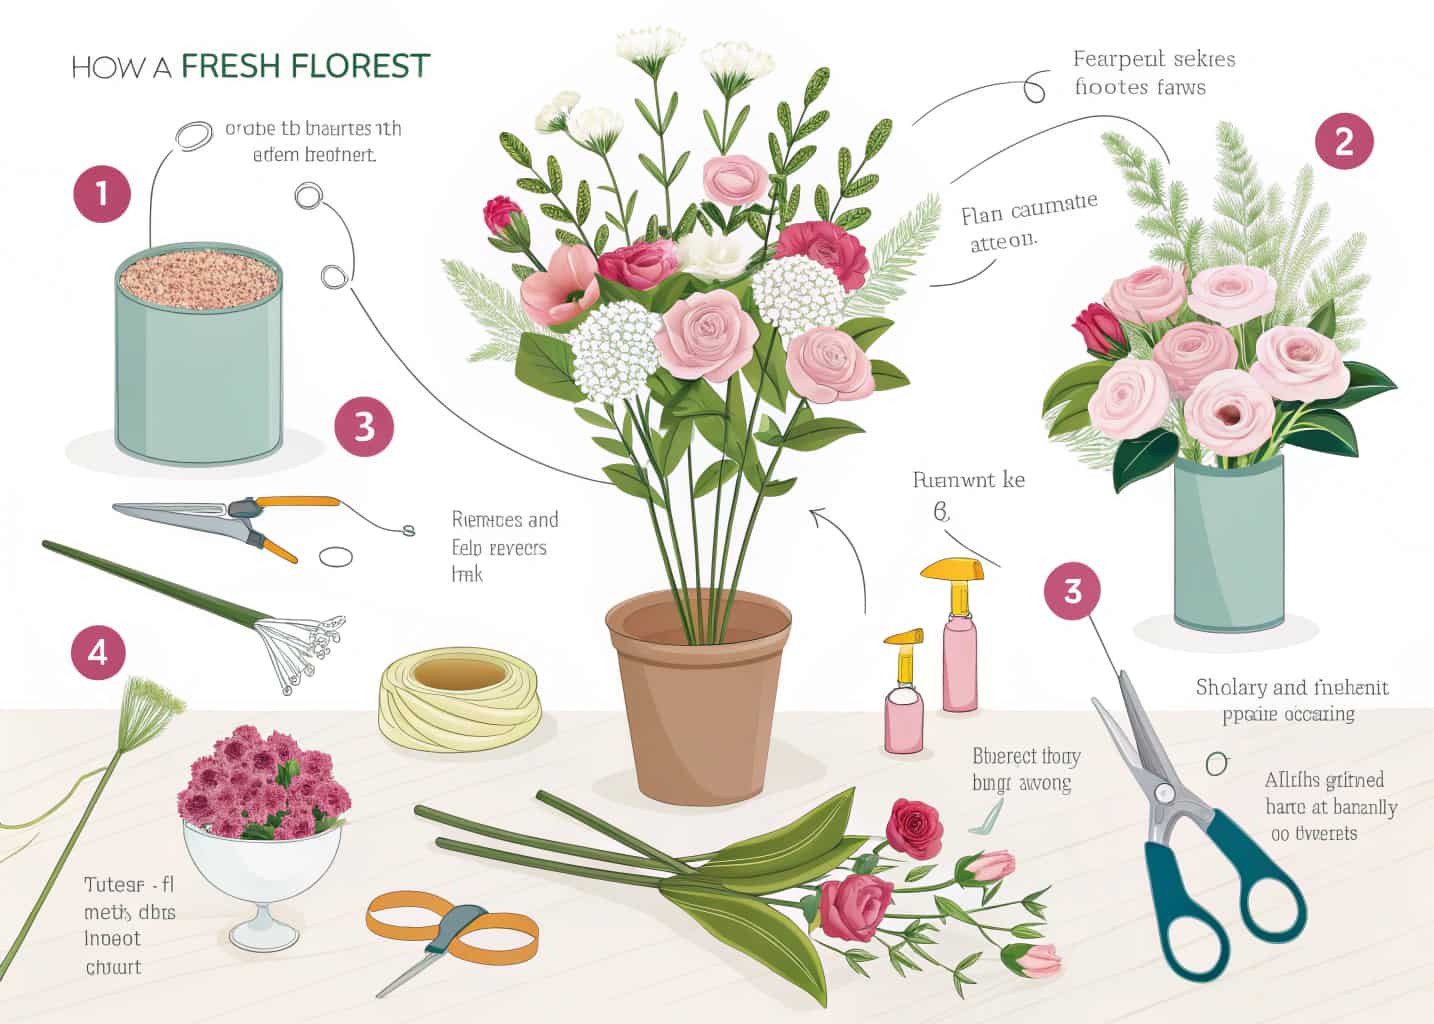
1. Choose the Right Materials Before You Begin
If you want to make a flower, the very first thing you need to do is pick the right materials. A lot of people skip this step and jump straight into crafting, then wonder why their flower does not look the way they imagined. The truth is, your materials make or break the final result. You have options like crepe paper, tissue paper, fabric, felt, foam sheets, or even fresh natural leaves. Each one behaves differently in your hands. Crepe paper stretches and curves beautifully, tissue paper gives a delicate see-through look, and fabric holds its shape over time. Before you buy anything, think about where this flower will be used. Is it for a wedding decoration, a gift topping, a scrapbook, or just a fun craft project at home? Once you know the purpose, choosing materials becomes much easier and more intentional.
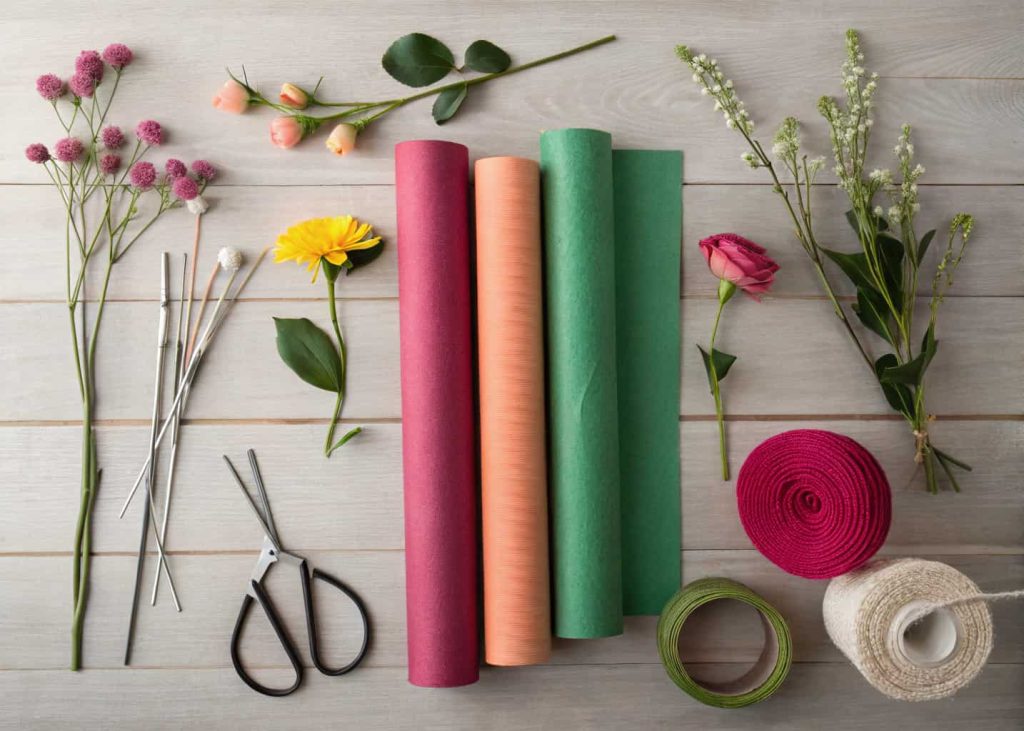
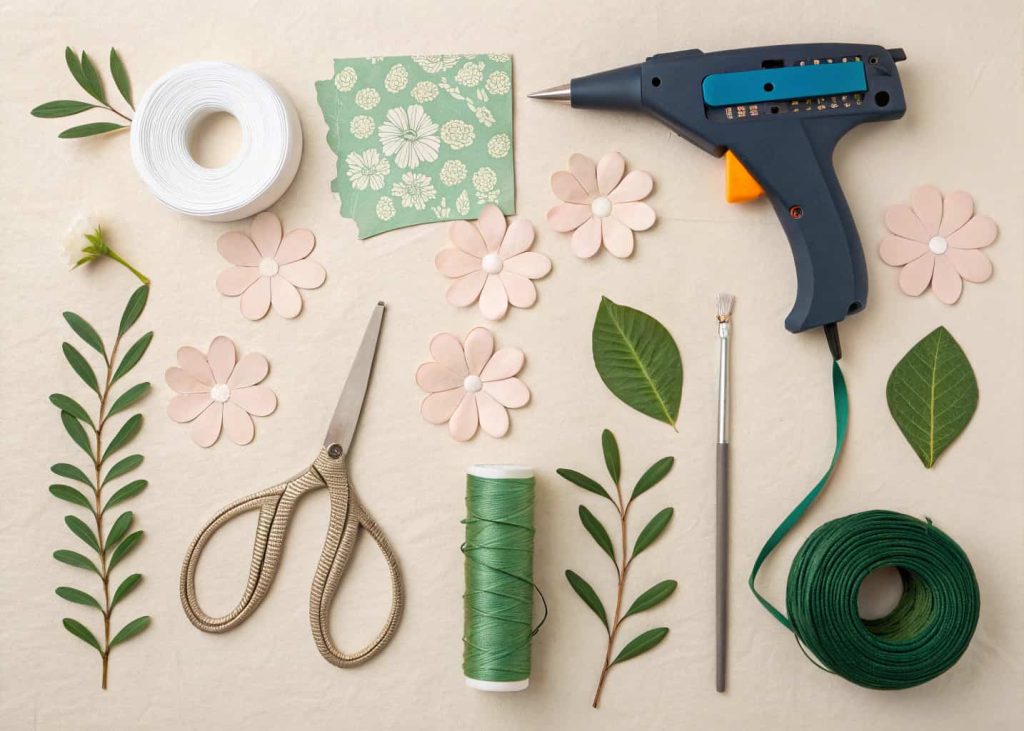
2. Gather All Your Tools in One Place
Before starting any flower-making project, you should gather every single tool you need and place it right in front of you. This sounds like simple advice, but it makes a huge difference in your workflow. When you have to stop in the middle of cutting or shaping to look for glue or scissors, you lose your momentum and sometimes mess up the piece you were working on. The basic tools you will need include scissors, a hot glue gun, floral wire, floral tape, a pencil, and a ruler. Depending on your chosen method, you might also need a foam mat, a ball tool for shaping petals, or a heat gun for curling edges. Keeping everything organized in a small tray or basket before you begin saves you from frustration later. Think of it like a chef who preps all ingredients before cooking. That preparation is what separates a smooth crafting experience from a chaotic one.
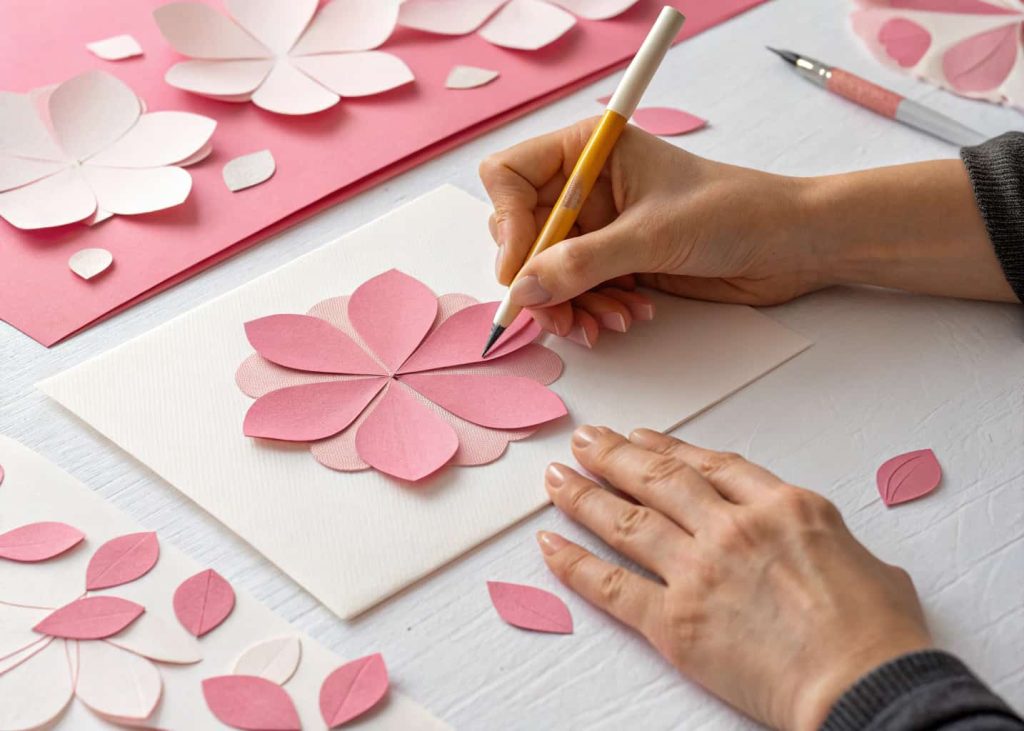
3. Draw or Print Petal Templates
One of the most important steps in making a professional-looking flower is using petal templates. Freehand cutting might work for simple projects, but if you want all your petals to look uniform and balanced, templates are the way to go. You can draw them yourself on cardstock or print them from the internet. There are dozens of free petal shape templates available online for roses, dahlias, sunflowers, peonies, and more. Trace the template onto your chosen paper or fabric and cut carefully along the lines. Having consistent petal shapes means your flower will look symmetrical and polished when assembled. Do not rush this step. Take your time with the tracing and cutting because rough edges will show in the final flower. If you are making multiple flowers for a big project like a wedding backdrop or a garland, having templates speeds up the entire process and keeps every flower looking consistent and neat throughout.
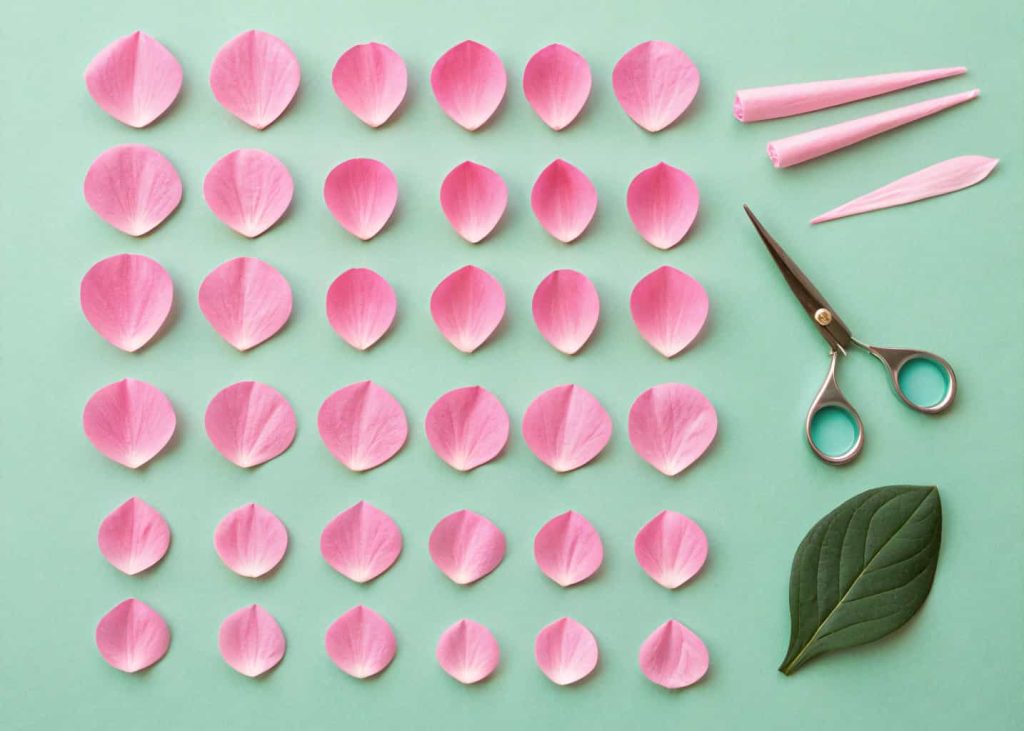
4. Cut Petals Neatly and in Multiple Sizes
Once your templates are ready, it is time to cut your petals. The key here is to cut multiple sizes because real flowers in nature are never made of all identical petals. The inner petals of a rose or peony are smaller and more tightly curled, while the outer petals are larger and more open. This layered approach is what gives handmade flowers their realistic and dimensional look. Start by cutting your smallest petals first, then work your way to the larger outer ones. Stack your paper and cut multiple layers at once to save time. Keep your scissors sharp because dull scissors leave jagged edges that look unprofessional. After cutting, organize your petals by size in separate small piles so you do not mix them up during assembly. This organization step might seem unnecessary, but when you are working fast with glue drying quickly, having your petals already sorted by size keeps the process smooth and stress-free from start to finish.
5. Shape and Curl Your Petals for a Realistic Look
Flat petals make flat-looking flowers. If you want your flower to look like it was just plucked from a garden, you need to give each petal some shape and dimension. This is where the real magic happens. For paper petals, you can use a pencil, a chopstick, or a ball tool to curl the edges. Simply wrap the petal tip around the pencil and hold for a few seconds, then gently release. The paper will hold a natural curve. For fabric petals, a candle flame or heat gun held a few inches away will cause the edges to curl naturally. Be careful with heat and always keep a safe distance. For foam petals, pressing with a ball tool on a foam mat creates a cupped shape. Shaping each petal individually takes time, but this is the step that transforms a flat craft project into something that genuinely looks like a real flower. Do not skip it.
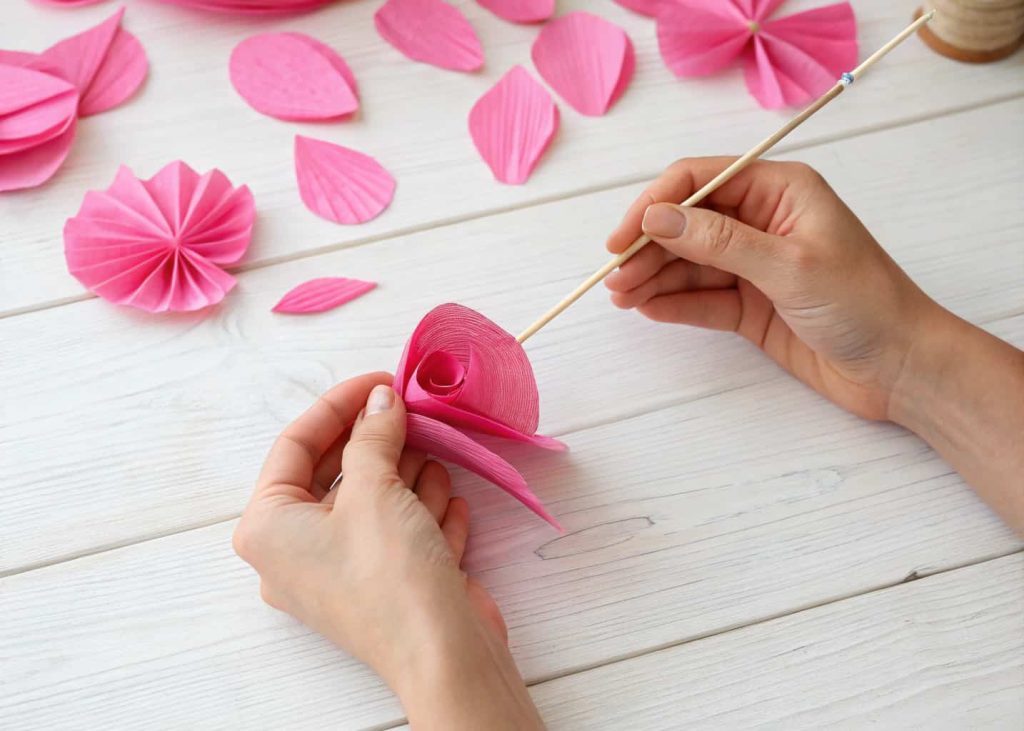
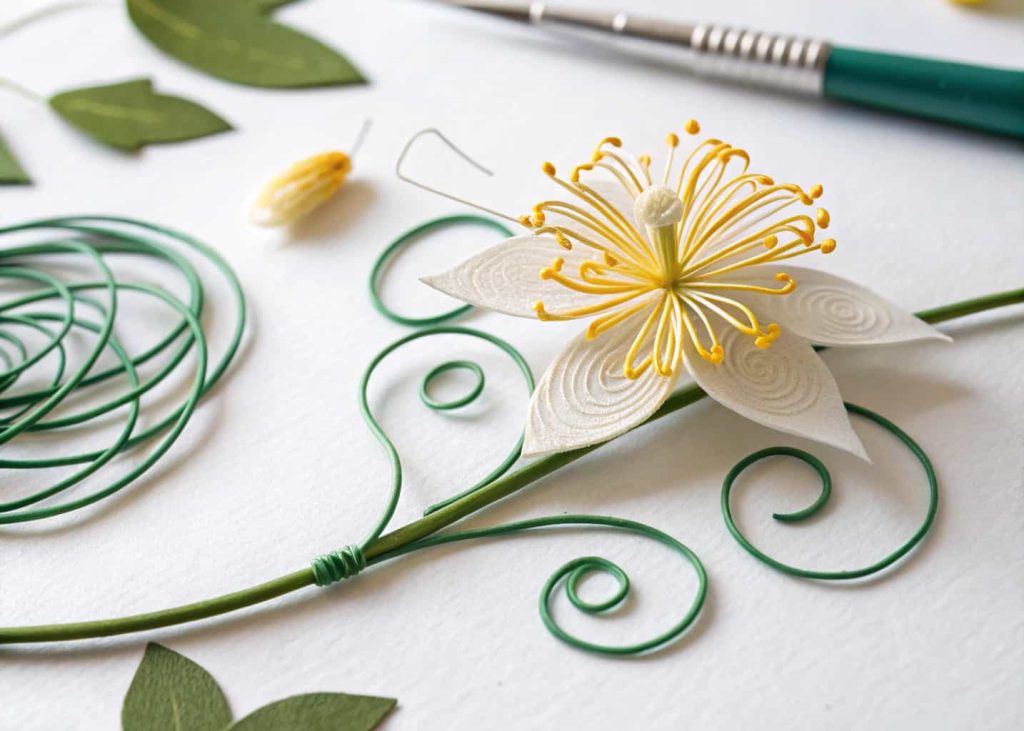
6. Make the Flower Center First
Many beginners start with the outer petals and work inward, but professional flower makers always build from the center out. The center of your flower is the anchor around which everything else is built. Depending on the flower type, the center can be a tightly rolled piece of paper, a small pom-pom made from tissue, a bunch of yellow stamens bought from a craft store, or even a button. For a rose, you roll a long strip of crepe paper tightly into a bud shape and secure it with floral wire. For a sunflower, you glue a circle of dark brown fabric or felt as the center base. For a daisy, yellow stamens clustered together create a perfect middle. Once your center is ready and secured firmly on a wire stem, you have a solid foundation to attach petals around. A well-made center keeps the whole flower balanced and gives it a natural focal point that draws the eye.
7. Attach Petals Layer by Layer
This is the step where your flower really starts to come alive. You are going to attach petals one layer at a time, starting from the smallest inner petals and moving outward to the larger ones. Use your hot glue gun for paper and foam flowers, and a fabric glue or needle and thread for fabric flowers. Apply a small dot of glue at the base of each petal and press it firmly against the flower center or the previous layer. Hold it for a few seconds until the glue sets. Slightly overlap each petal with the one before it, just like petals grow in real flowers. As you add each new layer, position the petals slightly lower and spread them out a bit more to create that open, blooming appearance. Rotate the flower constantly as you work so you can see the shape developing from all angles. Rushing this step leads to uneven flowers, so take your time with each individual petal placement.
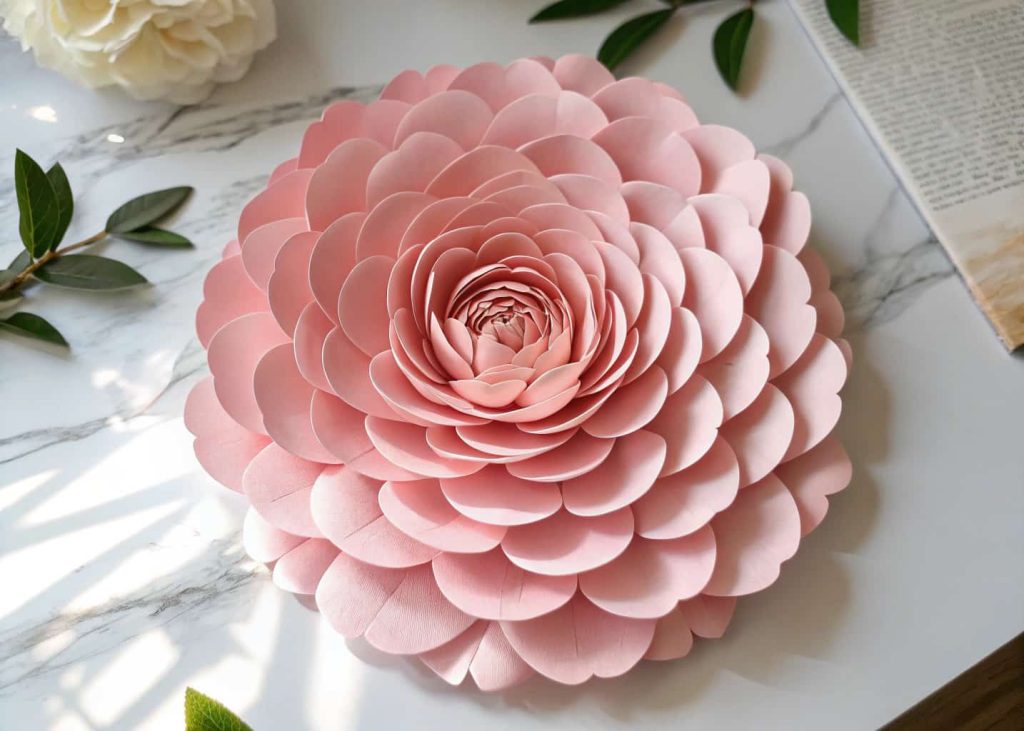
8. Build Fullness with Enough Layers
One of the biggest mistakes beginners make is not using enough petals. They add two or three layers, think the flower looks good enough, and stop. But a truly full and beautiful flower needs at least four to six layers of petals, sometimes even more depending on the flower variety. A peony, for example, has so many layers that it looks almost impossibly lush and round. To achieve that kind of fullness, you need to keep adding petals patiently. As you add more outer layers, let the petals splay outward naturally rather than keeping them upright. You can also add a few petals that are slightly bent backward to mimic the look of a flower that has fully opened in the sun. Do not be afraid to use more material than you think you need. It is always easier to remove a petal than to add one after everything has dried. More layers equal more beauty, fullness, and realism in every handmade flower you create.
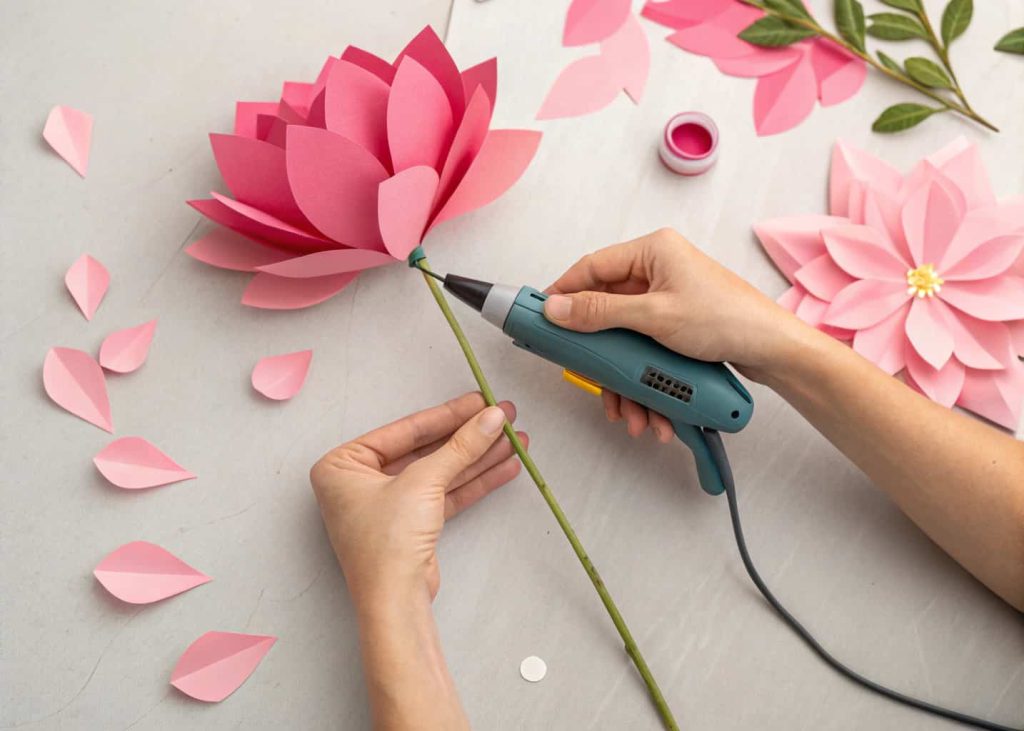
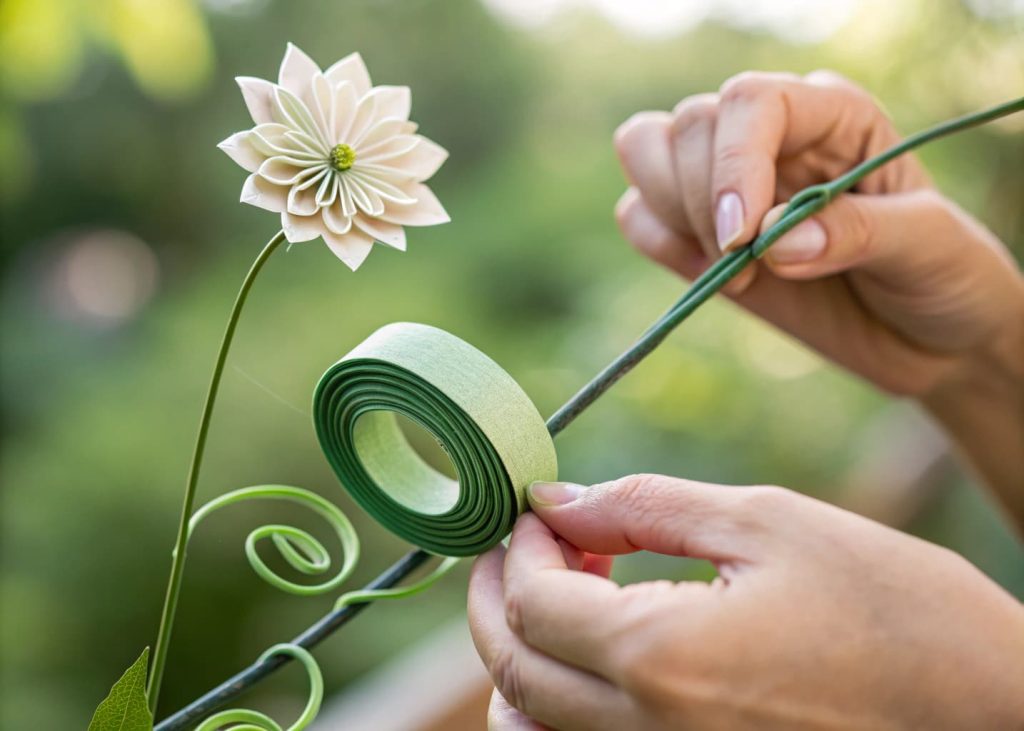
9. Wrap the Stem Neatly with Floral Tape
Once your flower head is assembled and looking beautiful, it is time to finish the stem. An exposed wire stem looks unfinished and amateur. Floral tape is a self-adhesive stretchy tape that sticks to itself when you stretch it slightly as you wrap. Starting just below the base of the flower, stretch the tape slightly and wrap it diagonally down the wire stem in a spiral motion, overlapping each round slightly. Keep the wrapping tight and consistent. You can also add paper leaves to the stem as you go by simply laying a leaf wire alongside the stem and wrapping both together with the floral tape. The finished stem should look smooth, green, and clean from top to bottom. Some crafters also wrap stems with ribbon or twine for a different aesthetic. Whatever you choose, a neatly finished stem elevates the entire flower and makes it look like something you would find in a high-end florist shop rather than a home craft table.
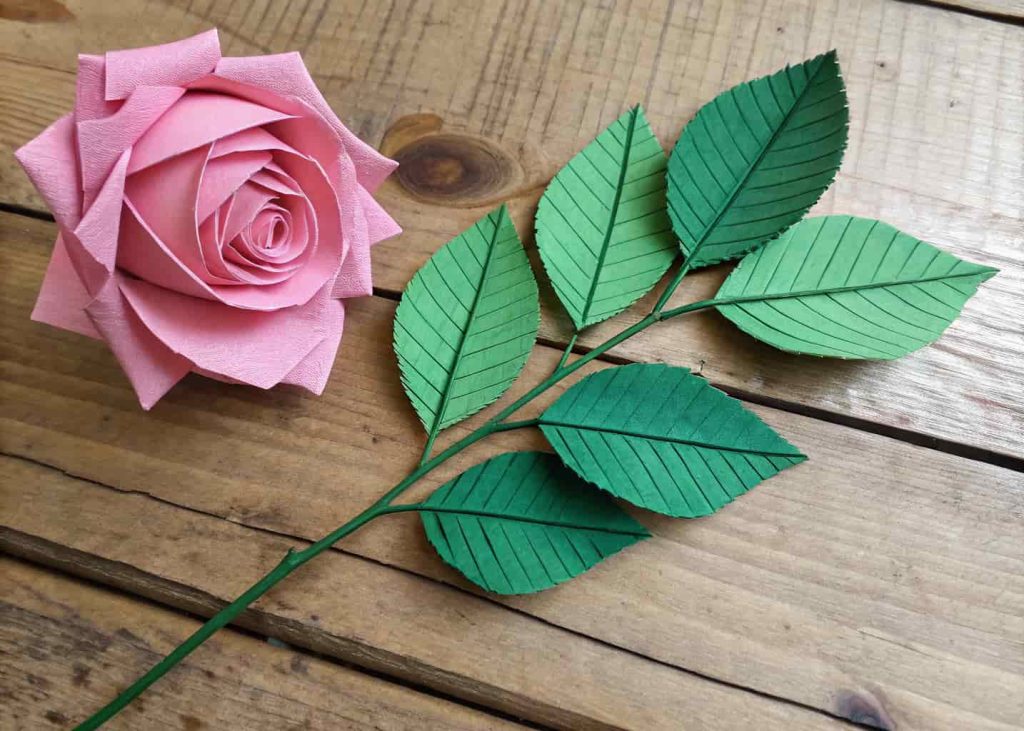
10. Add Leaves to Complete the Look
A flower without leaves often looks incomplete and a little bare. Leaves are what ground the flower and make it look like it belongs in nature. You can cut leaf shapes from green crepe paper, felt, or fabric. Use a darker green for a more realistic look. Cut the leaves with slightly jagged or serrated edges to mimic real plant leaves. Once cut, use your fingers or a bone folder tool to press a center vein line into each leaf for texture. Attach each leaf to a short piece of floral wire using floral tape, then incorporate them into your flower stem during the wrapping step. You can also glue leaves directly to the base of the flower head for a full, garden-fresh appearance. Adding two or three leaves per flower stem is usually enough. The leaves should not compete with the flower for attention, but they should complement it and give the whole arrangement a sense of life and organic beauty.
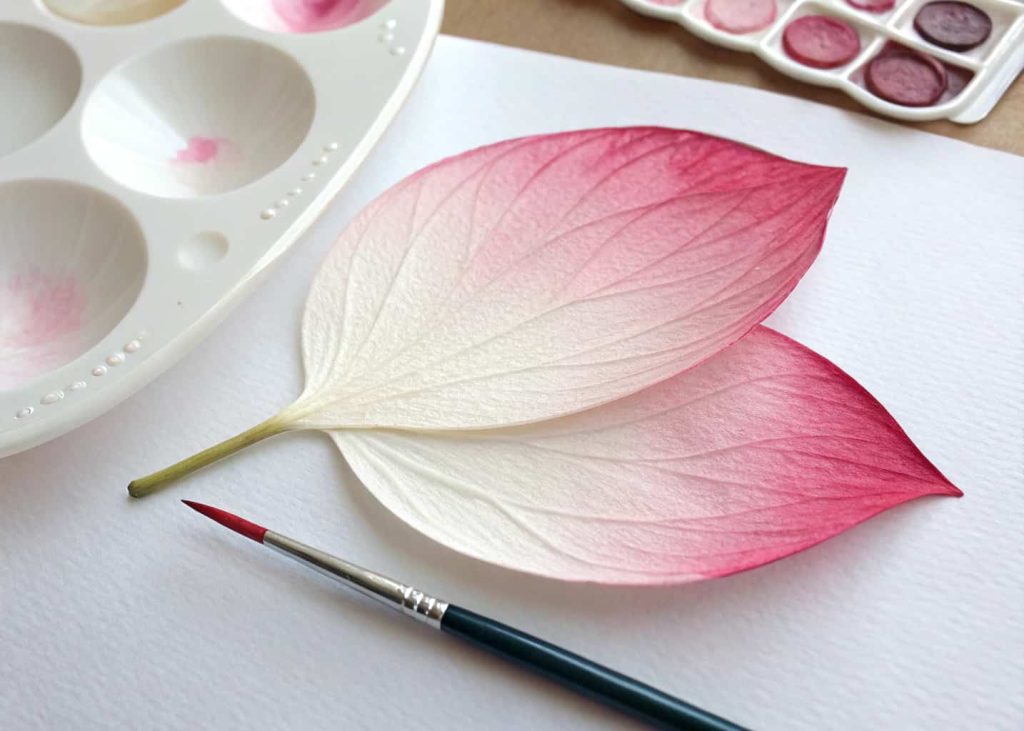
11. Use Color Gradients for a Natural Effect
Real flowers are rarely one flat, solid color. If you look closely at a rose or a ranunculus, you will notice the center is often darker and the outer petals are lighter, or there are soft blushes of pink fading into cream at the petal tips. You can recreate this beautiful effect in your handmade flowers by using two or more colors of paper or fabric. For a rose, use a deep burgundy for the inner petals and soft pink for the outer ones. For a sunflower, use bright yellow petals that are slightly orange at the base near the center. You can also use watercolor paint or alcohol ink markers to hand-paint color gradients onto white paper petals before cutting and assembling them. Dip the petal tip into diluted ink and let it bleed naturally inward for a gorgeous ombre effect. This small technique makes an enormous visual difference and takes your flowers from looking like crafts to looking like fine botanical art.
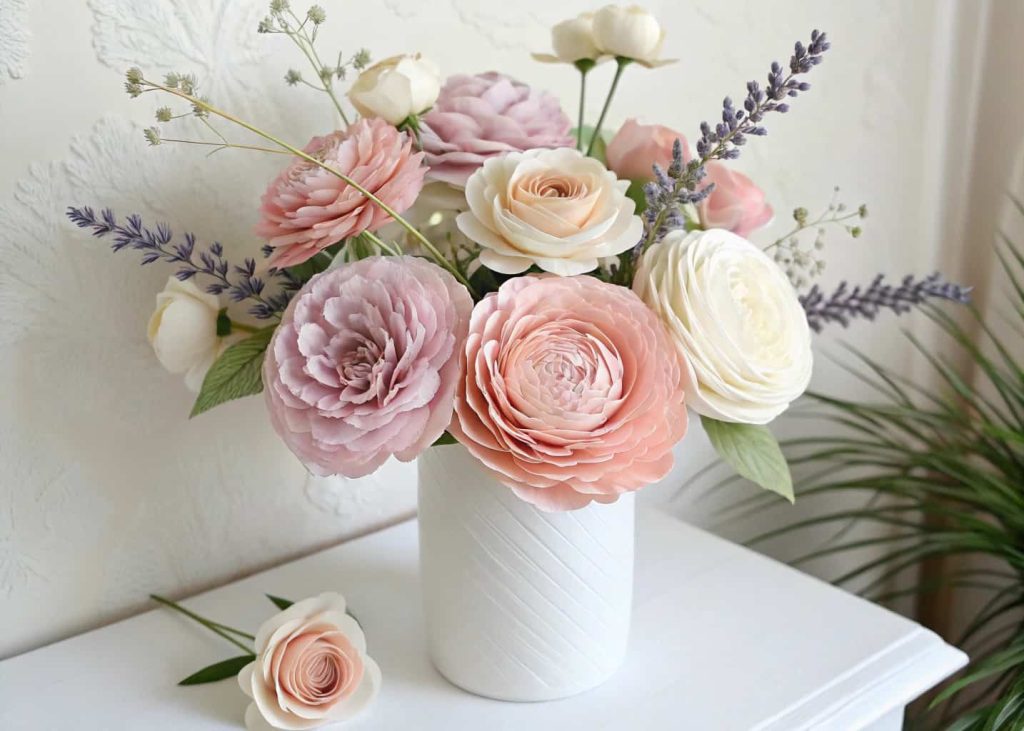
12. Arrange Multiple Flowers Together
A single flower is beautiful, but a group of flowers arranged together is absolutely stunning. Once you have made several flowers in different sizes and shades, you can combine them into a bouquet, a wreath, a centerpiece, or a wall installation. When arranging, mix different flower types together just like a florist would. Pair a large peony with smaller roses and tiny filler flowers like baby’s breath made from small rolled tissue puffs. Vary the heights of the stems so some flowers sit higher and some nestle lower within the arrangement. Use a vase filled with decorative stones or floral foam to hold everything in place. If you are making a flat wall arrangement or backdrop, use a foam board as your base and hot-glue flowers in clusters, working from the outside edges inward to fill the space evenly. Step back frequently to check the overall balance and shape of your arrangement as you add each new element.
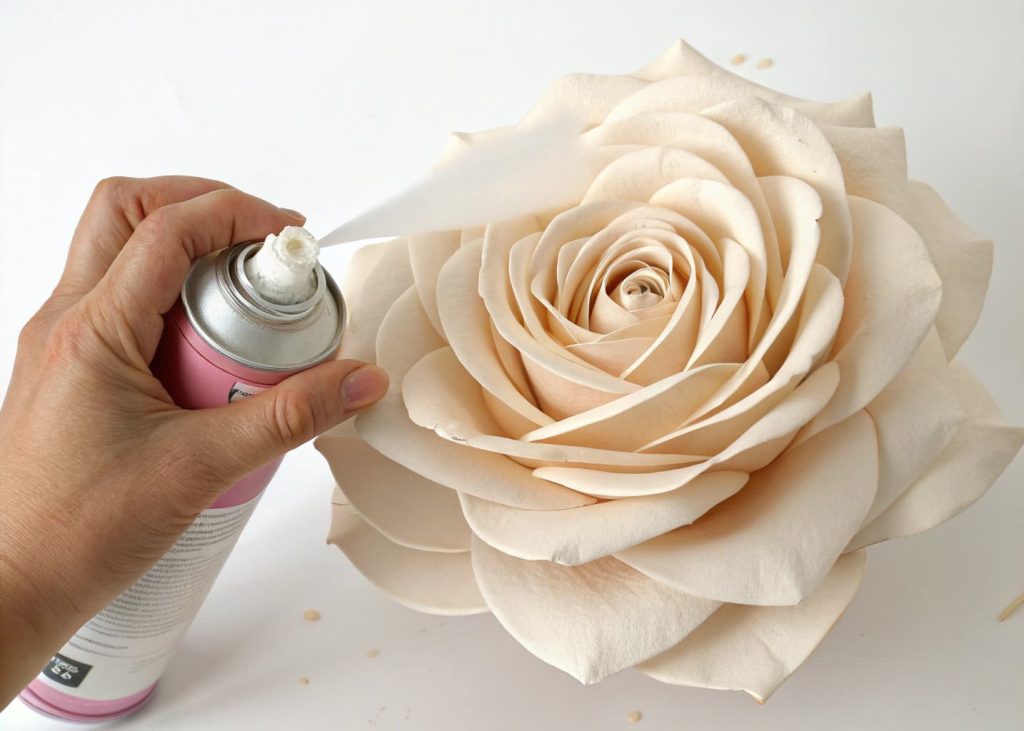
13. Seal and Preserve Your Finished Flower
After all that effort, the last thing you want is for your flower to fall apart or fade. The final step is sealing and preserving your creation so it lasts as long as possible. For paper flowers, a light spray of clear matte or satin sealer from a craft store adds a protective coating that prevents tearing, moisture damage, and color fading. Hold the can about twelve inches away and apply light, even coats rather than one heavy spray. Let each coat dry fully before adding another. For fabric flowers, a fabric stiffener spray helps petals hold their shape over time and prevents drooping. Store your finished flowers away from direct sunlight, which causes colors to fade. Keep them in a dust-free box or display them under a glass cloche for a stunning decorative effect. With proper care, handmade flowers can last for years and become treasured keepsakes, wedding mementos, or beautiful pieces of lasting home decor that you made entirely with your own hands.
Conclusion
Making flowers by hand is one of those skills that starts simple and grows into something truly artistic the more you practice it. Every method in this guide builds on the previous one, and together they give you a complete foundation for creating flowers that look professional, polished, and genuinely beautiful. The key is patience. Do not rush the petal shaping, do not skip the layering, and do not forget the small finishing details like leaves and stem wrapping because those details are exactly what separate a good flower from a great one. Whether you are making flowers for a wedding, a birthday, a home decoration project, or just for the joy of crafting, these thirteen methods will help you create something you are truly proud of every single time you sit down to make one.