
A beginner-friendly guide — no skills needed, just flowers and a little love
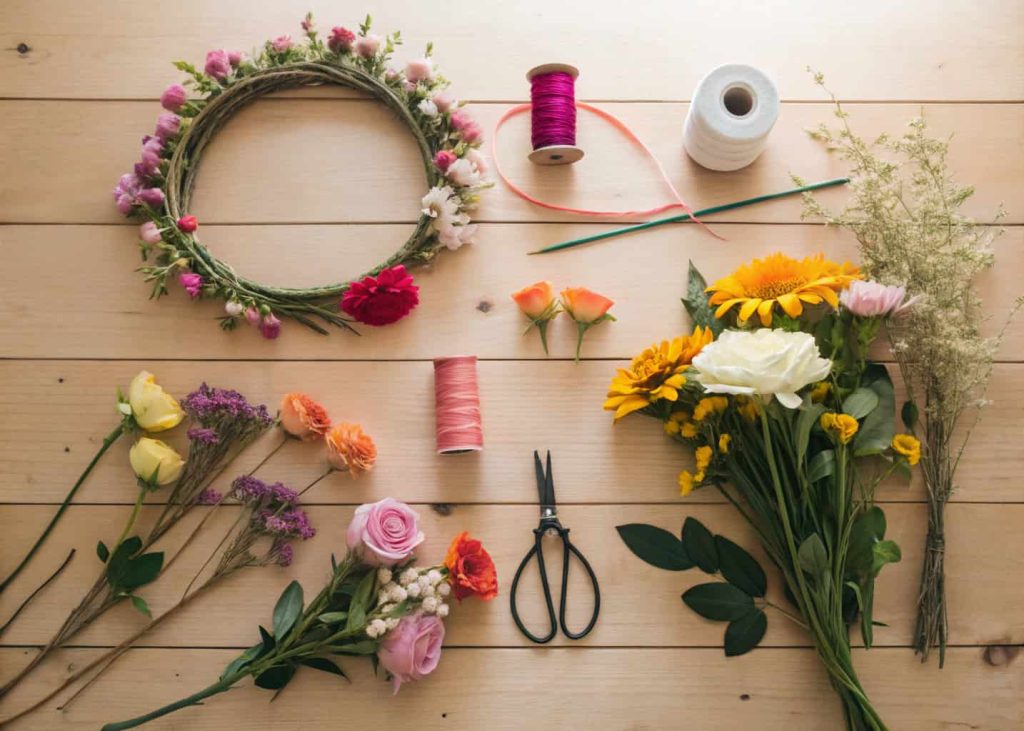
1. Gather Your Supplies First
Before you start Make a Flower Crown, the most important step is to collect everything you need. You will need fresh or fake flowers, floral wire, floral tape, wire cutters, and scissors. Having everything on the table before you begin saves a lot of time and keeps you stress-free. Fresh flowers look beautiful but they need water to stay alive. Fake flowers last longer and are great for beginners. Pick flowers with short stems so they are easier to handle. Start with simple flowers like daisies, roses, or baby’s breath. Once you have your supplies ready, the fun can begin. Do not rush this step.
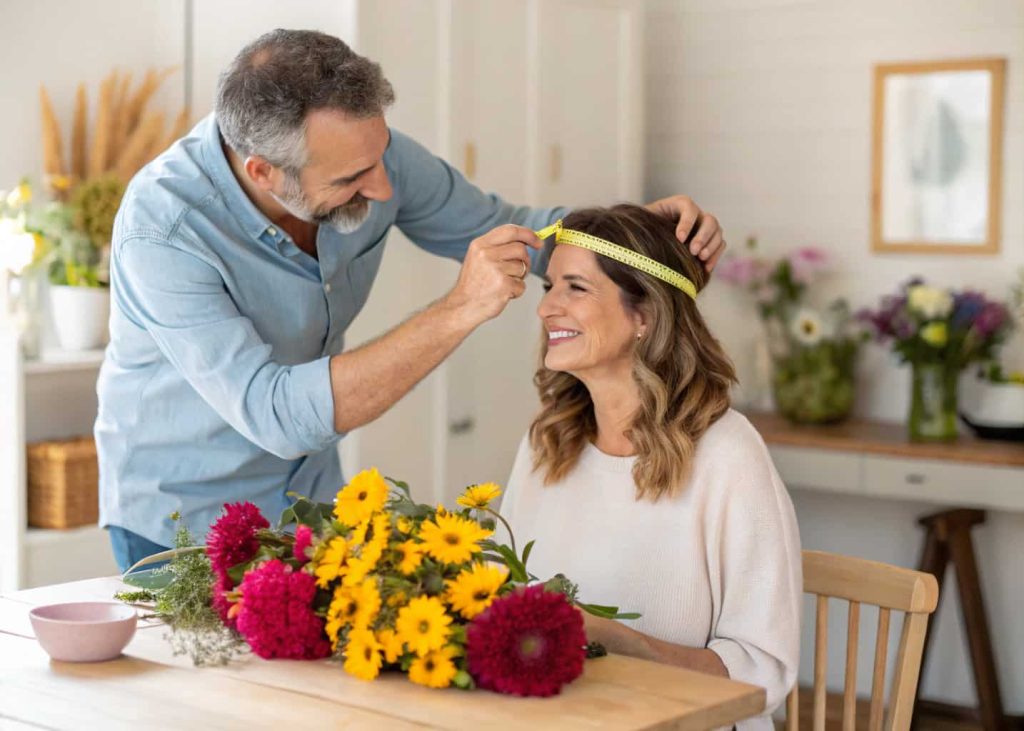
2. Measure Your Head Size
Measuring your head is a step most beginners skip and then regret. Take a measuring tape or a simple piece of string and wrap it around your head where the crown will sit. Mark that length and use it as your guide when cutting the floral wire. If you skip this step, your flower crown might be too tight and give you a headache, or too loose and fall off during the day. Add about 2 to 3 extra centimeters so you have room to close the wire ends together. This small step makes the whole experience much more comfortable and your flower crown will look more professional and well-fitted on your head.
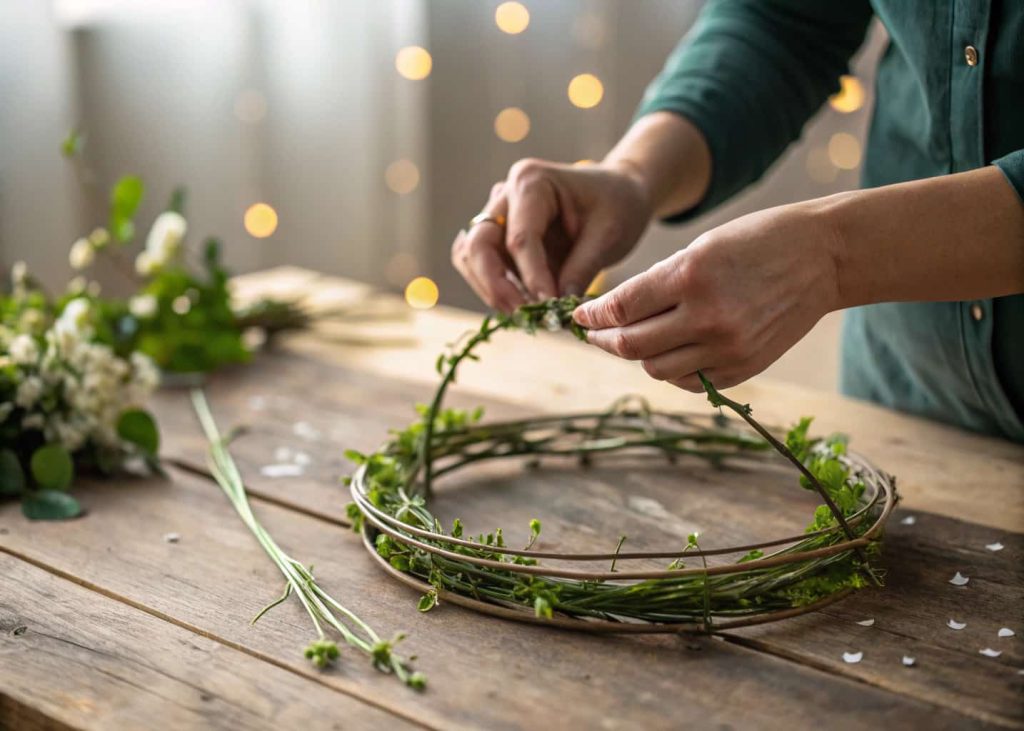
3. Create the Wire Base
The wire base is the foundation of your flower crown and it needs to be strong. Take your floral wire and bend it into a circle that matches your head measurement. Twist the two ends together tightly so they do not come apart when you are adding flowers. You can double the wire by wrapping it around twice to make it stronger. A strong base holds all your flowers in place and does not bend out of shape. If the wire feels too sharp at the ends, fold them inward so they do not scratch your head. Your wire base should feel firm but not too stiff. This simple step is the start of everything.
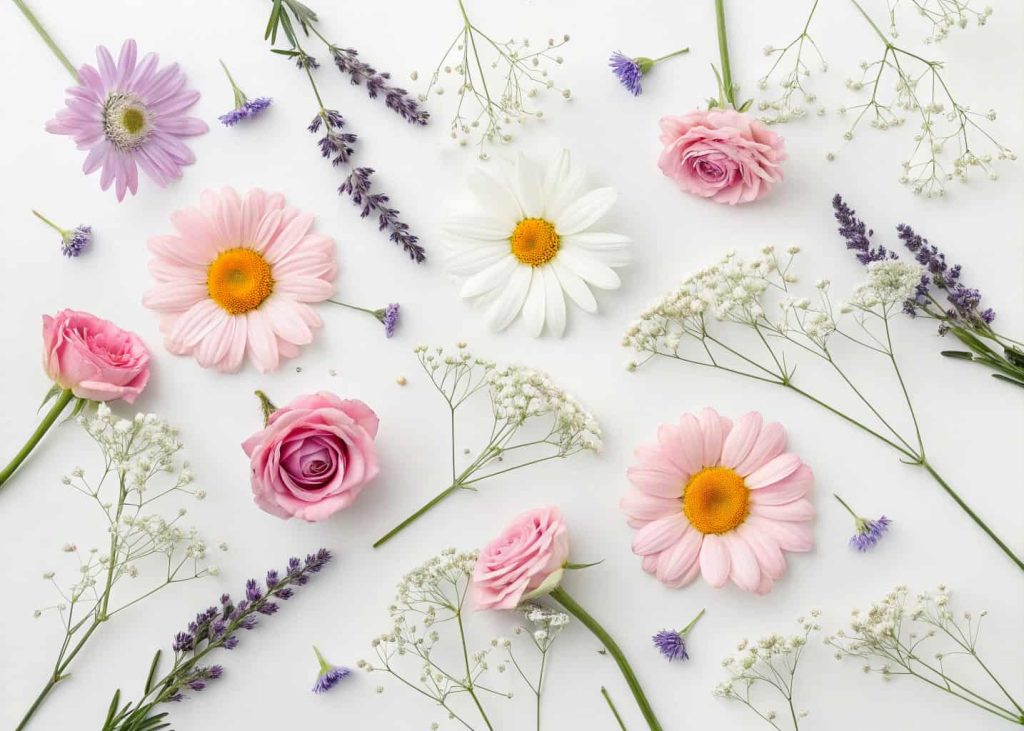
4. Choose the Right Flowers
Choosing the right flowers makes a huge difference in how your crown looks and lasts. Small to medium-sized flowers work best because large flowers are heavy and can make the crown fall apart. Daisies, baby’s breath, lavender, and small roses are perfect choices for beginners. If you are using fresh flowers, pick them in the morning when they are most hydrated and fresh. If you want a crown that lasts more than a day, go for dried or artificial flowers from your local craft store. Mix different colors that go well together like pink and white, or yellow and purple. Always trim the stems before attaching them to the base so they are easier to manage.
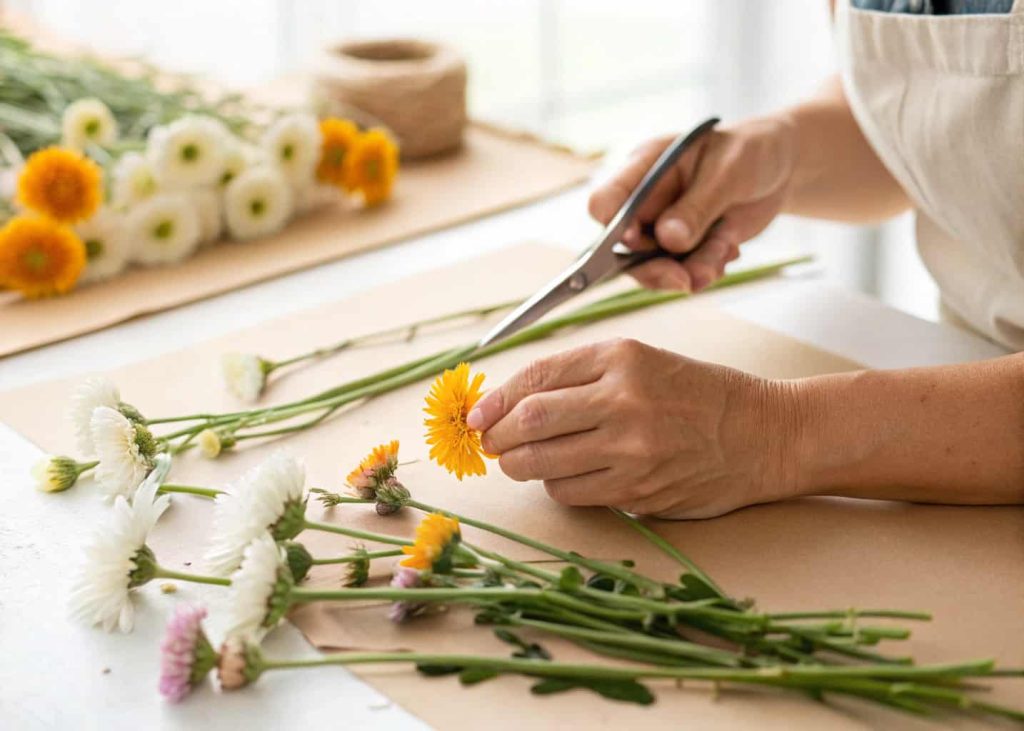
5. Trim the Flower Stems Short
One of the most helpful tips for beginners is to trim your flower stems very short. Long stems are hard to wrap around the wire base and they can stick out in weird directions. Use sharp scissors or wire cutters and cut each stem to about 3 to 5 centimeters long. Short stems are much easier to control and wrap with floral tape. They also sit flatter and more neatly on the wire crown. When you trim, do it at a slight angle so the stem can still absorb water if you are using fresh flowers. Always trim your flowers right before you use them, especially if they are fresh, so they stay as hydrated and beautiful as possible during crafting.
6. Use Floral Tape to Attach Flowers
Floral tape is your best friend when making a flower crown. It is stretchy and sticky enough to hold flowers in place without glue or knots. Start at one end of your wire base and place your first flower on the wire. Wrap the floral tape tightly around the stem and the wire together, going in a downward diagonal motion. Keep wrapping as you add more flowers one by one. Overlap each wrap slightly so there are no gaps. The more you stretch the floral tape while wrapping, the stickier it becomes, which helps it hold better. Keep adding flowers until you have covered the full circle of your wire base. It gets easier the more you practice.

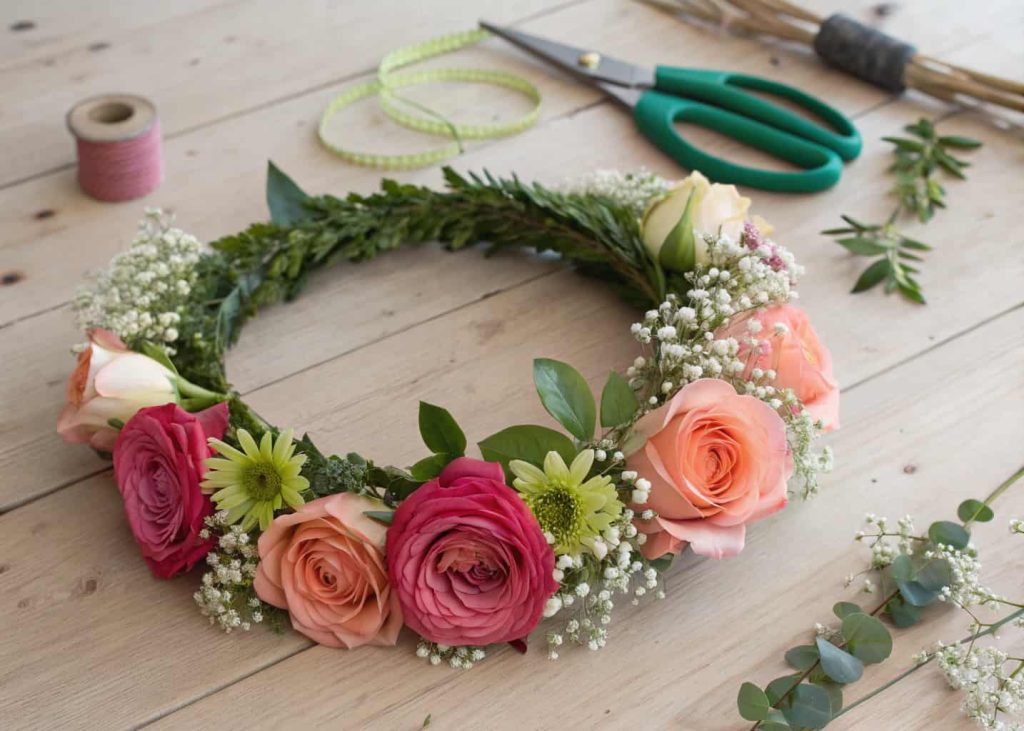
7. Layer Different Flower Types
Using just one type of flower can look a little plain. Layering different flowers is what makes a flower crown look full, beautiful, and professional. Start with a base layer of small filler flowers like baby’s breath or greenery. Then add your main flowers on top like roses or daisies. Finally, add tiny accent flowers or leaves to fill in any gaps. Mixing different textures like smooth petals with fluffy flowers or shiny leaves creates a lovely visual effect. Do not overthink the arrangement. Just keep adding flowers until the crown feels balanced and full. Step back every few minutes to look at your work from a distance and see if anything looks out of place.
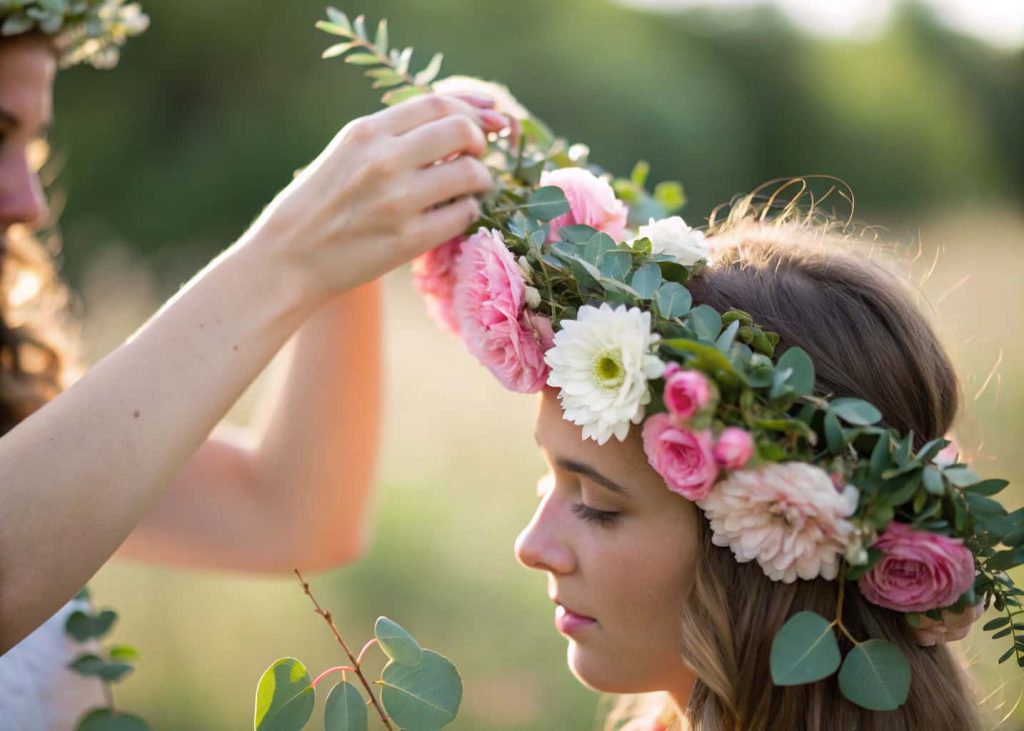
8. Add Greenery for a Natural Look
Greenery is the secret ingredient that makes flower crowns look lush and natural. Small leaves, eucalyptus sprigs, ferns, or ivy work beautifully between flowers. Greenery fills the empty spaces and makes the crown look full even if you do not have many flowers. It also adds a nice contrast against colorful petals. Simply trim small sprigs of greenery and attach them with floral tape just like you would a flower. You can add greenery at the beginning as a base layer or go back and fill in gaps after all your flowers are placed. Fresh herbs like mint or rosemary also smell amazing and look unique. Do not be afraid to use greenery generously. It always looks good.
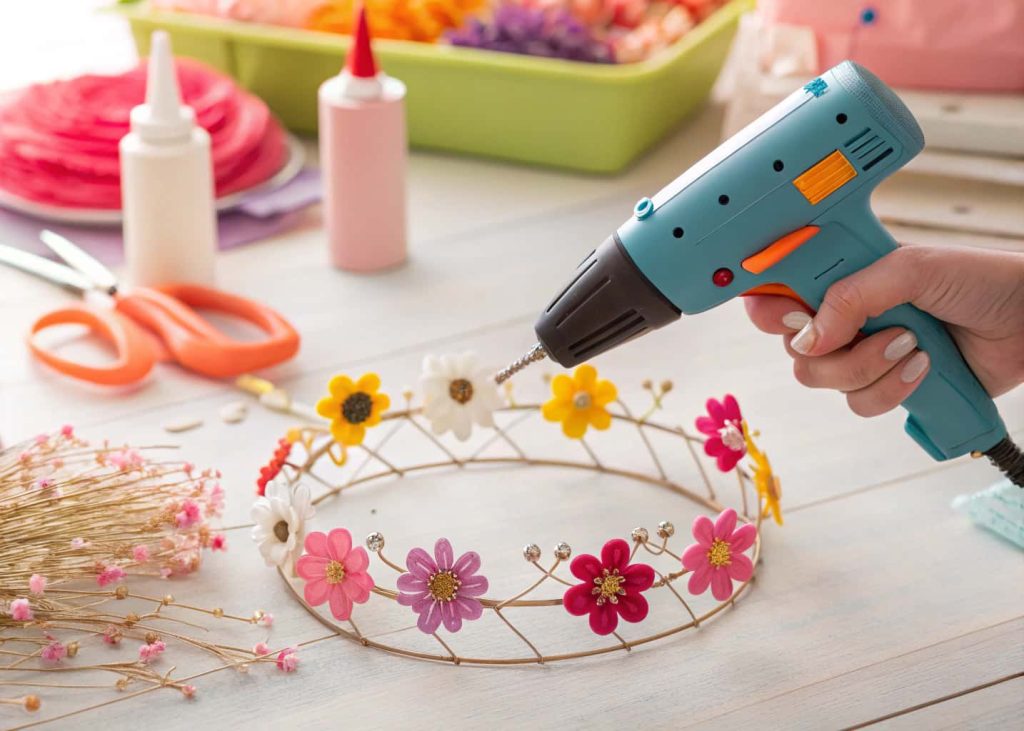
9. Try the Hot Glue Method
If wrapping with floral tape feels tricky, the hot glue method is a great shortcut for beginners. All you need is a hot glue gun, a wire base, and your flowers. Simply dab a small amount of hot glue on the stem end of each flower and press it firmly onto the wire base. Hold it for a few seconds until the glue sets. This method is quick and gives you a lot of control over exactly where each flower goes. Be careful not to use too much glue as it can look messy. Also be careful with the hot tip of the glue gun. Always let the glue cool completely before wearing your crown. This method is perfect for craft nights with friends or when you are short on time.
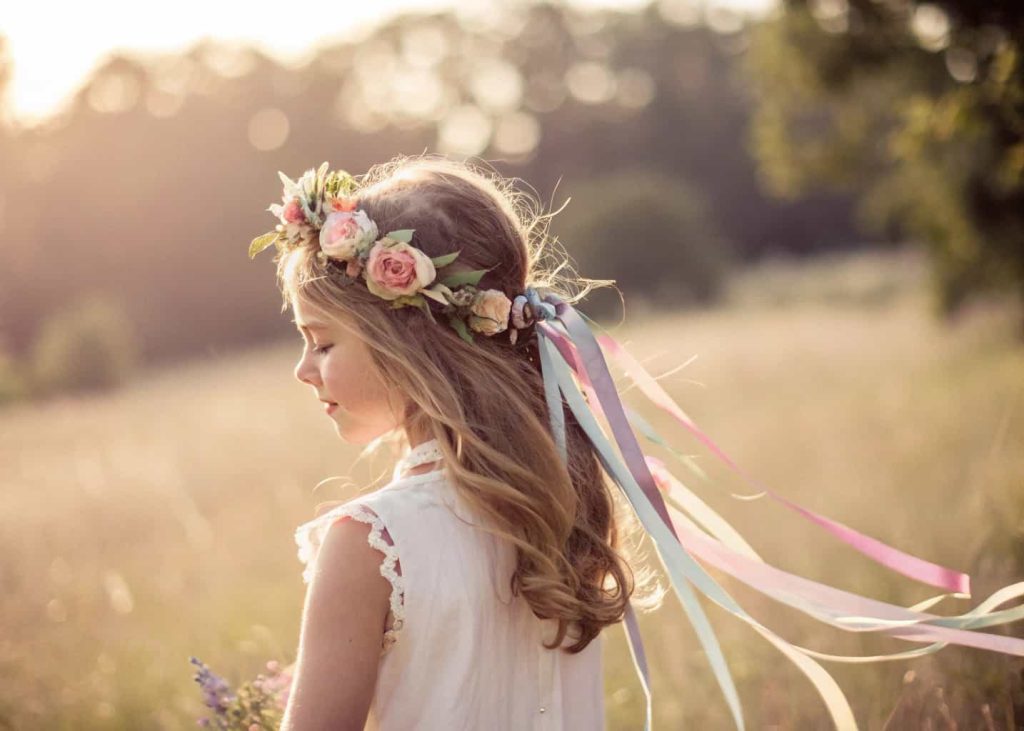
10. Use Ribbon for a Boho Touch
Adding ribbon to your flower crown instantly gives it a romantic and bohemian look. You can tie long ribbons at the back of the crown so they hang down your hair. Use soft satin ribbons, lace ribbons, or even simple twine depending on the style you want. Attach the ribbons to the back of the wire base by looping them through and tying a knot. You can also wrap ribbon around the entire wire base instead of using floral tape for a different look. Mixing ribbon with flowers creates a dreamy and soft effect that is perfect for weddings, photoshoots, or festivals. Ribbons also hide any messy tape or wire at the back. Choose ribbon colors that match your flowers for a cohesive look.
11. Make a Crown Using Just Daisies
A daisy chain flower crown is one of the oldest and easiest methods that requires no tools at all. All you need is a bunch of fresh daisies with long stems. Start by making a small slit near the bottom of one daisy stem with your fingernail. Thread the stem of the next daisy through that slit and pull it gently until the flower head stops it. Keep repeating this process until you have a long chain of daisies. Then connect the two ends to form a circle. This old-fashioned method is fun, relaxing, and completely natural. It is perfect for children, picnics, or anyone who wants a flower crown without any supplies. The crown looks charming and simple in the most beautiful way.

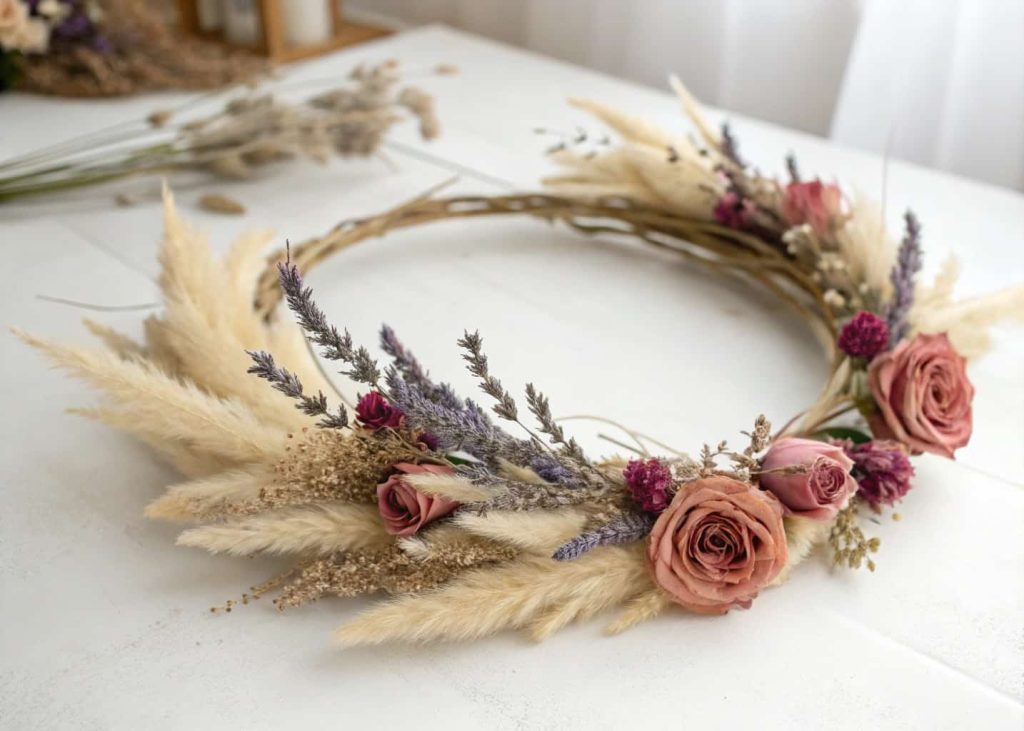
12. Make a Crown With Dried Flowers
Dried flower crowns are stunning and they last for months or even years if you take care of them. You can buy dried flowers from craft stores or dry your own fresh flowers by hanging them upside down for two to three weeks. Dried flowers are more delicate than fresh ones so handle them gently while attaching them to the wire base. Use floral tape or hot glue and be extra careful not to crush the petals. Dried flowers come in soft, muted colors that look beautiful and vintage. Lavender, pampas grass, dried roses, and chamomile are great choices for a dried flower crown. This type of crown is perfect if you want to keep it as a decoration or a keepsake after a special event.
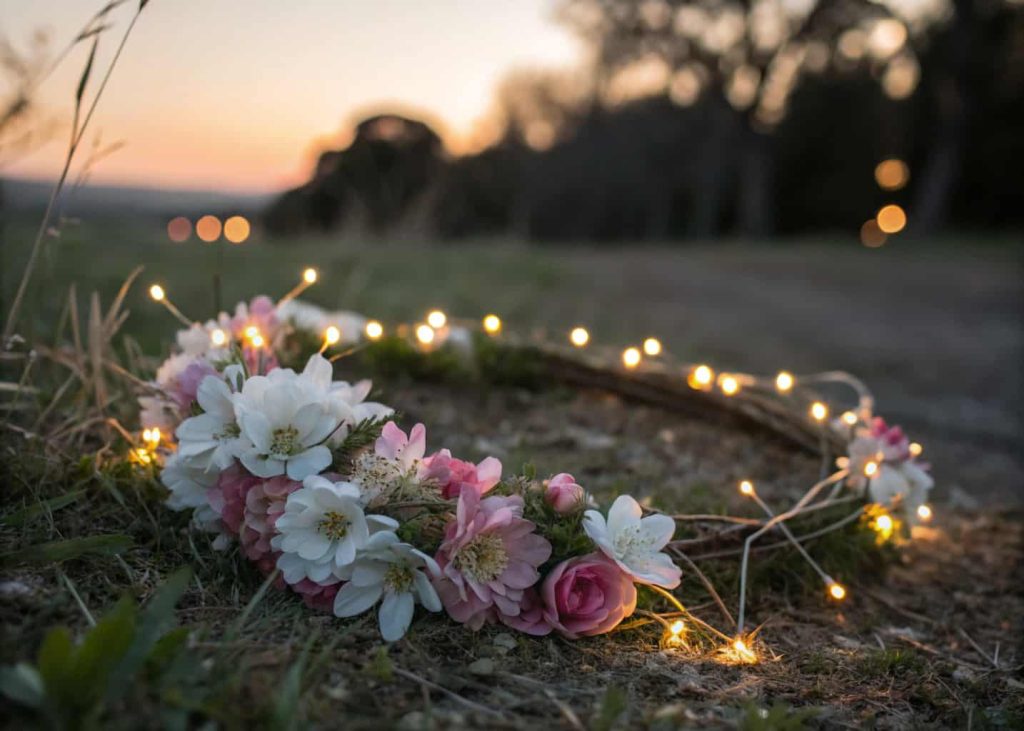
13. Add Fairy Lights for a Magical Effect
If you are making a flower crown for a special party or an evening event, adding tiny fairy lights can make it absolutely magical. Use small battery-powered LED fairy lights with thin wire. Weave the fairy light wire around your floral wire base before adding the flowers. Make sure the small battery pack sits at the back of the crown where it is hidden by flowers or ribbon. Then add your flowers over the lights as normal. When you turn the lights on, tiny glowing points peek through the petals and create a dreamy glowing effect. This look is perfect for birthday parties, festivals, or nighttime photo sessions. Just make sure your battery pack is charged before your big event so the lights do not go out.
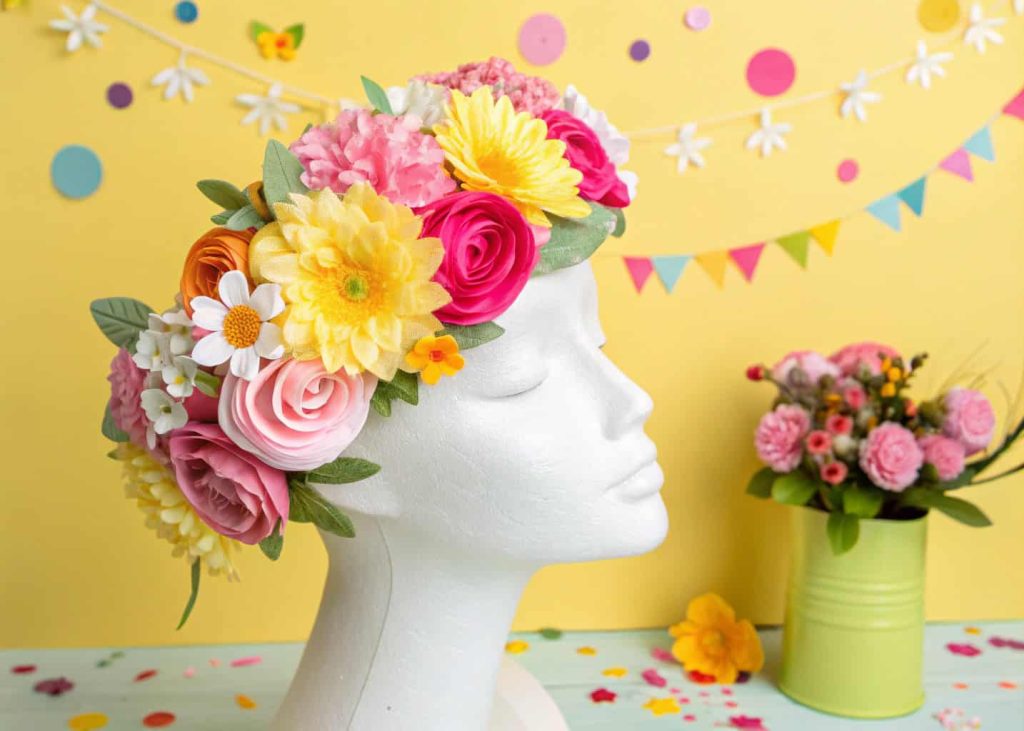
14. Use Fake Flowers for a Long-Lasting Crown
Artificial flowers from craft stores are a wonderful option if you want a flower crown you can wear again and again. They do not wilt, they do not need water, and they look almost as beautiful as real flowers. Choose high-quality silk or fabric flowers for the most realistic look. You can find them in every color and style imaginable. Attach them with hot glue or floral tape just like real flowers. Artificial flower crowns are great for cosplay, theater, themed parties, or if you simply want a keepsake crown. You can store them in a box and reuse them for years. They are also perfect for young children because there is no worry about petals falling off or flowers dying during a long day of play.
15. Take Care of Your Crown So It Lasts
Making your flower crown is only half the job. Taking care of it helps it look fresh and beautiful for as long as possible. If your crown is made with fresh flowers, keep it in the fridge wrapped loosely in a damp paper towel when you are not wearing it. Do not leave it in direct sunlight or near heat. Wear it on the day you make it for best results. If it is a dried or artificial crown, store it in a cool, dry place away from dust and sunlight. A shallow box with a light tissue paper cover works well. Avoid bending or crushing the crown when storing it. With a little care, your flower crown can stay beautiful long after the special occasion is over and bring you joy every time you look at it.
Conclusion
Making a flower crown is one of the most relaxing and rewarding crafts you can try, even if you have never done it before. With just a few simple supplies and a little patience, you can create something truly beautiful. Whether you choose fresh flowers, dried blooms, or artificial ones, the result is always something personal and special. Start simple, enjoy the process, and do not worry about it being perfect. Every flower crown has its own charm. Try one of these 15 easy methods at home and you might just discover a new hobby you love. Share your crown with friends, wear it to a celebration, or simply enjoy making it for yourself. You do not need experience — you just need to begin.