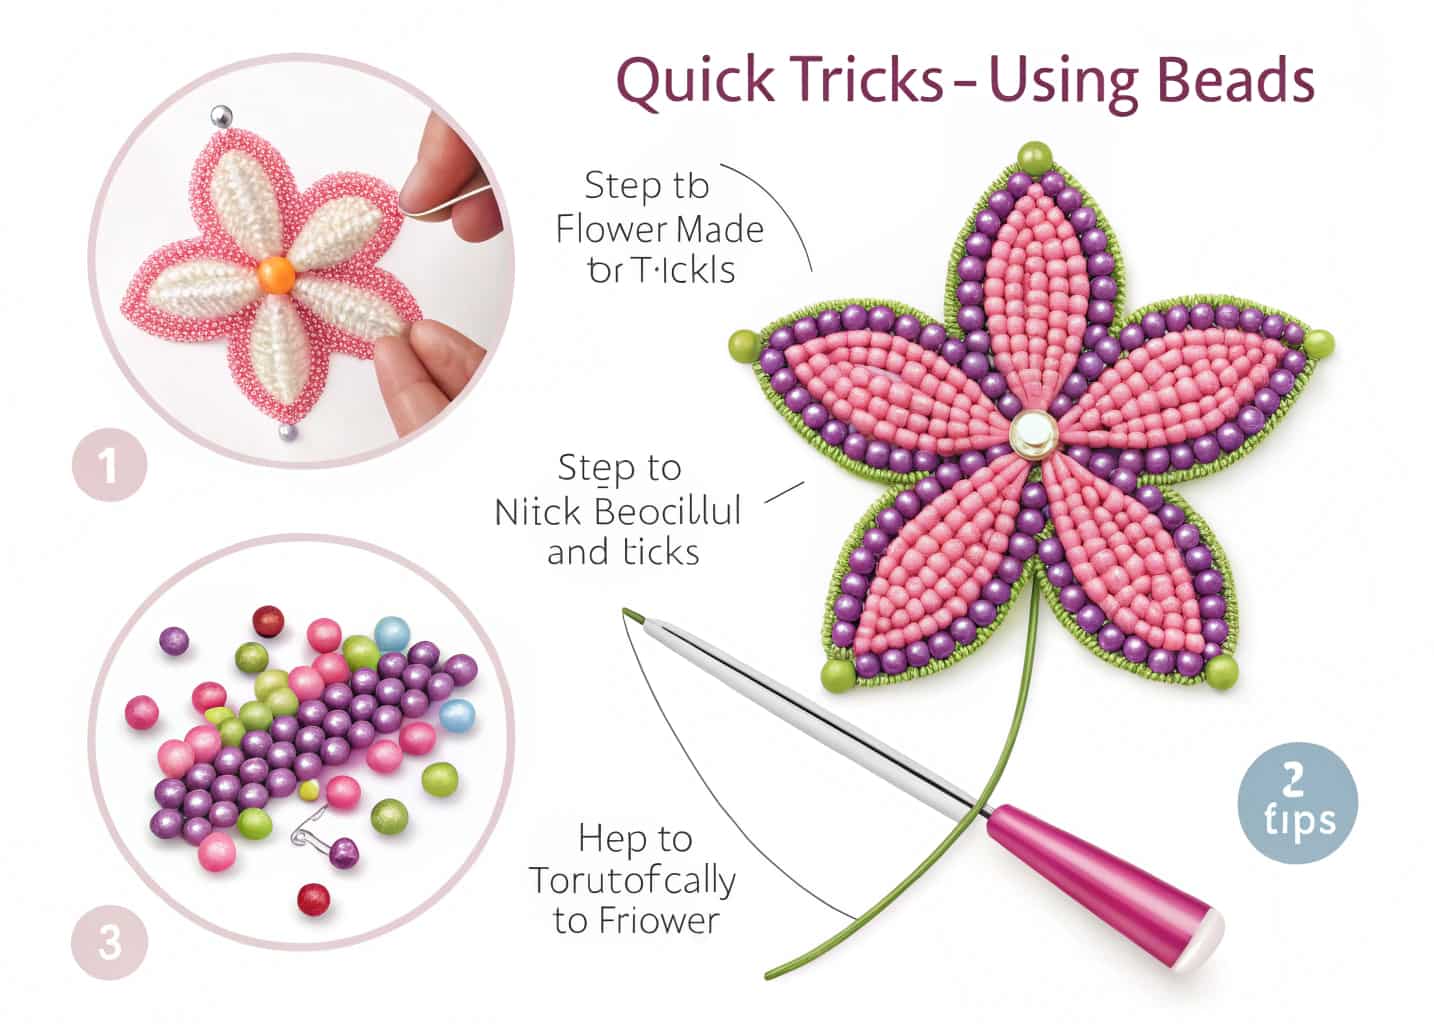
Make a Flower with Beads is one of the most satisfying crafts out there — but it can also feel slow and messy if you don’t know the right techniques. Whether you are a complete beginner or someone who has made a few flowers already, these 14 tricks will help you work smarter, faster, and produce cleaner results every single time.
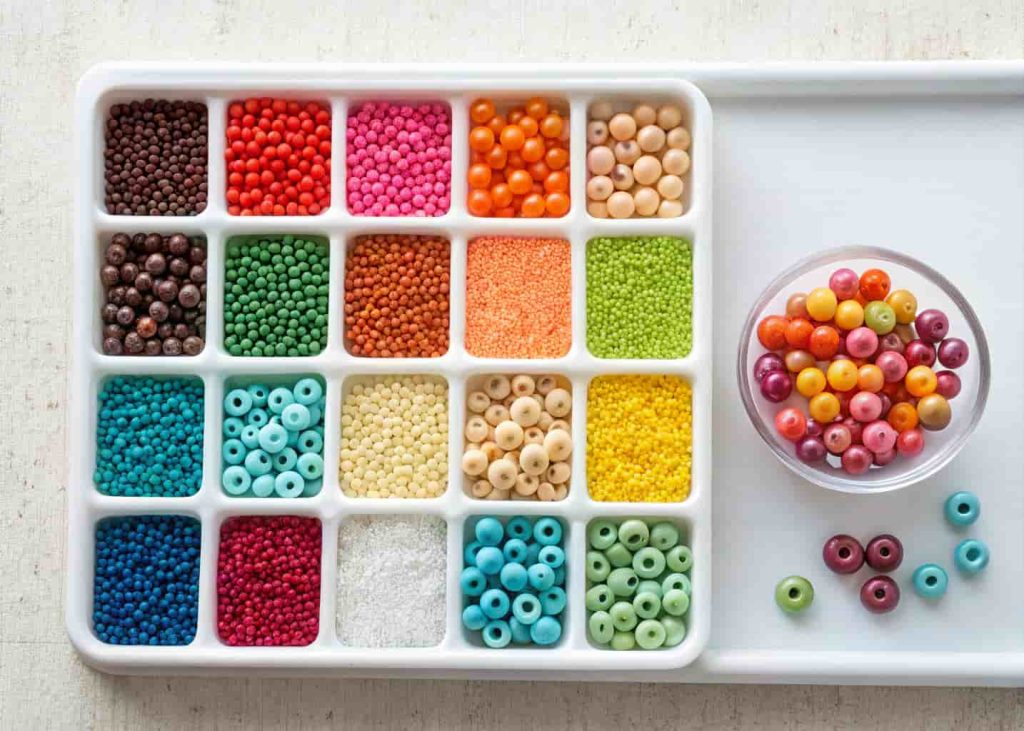
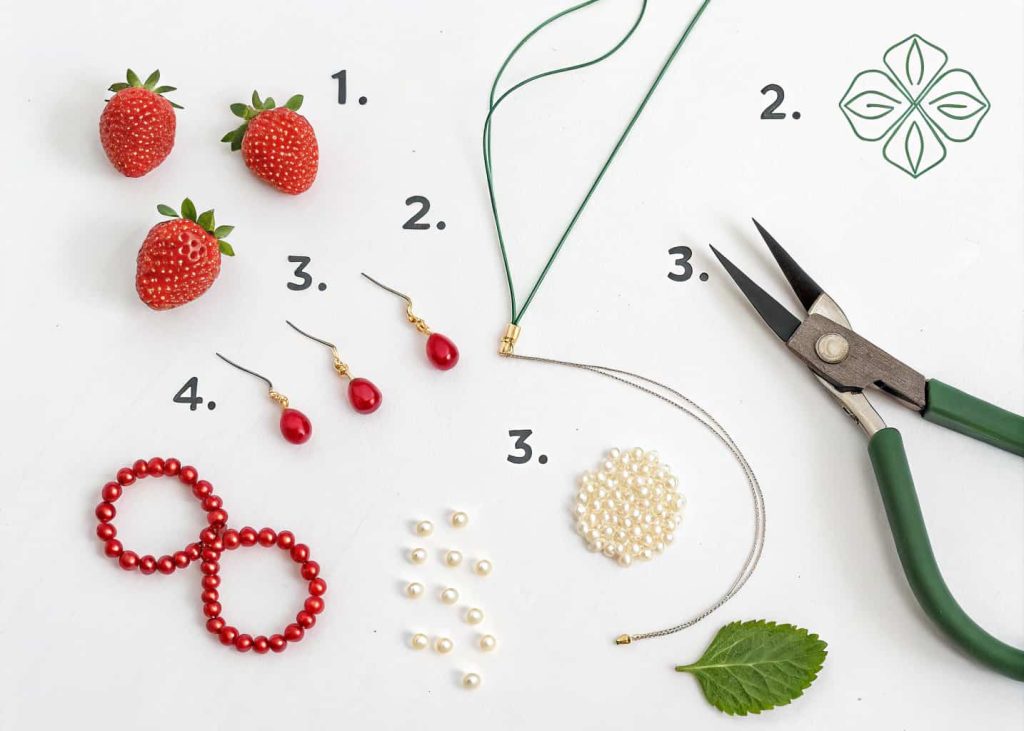
1. Choose the Right Beads Before You Start
Not all beads are created equal. If you want neat, uniform flowers, you need to start with beads that are the same size and shape. Seed beads, rocailles, and bugle beads each give a different look, but consistency within your project is what matters most. Lay out all your beads on a tray before you start and remove any odd ones. This one simple step saves you from pulling apart work later just because one bead looks out of place in the middle of a petal.
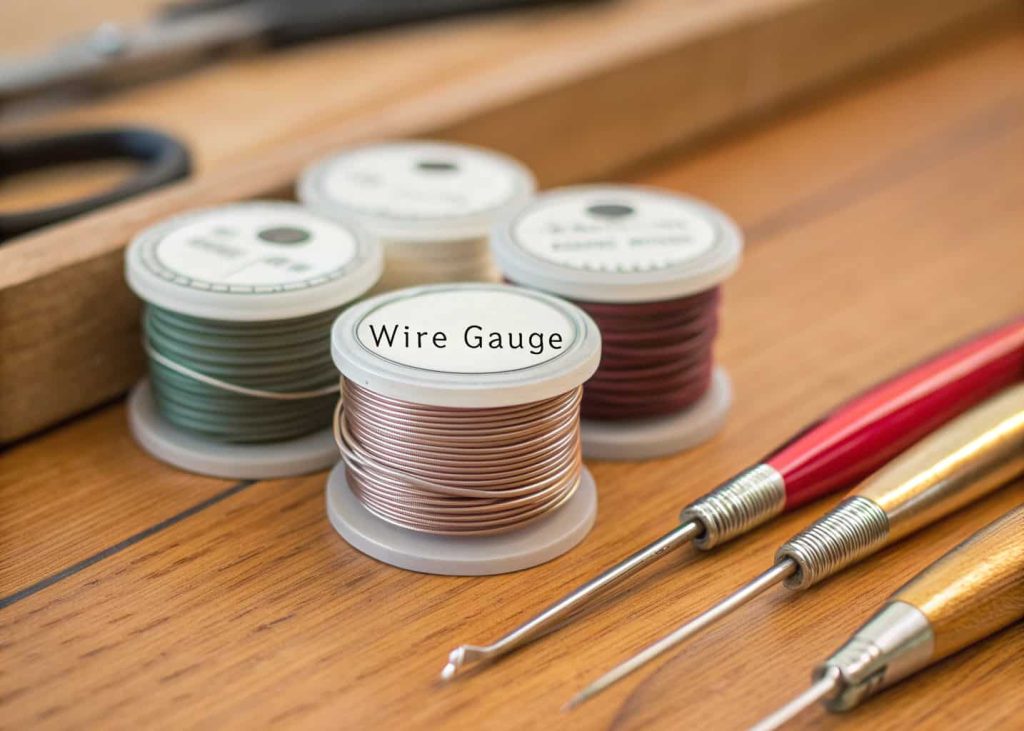
2. Use the Right Wire Gauge for the Flower
Wire gauge is something many beginners ignore, but it makes a huge difference. For small, delicate petals, a thin wire like 28 or 30 gauge works best because it bends easily and sits tight against the beads. For larger, sturdier flowers or stems, go with 22 or 24 gauge. Using the wrong gauge means your petals will either be too floppy or too stiff to shape. Keep a few different gauges in your toolkit so you always have the right one ready for the job at hand.
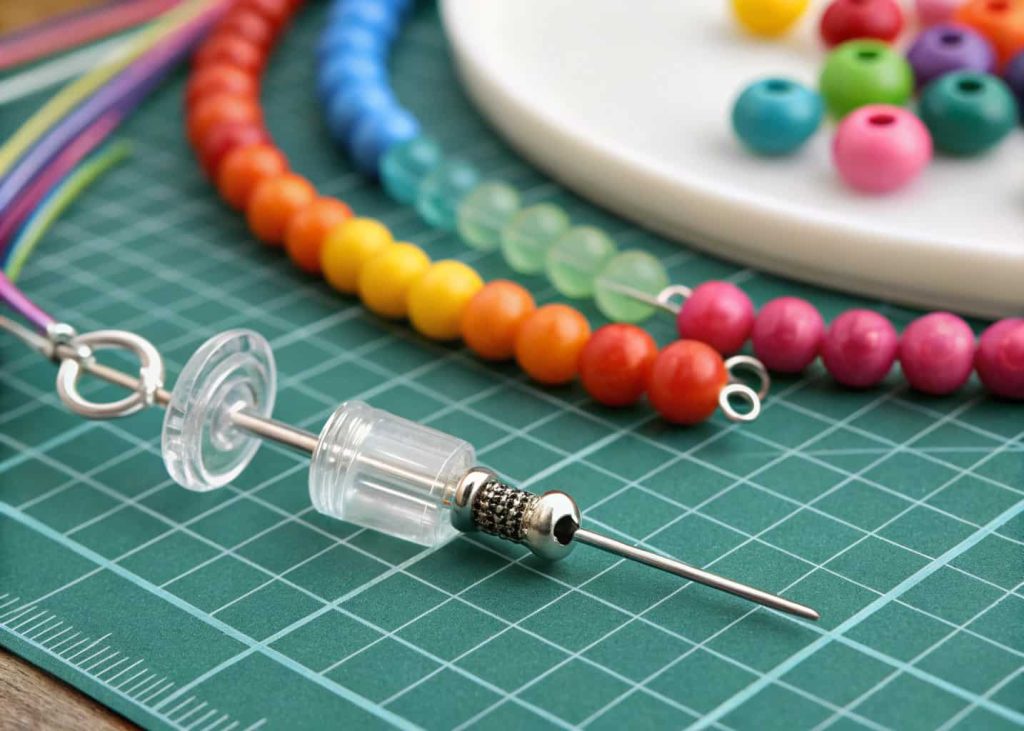
3. Pre-String Your Beads onto the Wire
One of the biggest time-wasters in bead flower making is picking up beads one at a time as you work. Instead, pre-string all the beads you need for a petal or section onto the wire before you start forming the shape. This keeps your workflow smooth and uninterrupted. You can slide each bead into place as needed without stopping and searching through your bead tray. It feels like a small change but it genuinely cuts your working time in half, especially when making flowers with many repeated petals.
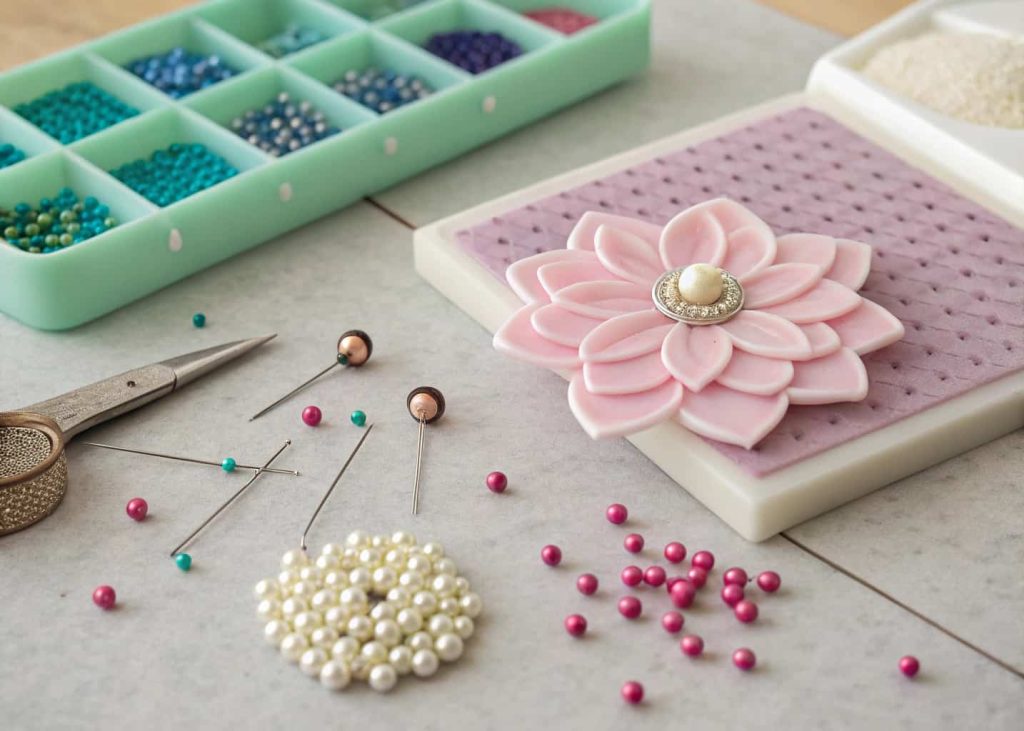
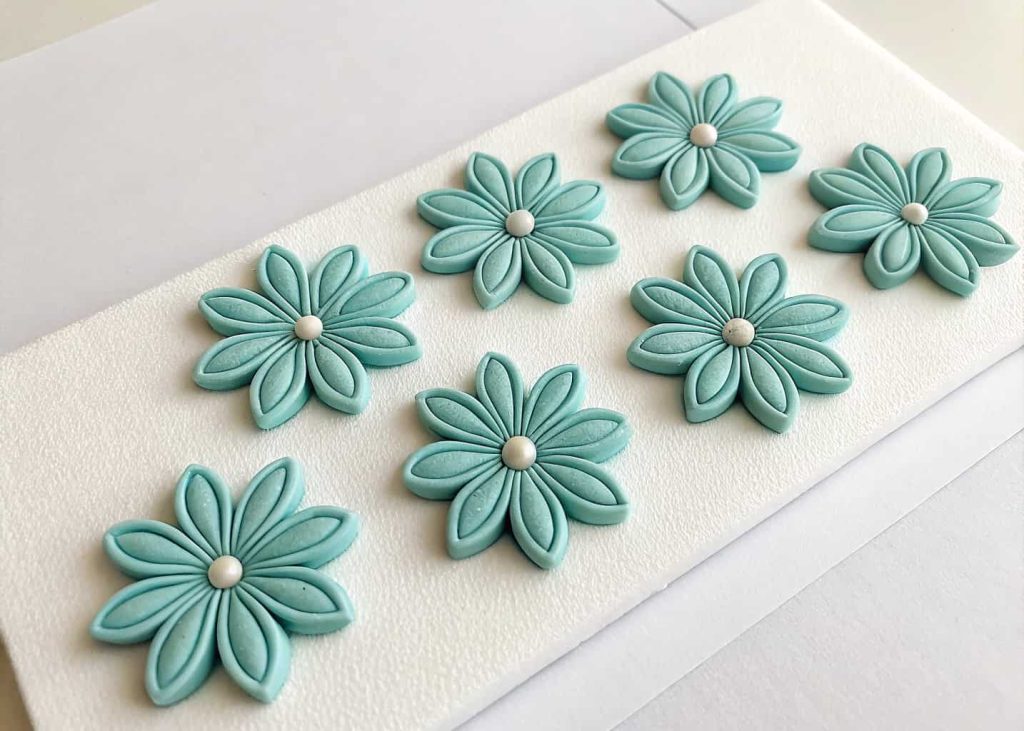
4. Work on a Bead Board or Foam Mat
Rolling beads and tangled wire on a hard table is a nightmare. A dedicated bead board or foam mat gives your beads a soft surface that stops them from rolling away and keeps your wire from scratching. Foam mats also hold pins well, which helps you lay out petal shapes before you commit. Many experienced bead flower makers say that simply switching from a hard table to a foam mat made their work look noticeably neater and reduced mistakes because everything stays exactly where they put it.
5. Learn the Basic French Beading Technique First
French beading, also called the frame technique, is the foundation of most bead flower designs. It uses a base wire and rows of beads that are looped around it in a controlled way to build up petal shapes. Once you understand this method, everything else becomes easier and faster. Many beginners skip learning the basics and then struggle with advanced designs. Spend even just one afternoon learning the basic frame loop and you will notice that your petals come out much more even and your whole flower looks more professional.
6. Keep Your Tension Consistent
Loose tension is the number one reason bead flower petals look messy and uneven. Every time you wrap wire around a row of beads, you need to pull it snug before moving to the next row. Developing a feel for consistent tension takes practice, but one trick that helps is to hold the work between your thumb and forefinger as you pull each wrap tight. Some crafters use a flat-nose plier to grip the wire and get that extra snugness. Consistent tension equals clean, professional-looking petals every single time you make them.
7. Use a Stopper Bead to Anchor Your Work
A stopper bead is simply one bead added to the end of your wire before you begin, which you crimp or fold over to prevent all your pre-strung beads from sliding off. It sounds basic but without it you will find yourself chasing beads across the table every few minutes. Thread a bead onto the very end and fold the wire back through it or just crimp it flat with a pair of pliers. This tiny step keeps everything locked in place from the moment you start and lets you work faster because you are not constantly restarting.
8. Build Petals in Batches, Not One at a Time
Making one petal, then another, then another in separate sessions causes inconsistency. Your tension changes, your mood changes, and even the way you hold the wire changes over time. The smarter way is to make all the petals for one flower in a single sitting. This keeps your hand technique consistent so all petals come out roughly the same size and shape. It also means when you go to assemble the flower, everything fits together naturally without needing to force or adjust pieces to make them look like they belong to the same bloom.
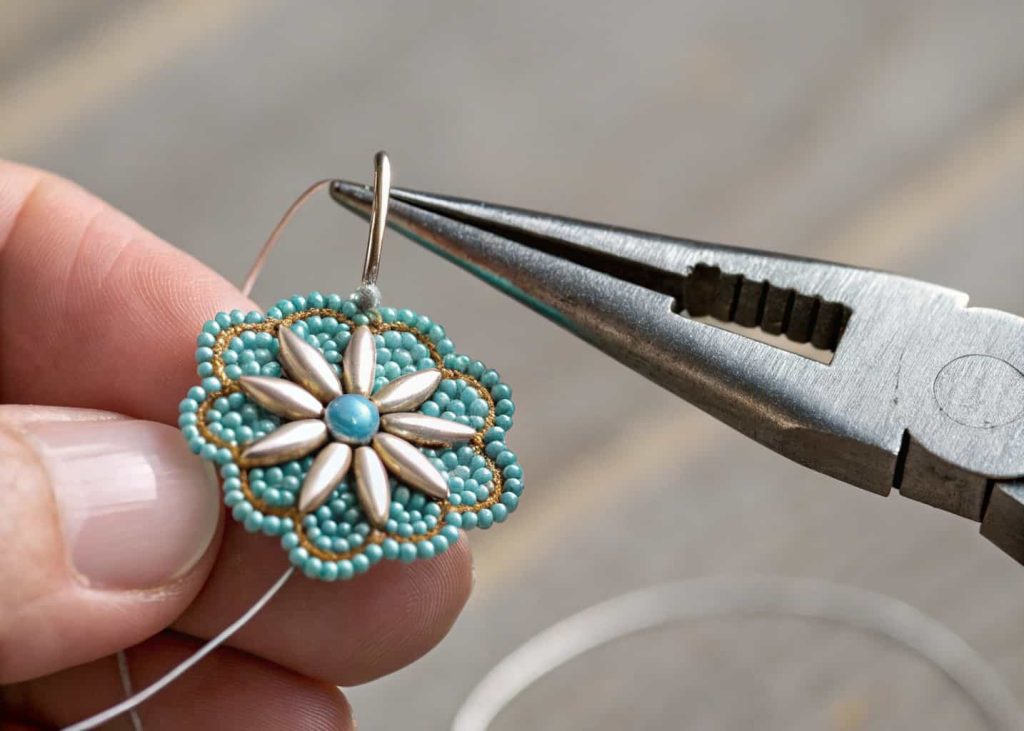
9. Use Needle-Nose Pliers for Tight Loops
When finishing a petal or securing wires together, tight, neat loops matter a lot for the final look of your flower. Your fingers are great for general shaping but when it comes to making a clean, tight finishing loop, needle-nose pliers are the right tool. They let you grip the wire right at the base and fold it without leaving a gap. A sloppy loop at the end of a petal makes the whole thing look unfinished. Keep a good pair of needle-nose pliers within reach at all times while you work so you can tighten up any point quickly.
10. Cut Wire Longer Than You Think You Need
Running out of wire mid-petal is one of the most frustrating things that can happen. When you cut your working wire, always add at least four to six extra centimetres beyond what your pattern calls for. Extra wire is easy to trim at the end but there is no easy fix once you run short. Joining new wire in the middle of a petal creates a visible bump and weakens the structure. Being generous with your wire lengths is a simple habit that saves time, reduces waste from having to redo work, and keeps your flowers looking clean and neat throughout.

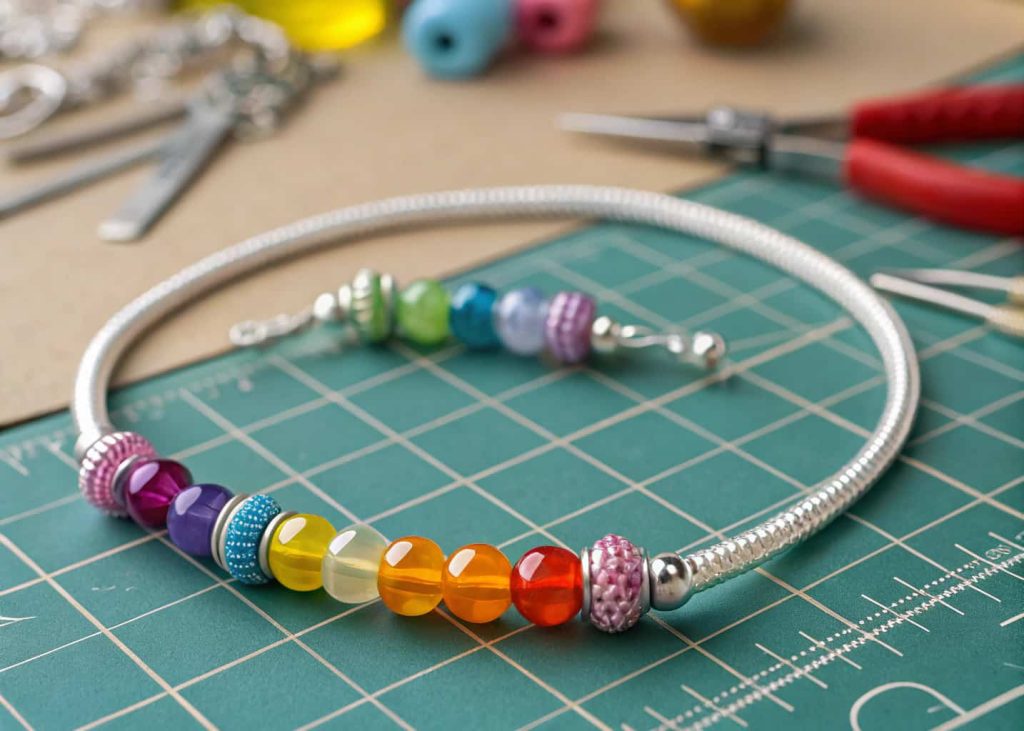
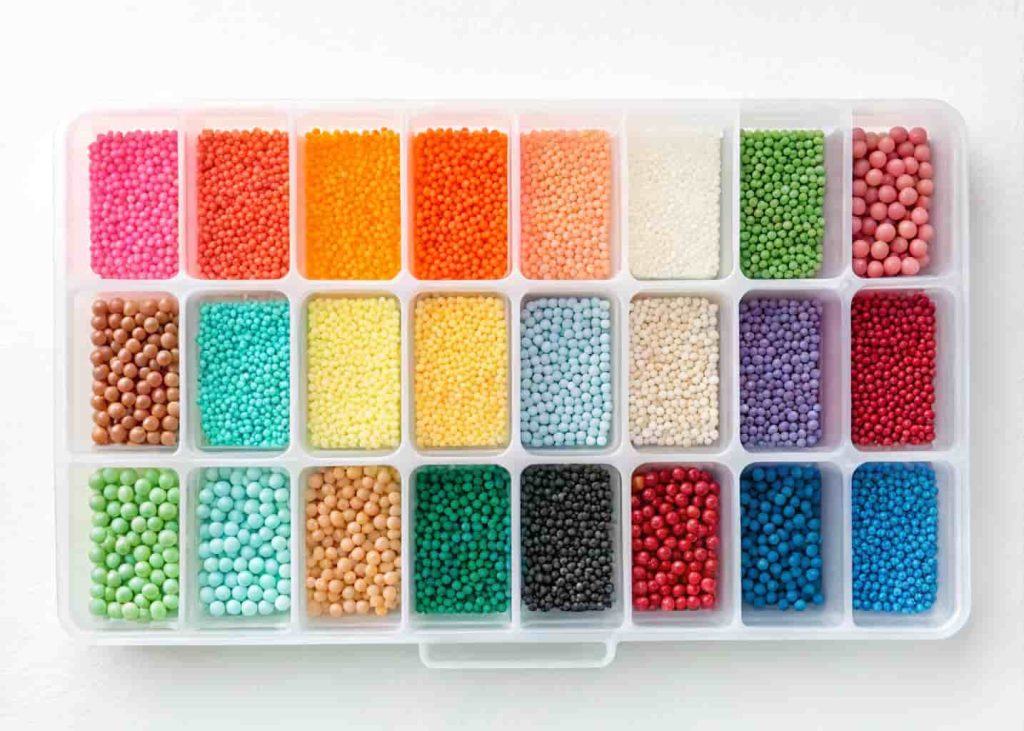
11. Arrange Beads by Color Before Starting
Hunting for the right color bead mid-project breaks your flow completely. Before you even thread a single bead, sort all your colors into small containers or sections of a bead organizer tray. Label them if needed. When all your colors are pre-sorted and right in front of you, you move through the design quickly and confidently. You also avoid mixing up similar shades by mistake, which can ruin a carefully planned color scheme. This preparation step takes maybe five minutes but it makes the actual beading session feel smooth and enjoyable rather than stressful and slow.
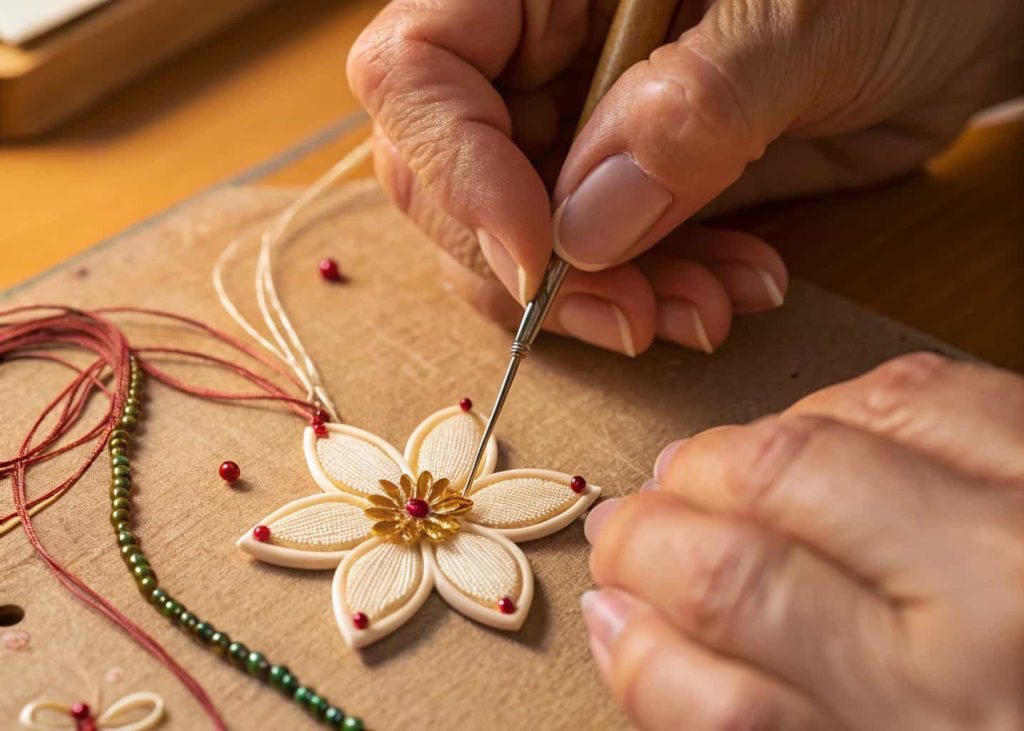
12. Shape Your Petals While the Wire Is Still Workable
Once you finish a petal, do not set it aside and move on. Take thirty seconds right then to curve, pinch, or shape it while the wire is fresh and easy to bend. Wire develops a kind of memory over time and becomes harder to reshape once it has sat in one position. A petal that has been curved gently inward right after construction will hold that shape far better than one bent later. This also lets you compare each petal as you go so you can match the shapes across all petals before assembling your flower.
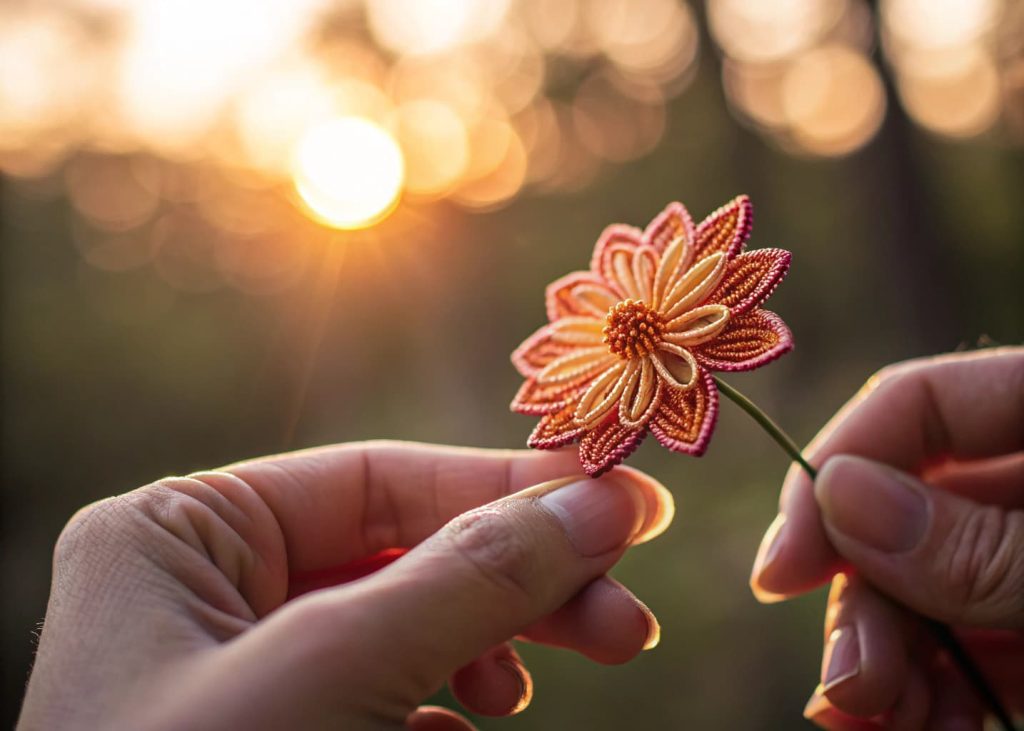
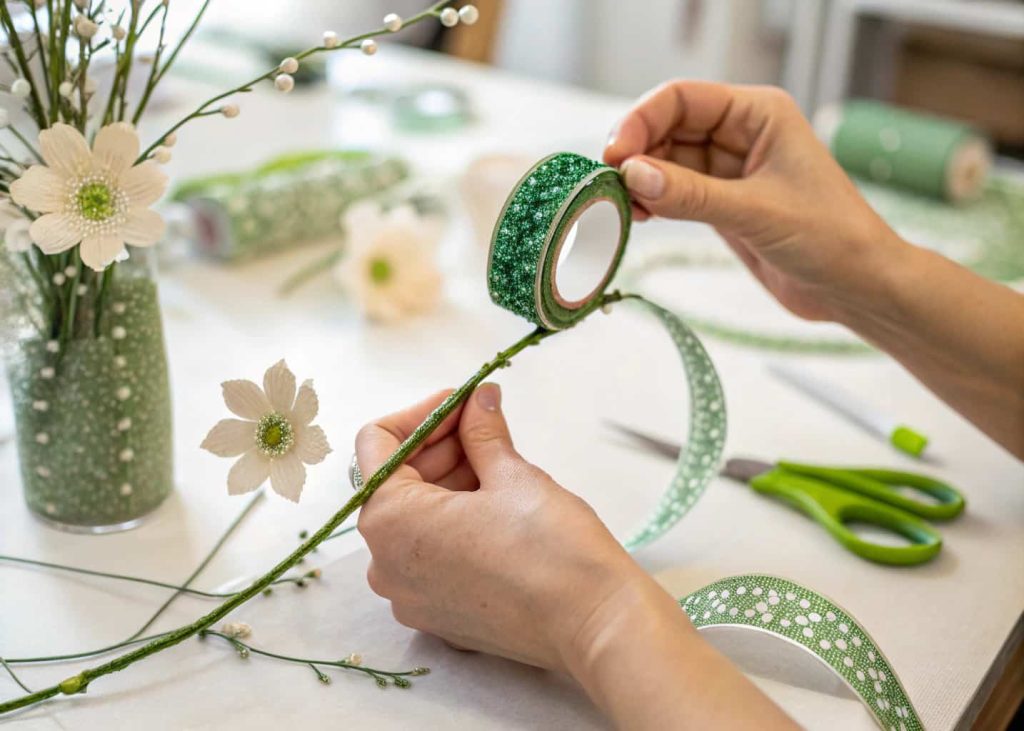
13. Assemble Flowers Using Floral Tape for Clean Stems
When you bring all your petals together into a finished flower, how you wrap the stem matters enormously for the final appearance. Floral tape stretches slightly as you wrap it and bonds to itself without any glue, which means it creates a smooth, professional-looking stem. Start wrapping from just below the petals and work downward in a spiral. Overlap each wrap slightly for full coverage. A neatly taped stem elevates even a simple bead flower into something that looks like it belongs in a boutique gift shop rather than a beginner’s craft box.
14. Practice the Same Petal Shape Ten Times in a Row
Speed and neatness in bead flower making come from muscle memory, plain and simple. The fastest way to build that muscle memory is repetition. Pick one basic petal shape and make ten of them back to back using scrap wire and plain beads. You will notice that by the fifth or sixth petal, your hands know exactly how much tension to apply, how to position the wire, and how to complete each loop efficiently. Those ten practice petals will make every real project you do afterward faster, neater, and far less frustrating than if you had just jumped straight into a finished design.
Conclusion
Bead flower making is a craft that rewards patience and smart preparation. These 14 tricks are not complicated — most of them are just small changes in how you set up, work, and finish. Start with sorting your beads and cutting enough wire, build your petals in batches, and keep your tension consistent throughout. As you practice these habits, you will find that your flowers come out neater, your sessions feel less frustrating, and you actually finish projects faster than before. Every experienced bead artist started exactly where you are now. Pick two or three tricks from this list today, try them on your next flower, and see the difference for yourself.