Why Clay Figures Make the Perfect Same-Day Project
There’s something really satisfying about starting a craft in the morning and holding the finished piece by lunchtime. Clay figures are exactly that kind of project. You don’t need years of sculpting experience or a fancy studio setup — just a bit of clay, your hands, and maybe twenty free minutes. I remember the first time I sat down with a block of air-dry clay on a rainy Sunday afternoon, half expecting to mess it up completely. Instead, I had a tiny clay cactus sitting on my windowsill before dinner. That’s the beauty of same-day clay projects — they give you quick wins, they don’t demand perfection, and they turn spare time into something you can actually touch and show off. Whether you’re doing this with kids, alone as a stress reliever, or as a small gift idea, clay figures fit into busy schedules without feeling rushed.
What You’ll Need Before You Start
Quick Supply Checklist for Instant Projects
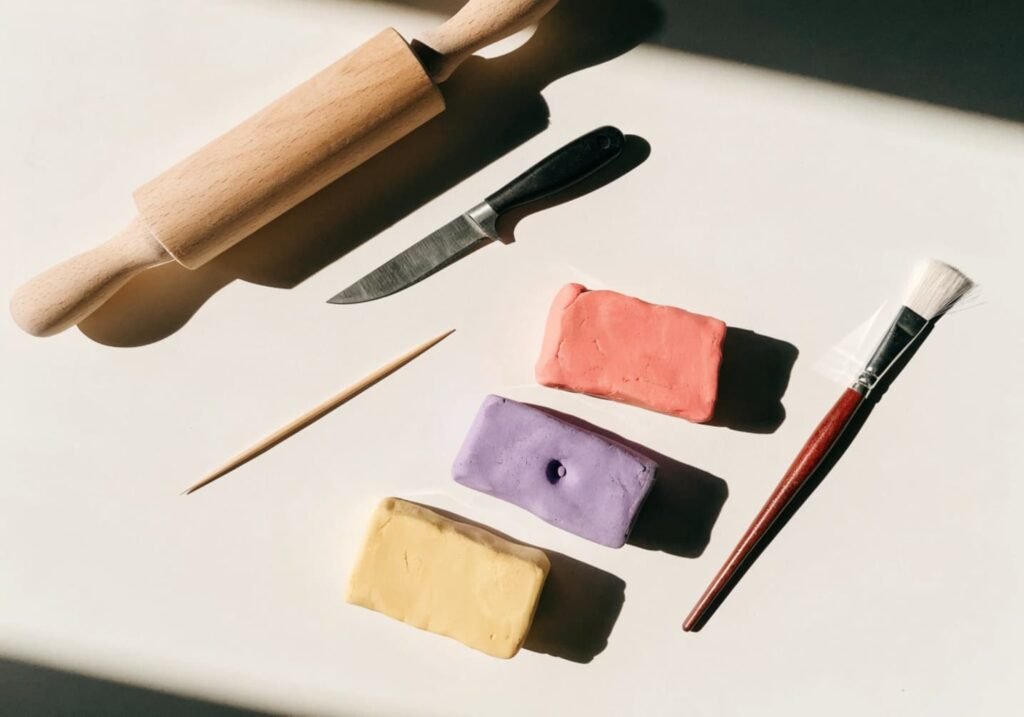
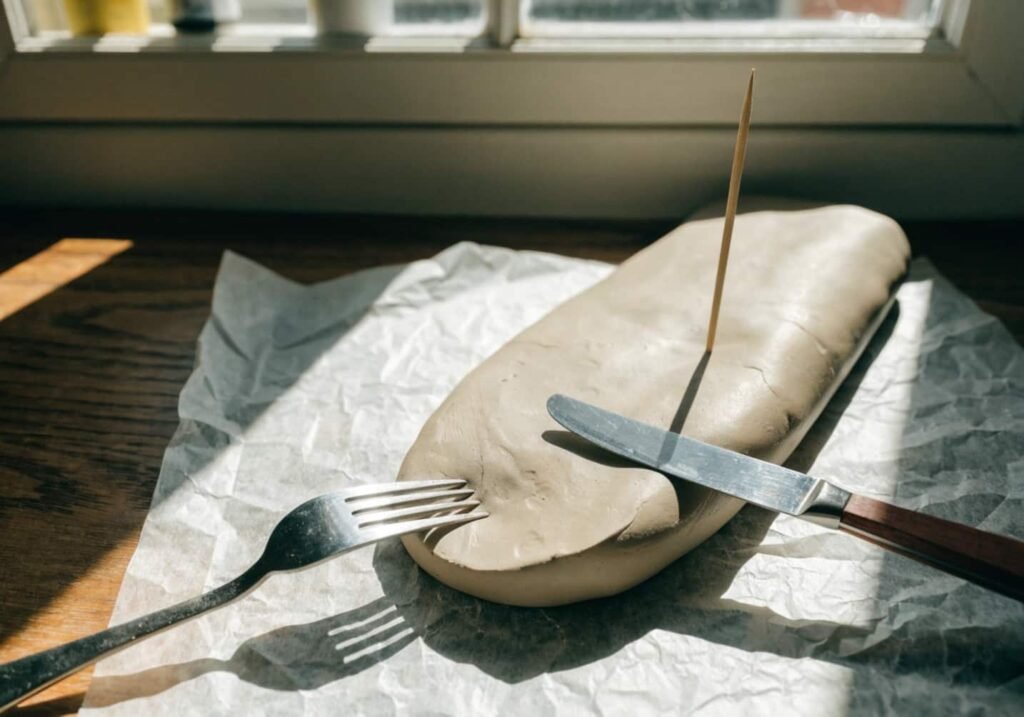
Before you dive in, it helps to have everything laid out so you’re not pausing halfway through to dig through drawers. For most of these same-day ideas, you really only need a few basics: a pack of air-dry or polymer clay, a small rolling pin (or just a smooth glass), a butter knife or clay tool for detailing, a toothpick for tiny textures, and a flat surface lined with parchment paper so nothing sticks. If you plan to paint your figures later, keep some acrylic paint and a thin brush nearby too. I like keeping a small shoebox with all my clay tools together so I can grab it and start within seconds, instead of losing ten minutes just getting organized. That little bit of prep genuinely saves time on a day when “today” is the whole point.
No-Bake vs Oven-Bake Clay – Which Saves Time?
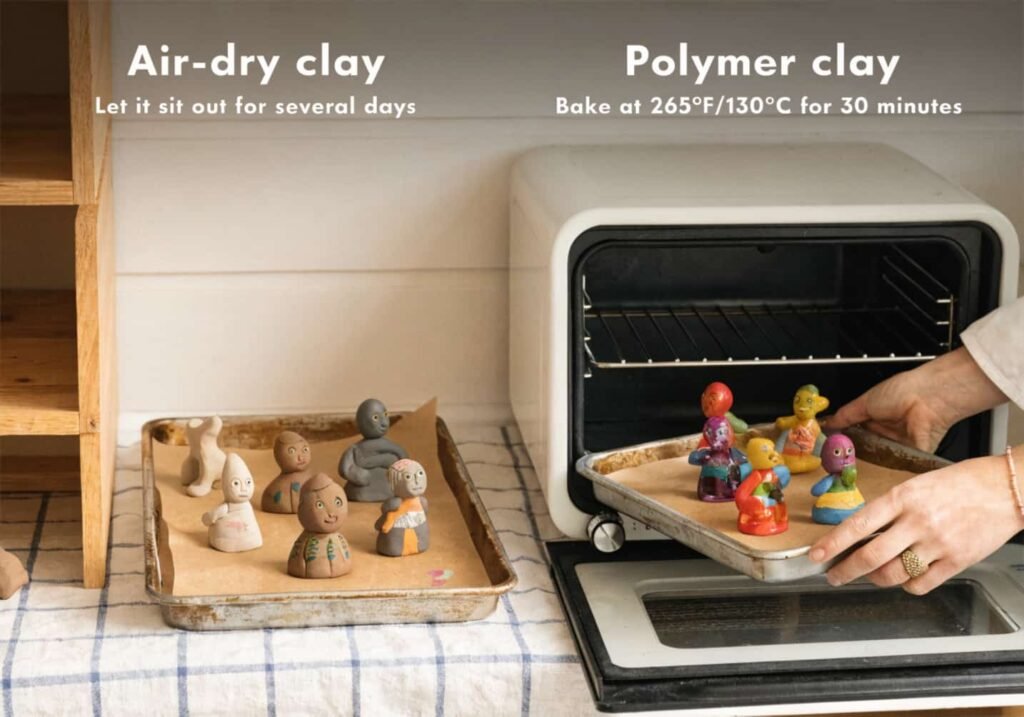
This is the part people skip and then regret later. Air-dry clay needs no oven, but it usually takes anywhere from 24 to 48 hours to fully harden, which doesn’t help much if you want a finished piece today. Oven-bake polymer clay, on the other hand, sets in about 15 minutes at roughly 130°C, so you can actually complete a project start to finish in one sitting. If your goal really is “today,” polymer clay is the smarter pick. But if you don’t own an oven-safe space or you’re working with kids who can’t be near heat, air-dry clay still works — you’ll just enjoy the shaping part today and see the final result tomorrow. Either way, knowing this difference upfront stops you from feeling disappointed later.
10 Easy Clay Figure Ideas to Try Today
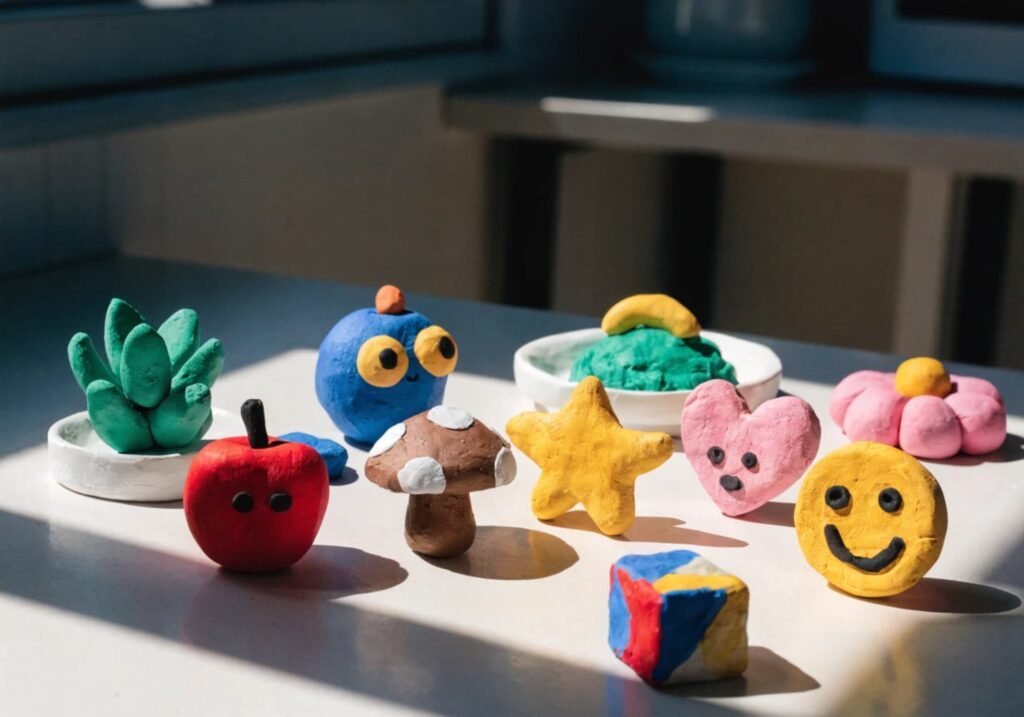
If you’re short on time, this next part is basically your menu. Pick based on how many minutes you actually have. If you’ve only got 10 minutes, go for the small heart charms or the emoji faces. If you’ve got closer to 30 minutes, try the mini fruit figures or the flower shapes, since they involve a bit more detailing. There’s no wrong choice here — these are all beginner-friendly, low-pressure projects meant to be finished the same day you start them, with almost no risk of ruining your clay or wasting your afternoon.
Idea 1: Tiny Succulent Pots (Beginner – 15 Minutes)
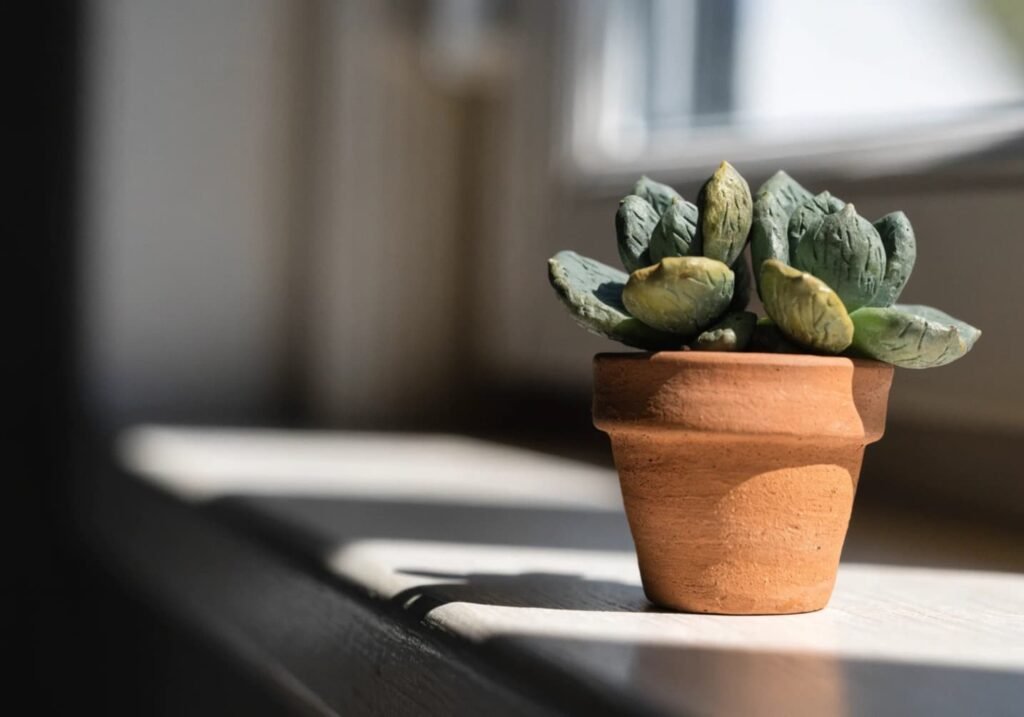
Tiny succulent pots are one of the most forgiving projects you can try, which is exactly why beginners love them. You roll small balls of green clay, flatten them slightly, then use a toothpick to press little lines into the top so it looks like real succulent leaves. Pop it into a mini clay or real thumb-sized pot, and you’ve got a desk decoration that never needs watering. If the clay starts cracking while you’re shaping the leaves, just dab a tiny bit of water on your fingertip and smooth it over — that usually fixes it right away. These are great for summer décor, since they bring a fresh, green, plant-like feel to any shelf without the maintenance of an actual plant.
Idea 2: Mini Fruit Figures (Super Easy – 20 Minutes)
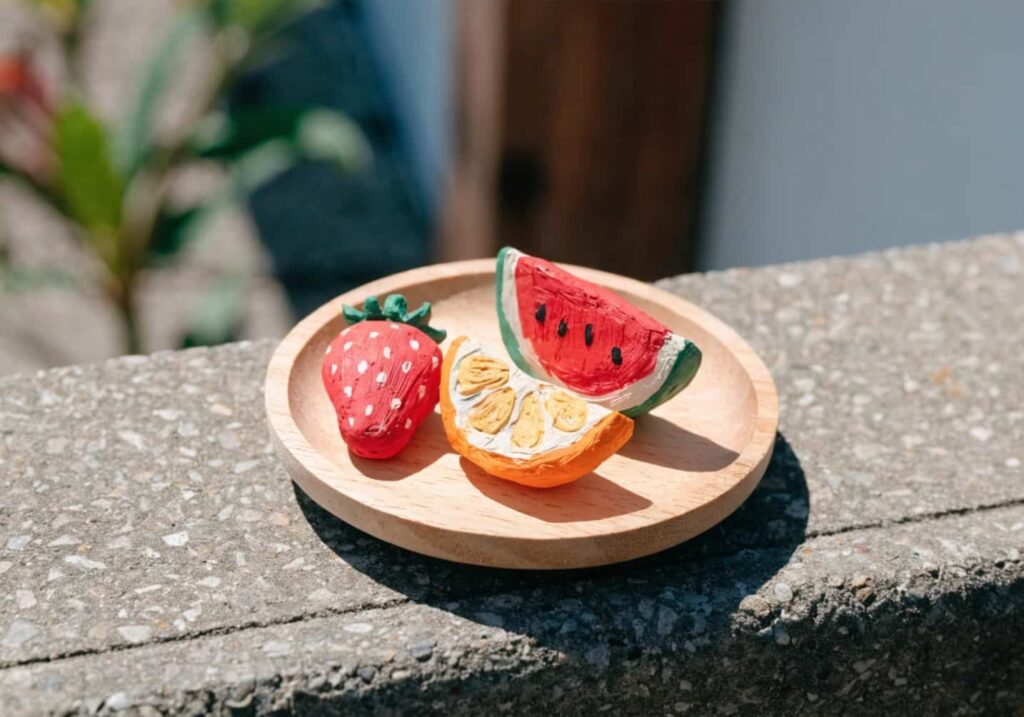
Mini fruit figures are a fun one if you want a splash of color on your desk. Think tiny oranges, watermelon slices, or strawberries — all made by rolling small clay balls and adding simple details with a toothpick, like seed dots on a strawberry or stripes on a watermelon rind. Kids especially love this idea because it feels more like play than craft. If the colors start blending together while you’re shaping, work with slightly cooled clay or dust your hands with a touch of cornstarch so the colors stay separate and crisp. These little fruits also make sweet fridge magnets if you glue a small magnet on the back once they’re fully set.
Idea 3: Simple Animal Faces (Beginner – 20 Minutes)
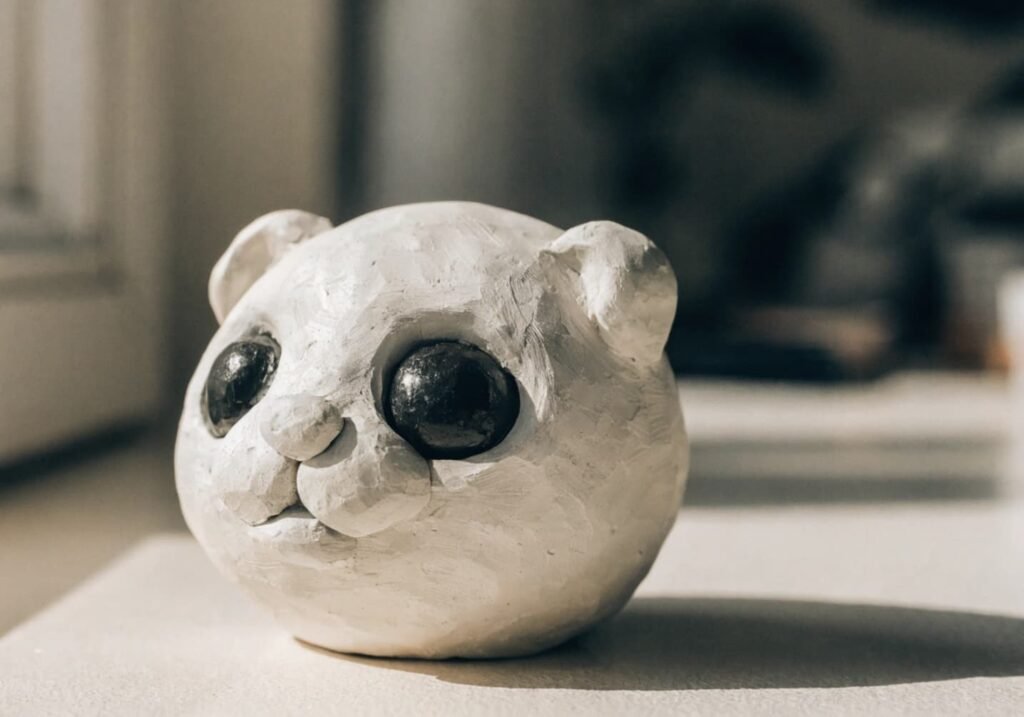
Simple animal faces are perfect if you want something cute without needing to sculpt a full body. Flatten a round base of clay, then add two small ears, a nose, and dot-like eyes using a toothpick or the tip of a pin. Cats, bears, and pandas work especially well because their faces are made of just a few basic shapes. If the ears keep falling off before the clay sets, press them on firmly and smooth the edges into the base rather than just sticking them on top — that blending step makes a huge difference in how sturdy the final piece feels. These little faces make adorable keychains or magnets once finished.
Idea 4: Cute Mushroom Characters (Super Easy – 15 Minutes)
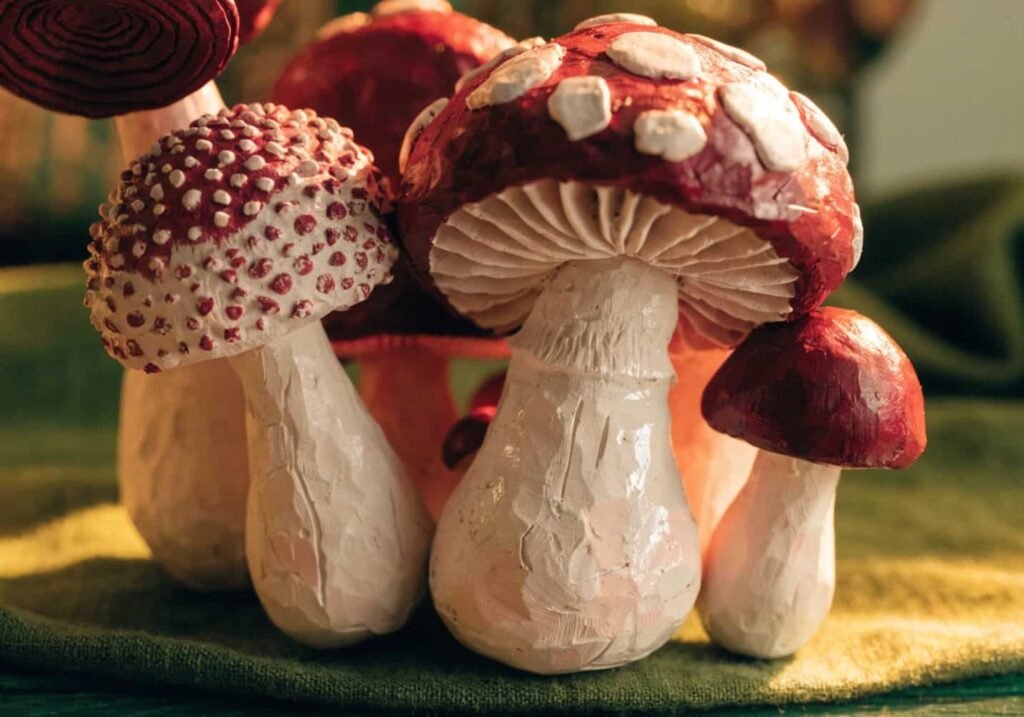
Mushroom characters have become a genuinely trending clay idea lately, especially for cozy, cottagecore-style room décor. You shape a small round cap and a short stem, then add tiny white dots on top using a toothpick dipped in white paint or a smaller ball of white clay. What makes these fun is how forgiving the shape is — even a slightly uneven mushroom still looks charming rather than “wrong.” If your cap keeps sliding off the stem, let the stem firm up for a couple of minutes before attaching the cap, or use a tiny bit of water as glue between the two clay pieces. A little cluster of these mushrooms on a shelf instantly adds warmth to any room.
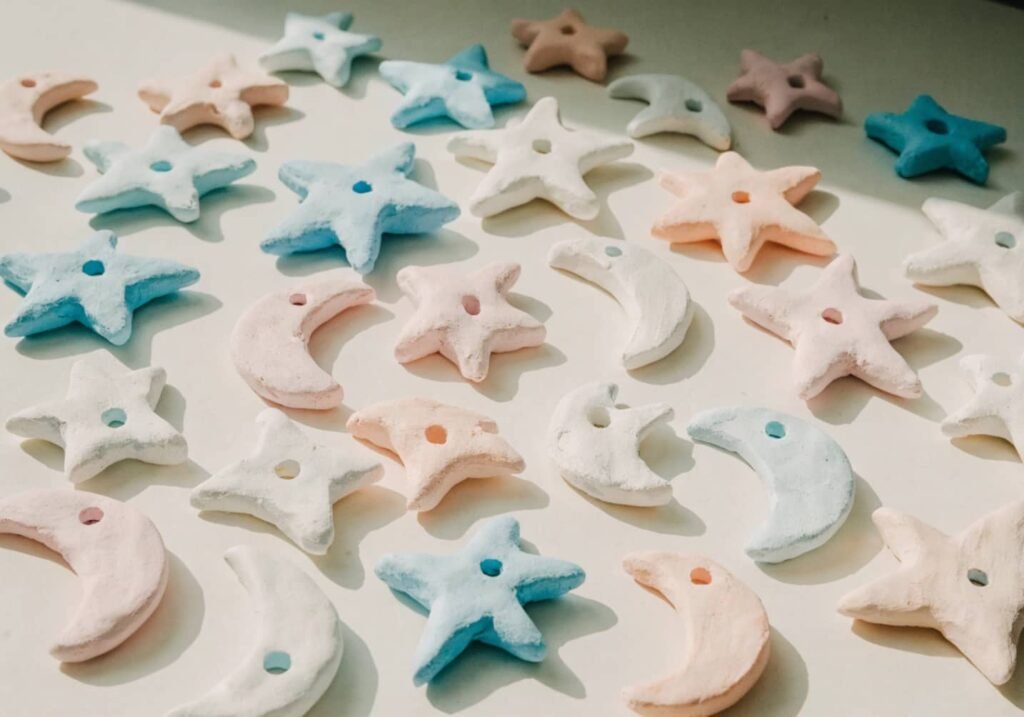
Idea 5: Miniature Stars & Moons (Beginner – 10 Minutes)
If you only have ten minutes to spare, this is your go-to idea. Roll out a thin sheet of clay, then use a small star or crescent moon cutter (or even carefully cut the shape with a knife) to punch out your figures. Poke a tiny hole at the top with a toothpick before the clay sets if you want to turn these into hanging charms or earrings later. Since there’s no complex shaping involved, this is genuinely one of the fastest projects on this list, which makes it a great “quick win” for absolute beginners who just want to see a finished result without much effort or waiting around.
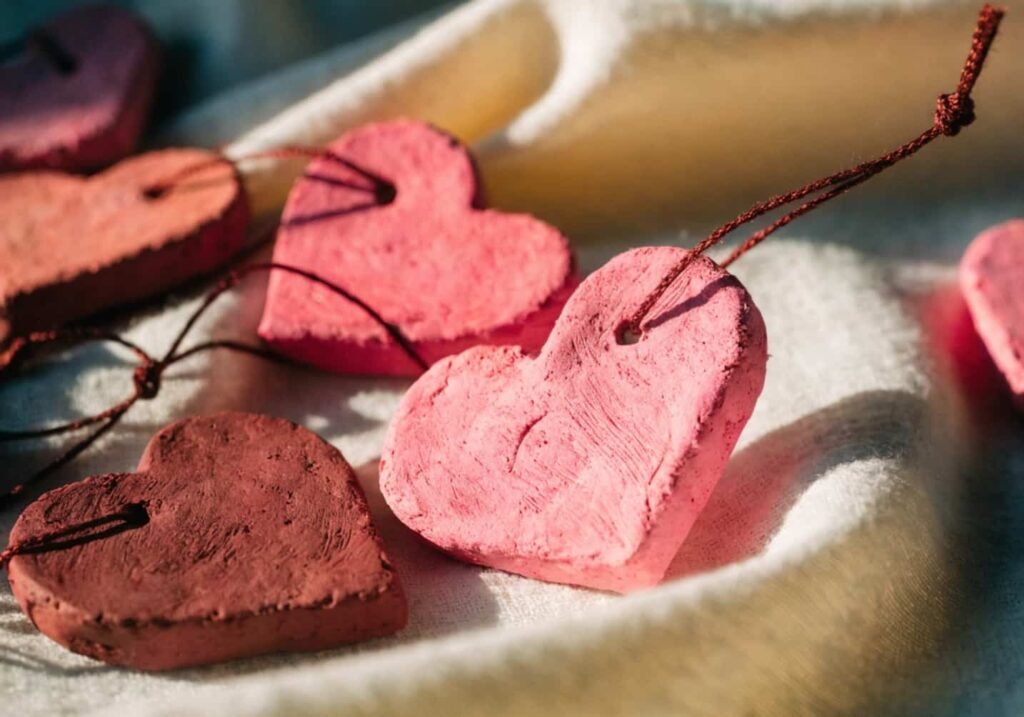
Idea 6: Small Heart Charms (Fastest Idea for Absolute Beginners – 10 Minutes)
This is genuinely the fastest and easiest idea on the whole list, which is why I’d call it the perfect starting point if you’ve never touched clay before. Just roll a small ball, pinch the top into a slight dip, and shape the bottom into a point — instant heart shape, no cutters needed. You can press a tiny pattern into it with a fork or toothpick for texture. If the heart shape looks uneven, don’t stress — gently reshape it with damp fingers while the clay is still soft. These charms are ideal for gift-giving season, since you can attach a string and hand them out as tiny, personal keepsakes within the same afternoon you made them.
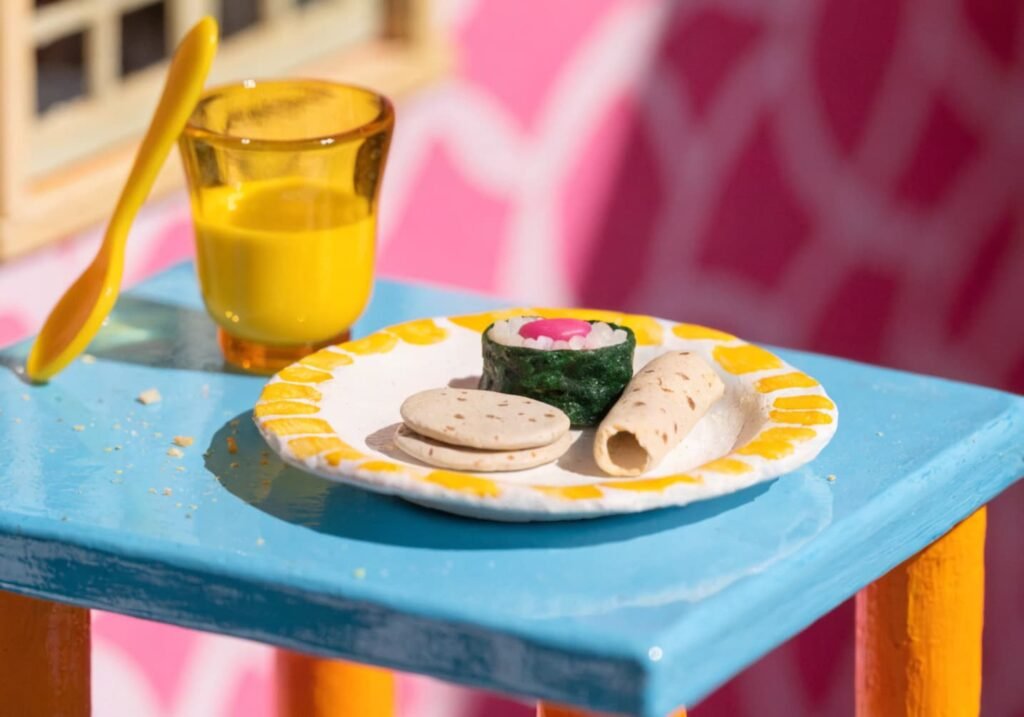
Idea 7: Mini Food Plates (Beginner – 25 Minutes)
Mini food plates take slightly longer because you’re combining a few small elements — a tiny plate base plus miniature food pieces like pancakes, eggs, or sushi rolls sitting on top. Start with the plate first, flatten a round disc and curl the edges up slightly, then build your tiny food items separately before placing them on. This one is fun to do with kids since they can pick their favorite “meal” to recreate in miniature. If pieces don’t stick to the plate, dab a little water underneath before pressing them down — it acts like natural glue and holds everything in place while it sets.
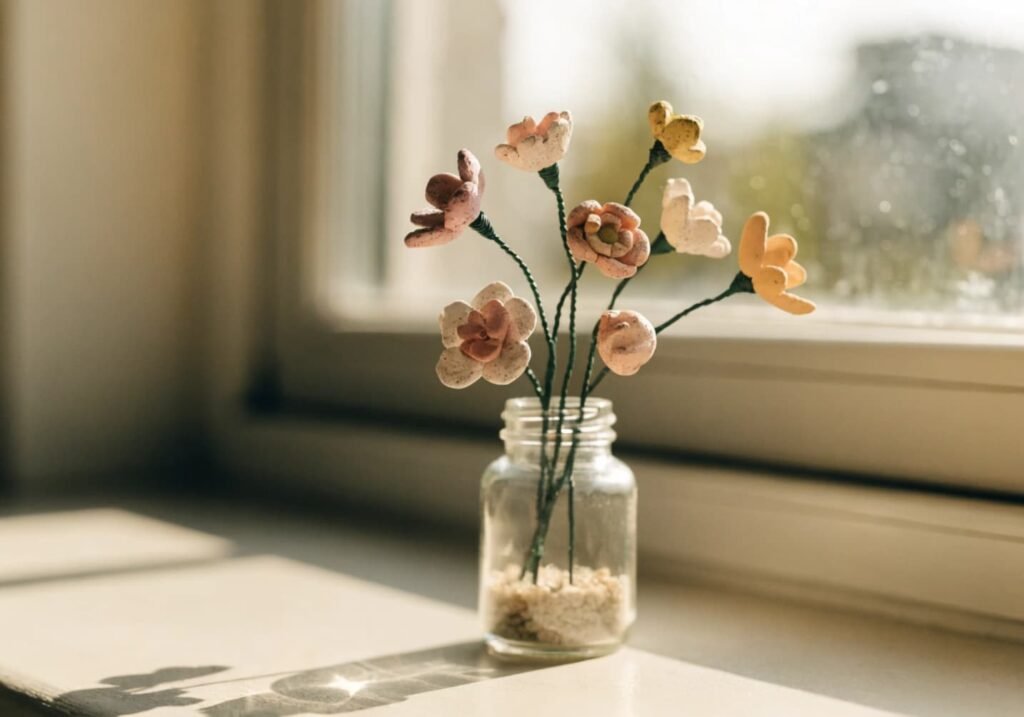
Idea 8: Simple Flower Figures (Super Easy – 20 Minutes)
Flower figures are another satisfying same-day project, especially if you enjoy a bit of detail work. Flatten five small petal shapes, arrange them in a circle, then press a tiny yellow ball in the center to finish the look. You can vary petal count and color to make daisies, tulips, or little wildflowers depending on your mood. If the petals crack at the edges while shaping them, they’re probably a touch too dry — knead the clay a little longer before rolling next time. These flowers work beautifully as spring or summer décor pieces, and a few of them together in a tiny vase look surprisingly realistic from a short distance.
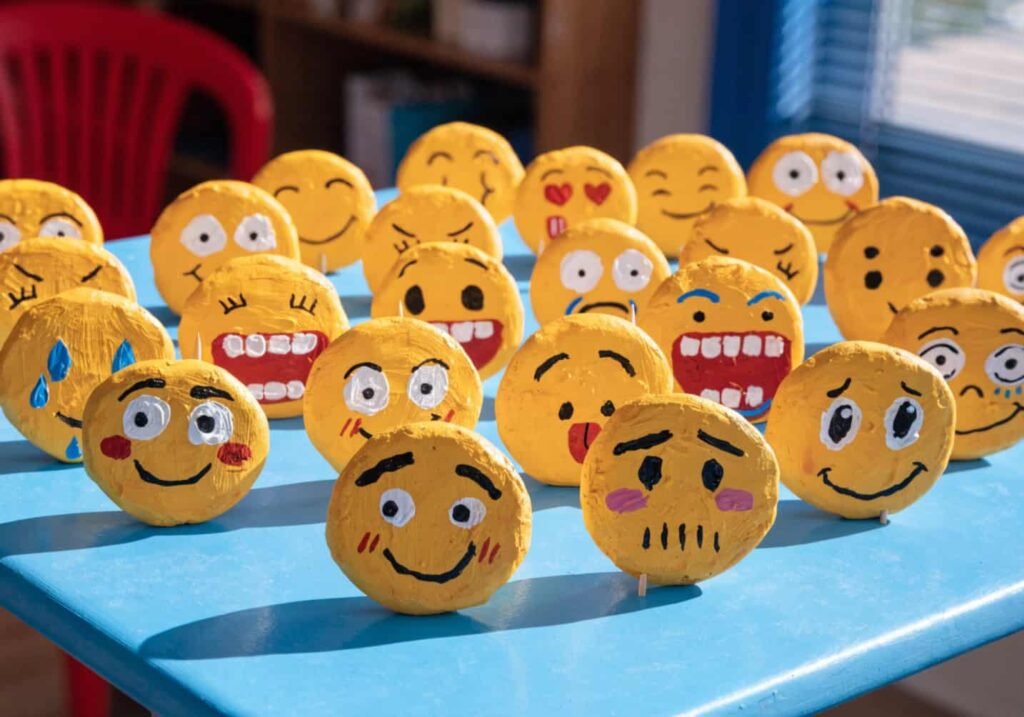
Idea 9: Tiny Emoji Faces (Super Easy – 10 Minutes)
If you want something playful and instantly recognizable, tiny emoji faces are a great pick. Flatten a small yellow circle, then use a toothpick or the tip of a paintbrush dipped in black paint to add simple eyes and a mouth — smiling, laughing, winking, whatever mood fits. This idea works really well for kids’ projects since there’s no complicated shaping, just flattening and drawing on details. If the paint smudges before it dries, wait until the clay has fully set before adding any facial details rather than painting on soft, unbaked clay. These little faces are fun as fridge magnets or a playful addition to a pencil case.
Idea 10: Basic Geometric Shapes (Beginner – 10 Minutes)
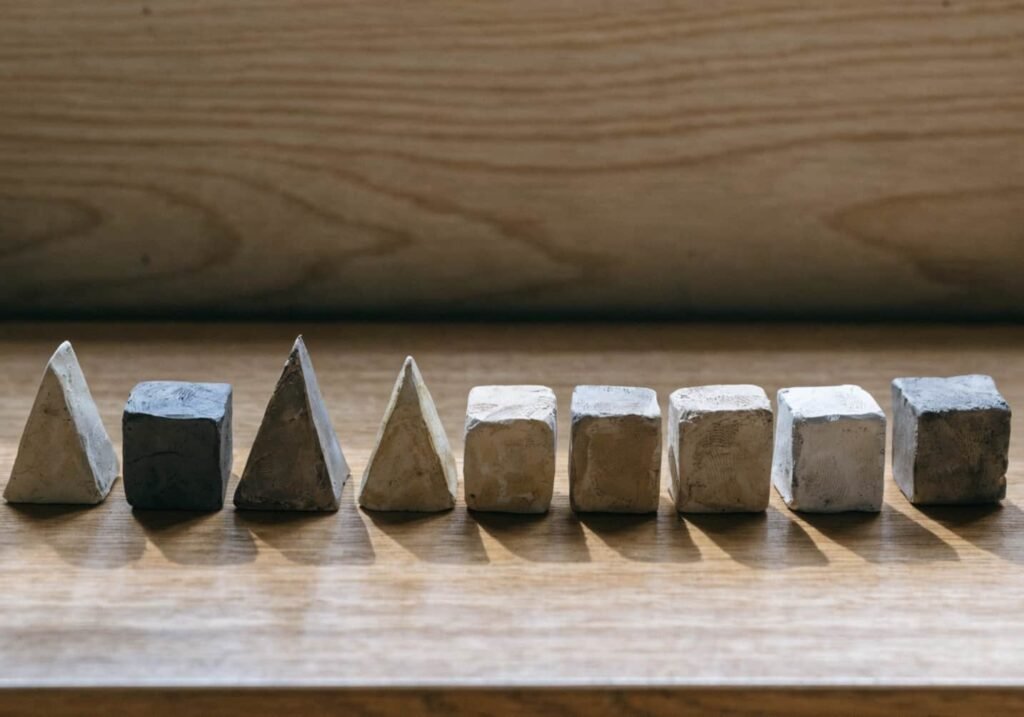
Geometric shapes are the easiest and most beginner-proof idea here, perfect if your hands aren’t quite ready for detailed sculpting yet. Roll clay into a log or ball, then use a knife to cut clean triangles, squares, or cubes. No painting or detailing is required unless you want to add some for style, which makes this the lowest-effort, highest-success option on the list. If your edges look rough after cutting, smooth them gently with a damp finger before the clay firms up. These shapes look great in a row on a shelf or strung together as a simple geometric necklace, and they’re a solid confidence-builder before trying the more detailed ideas above.
How to Speed Up the Drying Process
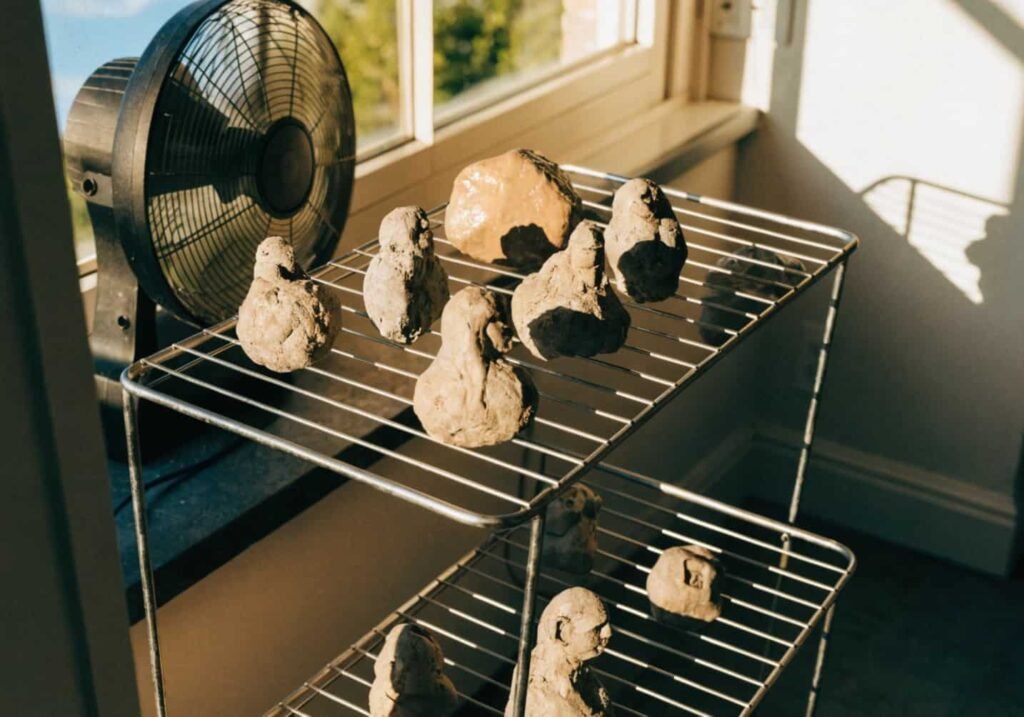
If you’ve gone the air-dry route and don’t want to wait a full two days, there are a few tricks that genuinely help. Keep your figures in a warm, dry spot with good airflow — near a window works well, but avoid direct sunlight, which can cause cracking. A small fan pointed nearby (not too close) can cut drying time noticeably by keeping air moving around the piece. Thinner clay pieces always dry faster than thick, chunky ones, so if speed matters more to you today, aim for flatter designs like the stars, hearts, or geometric shapes rather than thick 3D figures. Some people also swear by a dehumidifier running in the same room, since moisture in the air is really what slows everything down in the first place.
Beginner-Friendly Shortcuts & Hacks
A few small habits make clay work feel far less intimidating once you know them. Keep a damp cloth nearby to wipe your hands between colors so they don’t mix and muddy each other. Use a ziplock bag to store unused clay so it doesn’t dry out before your next project. If you don’t own actual clay tools, a toothpick, fork, and butter knife can cover almost everything you need for texture and detail. Rolling clay between two same-thickness rulers also gives you a perfectly even sheet without needing a proper rolling pin. And honestly, working in small batches — just one figure at a time — keeps things from feeling overwhelming, especially if this is your very first time trying clay work at home.
Ways to Display or Gift Your Clay Figures
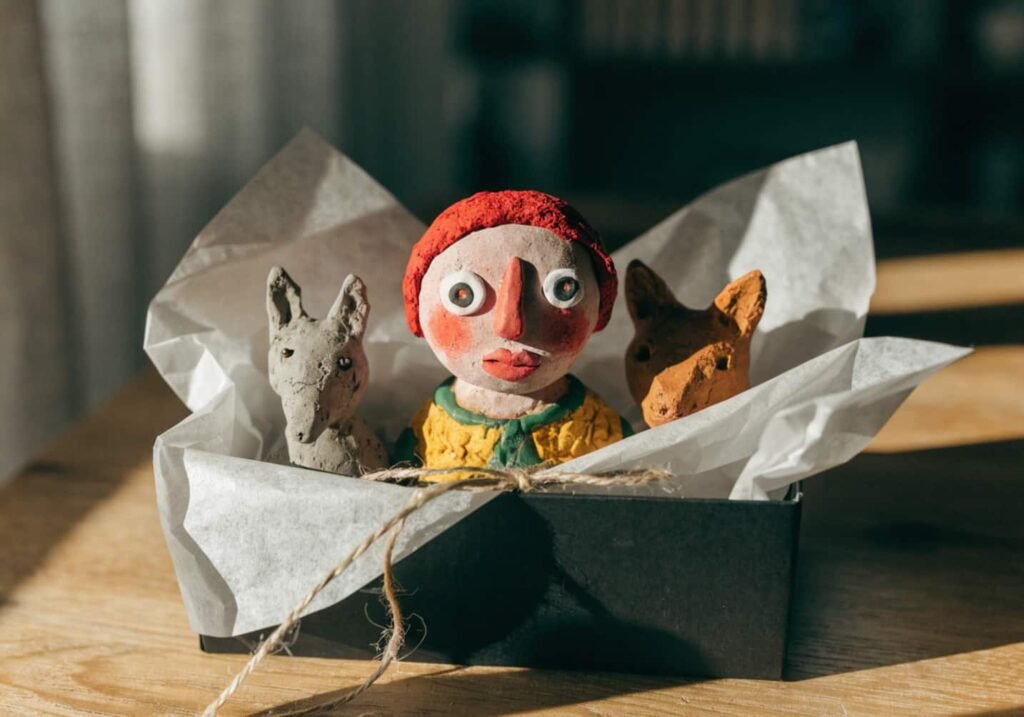
Once your figures are done, half the fun is deciding what to do with them. Small trays or shallow bowls make a nice little display shelf for a handful of figures grouped by theme, like all your mushrooms together or your fruit collection lined up. For gifting, a small clear box or a mini drawstring pouch turns your figure into something that feels intentional rather than thrown together last minute. Adding a string turns hearts, stars, or moons into wearable charms or bag tags, which people genuinely appreciate as handmade gifts, especially around birthdays or holiday season. I once gave a friend a tiny clay succulent in a matchbox, and she still keeps it on her desk years later — small handmade things really do stick around longer than you’d expect.
Frequently Asked Questions
Can I finish a clay figure in one day?
Yes, absolutely, especially if you choose oven-bake polymer clay, which sets in around 15 minutes at roughly 130°C once you’re happy with the shape. Even with air-dry clay, you can finish the actual shaping and detailing part today — the figure just won’t be fully hardened until a day or two later. If your goal is a completely finished piece by tonight, stick with polymer clay and pick a simple design like the hearts, stars, or geometric shapes, since these have less detailing and dry evenly without cracking, making them realistic same-day projects rather than something you have to plan around.
What’s the fastest-drying clay option?
Oven-bake polymer clay is by far the fastest option, hardening in about 15 minutes at 130°C compared to the 24 to 48 hours air-dry clay typically needs. If you don’t have access to an oven, some brands sell quick-dry air clay that firms up in around 2 to 4 hours instead of a full day, which is a decent middle-ground option. Thinner, flatter figures also dry faster regardless of clay type, so combining a quick-dry clay with a simple flat design, like the stars or geometric shapes mentioned earlier, is honestly your best bet if speed is the priority today.
Do I need to paint my figures?
Not at all — painting is completely optional and really comes down to personal preference. A lot of clay figures already look great using colored clay itself, so no painting is needed once the shaping is done. That said, painting does let you add finer details, like facial expressions, patterns, or a glossy sealed finish that protects the figure over time. If you do want to paint, just wait until the clay is fully dry or baked first, since painting on soft, unset clay usually smudges and ruins the shape you worked so hard on.
Start Your First Clay Figure Right Now
At the end of the day, the best way to actually finish a clay project today is to just start one, even a small one. Pick whichever idea matched your available time earlier — ten minutes for a heart or star, twenty or so for something like a mushroom or flower — and don’t worry about it being perfect. Clay is forgiving, mistakes smooth out with a little water, and even a slightly wonky first figure still counts as a real, finished handmade thing sitting on your desk by tonight. That’s honestly more rewarding than most other quick hobbies out there, so grab whatever clay you have on hand and get those hands a little messy today