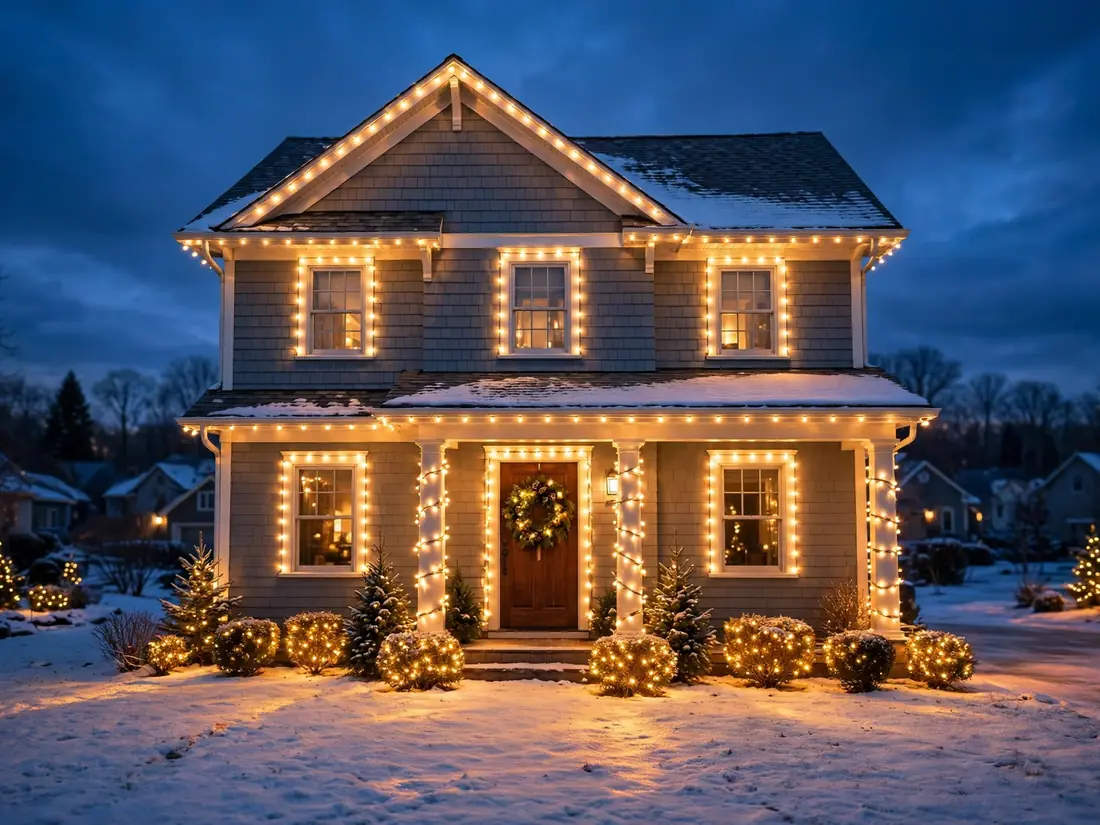
30 House Christmas Light Ideas That Plan the Whole Look Without Waste
Most house displays go wrong in the store, not on the ladder. Extra strands tangle in a bin, two bulb sizes fight across the roofline, and one bright gable drowns out everything else. The result looks busy from the street and costs more than it should, even though every single piece looked fine on its own in the cart.
The houses that look calm and finished all start with a plan: one bulb size, one simple color story, and a rough sketch before a single clip goes up. That planning mindset sits behind the best christmas lights on the house, where every strand has a job and nothing is bought twice.
These 30 planning ideas walk you from measuring and sketching to power, timers, and takedown, so the whole house comes together in one pass. Most need only a tape measure, paper, clips, and the Christmas lights you probably already own, organized better this year.
The House Lighting Formula That Keeps Big Displays Looking Planned
- Measure before you buy: walk every line you plan to light with a tape and write the footage down, so strands match the house instead of the other way round.
- One bulb, one palette: choose a single bulb size and a color story of three bulbs or fewer, and let warm white carry at least half the display.
- Power is part of the design: map your outdoor outlets and cord routes on the same sketch, so no finished run ends six feet short of a plug.
- Build in one flexible layer: keep one zone, like the porch or garage face, on its own timer and strand so you can swap its color or motif without redoing the house.
For example, a brick colonial might run warm white C9 bulbs along 64 feet of roofline, repeat red mini lights in three front windows, and keep the porch on a separate green wreath strand, echoing these exterior christmas light ideas with every cord hidden behind the gutters.
| # | Idea | Best For | Budget |
|---|---|---|---|
| 1 | Measure the Roofline Before Buying a Single Strand | first-time planners | $ |
| 2 | Draw the House on Paper and Mark Five Zones | organized decorators | $ |
| 3 | Pick One Bulb Size for the Whole House | a unified look | $$ |
| 4 | Choose the Color Story in Three Bulbs or Fewer | calm, classic homes | $$ |
| 5 | Count Bulbs per Foot to Cost the Whole Job | budget planners | $ |
| 6 | Match Both Sides of the Front Door Exactly | symmetrical facades | $$ |
| 7 | Give the House One Brightest Point Only | avoiding glare wars | $$ |
| 8 | Plan Power First: One Outdoor Circuit Map | large displays | $ |
| 9 | Hide Every Extension Cord in the Route Plan | tidy front yards | $ |
| 10 | Set Timers So the Whole House Wakes Together | set-and-forget homes | $ |
| 11 | Scale Bulb Size to the House’s Distance from the Street | deep front yards | $$ |
| 12 | Repeat the Same Motif Three Times, Then Stop | cohesive themes | $ |
| 13 | Leave the Second Floor Dark on Small Houses | cottages and bungalows | $ |
| 14 | Use the Garage Face as the Second Act | wide lots | $$ |
| 15 | Plan a One-Hour-a-Night Glow Window | energy savers | $ |
| 16 | Buy Ten Percent Extra Strands as Spares | mid-season failures | $ |
| 17 | Test Every Strand on the Ground in November | avoiding ladder re-dos | $ |
| 18 | Photograph Last Year’s House to Plan This Year’s | improvers | $ |
| 19 | Assign One Weekend to Hanging, One to Tweaks | busy families | $ |
| 20 | Plan the Takedown Bins While You Hang | organized storers | $ |
| 21 | Keep Receipts and Strand Maps in One Envelope | warranty claims | $ |
| 22 | Choose Clips by Surface Before Choosing Lights | damage-free hanging | $ |
| 23 | Decide the View from Inside, Not Just the Street | window-facing rooms | $ |
| 24 | Budget One Statement Piece and Keep the Rest Simple | focal-point fans | $$ |
| 25 | Plan Around the House’s Own Colors | painted exteriors | $ |
| 26 | Sketch Where Shadows Fall at Night | evening planners | $ |
| 27 | Set a Total Watt Ceiling for the Whole Display | older homes | $ |
| 28 | Give Tall Houses Verticals, Wide Houses Horizontals | proportion fans | $$ |
| 29 | Write the Off-Date on the Calendar Now | tidy January streets | $ |
| 30 | Walk the Street View Once Before the Final Night | perfectionists | $ |
1. Measure the Roofline Before Buying a Single Strand
Walk the front of the house with a 50-foot soft tape and a notebook before any box is opened. Measure the main eave, both gables, and the porch edge separately, then add two feet per run for slack and corners. A typical ranch needs about 64 feet across the front, which means three 25-foot warm white C9 strands with room to spare, not the five a guess usually buys.
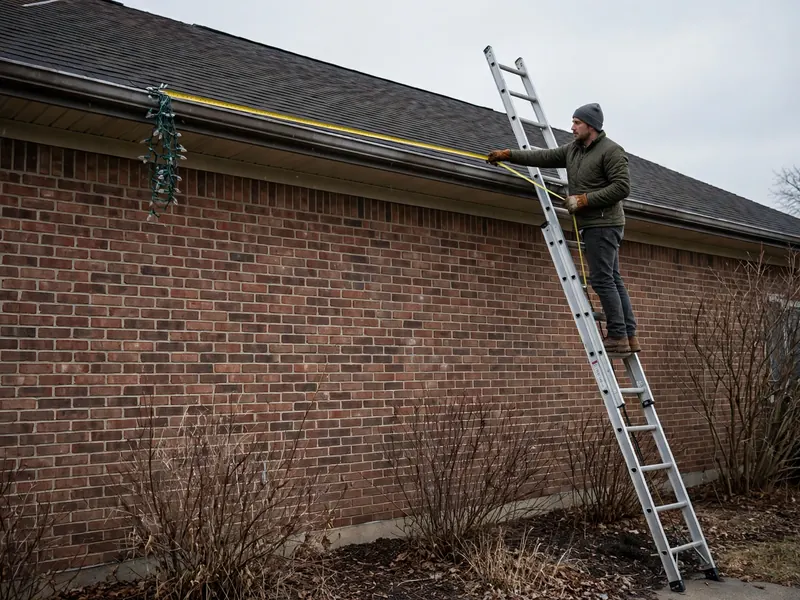
Space note: Write each measurement beside a quick sketch of that wall, including downspouts and corners, so strand lengths match real runs instead of one guessed total.
Ten minutes with a tape saves a second store trip and a bin of leftovers.
2. Draw the House on Paper and Mark Five Zones
Sketch the front elevation as simple boxes on one sheet: roofline, windows, front door, garage, and one yard feature such as a tree or lamp post. Color each zone with a pencil that matches its planned bulb color, warm white on the roof, red at the door, green in the tree. Seeing all five zones together exposes clashes while fixing them still costs nothing but an eraser.
Fit check: Before shopping, hold the sketch at the street and check every zone is visible from the curb; a hidden zone gets no lights and no budget.
3. Pick One Bulb Size for the Whole House
Choose a single bulb size and use it everywhere the eye can travel in one glance. Large C9 bulbs spaced 12 inches apart along the roofline, the garage edge, and the porch beam read as one deliberate system, while mixing C9s, C7s, and minis makes the same house look patched together from three different decades and three different sales.
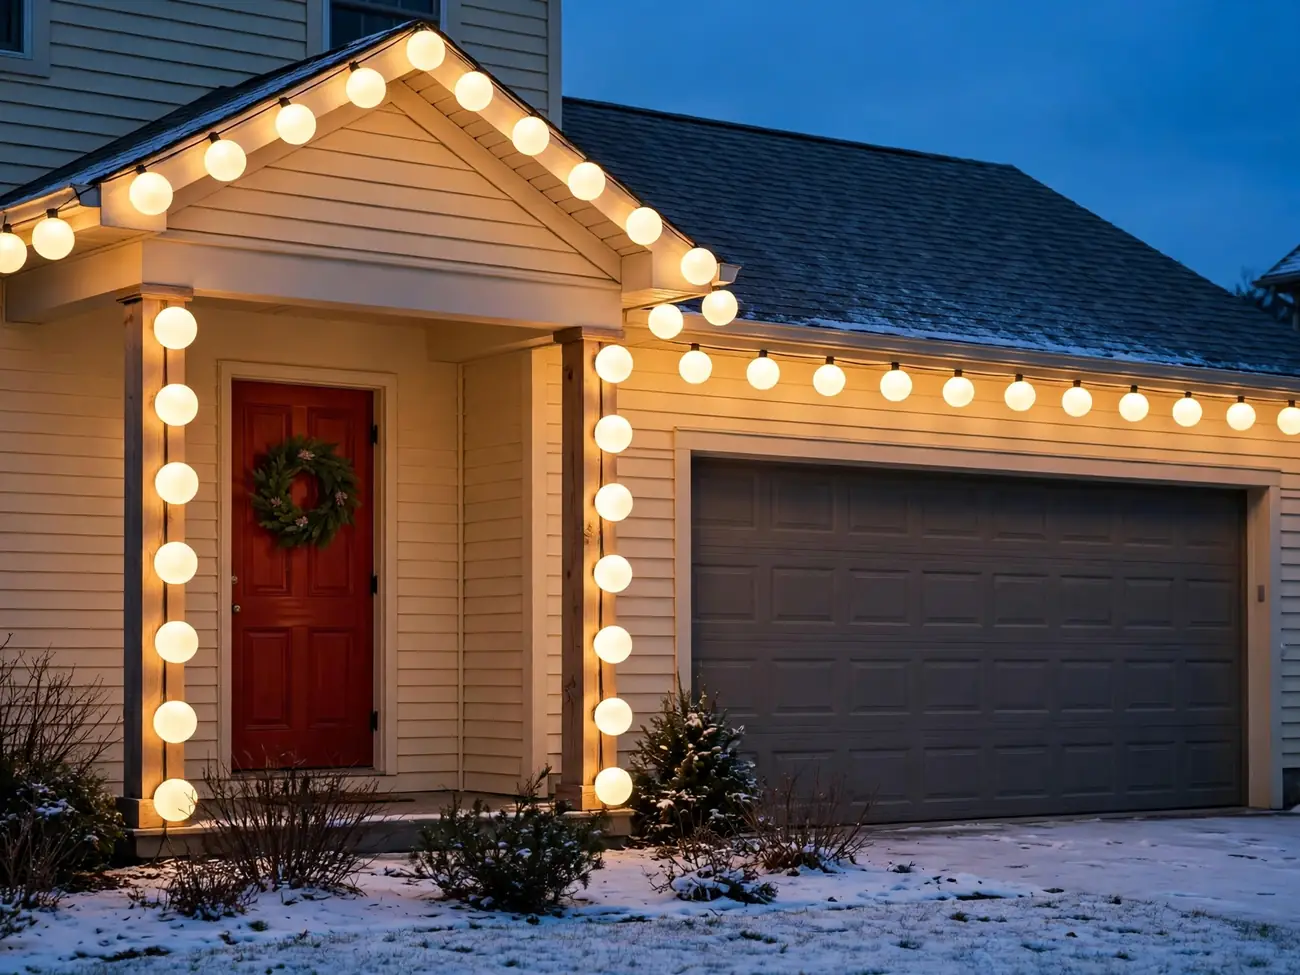
Style note: One repeated size creates a rhythm the eye follows calmly across the facade, which is exactly what makes planned displays look more expensive than bigger mixed ones.
4. Choose the Color Story in Three Bulbs or Fewer
Limit the whole house to three bulb colors at most: warm white as the base, plus one or two accents such as red and green, or icy blue and silver-white. Run the base along every long line, roof, gutters, and garage, then reserve accents for small repeated spots like window frames and the wreath, so color feels placed rather than spilled.
Easy swap: Trade the red accent strands for gold in the windows only, and the same plan reads elegant instead of playful in under ten minutes.
Your neighbors will describe the house by its colors, and three is a story they can actually remember.
5. Count Bulbs per Foot to Cost the Whole Job
Turn measurements into money before buying. C9 strands spaced at 12 inches use one bulb per foot, so a 64-foot roofline needs 64 bulbs; mini strands at 4-inch spacing need three per foot, so the same run needs about 190. Write bulbs, clips, and one timer per zone into a simple list, price it once, and let that total, not the store display, decide the plan’s size.
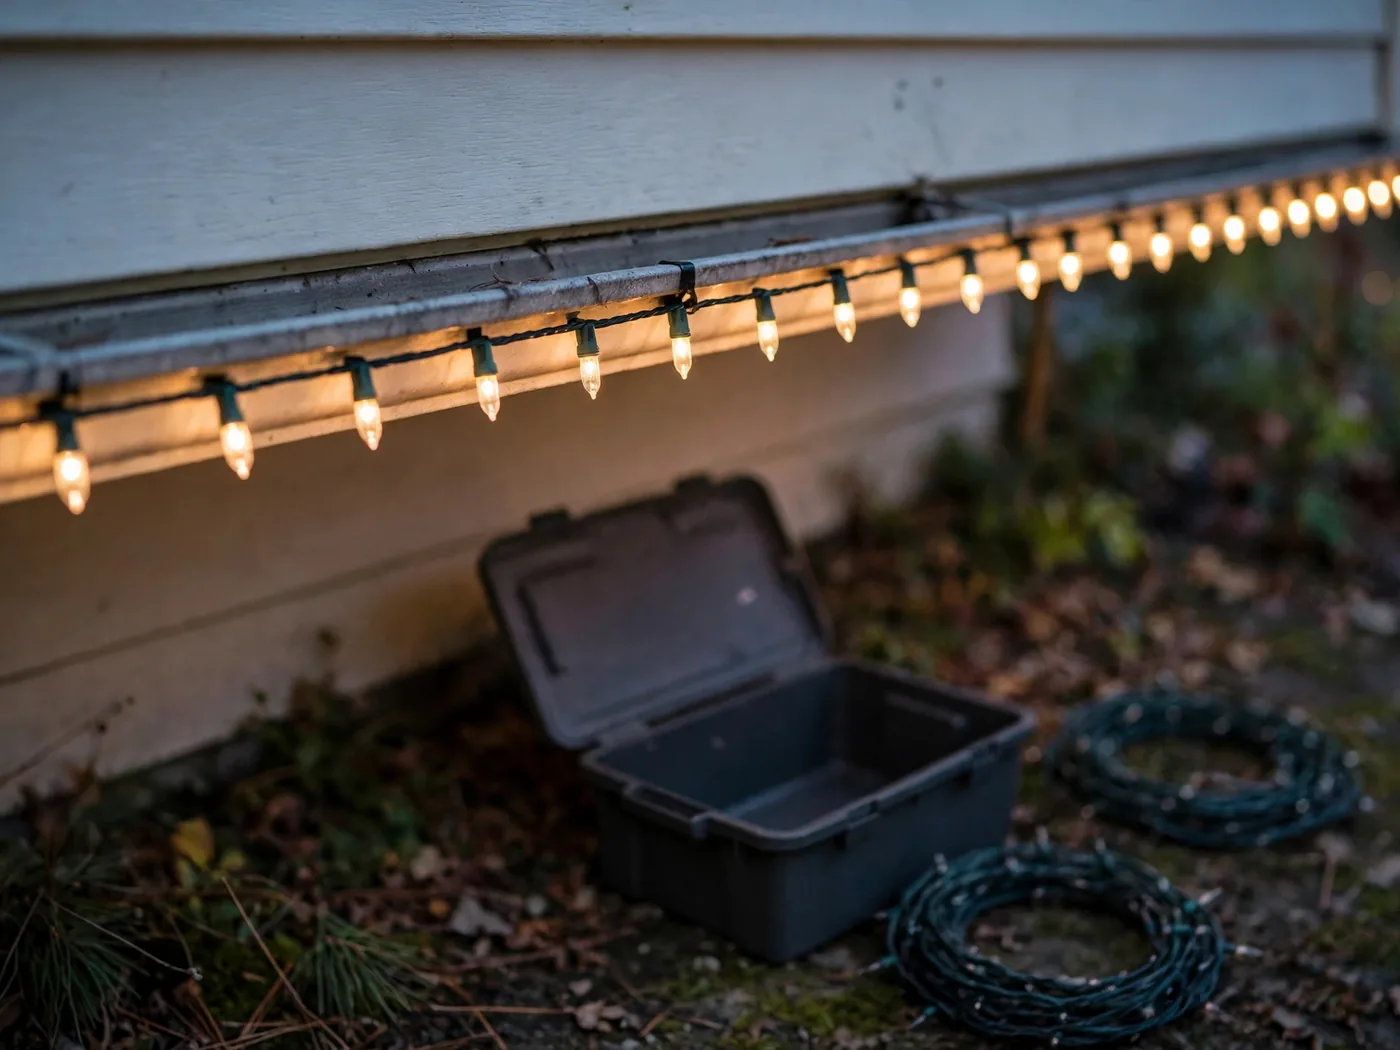
Seasonal swap: Keep the same per-foot counts for a July patio plan, swapping roofline footage for fence and pergola runs, and the costing sheet works unchanged.
6. Match Both Sides of the Front Door Exactly
Treat the front door as the display’s mirror line. Hang the same 24-inch green wreath with warm white minis on the door, then place identical lanterns or matching mini-lit topiary spirals, each about 30 inches tall, on both sides of the step. Same heights, same bulb color, same distance from the frame, roughly 18 inches out, so the entry reads balanced in every photograph.
Why it works:
- Matching heights calm the busiest part of the facade
- One bulb color ties door and roofline together
- Symmetry makes even a small entry feel formal
7. Give the House One Brightest Point Only
Decide in advance which single element wins the brightness contest: usually the front door wreath or one lit tree, never both. Fit that star with the densest strand, say 100 minis on a 24-inch wreath, and deliberately run every other zone one step dimmer with standard spacing. From the street the eye lands in one place first, then travels, instead of bouncing between rivals.
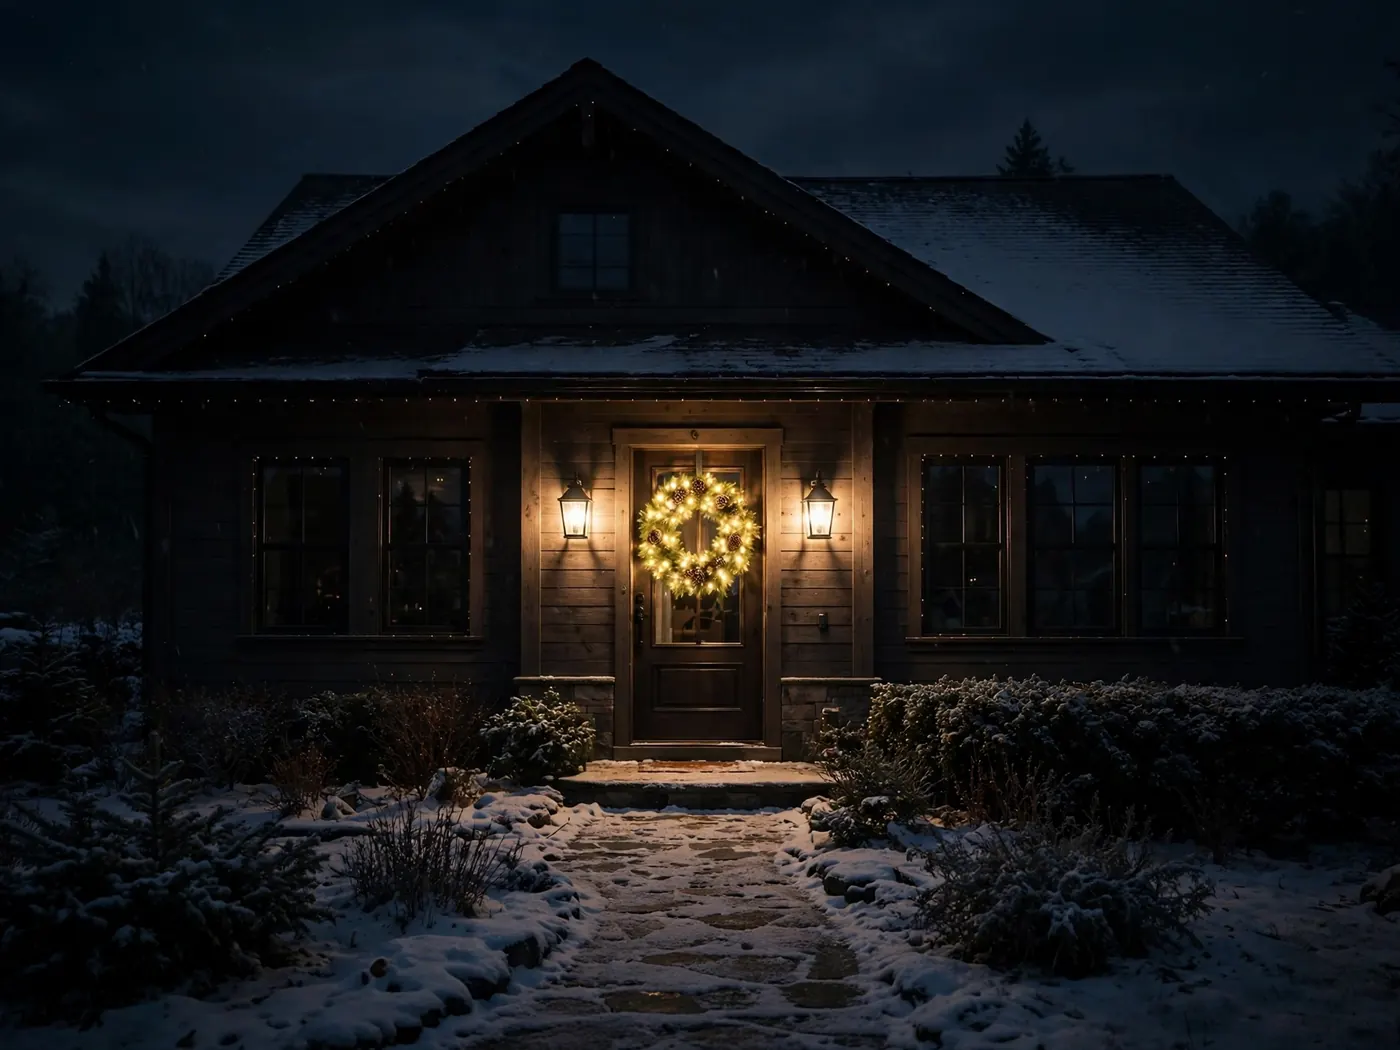
Budget note: Concentrating bulbs at one focal point means standard, cheaper strands everywhere else, so the brightest look often costs less than an evenly loaded display.
One star, a quiet supporting cast: that is the whole trick behind displays people slow down for.
8. Plan Power First: One Outdoor Circuit Map
On the back of your sketch, mark every outdoor outlet, usually one by the front door and one on the garage wall, and draw a line from each planned zone to its nearest plug. Keep any single outlet under roughly six standard LED strands end to end, and give the roofline its own outlet so a tripped breaker never blacks out the whole house at once.
The formula: nearest outlet per zone + one strand count per circuit + one spare outdoor plug left empty
9. Hide Every Extension Cord in the Route Plan
Plan cord routes with the same care as light runs. Send dark green outdoor cords down behind downspouts, along the back edge of the porch, and under mulch at bed lines, never diagonally across pale concrete. Where a cord must cross a walkway, run it at the step’s edge under a rubber cord cover in charcoal so daytime visitors see a tidy house, not the wiring.
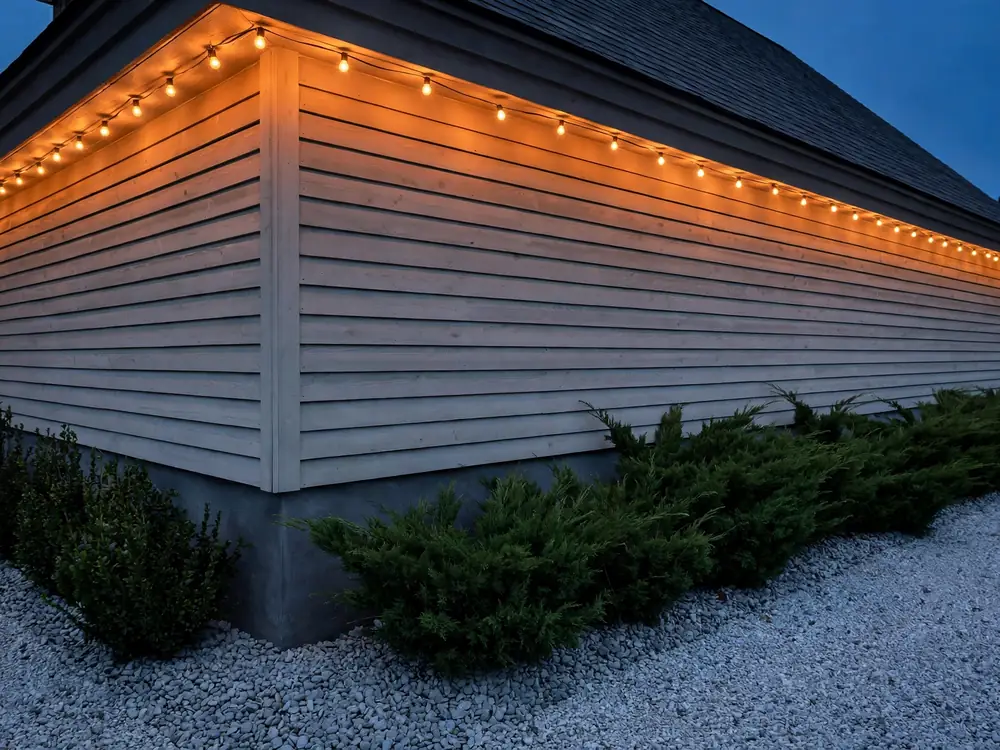
Get the look:
- Main piece: dark green outdoor extension cords matched to beds and trim
- Supporting piece: cords clipped tight behind downspouts and porch posts
- Texture or material: rubber cord covers on any walkway crossing
- Finishing touch: mulch tucked over bed-level runs
10. Set Timers So the Whole House Wakes Together
Put every zone on the same simple schedule, on at dusk and off at 11 p.m., using matching mechanical timers set to the same pin positions. A house that lights all at once feels intentional, while zones blinking on ten minutes apart look like accidents. Photocell timers work well on the roofline; keep one manual override plug at the porch for early-evening gatherings that run late.
Color note: A single switch-on moment shows off the color story at full strength, warm white, red, and green arriving together instead of appearing piecemeal through the evening.
Set it once in December and the house performs on cue every single night.
11. Scale Bulb Size to the House’s Distance from the Street
Match bulb size to viewing distance. Houses sitting 60 feet or more from the curb need large C9 bulbs to read at all; minis vanish into a faint sparkle at that range. Closer homes, 20 to 30 feet back, can use C7s or minis without losing presence. Stand at the street with one sample strand of each size before committing the whole budget to either.
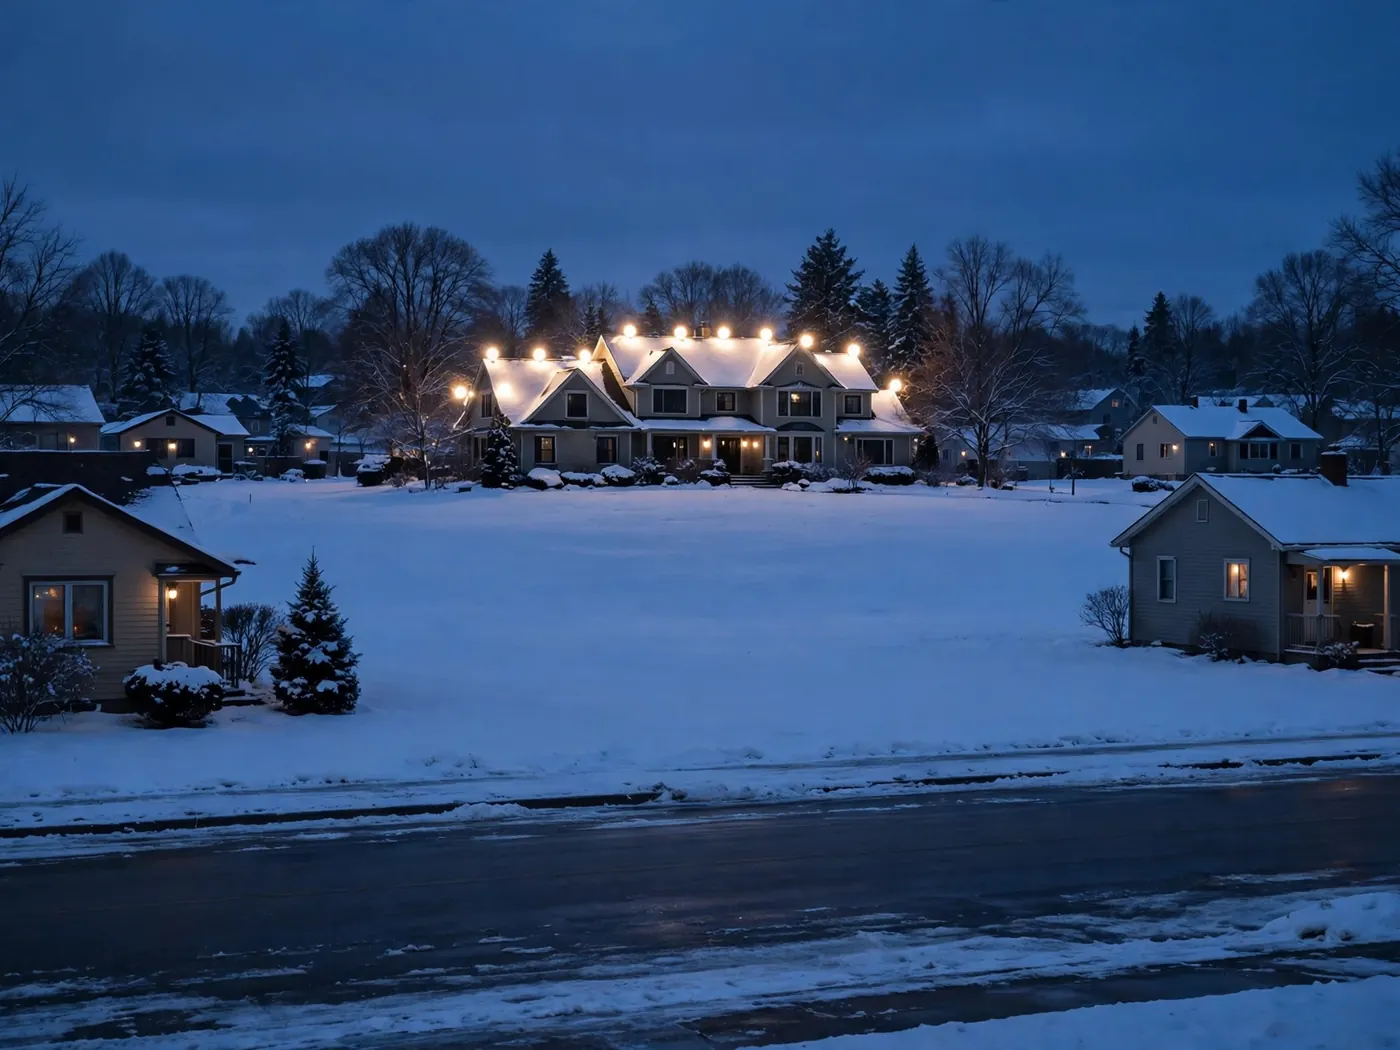
Texture note: Big faceted C9 lenses throw a chunky, jewel-like sparkle across brick and siding, while small smooth minis read as a soft continuous line on nearby walls.
12. Repeat the Same Motif Three Times, Then Stop
Pick one small motif, a lit wreath, a star, or a cluster of three glowing orbs, and place it exactly three times: front door, garage wall, and one front window, each in the same warm white. Three repeats create a theme the eye can follow; a fourth and fifth turn the same motif into clutter. Keep sizes descending slightly, 24 inches, 18 inches, then 12, for a gentle rhythm.
Best for: Homes wanting one clear theme that guests can name, without turning the facade into a catalogue of every motif in the store.
13. Leave the Second Floor Dark on Small Houses
On cottages and bungalows under about 25 feet tall, light only the ground floor: the low eave, the porch, and the front windows, and let the upper wall and roof peak stay dark. A single bright band keeps a small house looking cozy and wide rather than top-heavy, and it halves the ladder work, strand count, and cost in one decision made at the sketch stage.
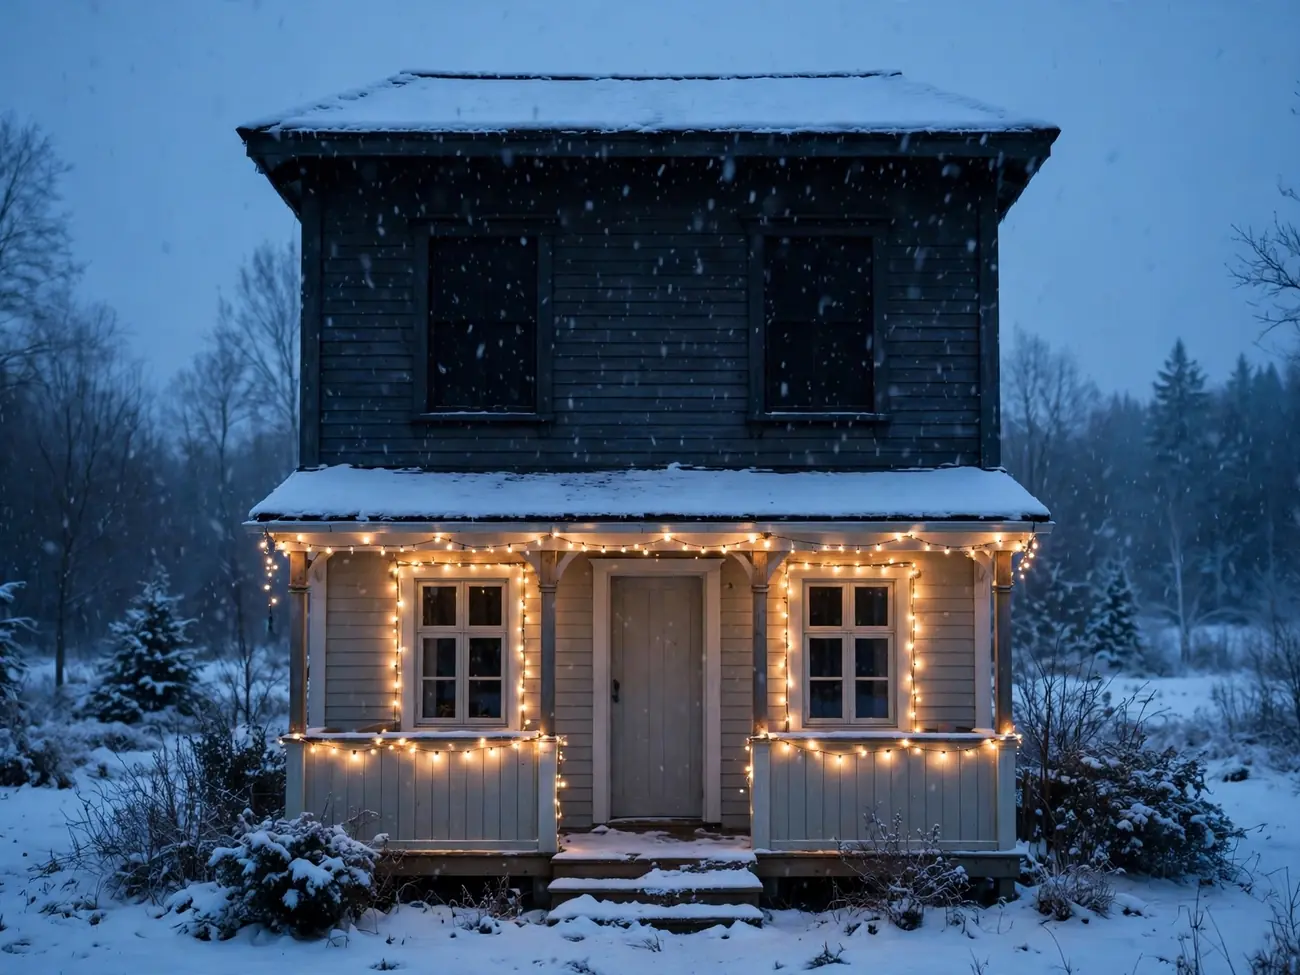
Space note: A lit band roughly 10 feet high suits a small facade; adding a second lit level stretches the house visually and steals focus from the entry.
Small houses win on charm, and charm rarely needs a second storey of bulbs.
14. Use the Garage Face as the Second Act
On wide lots the garage face often matches the house front in width, so plan it as the sequel, not an afterthought. Outline the garage door with the same C9 warm white used on the main roofline, hang the motif’s second wreath at its center, and keep its brightness one step below the front door zone so the house still leads and the garage supports.
Fit check: Measure the garage door’s full perimeter, usually about 34 feet for a double door, and confirm its strand run reaches the side outlet without crossing the driveway.
15. Plan a One-Hour-a-Night Glow Window
Instead of running everything dusk to midnight, some households plan one showcase hour, say 6:30 to 7:30 p.m., when every zone burns at once, then drop to just the door and roofline for the rest of the evening. The full look still greets commuters and evening walkers, the hours when anyone is actually looking, while total run time and bulb wear fall sharply.
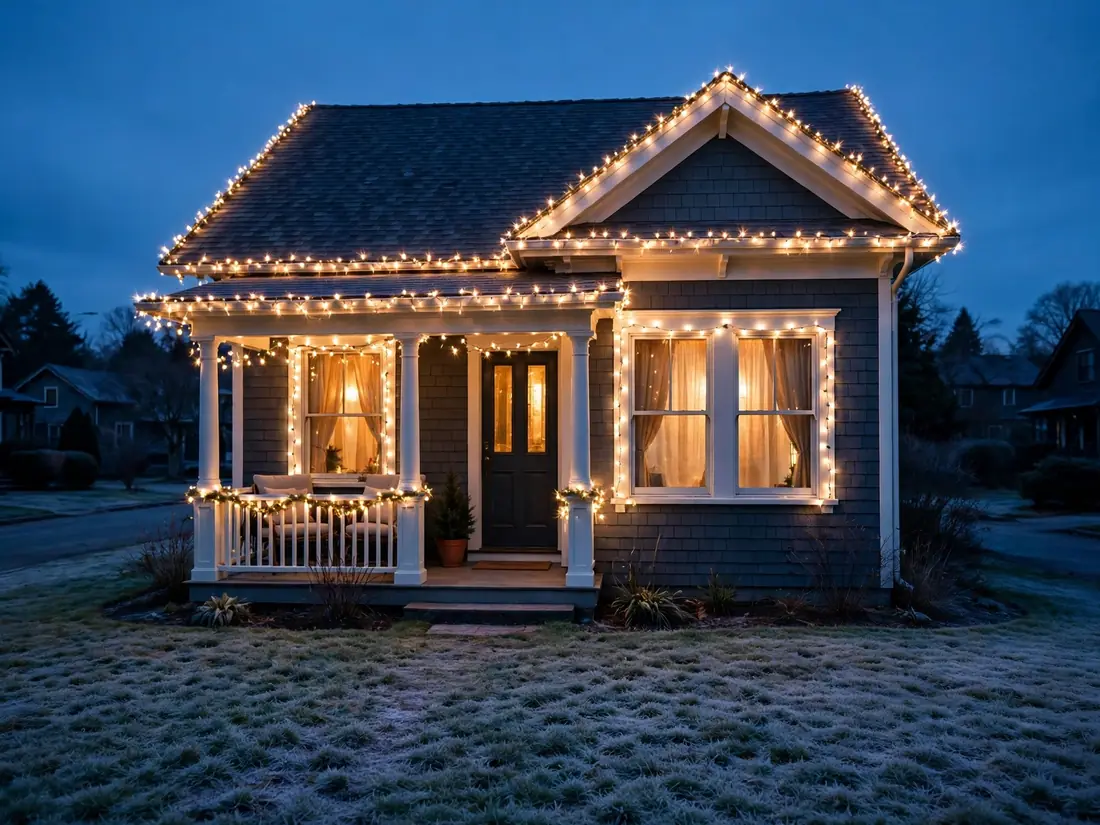
Style note: A scheduled full glow gives the display a sense of occasion, like a nightly lighting ceremony, rather than lights that simply happen to be left on.
16. Buy Ten Percent Extra Strands as Spares
Add one spare strand for every ten you plan to hang, in the same bulb size and color, and store them unopened in the display bin. When a section fails on December 18th, and one usually does, the replacement matches exactly because it came from the same purchase. Buying spares later risks a different dye lot, where warm white suddenly reads yellow beside the originals.
Easy swap: If no strand fails by season’s end, use the spare to outline one bedroom window inside, turning insurance into a small bonus display.
Think of the spare as the cheapest repair call you will ever make.
17. Test Every Strand on the Ground in November
Lay every strand out on the garage floor in mid-November, plug each in, and walk its full length looking for dead sections, cracked lenses, and frayed plugs. Replace or repair failures at ground level with a warm drink in hand, not from a ladder in December wind. Coil the passed strands separately from any that flicker, and tag flickerers for indoor or low duty.
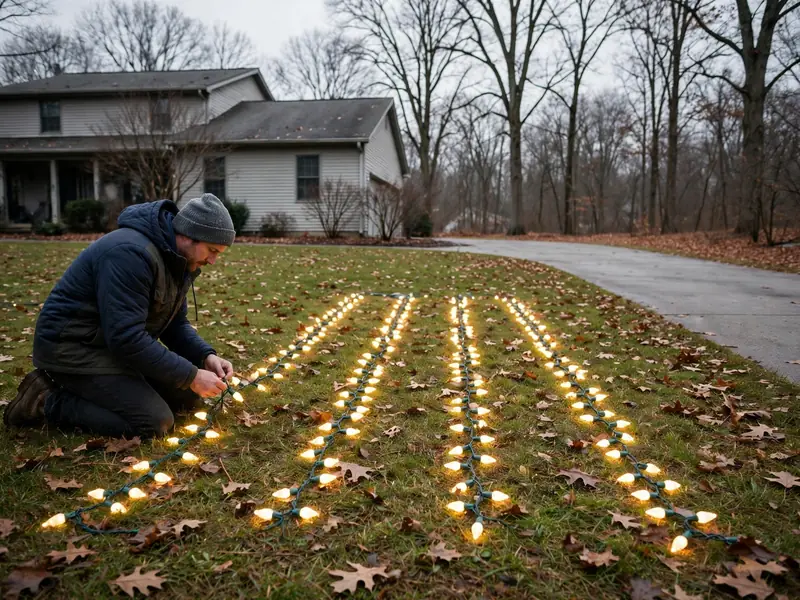
Seasonal swap: Run the same ground test before summer patio season on your outdoor string lights, and the November habit quietly maintains two displays a year.
18. Photograph Last Year’s House to Plan This Year’s
Before taking anything down in January, photograph the house from the street at full dark, plus one closer shot of the door. Print or save those two frames with this year’s sketch. Next November, planning starts from evidence: the gap at the left gable, the too-dim porch, the cord that showed on the steps, all visible instead of half-remembered while standing in a store aisle.
Why it works:
- Photos show gaps memory politely forgets
- Last year’s fixes become this year’s checklist
- The sketch improves yearly instead of restarting
19. Assign One Weekend to Hanging, One to Tweaks
Split the work into two planned weekends. The first is structure only: roofline, garage outline, and cord routes, hung in daylight with no pressure to light anything. The second, a week later, is for wreaths, window accents, timers, and one evening adjustment walk. Two calm sessions replace the usual single freezing marathon, and the tweak weekend exists precisely because first attempts always need small corrections.
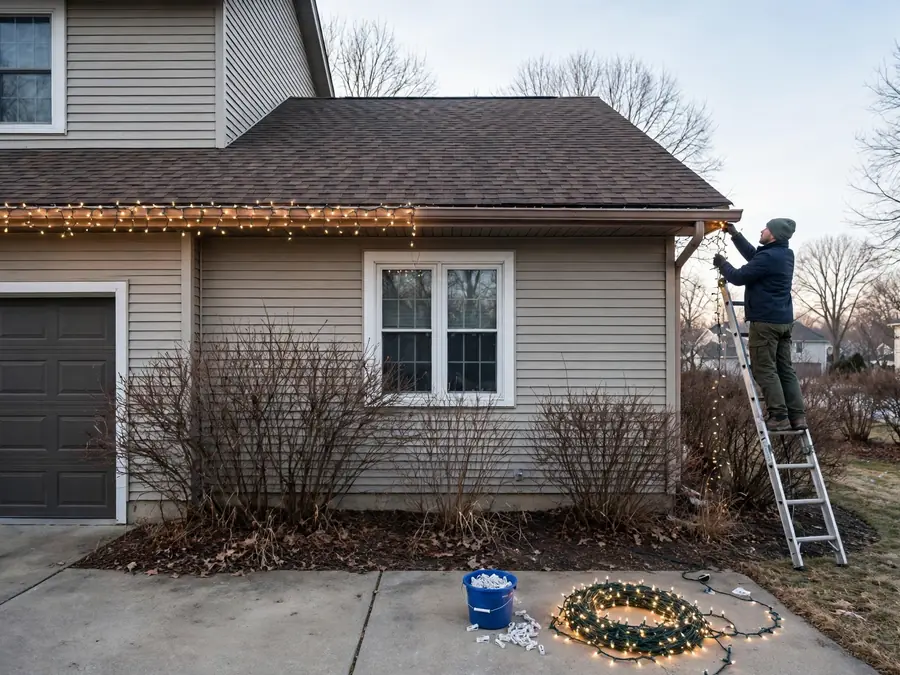
Budget note: Spreading the work across two weekends spreads purchases too, so clips, timers, and a replacement strand land in different paychecks instead of one painful receipt.
20. Plan the Takedown Bins While You Hang
Label the storage bins before the first strand goes up: Roofline, Windows, Door and Porch, Spares. As each zone is hung, note its strand count on the bin’s card. In January, takedown becomes sorting into a system that already exists, each strand coiled to its own bin in the order it will be hung next year, with clips left attached to save re-clipping.
The formula: one labeled bin per zone + strand count on the card + clips left on the first strand
Future-you, standing in a cold garage next November, will be quietly grateful.
21. Keep Receipts and Strand Maps in One Envelope
Staple every receipt, warranty card, and the zone sketch into one envelope marked with the year, and store it inside the spares bin. When a strand fails under warranty, the proof of purchase sits with the lights instead of lost in a kitchen drawer. The strand map on the sketch also settles arguments about which run belongs on which outlet next year.
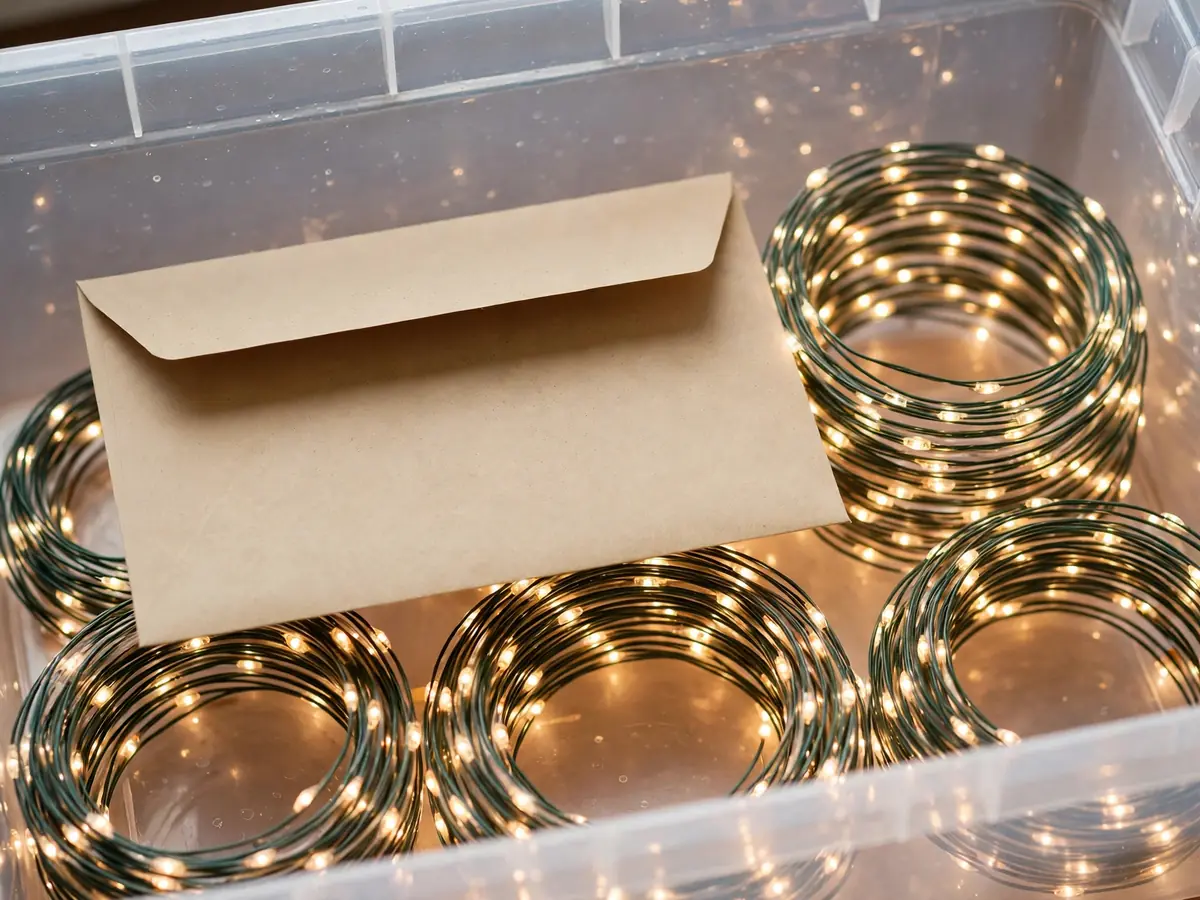
Get the look:
- Main piece: one labeled envelope holding receipts and the zone sketch
- Supporting piece: warranty cards stapled to their strand’s receipt
- Texture or material: a clear plastic sleeve so paper survives garage storage
- Finishing touch: the year written large on the front in marker
22. Choose Clips by Surface Before Choosing Lights
Walk the house and list the surfaces first: shingles take slide-under shingle tabs, gutters take gutter hooks, brick takes brick clips, and smooth siding takes adhesive-backed hooks rated for cold. Buying clips by surface, roughly one every 12 inches of run, prevents the mid-hang discovery that your clips fit nothing you own. Lights chosen afterward simply need sockets that match the clip spacing.
Color note: Match clip color to the surface, clear on white gutters, dark on brick, so the hardware disappears and only the bulbs show after dark.
23. Decide the View from Inside, Not Just the Street
Stand in the living room and kitchen at dusk and look out before finalizing the plan. A roofline run that glows pleasantly through the front windows is a bonus; a flashing accent aimed straight at the sofa is a month of irritation. Choose steady warm white for any zone facing seating or bedrooms, and save animated or bright color strands for the garage and street-facing gable.
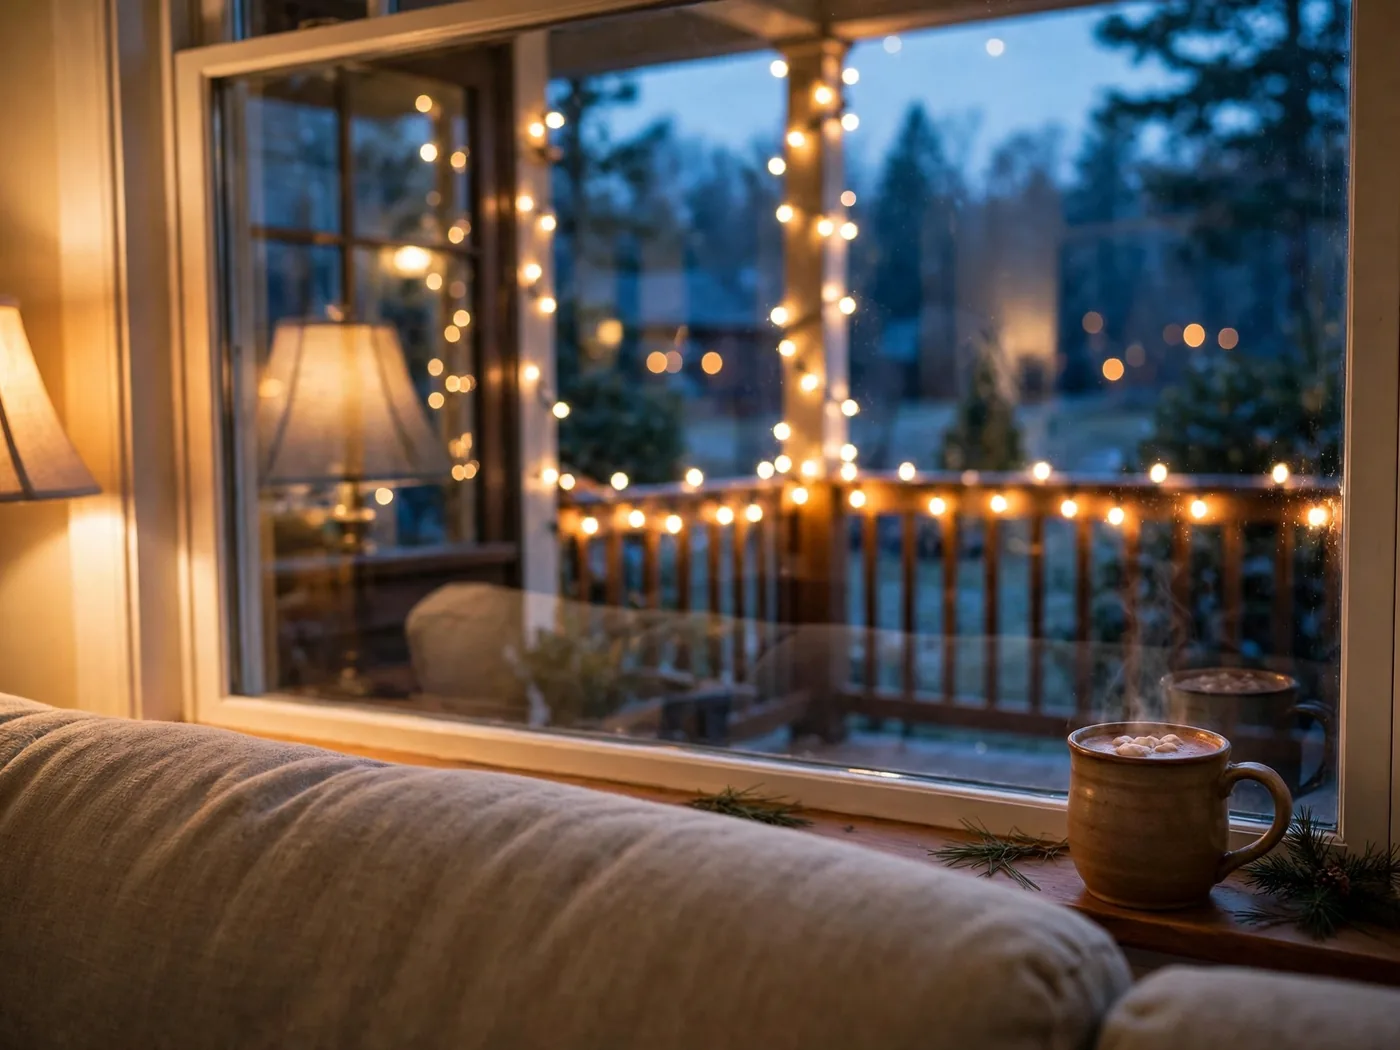
Texture note: Through glass and sheer curtains, warm mini lights blur into a soft halo that flatters wood floors and upholstery instead of glaring off the television screen.
Your family lives with the inside view all month, so plan for the audience at home too.
24. Budget One Statement Piece and Keep the Rest Simple
Give the plan one splurge, perhaps a 48-inch pre-lit wreath for the gable or a pair of 4-foot lit topiary trees flanking the door, and deliberately keep every other element basic warm white strands. The statement piece gets the attention and the budget; the simple background makes it look grander. This is also where browsing finished exterior christmas light ideas helps you pick the one hero worth paying for.
Best for: Decorators who want one memorable feature per house, photographed by every guest, without funding five competing attractions.
25. Plan Around the House’s Own Colors
Let the siding and trim choose the palette. Warm white flatters cream, brick, and wood tones; pure icy white suits gray and blue houses; red accents disappear against red brick but glow on white siding. Hold one bulb of each candidate color against the wall at dusk before buying in bulk, because a strand that sang in the store can fall flat against your exact paint.
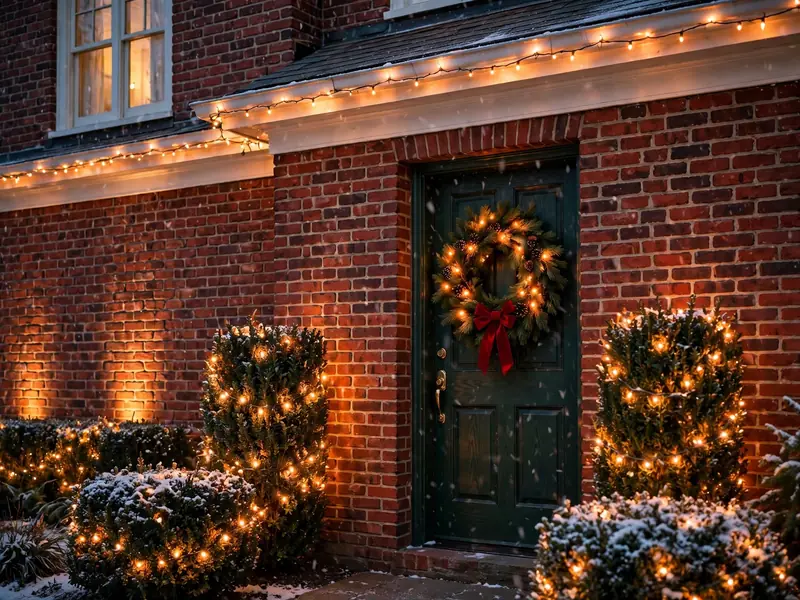
Space note: On dark siding, space bulbs at the wider end of their range, since each light pools smaller against a deep background; pale walls can take tighter spacing.
26. Sketch Where Shadows Fall at Night
On your zone sketch, shade the spots that go dark at night: the wall behind the big shrub, the recessed entry, the side of the garage the streetlight never reaches. Either give each shadow pocket one small lit element, a single mini strand in the shrub, or deliberately leave it dark as rest space between lit zones. Unplanned shadows look like failures; chosen ones look like depth.
Fit check: Stand at the curb after dark with a flashlight and test each shadow pocket; any spot that swallows the beam needs either one small strand or a deliberate dark mark on the sketch.
27. Set a Total Watt Ceiling for the Whole Display
Older homes often share one 15-amp circuit between the porch outlet and half the living room, so give the display a written ceiling, for example 800 watts total, and tally each zone against it on the sketch. LED strands make this easy, a 25-foot C9 LED run may draw under 10 watts, but one inherited incandescent net light can eat 150 alone. The ceiling turns electrical safety into a planning number, not a hope.
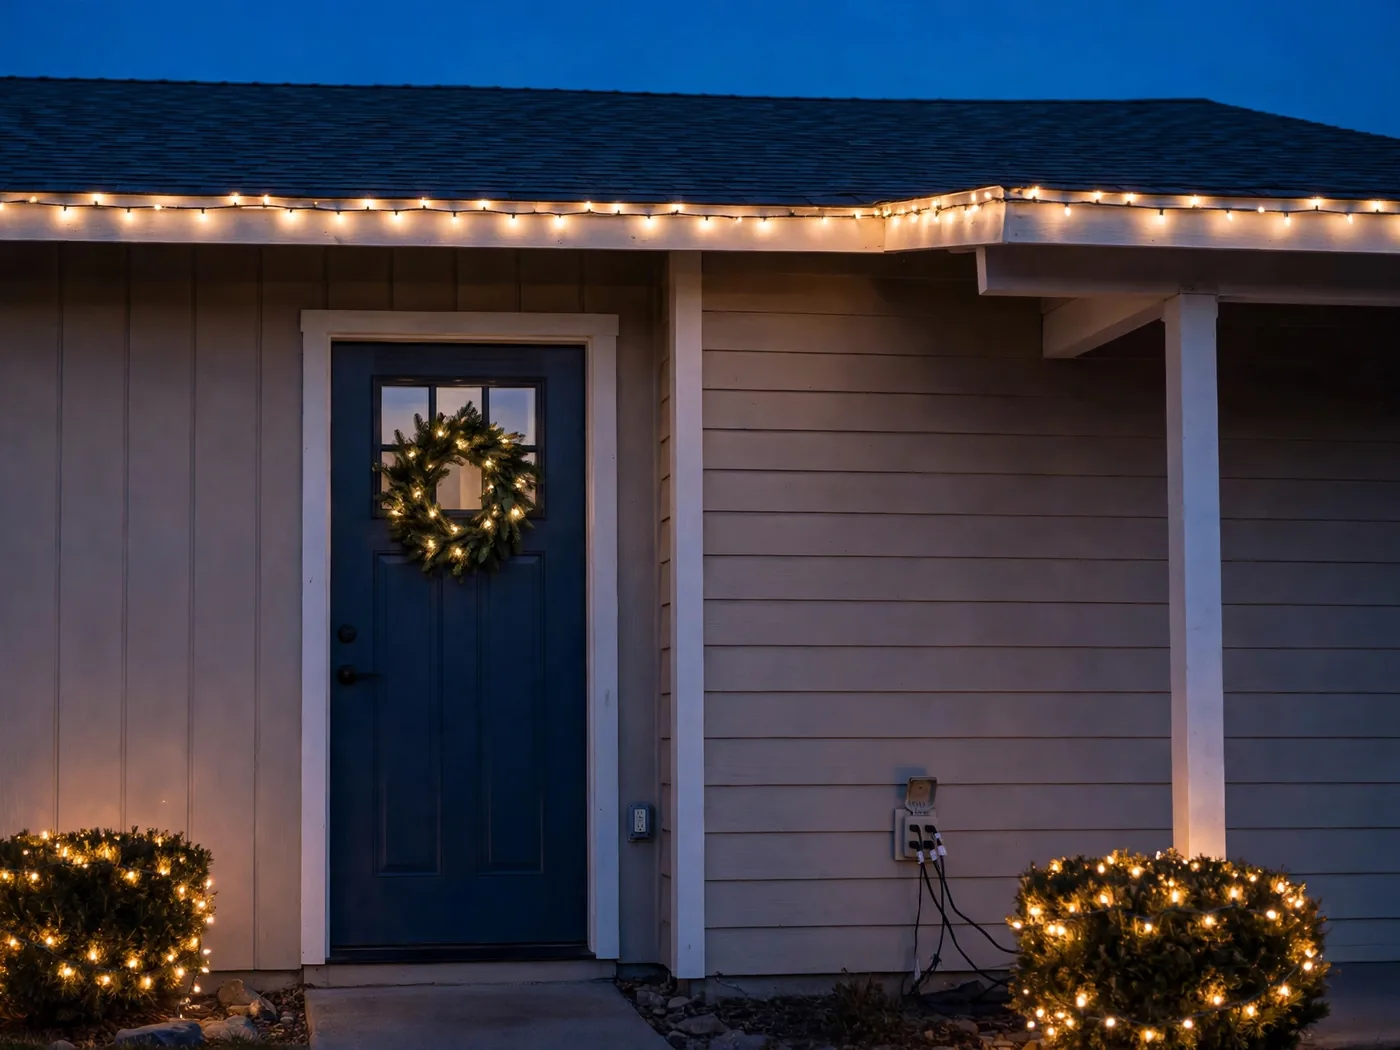
Style note: A watt ceiling quietly enforces restraint, because every new element must displace an old one, keeping the display edited instead of endlessly accumulating.
28. Give Tall Houses Verticals, Wide Houses Horizontals
Let the house’s shape pick the emphasis. Tall, narrow homes look grander with vertical runs: warm white strands down both corners of the facade, a lit wreath high in the gable, and tall slim topiaries at the door. Wide, low homes suit strong horizontals: one long unbroken roofline run and low window lines. Fighting the architecture with the opposite emphasis makes even tidy displays feel subtly wrong.
Easy swap: Move the same corner strands to the porch posts on a wide house, and the vertical kit becomes a horizontal frame without buying anything new.
Work with the silhouette you have and the house looks designed, not decorated against its will.
29. Write the Off-Date on the Calendar Now
While hanging in December, write the takedown date, say the first Saturday of January, on the family calendar and on the storage bin labels. A chosen end date keeps the display feeling like an event with a clean finish instead of fading into February embarrassment. It also lets you plan bulb checks and bin sorting for daylight hours, and tells helpers weeks ahead when their ladder skills are booked.
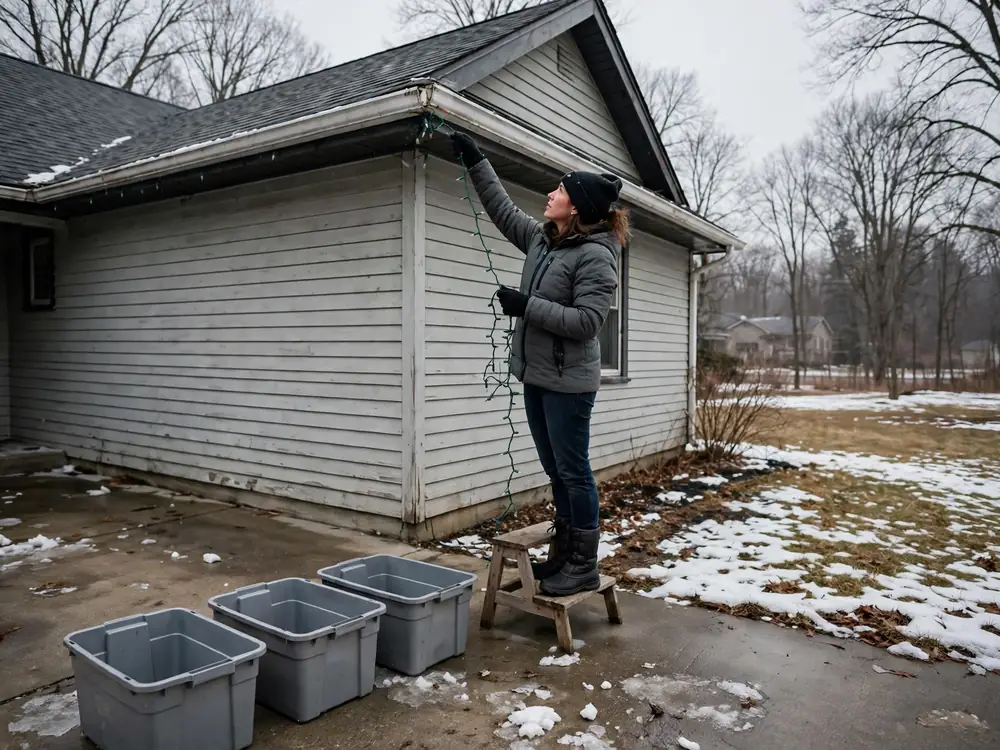
Seasonal swap: Keep the same calendar habit for porch and patio displays, marking swap weekends for spring and fall, so every season’s decor arrives and leaves on schedule.
30. Walk the Street View Once Before the Final Night
On the last evening of setup, walk to the curb, then halfway down the block each way, and view the house as strangers will. Check four flaws: one zone brighter than the rest, a cord showing on pale concrete, a gap where a run ends early, and a sagging window strand. Fix only what the street can see, then stop. Take a phone photo from each end of the block, too, because the camera catches glare and dark gaps your eyes forgive in person.
Why it works:
- Distance reveals imbalance invisible from the porch
- Both directions catch one-sided gaps and glare
- A final checklist ends endless nightly tweaking
Plan first, hang once, and check from the street: a pile of strands becomes a display that looks deliberate from every driveway. Keep the sketch with the bins, and next year’s plan starts half finished.