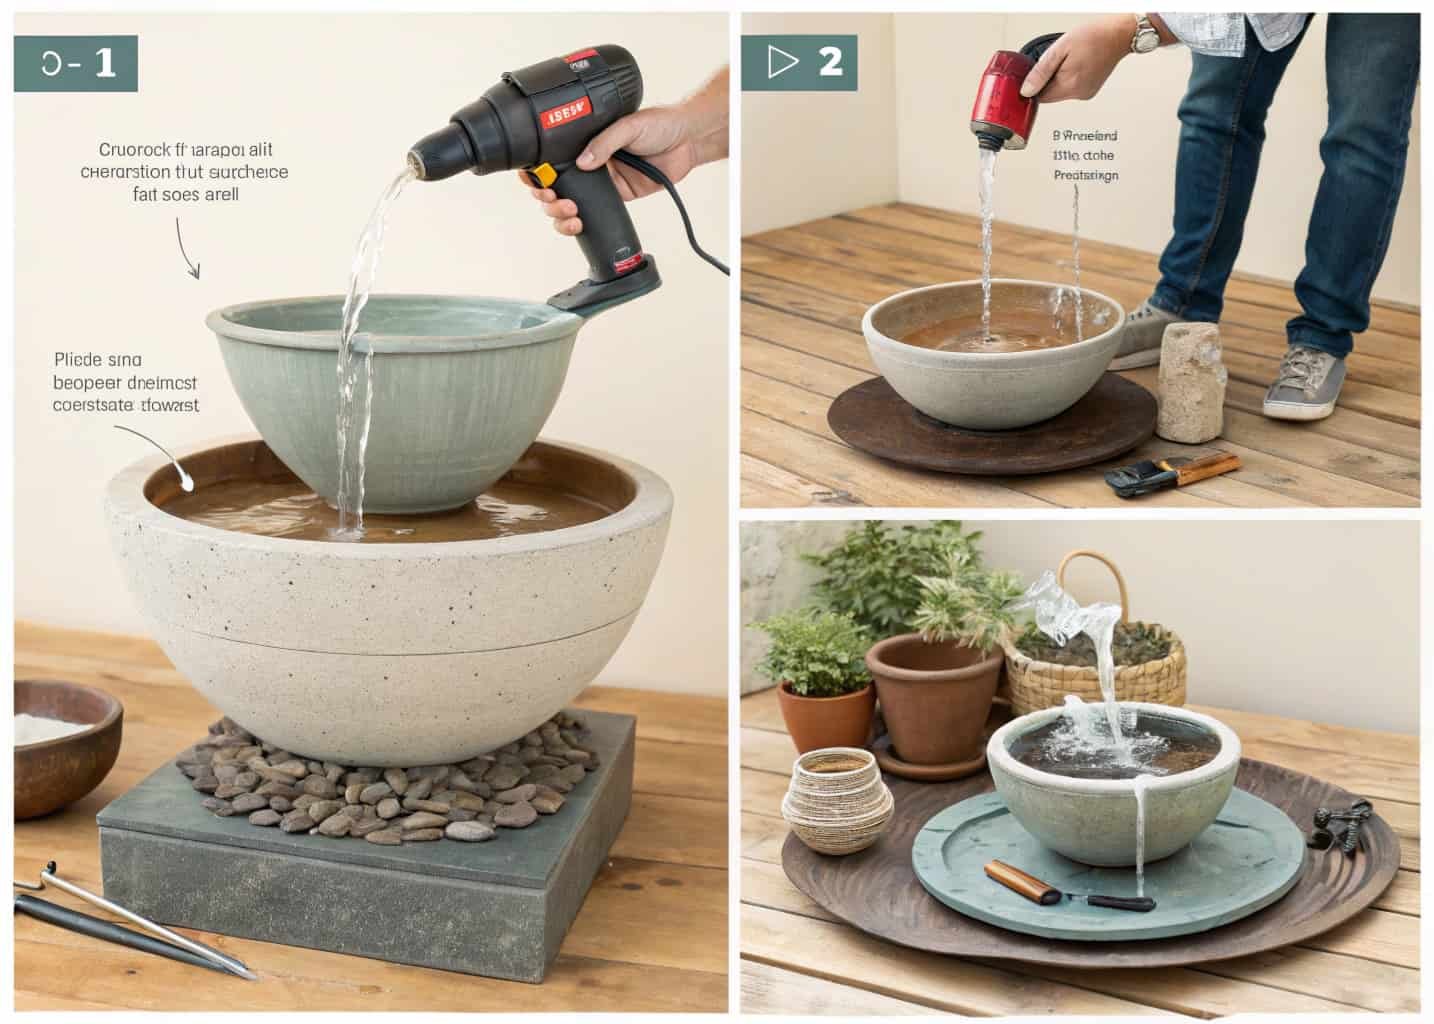
A bowl fountain is one of those projects that looks like it should cost $200 at a garden center and actually costs about $35 in parts if you already own a drill. I’ve built a few of these over the years for patios and small balconies, and the honest truth is that 90% of people mess up the same two things: they buy a pump that’s either way too weak or way too strong for the bowl size, and they skip sealing the bowl if it’s unglazed ceramic. Get those two things right and the rest is basically assembly.
This guide walks through the whole build — not the “transform your outdoor space” fluff, but the actual measurements, part numbers, and steps.
What Is a Bowl Fountain?
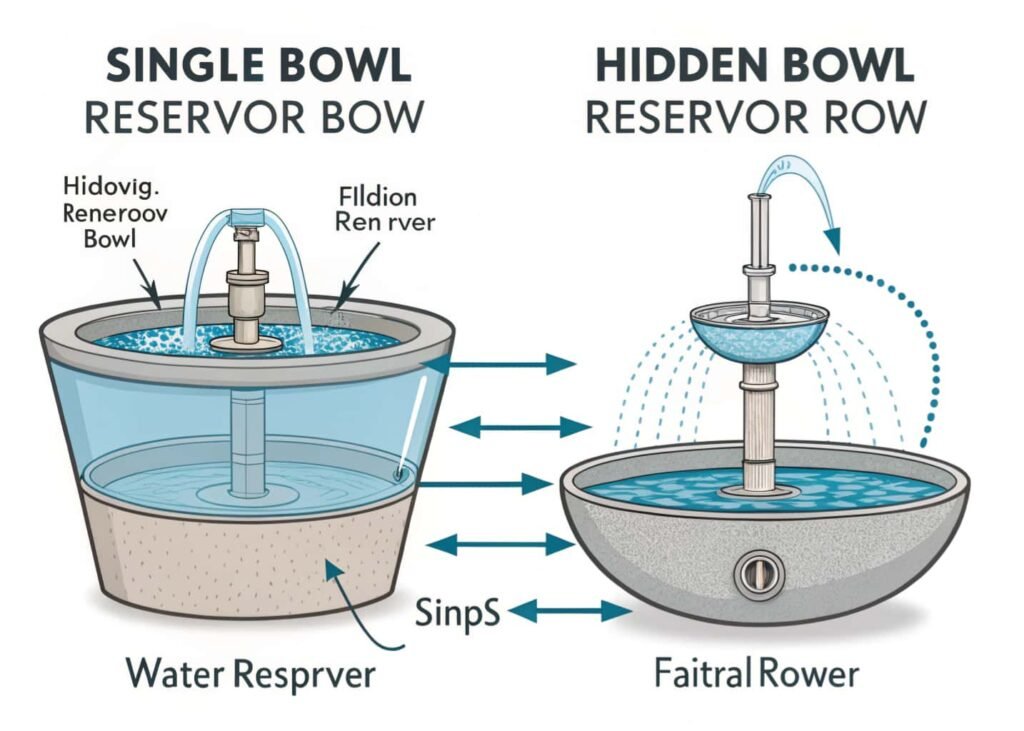
A bowl fountain is a self-contained water feature built around a single basin — no plumbing into your house, no drainage line, nothing buried in the ground. A submersible pump sits inside the bowl (or in a hidden reservoir below it), pushes water up through a tube, and the water falls back into the same bowl and recirculates. That’s the entire mechanism. It’s essentially a closed loop, which is why it’s popular for renters and small spaces: you can unplug it, drain it, and move it without touching your yard.
There are two common setups. The simpler one is a single bowl with the pump sitting directly in the water, hidden under stones. The more elaborate version uses a hidden basin buried in the ground with a grate on top, and the visible bowl sits above it with water spilling over the rim into the hidden reservoir below. For a first build, stick with the single-bowl version — it’s a weekend project, not a landscaping project.
Materials You’ll Need
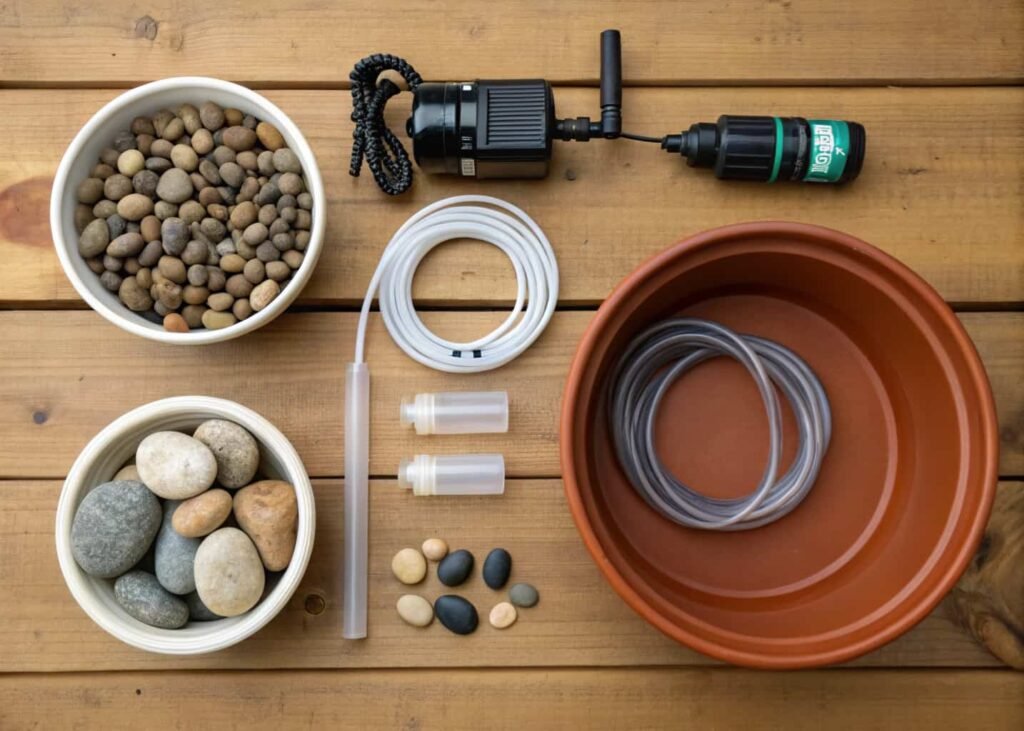
- One bowl, 14–18 inches in diameter (more on picking this below)
- A submersible fountain pump rated 80–160 GPH (gallons per hour) for a bowl this size — brands like Beckett, VIVOSUN, or Sunnydaze are widely available in this range for $15–$30
- Flexible vinyl tubing, ½ inch inner diameter, about 2 feet
- Pond sealer or 100% silicone caulk (not the kitchen/bath kind with mildewcide — it’s not fish- or plant-safe)
- River stones or pebbles, roughly 5–8 lbs depending on bowl size
- A brick, overturned terracotta pot, or a milk crate cut down to size, to prop the pump up
- Outdoor-rated extension cord if your outlet isn’t close by
- Optional: aquatic-safe plants (more on this later), decorative stone or slate for the top layer
Choosing the Right Bowl (Ceramic vs Stone vs Plastic)
This is where most people guess wrong, so here’s the actual trade-off.
Glazed ceramic looks the best and is what most tutorial photos use, but only glazed-all-the-way-through bowls hold water reliably. A lot of decorative ceramic planters are glazed on the outside only, and the unglazed interior will absorb water and eventually crack, especially if it freezes. If you’re using a ceramic planter bowl instead of a bowl marketed specifically for water features, seal the inside with pond sealer regardless of how it looks glazed — it’s cheap insurance.
Cast stone or concrete bowls are heavier (expect 20–40 lbs for an 18-inch bowl) and nearly indestructible, but they’re porous. Water will slowly wick through the material unless it’s sealed, and concrete raises pH in the water, which matters if you’re adding plants or fish. Seal it with a concrete/masonry sealer before use.
Plastic or resin bowls are the easiest for beginners — lightweight, pre-sealed, cheap, and they won’t crack in freezing weather if you forget to drain them in fall (a mistake I’ve made with a ceramic one). The trade-off is obvious: they look less premium and can fade in direct sun within a couple of seasons. If this is your first fountain, or it’s going somewhere you’ll see it up close, plastic is genuinely the smarter starting point. Upgrade to ceramic or stone once you know you’ll keep the fountain running.

Tools Required for Assembly
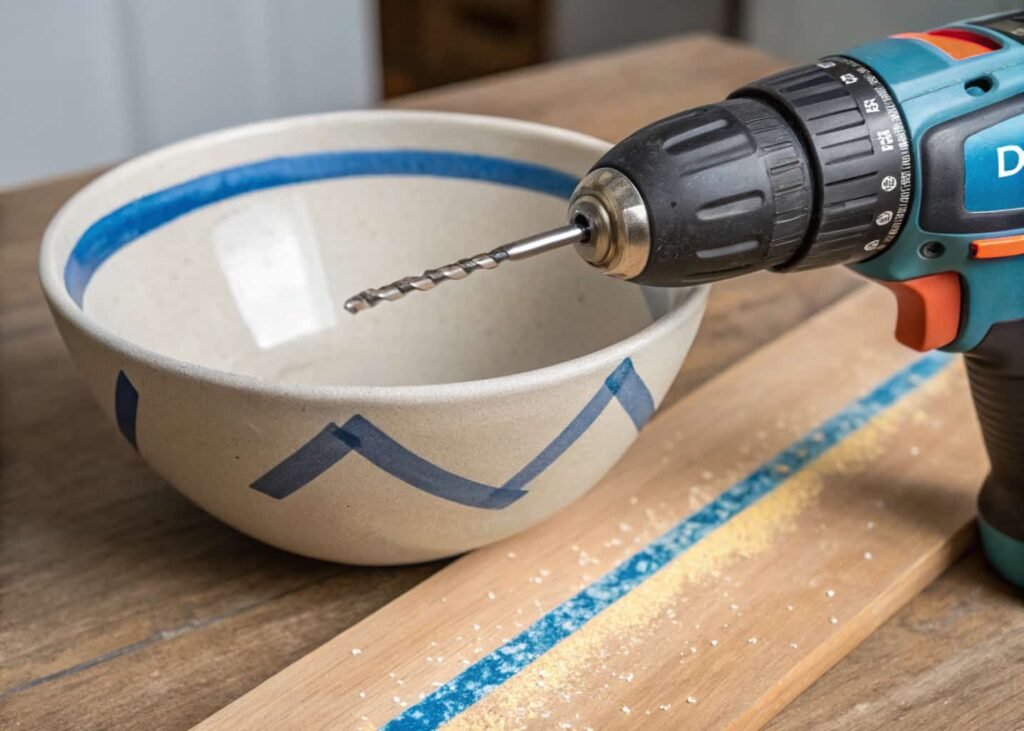
- Power drill (only needed if your bowl doesn’t already have a hole for cord routing)
- Masonry or glass-and-tile drill bit if drilling ceramic or stone — a standard bit will just skate off the surface or crack it
- Utility knife (for trimming tubing to length)
- Painter’s tape (to mark your drill spot and stop the bit from wandering)
- A level, or just your eye — you’ll want the bowl sitting flat so water doesn’t pool unevenly on one side
You don’t need to drill a hole at all if you’re fine running the power cord over the rim of the bowl — that’s actually what most people do, since a drilled hole in the side of a full bowl is one more thing that can leak.
Step-by-Step Instructions to Build It
- Test-fit everything dry first. Place the pump where it’ll sit, run the tubing up, and check the height before you add any water. Skipping this step is how people end up with tubing that’s 4 inches too short after the bowl is already full.
- Seal the bowl if it’s unglazed ceramic or unsealed concrete. Apply pond sealer in a thin, even coat and let it cure fully — usually 24–48 hours, check the product label, don’t rush this part.
- Set the riser. Place your brick, cut-down crate, or upside-down pot in the center of the bowl. This is what lifts the pump close enough to the surface that the water jet clears the stones.
- Attach the tubing to the pump outlet and run it up through the center of the riser.
- Trim the tubing so it sits about ½ inch below where you want the final waterline of your fountain head/nozzle to be — most small pumps come with an adjustable nozzle attachment, so this doesn’t need to be exact.
- Position the pump on the riser and route the power cord over the rim (or through your drilled hole) to the outlet.
- Fill the bowl with water, enough to fully submerge the pump — this is critical, submersible pumps burn out fast if they run dry even briefly.
- Test it before adding stones. Plug it in, check for leaks, check the flow height, and adjust the nozzle now while everything is still visible and easy to reach.
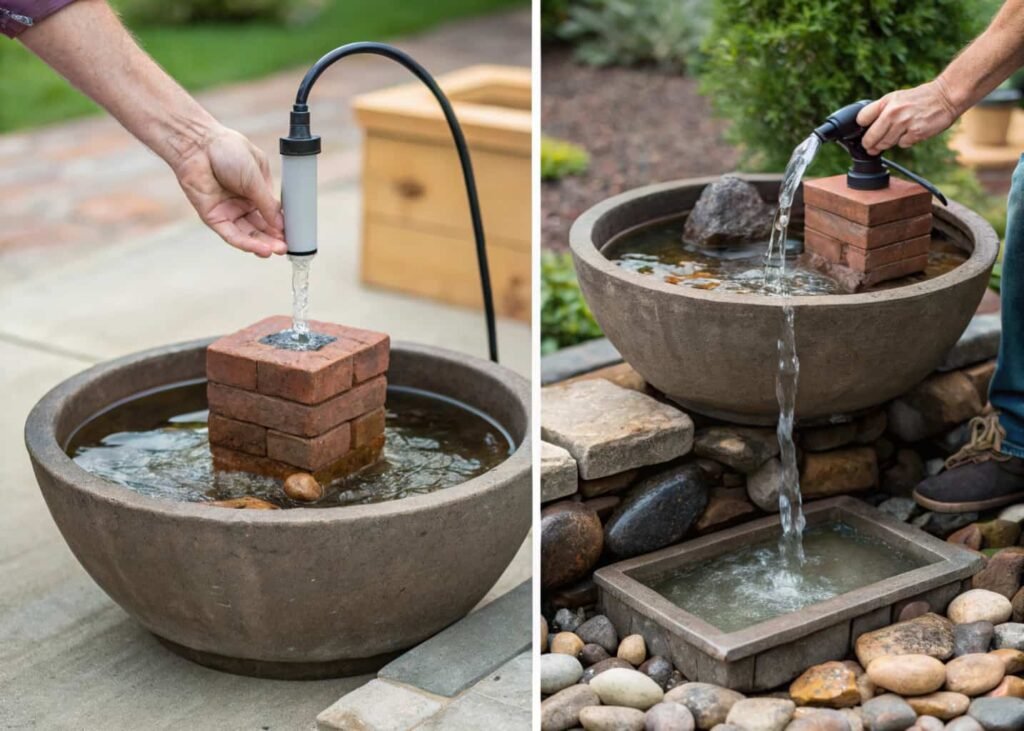
Installing the Pump and Tubing
A few things that don’t get explained well elsewhere: pump strength is measured in GPH, but what actually matters for your fountain height is “max lift,” usually listed separately in the product specs, in inches or feet. A pump rated 100 GPH might only have 2 feet of max lift — meaning if you want water shooting up higher than that, that pump physically can’t do it no matter what the GPH number suggests. For a tabletop-height bowl fountain (water rising 6–10 inches above the surface), you don’t need much — a pump with 3–4 feet of max lift is plenty and will actually run quieter than an oversized one.
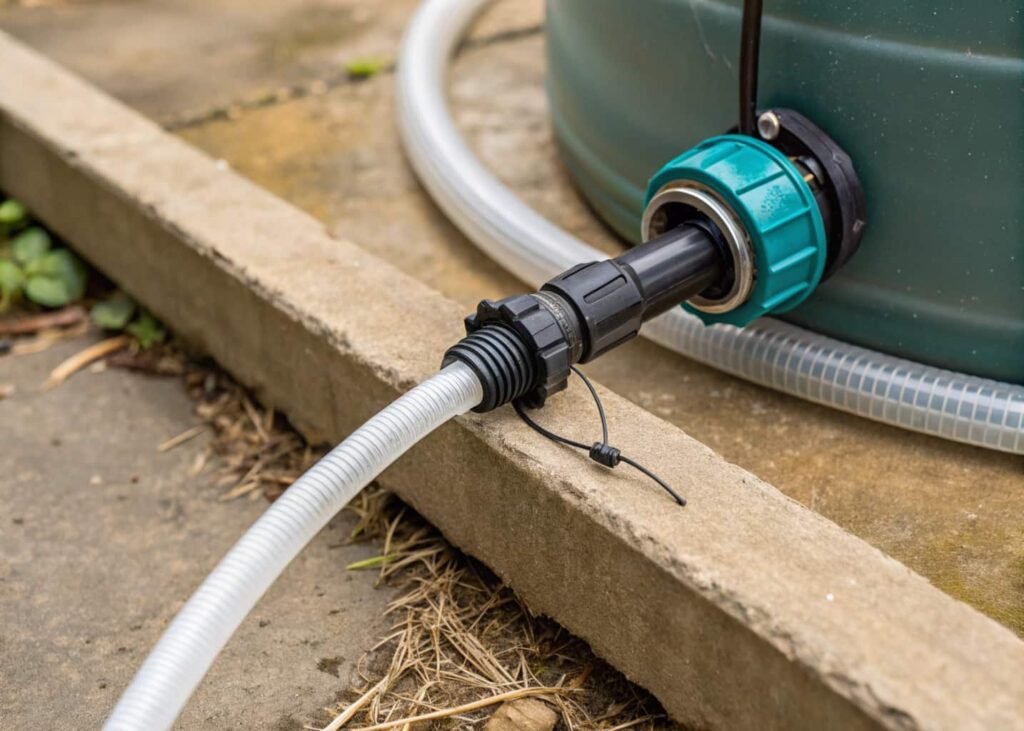
Also: don’t buy tubing that’s a snug fit onto the pump nozzle and call it done. Use a small hose clamp or a zip tie at the connection point. Vinyl tubing softens slightly in warm water over time and can slip off the barb fitting, which means your pump keeps running with no water flow — that’s a fast way to burn out the motor.
Adding Decorative Stones and Plants
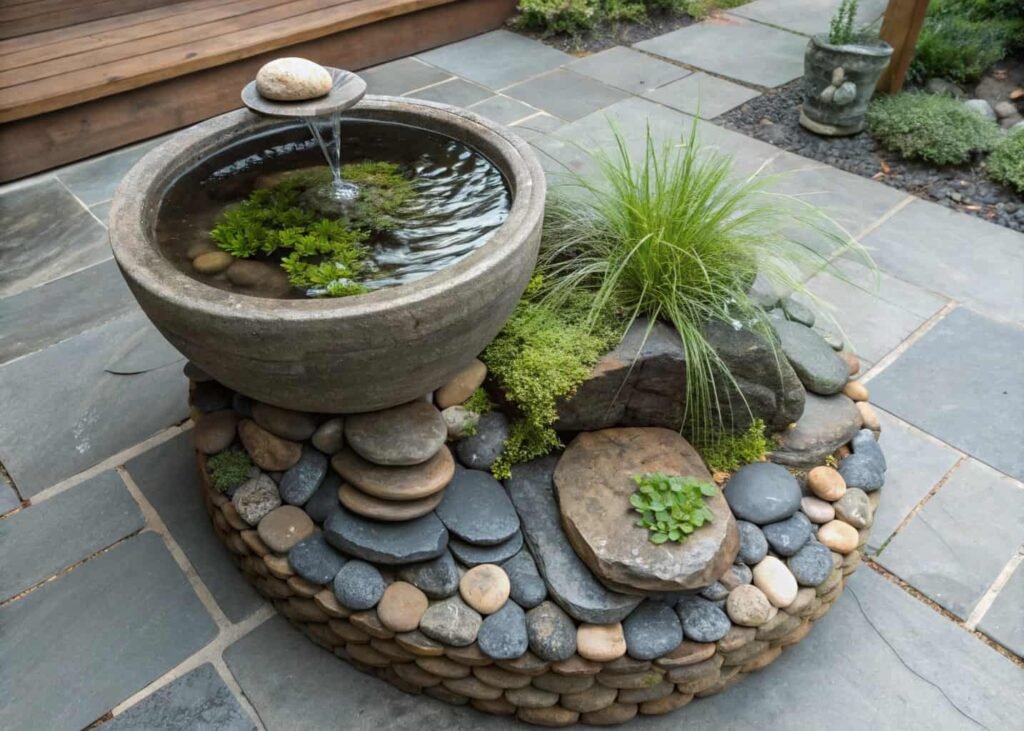
Layer stones by size — larger flat stones near the pump to hide it and support the tubing, then smaller river rock or pea gravel on top for the visible layer. Leave a gap directly above the pump’s water outlet so stones don’t block or muffle the flow; a common mistake is piling rock right over the nozzle, which either stops the water or forces it sideways under the stones instead of up.
If you want plants, stick to true aquatic or marginal plants — dwarf papyrus, water lettuce, or creeping jenny (moneywort) all do fine sitting partially submerged around the rim. Regular potted plants set in standing water will rot at the roots within a couple of weeks; that’s not a maybe, it happens almost every time.
Maintenance Tips for Long-Lasting Use
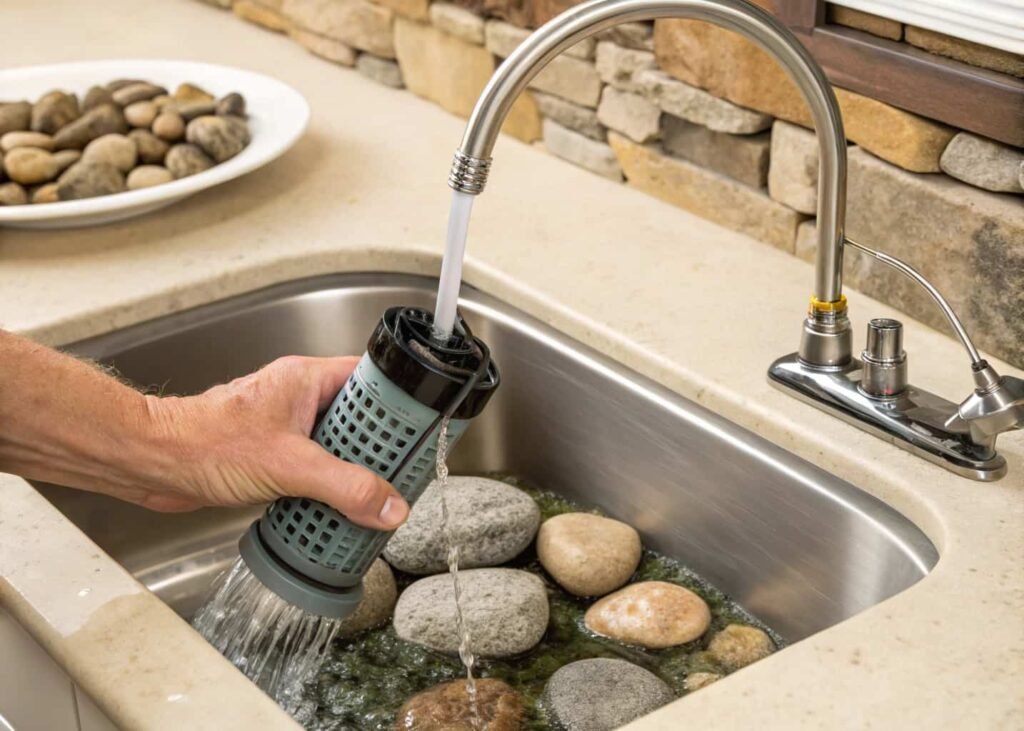
Top off water every 3–5 days in summer — evaporation is faster than people expect on a small open bowl, and if the water level drops below the pump intake, it’ll run dry and overheat. Clean the pump’s intake screen monthly; this is the single most common reason fountains “stop working” and get thrown out when they just needed a rinse.
For algae, you don’t need harsh chemicals — a capful of household hydrogen peroxide (3%) per gallon, added every couple of weeks, keeps it in check without harming plants, or use a barley straw extract sold at garden centers if you want a fully natural option. In freezing climates, drain the bowl completely and store the pump indoors once nighttime temps consistently drop below freezing; leaving water in ceramic over winter is the #1 cause of cracked bowls, more so than the pump itself.
Common Mistakes to Avoid
- Oversizing the pump. Bigger isn’t better here — a pump that’s too strong for the bowl splashes water out over the rim, and you’ll spend more time topping it off than enjoying it.
- Skipping the sealant on unglazed ceramic. It looks fine for the first month, then hairline cracks show up.
- Running the pump dry, even for a few minutes during setup or after topping off late. It’s the fastest way to kill a $20 pump.
- Placing it in full, direct sun all day. Algae grows faster, water evaporates faster, and plastic bowls fade. Partial shade extends the life of everything involved.
- Forgetting the outlet placement before buying the bowl. Measure the distance to your nearest GFCI outlet first — it changes whether you need an extension cord rated for outdoor use, which is a $15 detail that’s annoying to realize after the bowl is already full of water.
Once it’s running, a bowl fountain honestly needs very little upkeep — the water top-offs and the occasional screen cleaning are about it. Most of the effort is front-loaded into getting the pump size and the sealing right, which is exactly why those are the two things worth getting right the first time.