1. Introduction to Homemade Water Fountains
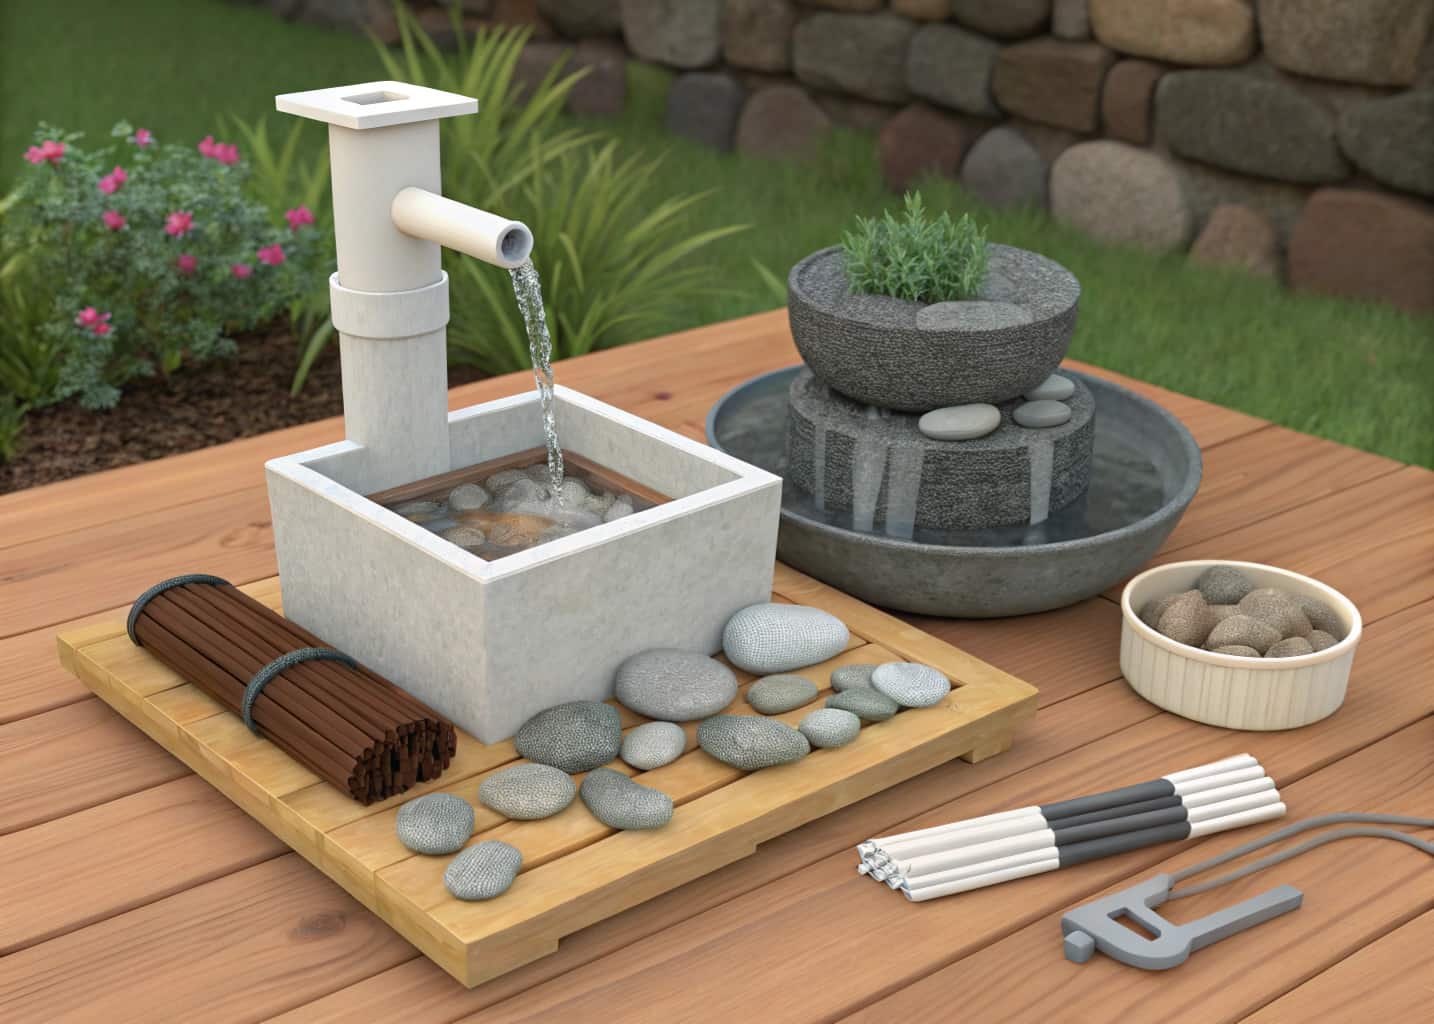
Building your own fountain isn’t as intimidating as it looks in those glossy garden magazines. At its core, every fountain is just three things: a water-holding vessel, a pump that moves water from point A to point B, and a way to make that water fall, trickle, or spill somewhere visible. Once you see it broken down that way, a lot of the mystery disappears. Most beginner builds take a weekend, cost somewhere between $40 and $150 depending on what you already have lying around, and don’t require any plumbing or electrical experience beyond plugging in a cord.
2. Why Bother — What a Fountain Actually Does for a Space
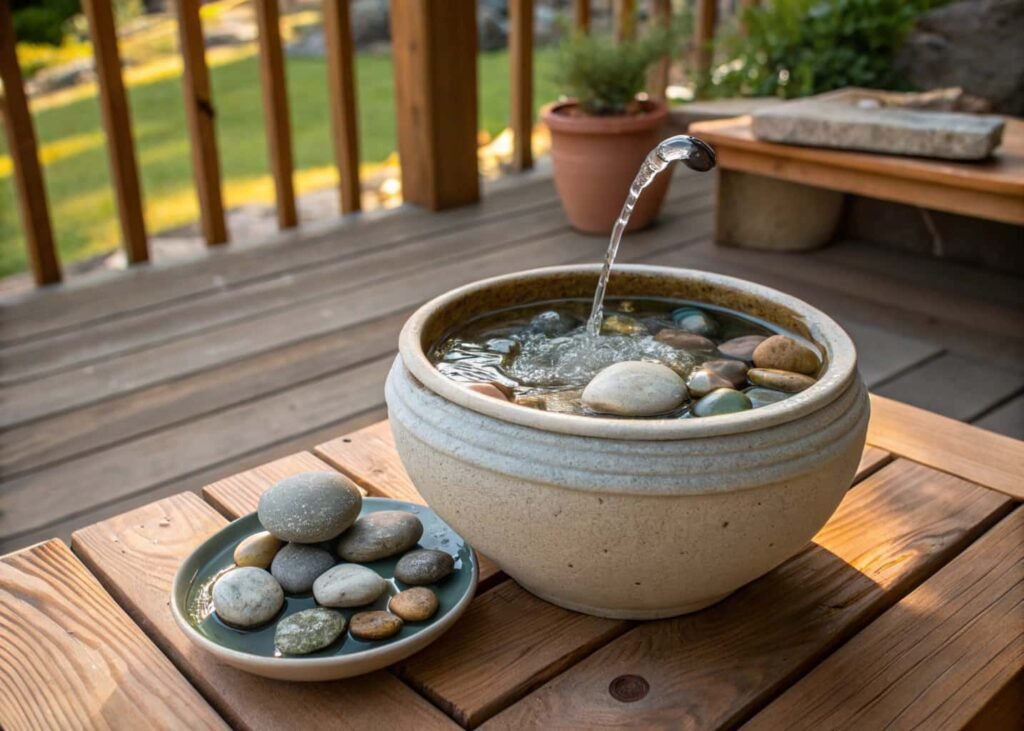
Beyond the obvious “it looks nice” argument, moving water genuinely changes the acoustics of a patio or room. It masks traffic noise and neighbor conversations more effectively than most people expect — a pump pushing 100–160 gallons per hour (GPH) produces enough ambient sound to cover a typical suburban street. There’s also a practical side: a small recirculating fountain adds humidity to dry indoor air during winter, which is a nice side benefit if you live somewhere heating season turns everything into a static-shock minefield.
3. The Main Types, and Which One Actually Suits a Beginner
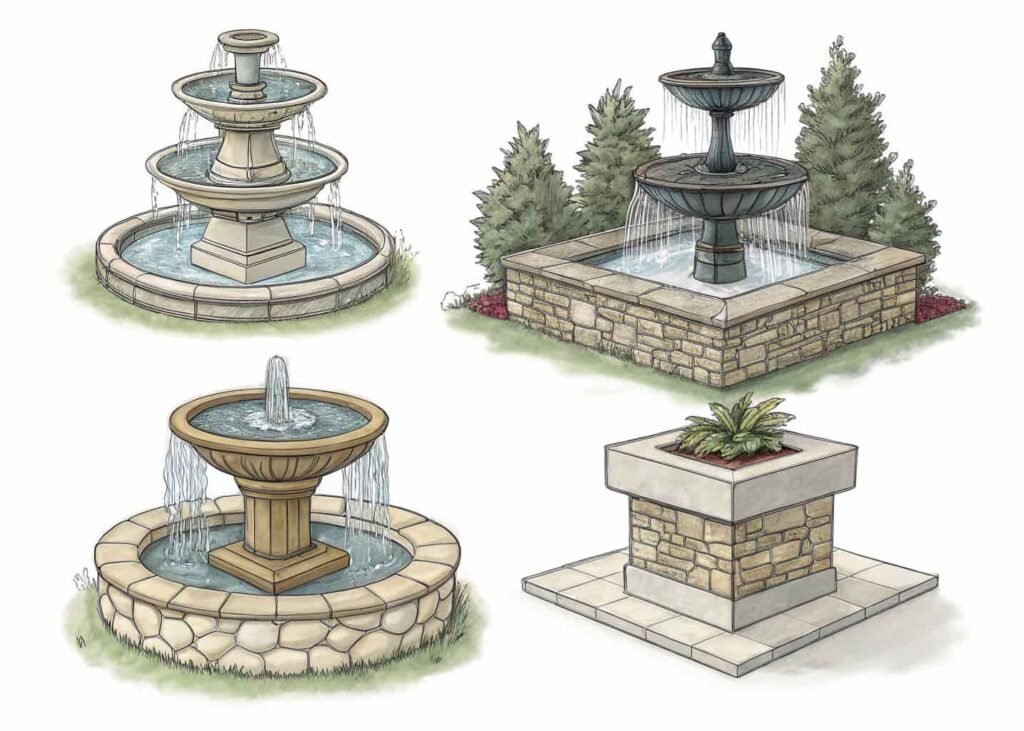
- Pot fountains (a large glazed ceramic pot with a hole drilled in the bottom) — easiest first project, forgiving of mistakes.
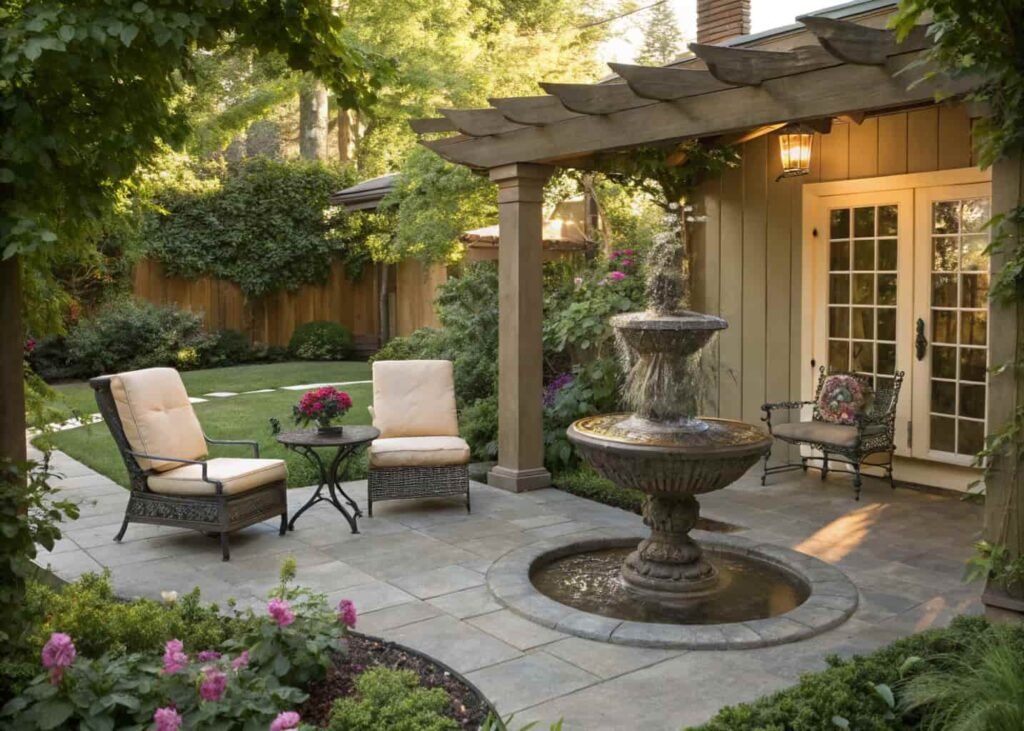
- Tiered/cascading fountains — stacked bowls or pots where water spills from one level to the next; more visually dramatic but harder to balance so water doesn’t overshoot the edges.
- Pondless disappearing fountains — water recirculates through a hidden reservoir buried under gravel; looks like water is vanishing into the ground. Great for families with small kids since there’s no standing pool to fall into.
- Wall-mounted fountains — need a flat vertical surface and a way to run tubing behind it; more of an intermediate project.
If this is your first build, start with a pot fountain or a small pondless design. Tiered fountains look impressive in photos but the water-balancing act (getting even overflow on all sides) is where most first-timers get frustrated.
4. What You’ll Actually Need to Buy
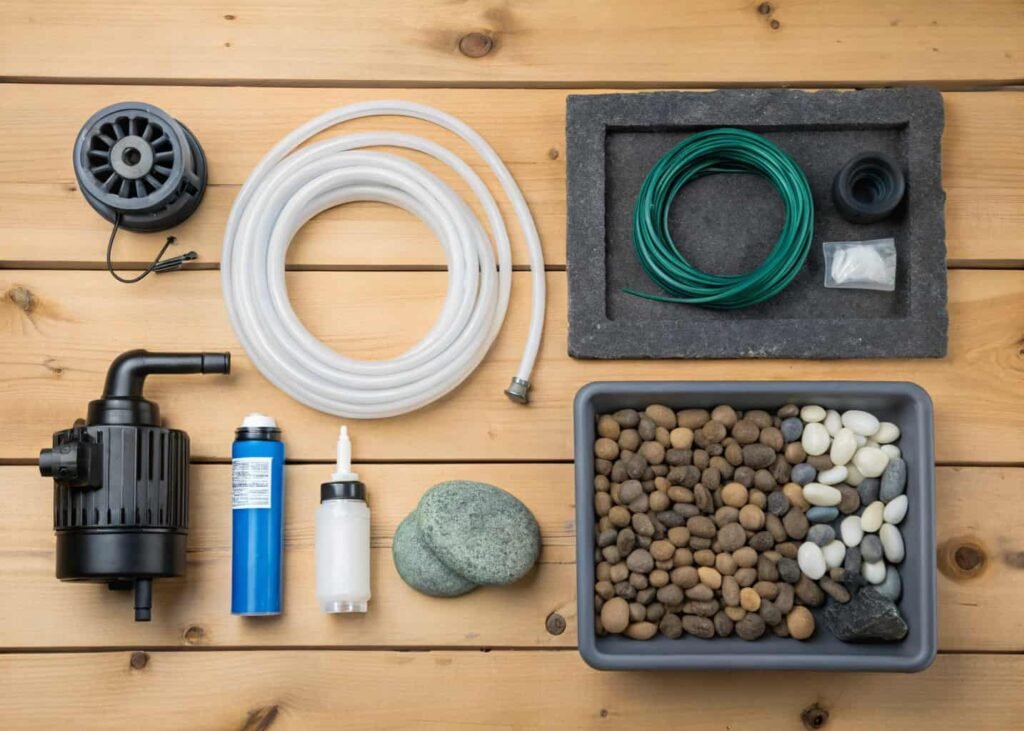
- A submersible pump (see section 5 for sizing)
- A watertight vessel — glazed ceramic, a whiskey barrel liner, or a pre-formed plastic basin
- Pond underlayment or 45-mil EPDM pond liner if your vessel isn’t already waterproof
- Food-safe silicone sealant or pond epoxy (not standard bathroom caulk — it can leach chemicals that harm any fish or plants)
- Flexible vinyl tubing sized to your pump’s outlet (usually ½” to ¾”)
- A mesh grate or landscape fabric to hide the reservoir
- Decorative stones, gravel, or glass beads
- A GFCI outlet or GFCI extension cord
Budget-wise, the pump and sealant are where quality actually matters. Everything else can be sourced cheaply from a hardware store or even repurposed.
5. Understanding Water Pumps (This Is the Part Most Guides Rush Through)
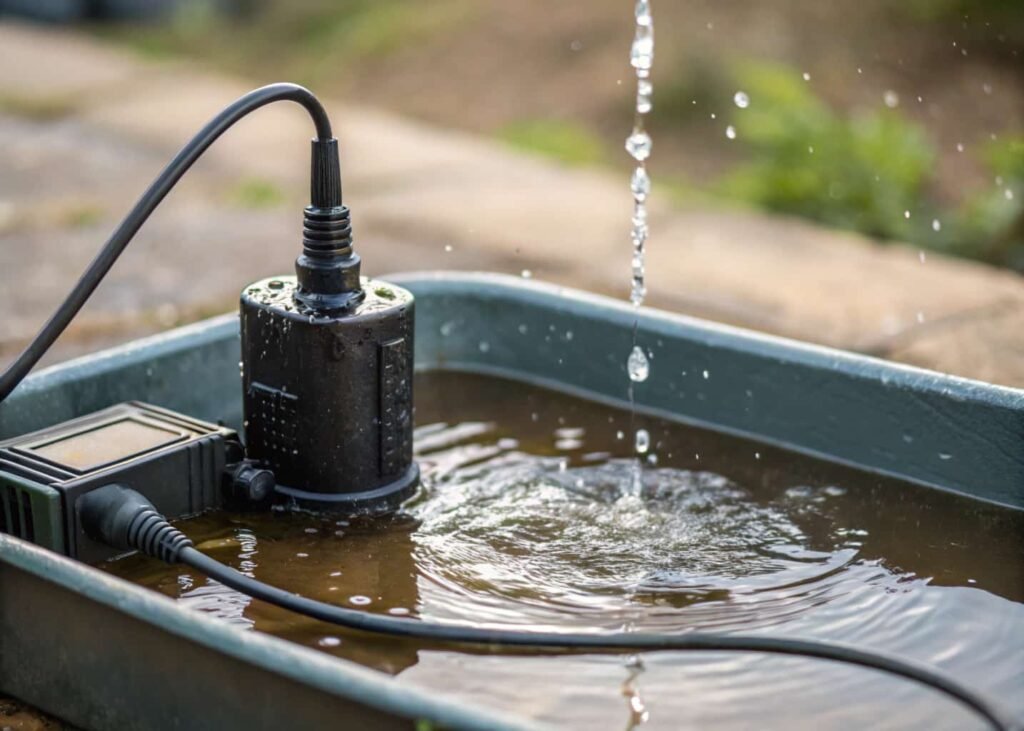
Pumps are rated in gallons per hour (GPH) and by maximum lift height (head height), and both numbers matter. A common beginner mistake is buying a pump based on GPH alone and finding out the water barely dribbles out the top because the lift height wasn’t enough. As a rough rule: for every foot of vertical lift, you lose roughly 10-15% of the pump’s rated flow. So a 200 GPH pump rated for 4 feet of lift might only deliver 120-140 GPH once you actually get water to the top of your fountain.
For a small tabletop fountain (under 18 inches tall), a 60-100 GPH pump is usually plenty. For a mid-size tiered fountain (2-3 feet), look at 300-400 GPH. Submersible pumps (the kind that sit underwater) are quieter and easier for beginners than external pumps, which need their own dry housing.
6. Choosing the Right Location
Indoor fountains do best somewhere you’ll actually hear them — a reading corner or entryway, not a spare room nobody visits. Keep them away from direct AC or heating vents; the airflow speeds up evaporation and you’ll be topping off water every other day instead of once a week.
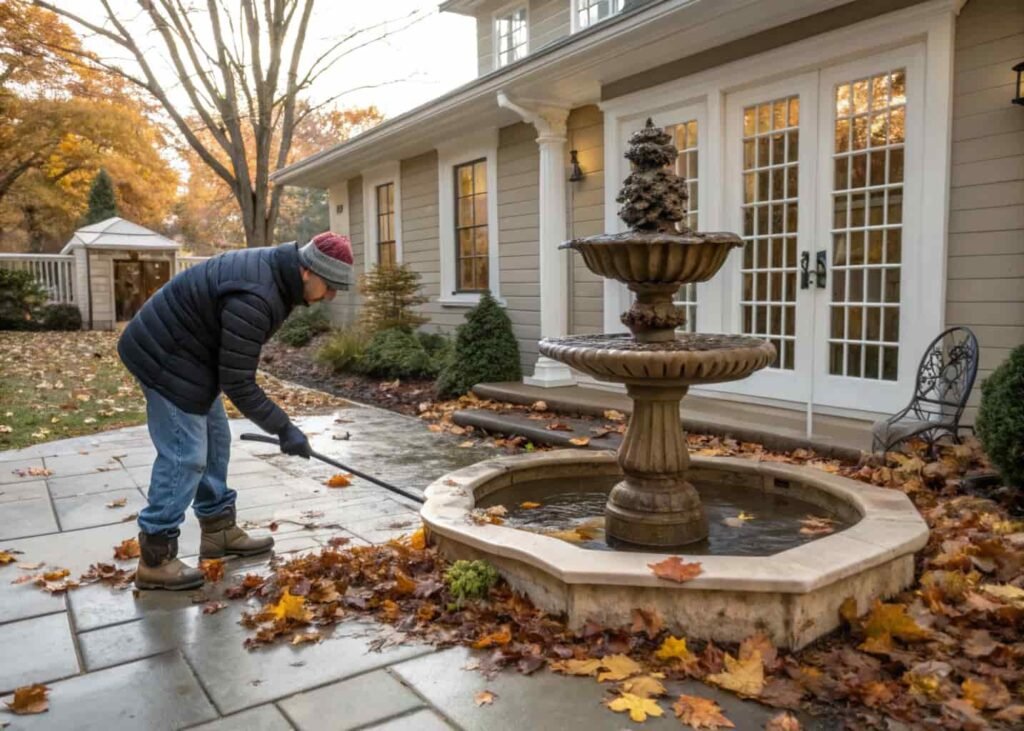
Outdoors, avoid placing a fountain directly under deciduous trees. Falling leaves clog pump intakes faster than almost anything else, and pine needles are nearly as bad. A spot with partial shade is ideal — full sun accelerates algae growth and evaporation, while full shade makes it harder for the basin to dry out between cleanings.
7. Step-by-Step: Building a Basic Pot Fountain
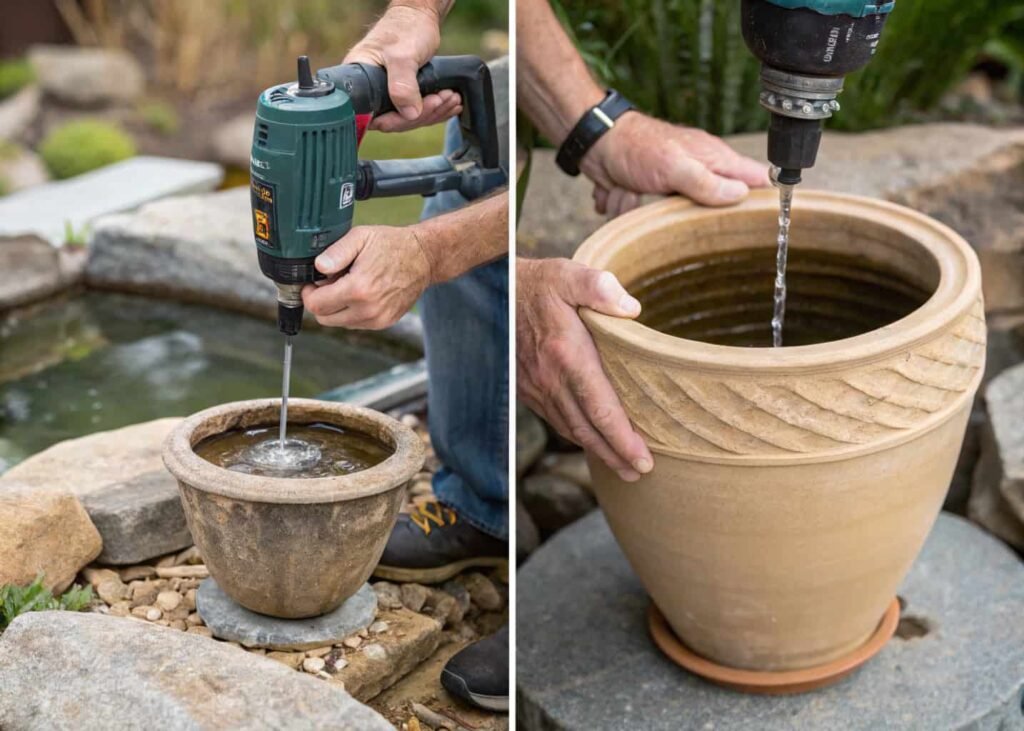
- Drill the pot. Using a masonry or diamond-tipped bit, drill a hole in the base slightly larger than your pump’s tubing.
- Set the reservoir. Bury or sink a plastic tub (this becomes your hidden water reservoir) into the ground or a larger outer pot.
- Place the pump. Set the submersible pump at the bottom of the reservoir on a small paver or brick to keep it off any sediment that settles.
- Run the tubing. Feed tubing up through the drilled hole in your decorative pot, leaving 1-2 inches poking above the rim.
- Trim and hide. Cut the tubing flush or just below the rim edge, and disguise it with a decorative rock or cap.
- Cover the reservoir. Lay a mesh grate over the reservoir, then landscape fabric on top, then your decorative gravel or stones.
- Fill and test. Add water until the pump is fully submerged, plug it in, and check for even flow before finishing the decoration.
8. Waterproofing and Sealing — Where Most DIY Fountains Actually Fail
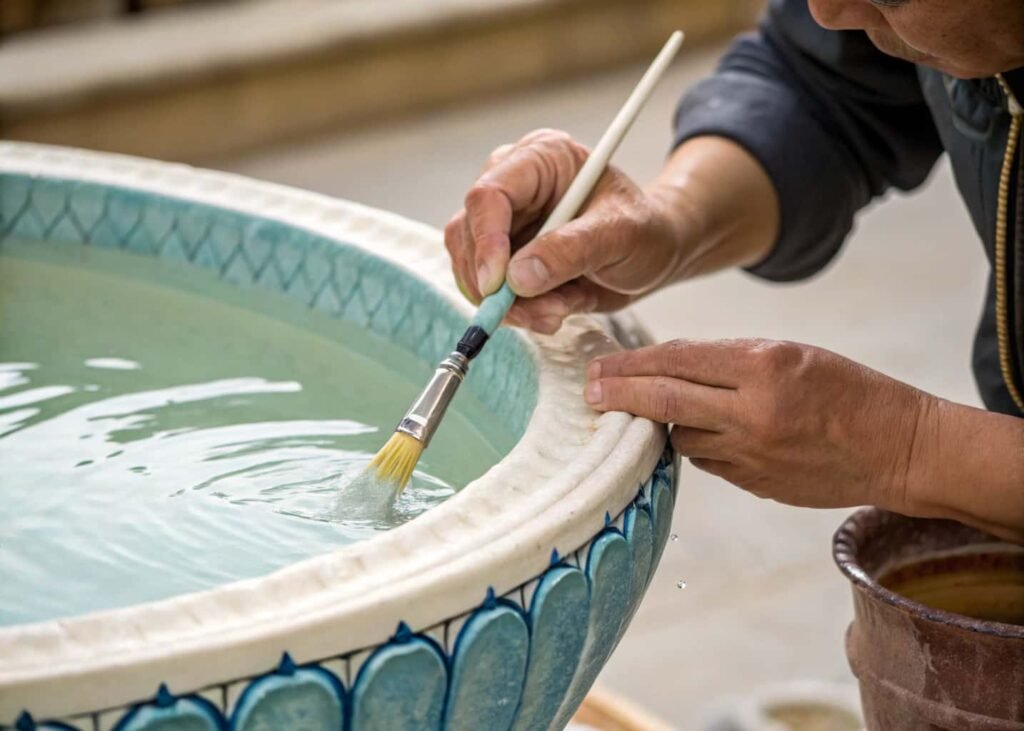
This is the step people skip and regret. If your vessel has any hairline cracks or a porous glaze, standing water will slowly wick through it, and you’ll see damp patches or efflorescence (white mineral deposits) on the outside within weeks. Two-part pond epoxy is more reliable than silicone caulk for porous ceramic or concrete, because it actually bonds into the surface rather than just sitting on top of it. Apply in thin coats — two thin coats cure better and crack less than one thick one. Let it cure fully (usually 24-48 hours) before adding water, since curing releases fumes that can be harmful to fish or plants if you fill too early.
9. Electrical Safety — Don’t Skip This Section
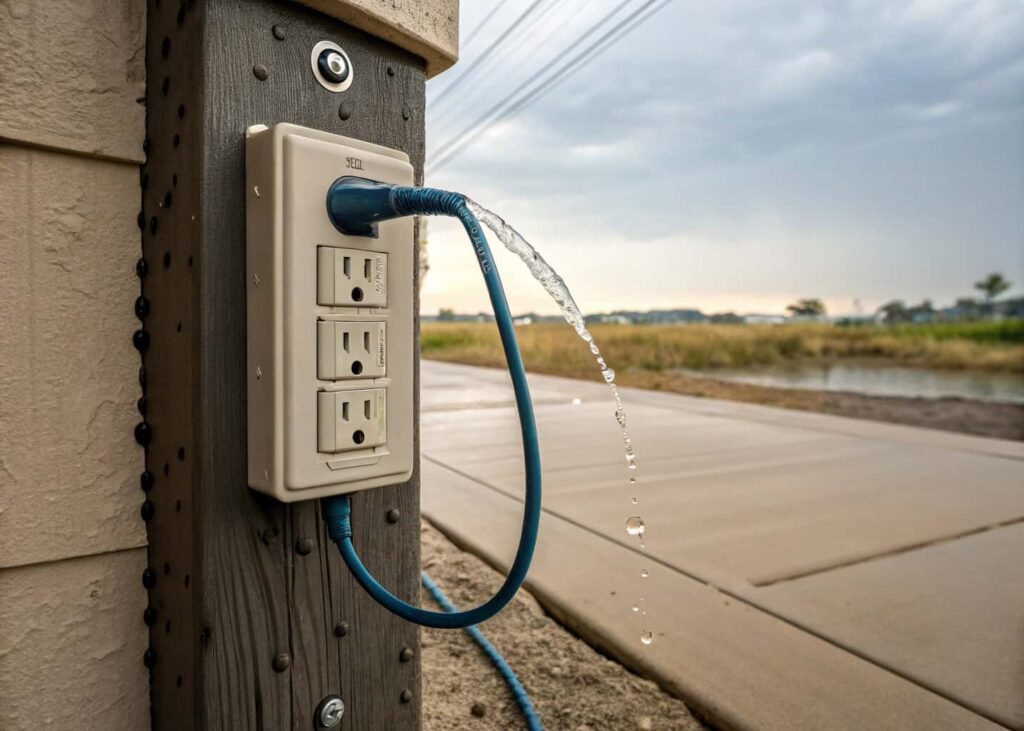
Any fountain with a pump is running electricity near standing water, so a few rules aren’t optional. Always plug into a GFCI (ground-fault circuit interrupter) outlet — the kind with the “test/reset” buttons, common in bathrooms and kitchens. If your outdoor outlet isn’t GFCI-protected, use a GFCI adapter or extension cord rated for outdoor use. Keep the cord connection itself elevated above the waterline and, for outdoor builds, use a drip loop (letting the cord dip down before it rises to the outlet) so water running along the cord drips off instead of traveling into the socket. Never submerge a pump that isn’t explicitly rated as submersible — regular aquarium air pumps, for instance, are not the same thing and will short out.
10. Decorating Without It Looking Like a Craft Project
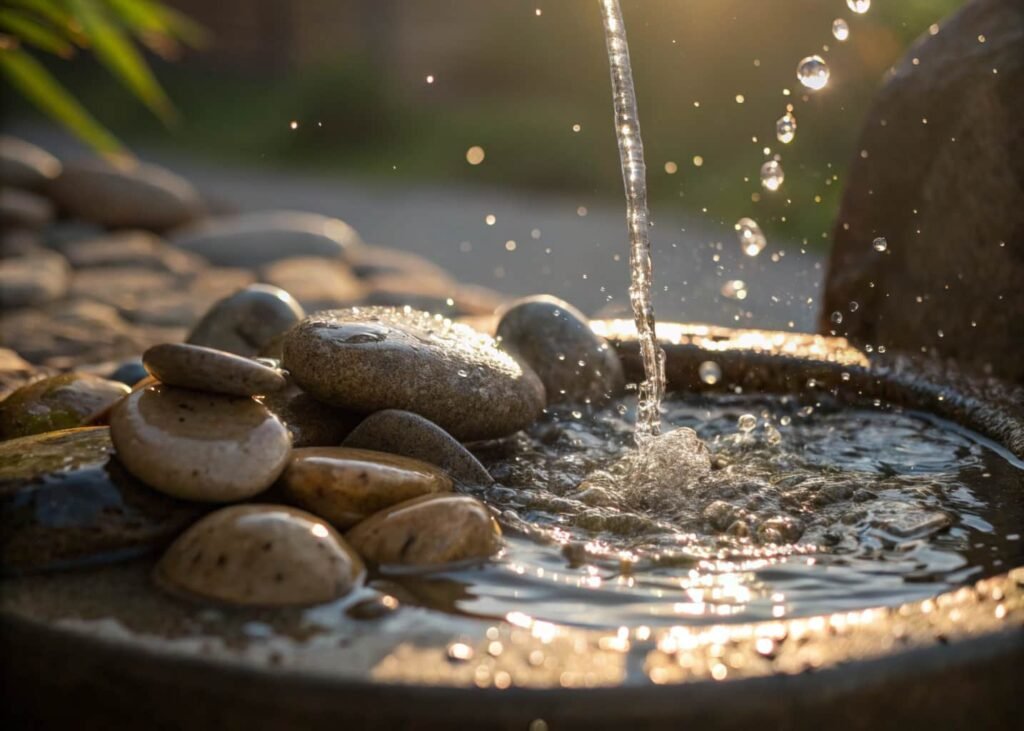
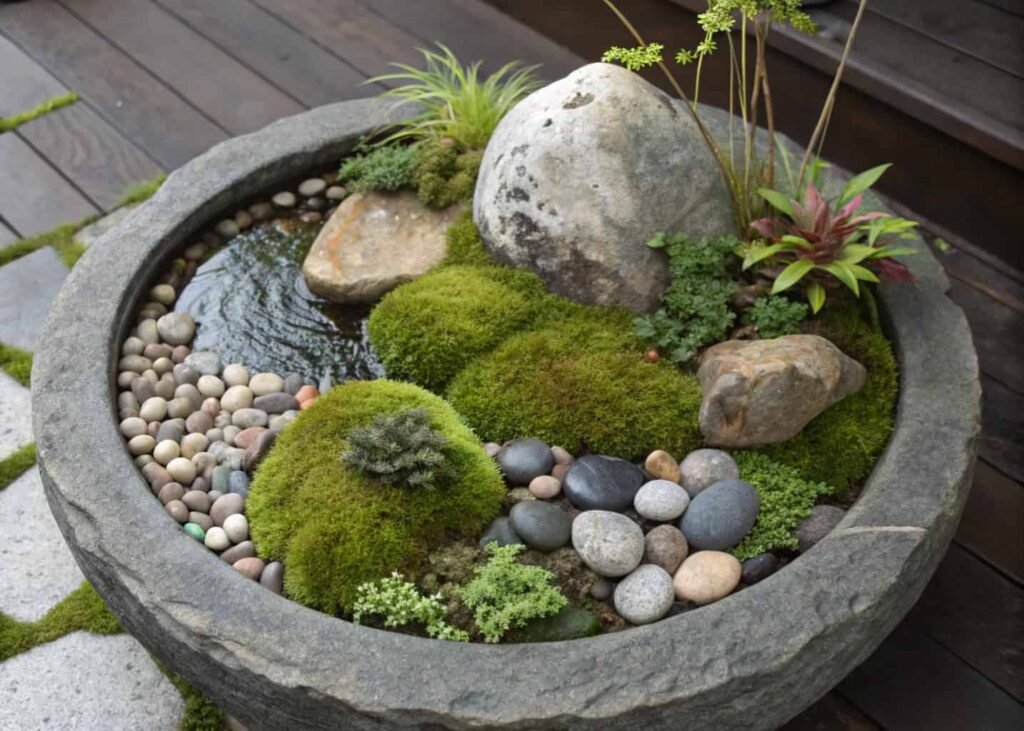
River rocks and polished pebbles are the default, but layering different sizes reads as far more intentional than one uniform size. Try a base layer of 1-2 inch stones for coverage, then scatter a handful of larger accent stones or a single striking rock on top. Moss (real or preserved) softens the edges nicely around outdoor fountains and holds moisture well. For indoor pieces, smooth glass beads in a single color family look more modern than mixed river rock. Avoid painted decorative stones near the waterline — cheaper paints can flake and leach into the water over time.
11. Adding Lighting Effects
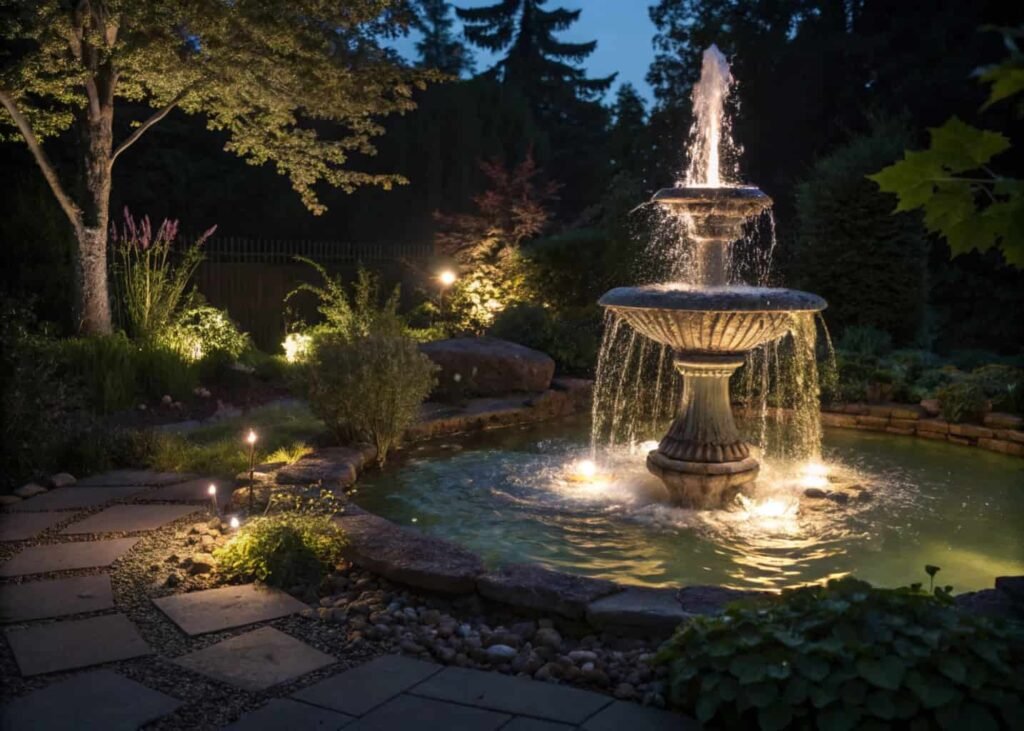
Submersible LED lights (usually the same puck-style lights used in vases) are the easiest add-on and run $10-20 for a multipack. Place them low and angled slightly upward so light catches the falling water rather than just illuminating the basin floor — this is the difference between a fountain that looks lit up and one that just has a light in it. Solar-powered versions work for outdoor fountains but tend to dim noticeably after 12-18 months as the battery degrades, so budget for battery replacement rather than expecting them to last as long as the pump.
12. Seasonal Care and Winterizing
In freezing climates, water left in a pump or reservoir over winter can crack both. If your fountain is small and portable, the simplest fix is to drain it completely, dry out the pump, and store both indoors until spring. For larger, built-in fountains you don’t want to move, keep the pump running continuously through freezing nights — moving water resists freezing far better than still water — but only if your local power costs and noise tolerance allow it. If neither option works, drain the reservoir, cover the pump in a dry towel, and store it somewhere above freezing; a garage often works fine even if it’s unheated, as long as temperatures don’t regularly drop below the low 20s°F.
13. Troubleshooting Common Issues
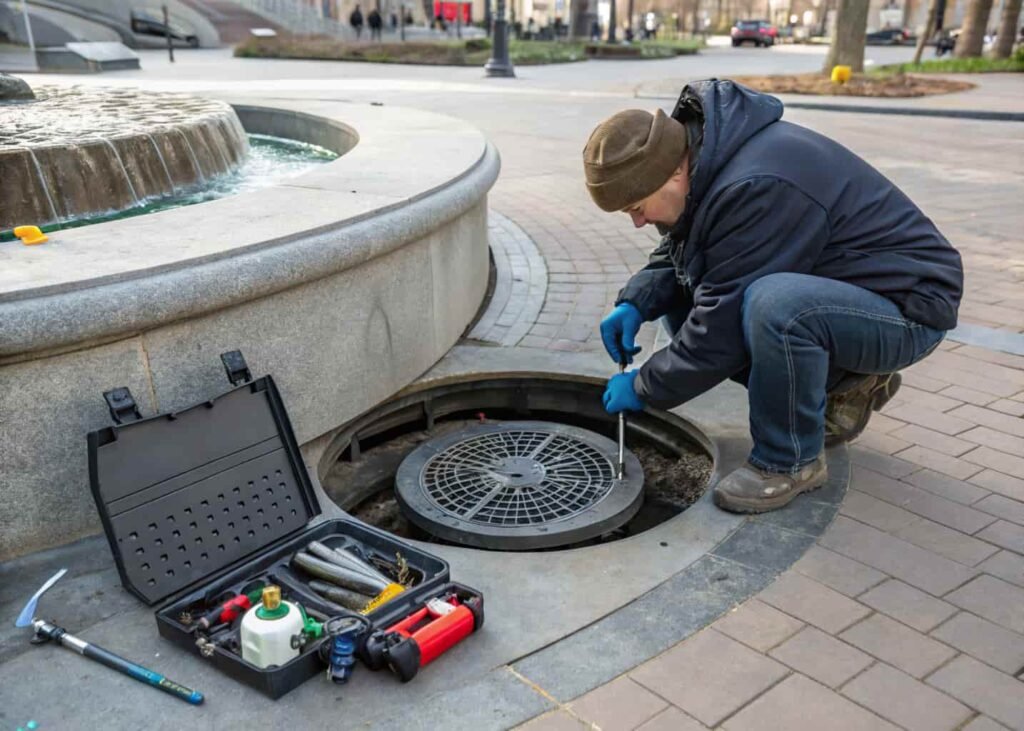
- Water isn’t reaching the top: Usually a lift-height mismatch (see section 5) or a kinked tube — check for sharp bends in the tubing.
- Pump is loud or buzzing: Often means it’s not fully submerged, or debris is caught in the intake screen.
- Cloudy or green water: Algae from too much direct sunlight — relocate to partial shade or add a small aquarium-safe algaecide.
- Water disappearing fast: Check for a hairline crack in the sealant (see section 8) before assuming it’s just evaporation.
- Pump runs but no water moves: Airlock in the tubing — briefly unplug, tilt the pump to release trapped air, and restart.
14. Realistic Cost Breakdown
| Item | Budget Option | Mid-Range Option |
|---|---|---|
| Pump (60-150 GPH) | $12-18 | $25-40 |
| Vessel/pot | $10-15 (thrifted or basic terracotta) | $40-80 (glazed ceramic) |
| Sealant/epoxy | $8-12 | $15-25 (pond-specific epoxy) |
| Tubing | $5-8 | $5-8 |
| Stones/decor | $10-20 | $25-50 |
| LED light kit | $0 (skip) | $10-20 |
| Total | ~$45-70 | ~$120-220 |
Most of the price difference between budget and mid-range builds comes down to the pot and the pump, not the small accessories. Spending more on decorative stones rarely improves the final look as much as spending more on a properly sized pump.
15. Final Thoughts
The build itself is rarely what trips people up — it’s usually pump sizing or skipping the sealant cure time that causes problems down the line. Get those two things right and the rest is genuinely forgiving. Start small, with a single pot fountain, before attempting a tiered design. Once you understand how your specific pump behaves under real conditions, scaling up to something bigger gets a lot less guesswork-heavy.