If you’ve ever cooked on a wobbly folding table with your propane tank balanced on a cinder block, you already know why a proper grill station matters. It’s not about looking fancy for the neighbors — it’s about not having to run inside four times during dinner because you forgot the tongs, a plate, or the bottle opener.
1. What Is an Outdoor Grill Station?
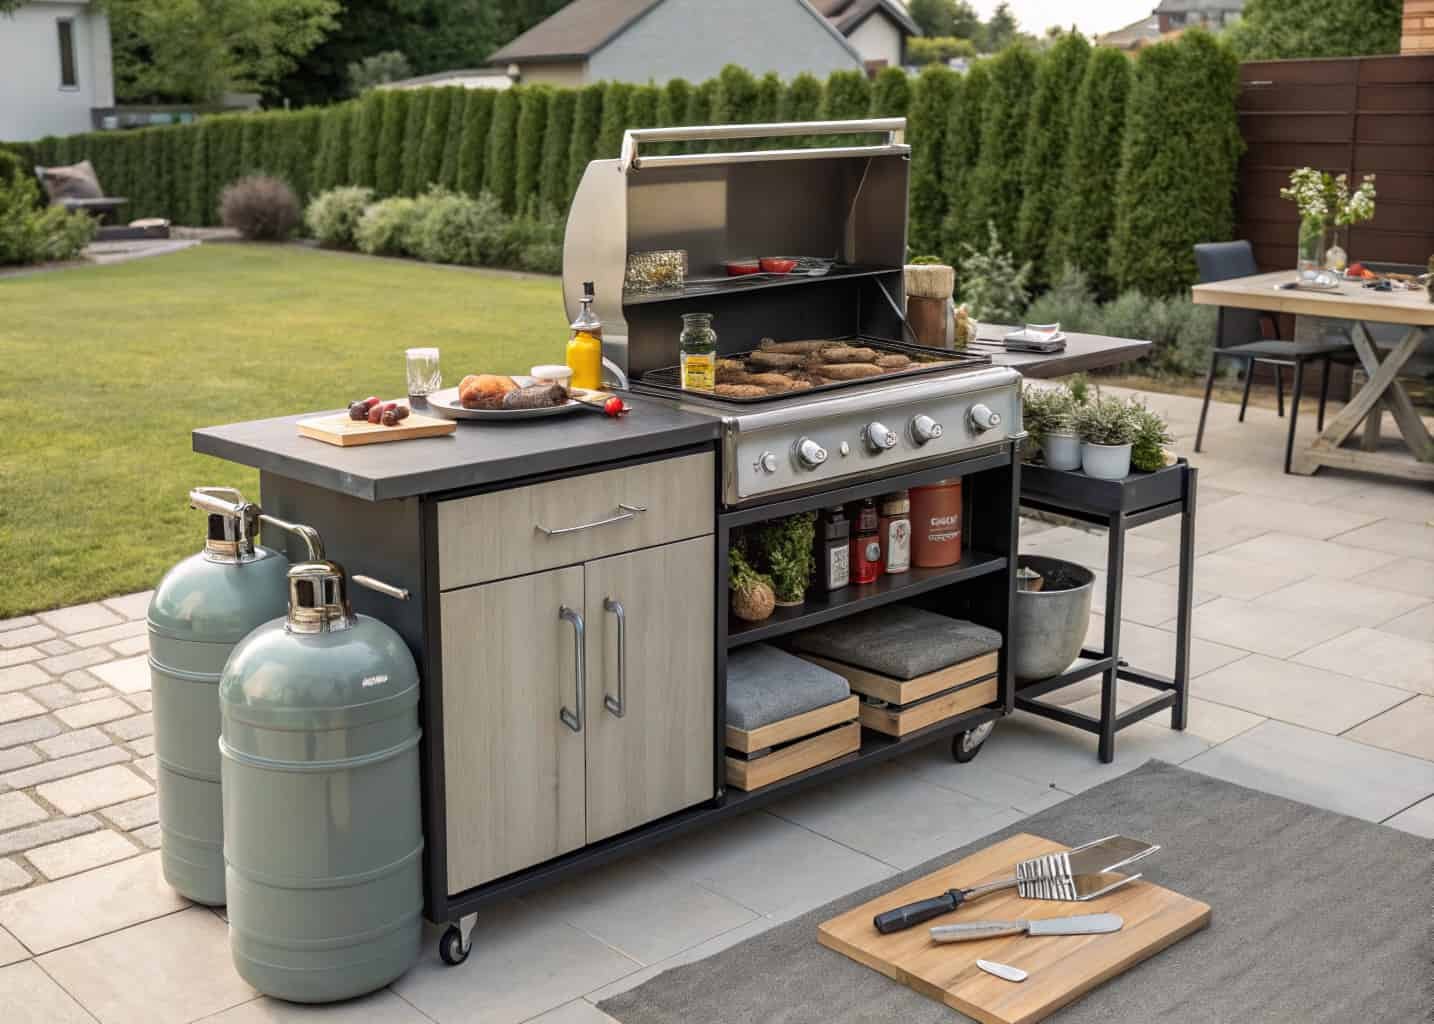
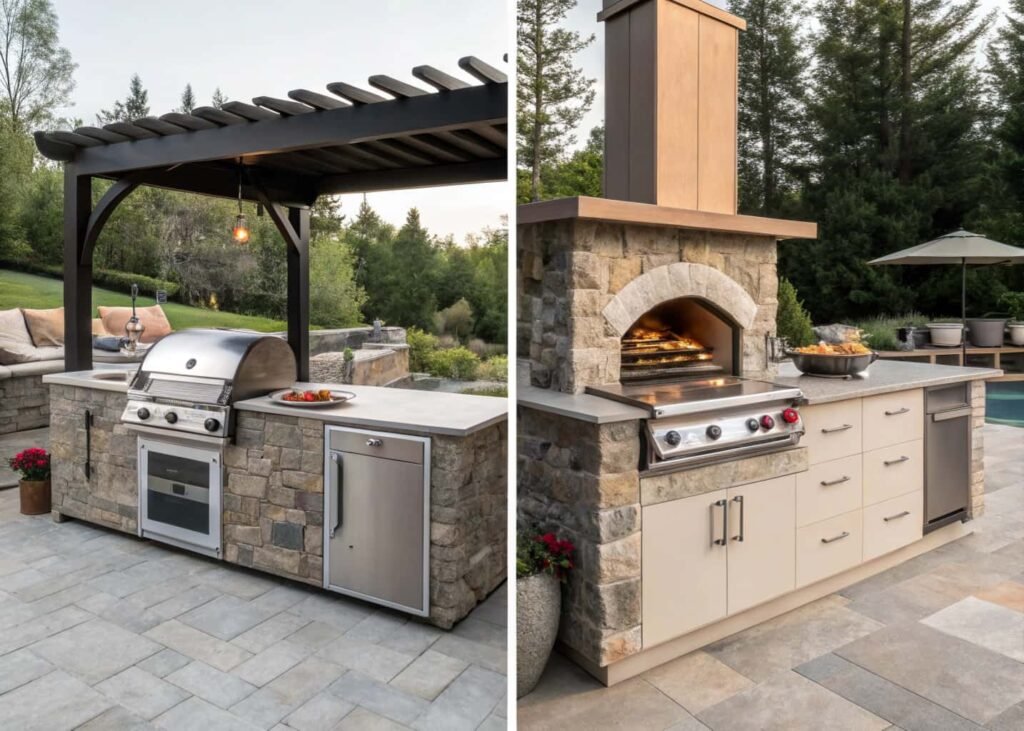
An outdoor grill station is a fixed cooking setup — usually built from masonry, concrete block, or a prefab modular frame — that houses your grill along with counter space, storage, and often a sink or small fridge. It’s different from just “having a grill” in the yard. A station is permanent (or semi-permanent), plumbed or wired if needed, and designed so every tool has a place. Think of it as the outdoor version of a kitchen island, minus the dishwasher.
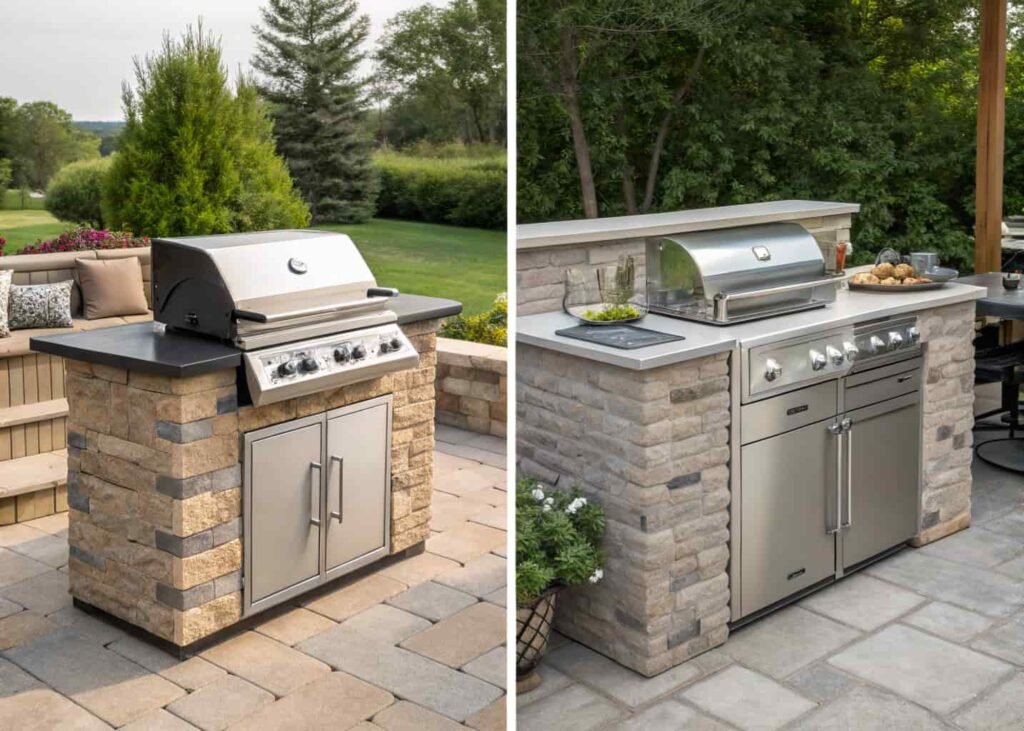
There are two broad categories worth knowing before you plan anything: built-in (masonry or block construction, poured foundation, grill inserted into a cutout) and modular (prefabricated cabinet units, usually stainless steel or powder-coated aluminum, that bolt together on a existing patio slab). Built-in costs more and takes longer but adds real property value; modular can go up in a weekend and is the better choice if you’re renting or might move in a few years.
2. Benefits of Having a Dedicated Grill Area
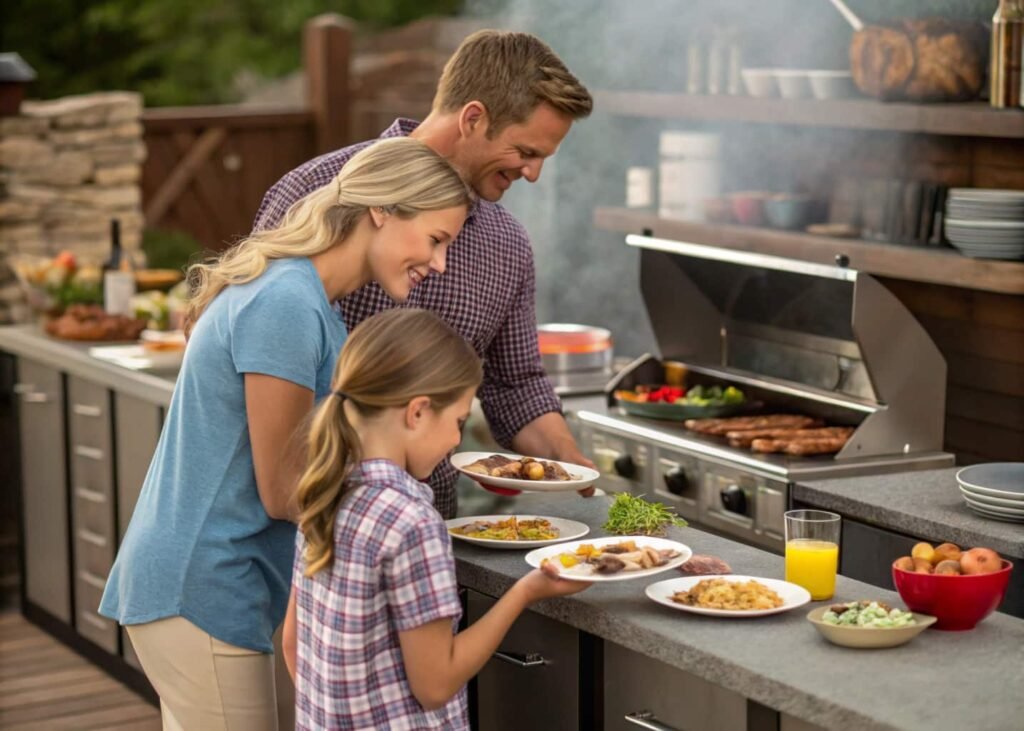
The obvious one is workflow — you’re not walking back and forth to the kitchen for every spice jar. But there’s a less obvious benefit: heat and smoke management. A dedicated station, especially one with even a partial wind screen or pergola, keeps smoke from drifting straight into your dining area, which happens constantly with a freestanding grill parked wherever there’s room.
Resale value is real too, though people overstate it. Realtors I’ve read cite outdoor kitchens recouping somewhere in the 55-75% range of their cost at resale, depending on the market — it’s not a guaranteed profit center, but it’s far better than, say, a hot tub, which barely recoups anything.
3. Choosing the Right Location in Your Yard
This is where most people get it wrong, and it’s an easy mistake to fix before you pour any concrete. Three rules that actually matter:
- Stay at least 10 feet from any structure (house, fence, shed) for fire code and insurance reasons — most local codes require this minimum clearance for anything with an open flame, and some insurers will flag a claim if you built closer.
- Check prevailing wind direction. Stand in your yard on a breezy evening and note which way smoke would blow. You want it moving away from windows, seating, and your neighbor’s laundry line — that last one is not a joke, it’s the single most common neighbor complaint about grill setups.
- Think about the walk from your kitchen door. Anything over about 25-30 feet and you’ll stop carrying full trays and start making multiple trips, which defeats half the purpose of a dedicated station.
Sloped yards need extra planning — you’ll either need a retaining wall and leveled pad, or you accept a shorter, simpler layout on the flattest section you’ve got.
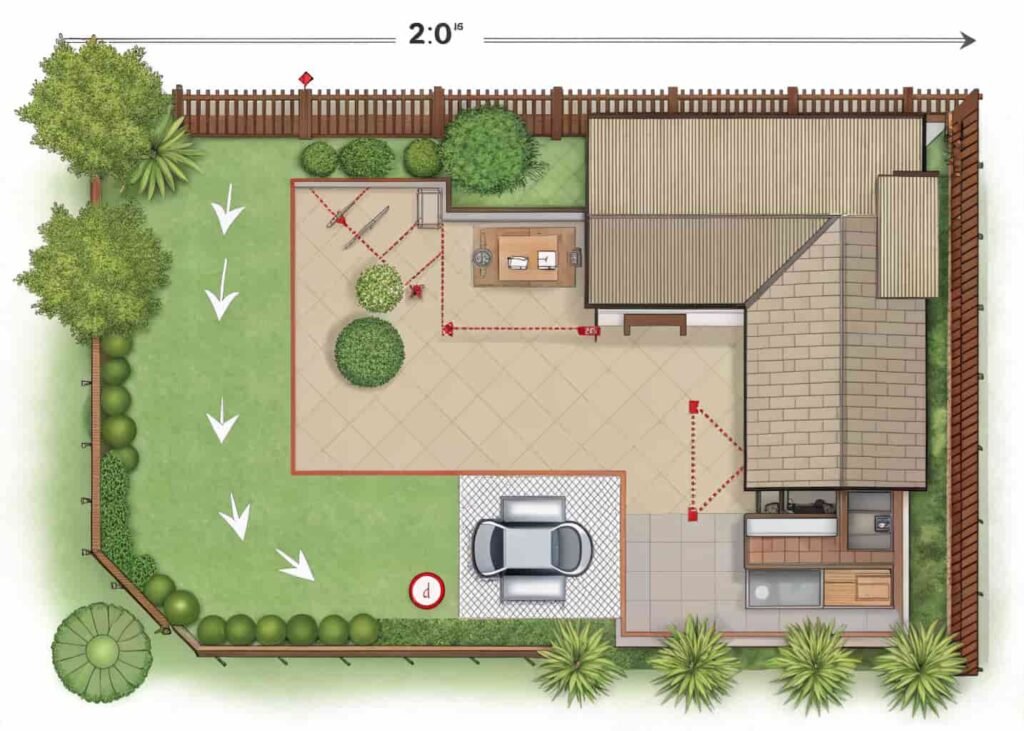
4. Essential Features to Include (Counter, Storage, Sink)
Don’t try to fit everything in on the first build. Here’s what actually earns its space, ranked by how often people regret skipping it:
Counter space. Minimum 24 inches on at least one side of the grill for prep and landing hot food. If you can swing it, 36 inches is noticeably more comfortable — you can set down a cutting board and a platter without playing Tetris.
Closed storage. Open shelving looks nice in photos and gets disgusting in three months from dust, pollen, and rain splash. At least one cabinet with a door, ideally stainless or marine-grade, for tools, skewers, and cleaning supplies.
A sink is optional, not essential — and this is where a lot of budgets blow up. Plumbing a sink outdoors means running water lines, usually a drain line tied into your sewer or a dry well, and freeze protection if you’re in a climate with real winters. If you’re mainly grilling and not doing full outdoor meal prep, a large basin with a hose hookup gets you 80% of the function for a fraction of the cost.
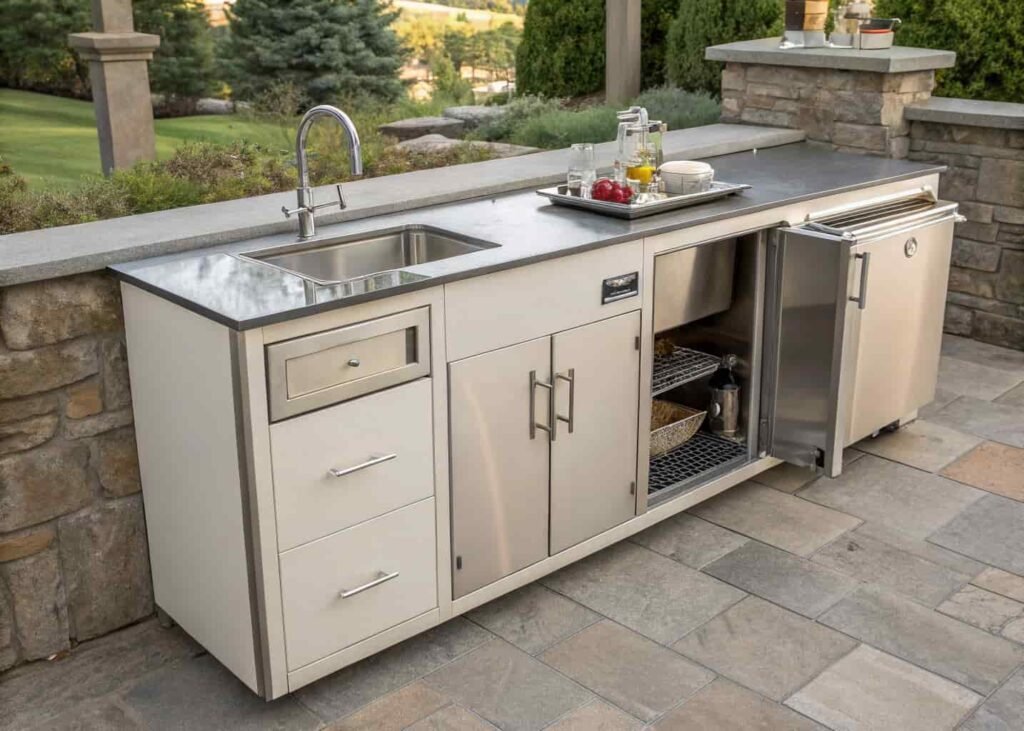
5. Best Materials for Durability and Weather Resistance
Materials are where corners get cut and regretted two winters later. A quick honest breakdown:
- Concrete block (CMU) with a stone or stucco veneer — the standard for built-in stations. Cheap structurally, and the veneer hides it. Budget roughly $25-40 per square foot of veneer material alone, not counting labor.
- Natural stone (fieldstone, ledgestone) — looks the best, costs the most, and is genuinely weatherproof for decades. This is the “if budget allows” upgrade.
- Stainless steel doors and drawers, grade 304 minimum. Cheaper 430-grade stainless will rust within a couple of seasons near any coastal air or even regular humidity — it’s magnetic, which is actually the easy way to test it in a showroom: 304 is non-magnetic (or only weakly so), 430 sticks to a magnet hard.
- Countertops: granite or concrete (sealed) handle heat and weather well. Avoid butcher block or any wood countertop near the grill — heat warping and moisture rot happen faster than people expect, usually within one season of real use.
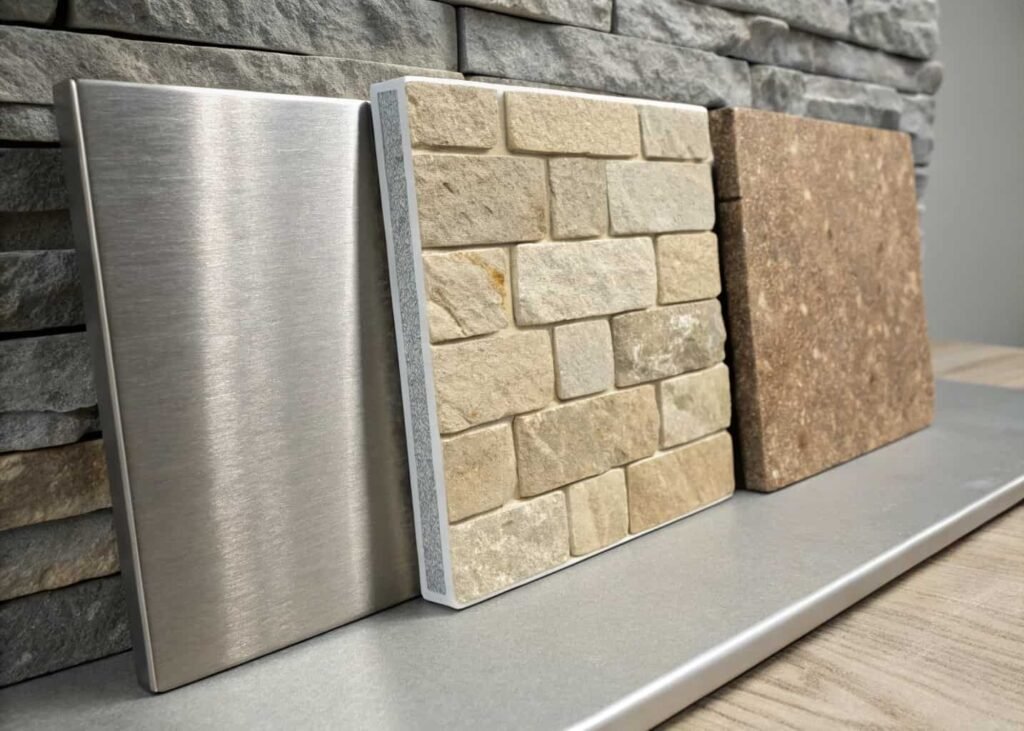
6. Step-by-Step Build Process
For a built-in masonry station, here’s roughly how the sequence goes:
- Foundation. Pour a 4-inch reinforced concrete slab, minimum, sized to your full footprint plus a couple inches of overhang. Let it cure fully — 28 days for full strength, though most builders proceed with block work after about a week if the weather cooperates.
- Frame the block structure. Standard 8x8x16 CMU blocks, mortared course by course, leaving cutouts sized exactly to your grill insert’s spec sheet — measure this twice, grill manufacturers are not consistent on cutout dimensions between models.
- Rough-in utilities. Gas line (if running natural gas instead of propane), electrical conduit for lighting or outlets, and water line if you’re adding a sink — all of this happens before you close anything up.
- Veneer and cap. Apply your stone or stucco finish, then install the counter cap — this is usually the single most expensive line item after the grill itself.
- Install the grill insert, doors, and drawers once the veneer has cured.
- Seal everything. Grout lines, countertop, and any porous stone need a weatherproof sealant reapplied roughly once a year.
A full built-in project, weather permitting, realistically takes 3-6 weeks from foundation pour to first cookout, mostly because of concrete cure time and stone/tile work — not because the labor itself is that long.
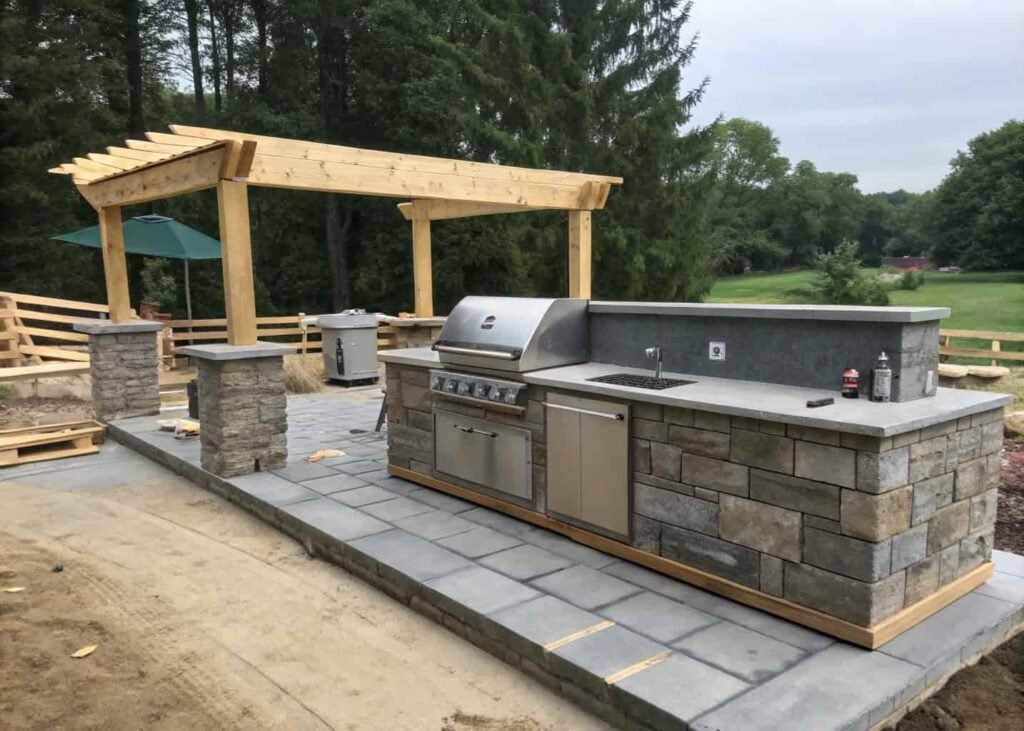
7. Budget-Friendly vs Luxury Grill Station Ideas
Here’s the honest trade-off, not a wishy-washy “it depends”:
Budget route ($800-2,500): A modular stainless cabinet system on your existing patio, paired with a freestanding or drop-in gas grill. Skip the sink, use a folding side table for extra prep space, and add a simple retractable awning for shade. This is the right call if you’re not sure you’ll stay in the house long-term, or if you grill maybe twice a month.
Mid-range ($5,000-12,000): A block-and-veneer built-in with one storage cabinet, a 36-inch counter run, and a drop-in grill in the 30-36 inch class. No sink, no fridge, but permanent and solid.
Luxury ($20,000+): Full outdoor kitchen — built-in grill, side burner, sink with hot/cold plumbing, outdoor-rated fridge, pizza oven, natural stone throughout, and often a covered structure or pergola. This makes sense if you genuinely cook outdoors most of the year, not just for the occasional July barbecue — otherwise a lot of that investment sits unused eight months out of twelve depending on your climate.
8. Maintenance and Safety Tips
A few things that don’t get mentioned enough:
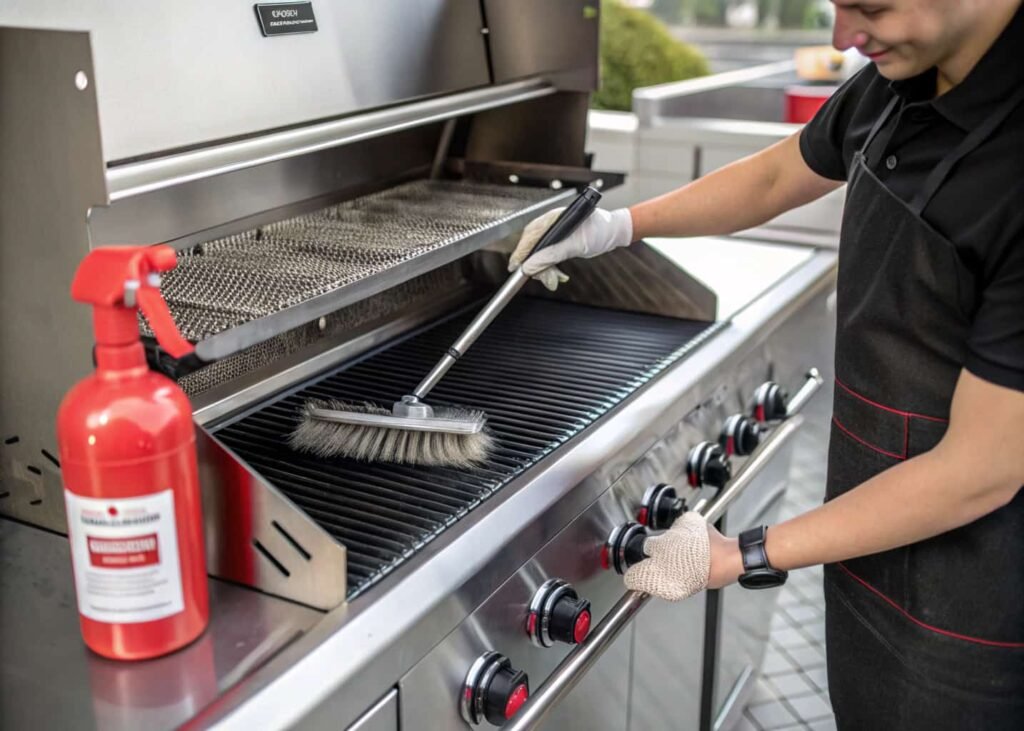
- Clean grease traps after every 3-4 uses, not just at the end of the season — built-up grease under a grill insert is a genuine fire risk, more so than people think when the unit is recessed into stone or block.
- Check gas line connections every spring if you’re running natural gas — a soapy water test on every joint takes five minutes and catches leaks before they become a problem.
- Cover the whole station, not just the grill, if you’re in a freeze-thaw climate. Water sitting in stone pores and freezing is what cracks veneer and grout over a few winters.
- Keep a Class B or K-rated fire extinguisher within reach — not just any extinguisher. Grease fires respond badly to standard water-based or even some ABC extinguishers.
None of this is complicated, it’s just easy to skip when the grilling season gets busy — and that’s exactly when the small maintenance stuff gets ignored until it’s an expensive fix instead of a five-minute one.