December 1 arrives and the countdown feels like a chore instead of a treat: a flimsy chocolate calendar torn open in one sitting, a pile of small gifts with nowhere to live, and a hallway that looks messier the closer Christmas gets. The calendar is supposed to slow December down, but most versions just add one more thing to manage.
The principle is simple: give every day its own small, visible home, and keep all 24 homes in one place. Plenty of DIY advent calendar ideas start with a big board for exactly that reason — when the days live together, the countdown becomes a display instead of clutter.
Here are 13 advent calendar ideas for your home, each built around a different form — drawers, pockets, jars, tins, buckets, boxes, and more. Most can be made from things already in the house, and every one can be refilled and used again next year.
The Advent Calendar Formula That Keeps the Countdown Looking Charming, Not Cluttered
- One home for all 24 days: Keep every compartment on a single board, shelf, rail, or stand, so the calendar reads as one piece of decor instead of 24 scattered objects.
- Numbers you can read at arm’s length: Make each number at least 1 inch tall, in a color that contrasts with its background, so nobody has to hunt for today’s day.
- Fillings sized to the compartment: Match the treat or note to the space — a small chocolate in a jar, a folded note in a pocket — so nothing has to be forced in or falls out.
- Refill, don’t rebuild: Build the form once from wood, fabric, or metal, and refill it each year, so the calendar becomes a tradition instead of a one-season craft.
In a hallway, that might look like a wooden drawer chest on a console, each drawer numbered in cream paint, filled with one small chocolate or a folded note, and topped with a short cedar garland.
| Form | Where It Fits | Fillings That Fit |
|---|---|---|
| Wooden drawers | Console or sideboard | Small chocolates, notes |
| Fabric pockets | Wall or door | Folded notes, tiny toys |
| Glass jars | Open shelf | Wrapped sweets, ornaments |
| Muffin tin | Wall or tabletop | One sweet per cup |
| Hanging buckets | Wooden rail | Small gifts, activity cards |
1. A Wooden Drawer Chest on the Console
A small wooden chest with 24 drawers, six columns by four rows, each drawer 3 inches wide and 2 inches tall, is the sturdiest advent form there is. Paint the drawer fronts cream, fill each drawer with one small chocolate or a folded note, and set the chest on a hallway console where it opens without moving anything else. Cheryl’s Wooden Advent Calendar is $59.99 as a ready-made alternative, but a plain craft chest painted at home gives the same daily ritual for far less. The trade-off is weight: a filled chest is heavy, so keep it on a solid console, not a narrow shelf, and let children open the low drawers while adults handle the top row.
Color note: Natural wood with cream numbers stays calm in any hallway, while a deep green chest with gold numbers turns the same calendar into the room’s main Christmas piece.
2. Fabric Pockets on a Wall Hanging
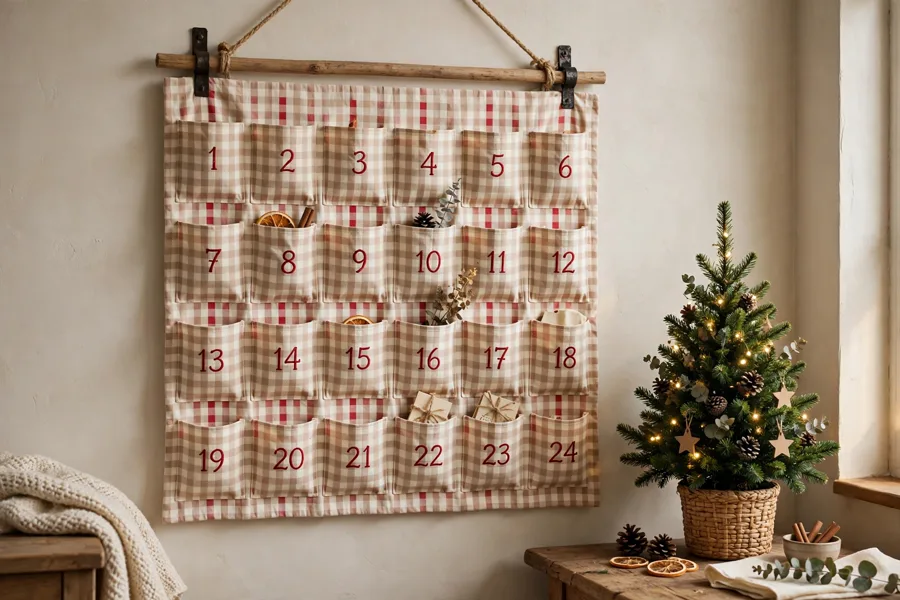
Sew, or glue, 24 pockets onto a backing cloth about 24 inches wide and 36 inches tall, in six rows of four. Each pocket, roughly 4 inches square, holds a folded note, a tiny toy, or a wrapped sweet, and the whole hanging takes one nail on the wall. Use a sturdy cotton in cream or red gingham, and number each pocket with iron-on numbers or a fabric marker so the numbers survive washing. The soft form is forgiving: pockets stretch to fit odd shapes, and the hanging folds flat for storage in January. The downside is that heavy fillings pull the pockets out of shape, so keep the gifts light and save anything chunky for another form.
Texture note: Cotton pockets, a linen backing, and a wooden dowel across the top give the calendar a handmade softness that wood and metal forms cannot match.
3. Numbered Glass Jars on a Shelf
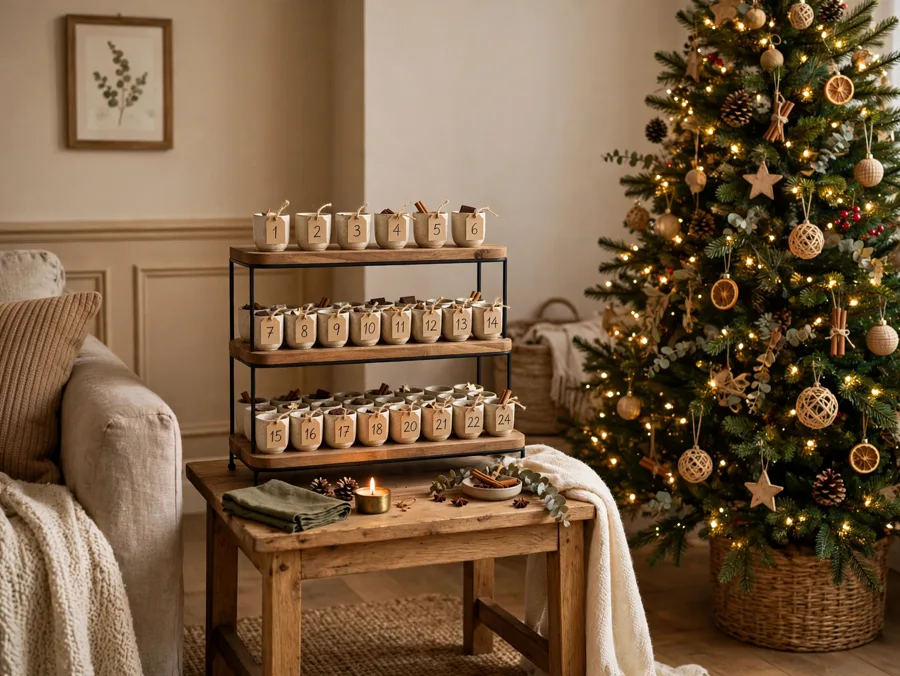
Line up 24 small glass jars — 4-ounce jars, about 3 inches tall — along two open shelves, twelve per shelf, each with a numbered tag tied in twine. Fill each jar with one wrapped sweet, a tiny ornament, or a rolled-up activity note, and screw the lids on so nothing spills. The glass makes the calendar part of the display: the sweets become the decoration, and children can see what is coming without opening anything early. This form pairs naturally with the easy DIY Christmas decorations many homes already make, because jars, twine, and tags are the same basics. The trade-off is shelf space: 24 jars need about 6 feet of shelf, so measure before you commit.
Best for: A kitchen shelf or a living-room bookcase, where the jars can stay out all December without being in anyone’s way.
4. A Muffin Tin Hung on the Wall
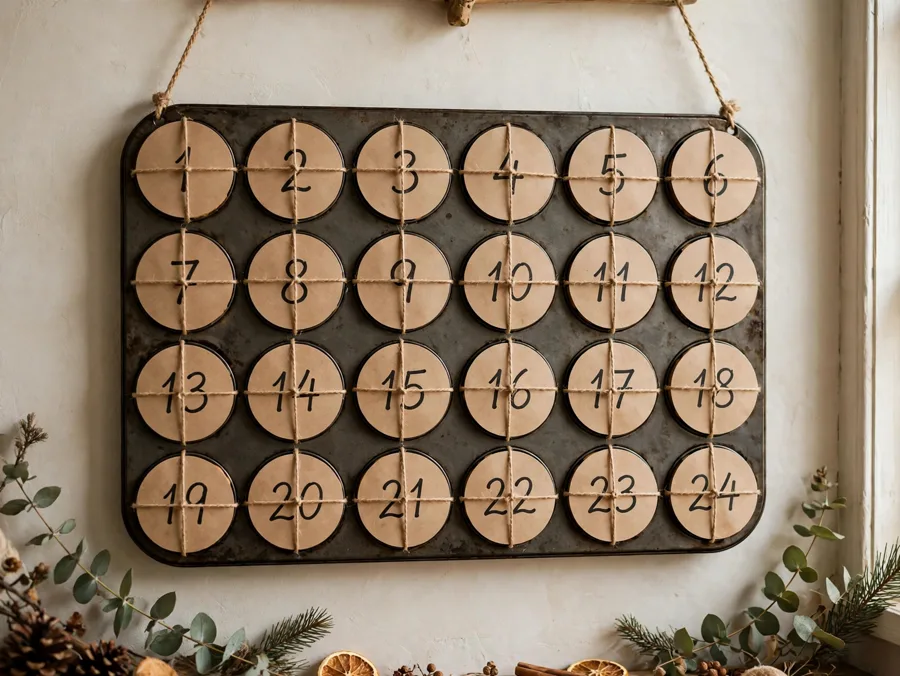
A 24-cup muffin tin, turned on its side on the wall, is an advent calendar in plain sight. Number each cup 1 to 24 with stickers or painted numbers, drop one sweet into each cup, and cover the cups with kraft paper circles taped at the edges, so each day is a door to peel open. The metal cups keep everything upright and visible, and the calendar costs little more than the tin itself. Hang it where children can reach, and fix it to the wall — a full tin is heavier than it looks, and a falling tin on December 3 ruins the rest of the month. For a rental, a tabletop tin, cups facing up, works well.
Space note: A 24-cup tin is about 16 inches wide and 12 inches tall, so it fits on a narrow stretch of wall where a drawer chest never would.
5. Book-Spines on a Bookshelf
Make 24 small sleeves from kraft card, each 5 inches tall and 1 inch wide, folded like a book with a numbered spine. Slip a folded note or flat treat inside each sleeve, then stand the row on a bookshelf among real books, spines facing out. The calendar hides in the bookcase until someone looks closely, a lovely surprise for a reader’s home and a good option when wall space is taken. Number the spines in order but shuffle the row, so finding today’s book is part of the fun. The catch is size: only flat fillings fit a 1-inch sleeve, so save chocolates and toys for a roomier form and use this one for notes, jokes, and activity cards.
Fit check: Leave at least half an inch of slack at the end of the row, or the sleeves wedge tight and pulling one out drags three neighbors with it.
6. Hanging Buckets on a Wooden Rail
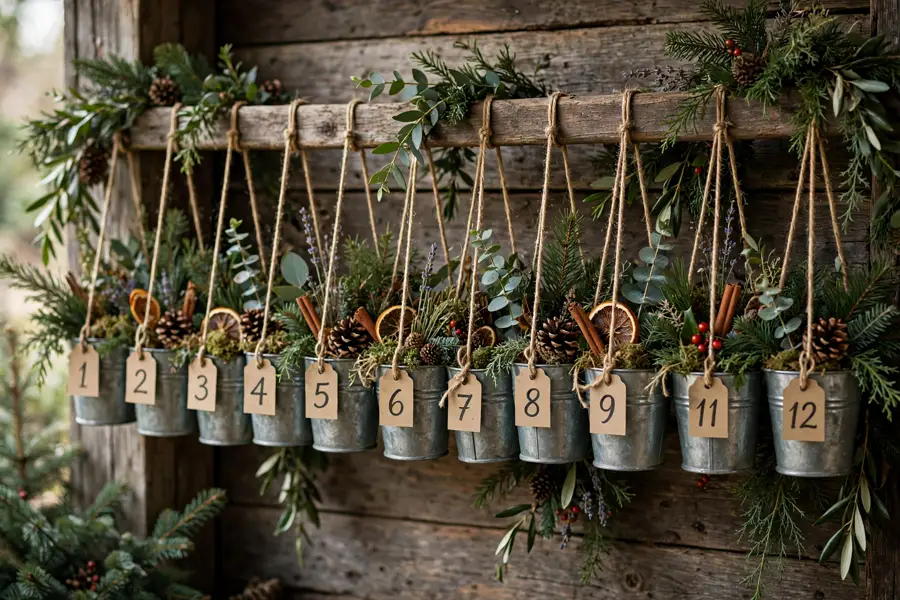
Fix a wooden rail, 4 feet long, to the wall, and hang 24 small metal buckets from it on hooks, twelve on the top rail and twelve on a second rail below. Each bucket, 3 inches across, holds a small gift or an activity card, and a numbered tag on each handle keeps the order clear. The buckets swing gently when touched, which children love, and the rail comes down and stores as one piece. The trade-off is noise: metal buckets on metal hooks clink when someone brushes past, so wrap the hooks in twine if the rail hangs in a busy hallway. In a mudroom or entryway, the buckets also hold keys and coins once December ends.
Style note: Galvanized buckets with cream tags look farmhouse-calm, while red buckets with white numbers turn the same rail into a bold Christmas statement.
7. A Row of Mini Wooden Houses
Set 24 small wooden houses, each 4 inches tall with a hinged roof or tiny door, in a row along a mantel or windowsill, numbered 1 to 24 across the rooftops. Open one house each morning to find a small sweet or note inside, and by Christmas Eve the whole village is open, a display in itself. Paint the houses cream and deep green, or leave them natural wood with red doors, and add warm-white lights behind them. This form works well alongside budget Christmas decor ideas, because plain wooden houses are inexpensive and paint is the only extra cost. The downside is dust: tiny houses with open doors collect it fast, so a weekly wipe keeps the village fresh.
Easy swap: If wooden houses feel too fiddly, the same row works with small cardboard houses cut from cereal boxes, painted the same way and recycled in January.
| Filling | Fits Best In | Avoid In |
|---|---|---|
| Folded notes | Pockets, sleeves, boxes | Open buckets |
| Wrapped sweets | Jars, drawers, tins | Book sleeves |
| Tiny toys | Buckets, crates, houses | Vials |
| Activity cards | Any form | — |
8. Kraft Boxes Clipped to a Garland Cord
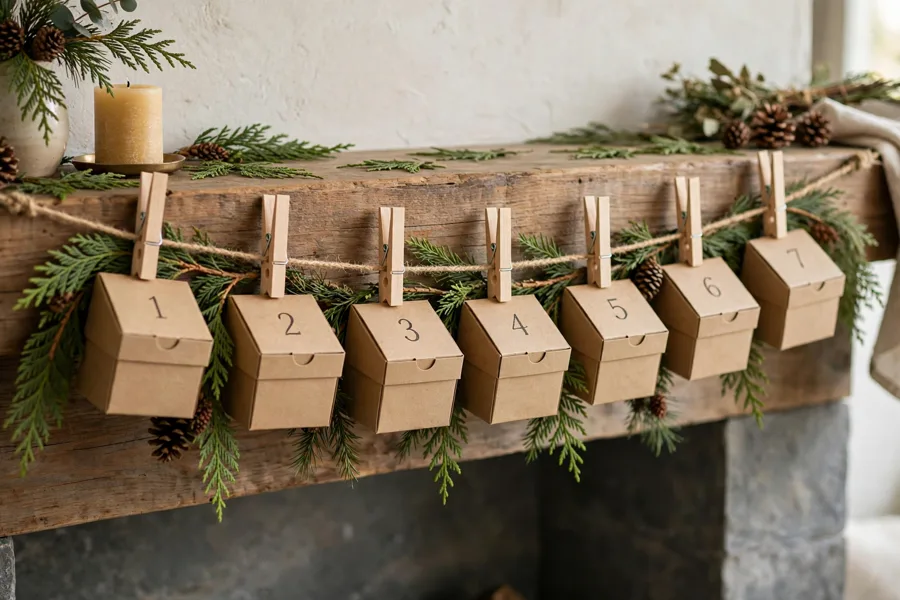
String thick cord or ribbon, 6 feet long, along a wall or mantel, and clip 24 small kraft boxes to it with wooden clothespins. Each box, 2 inches square, holds one sweet or a folded note, and a number sticker on each lid keeps the order clear. The garland form is flexible: it follows a staircase rail, a mantel, or a bedroom wall, and it comes down in minutes. Because the boxes hang in the open, they become part of the room’s decoration, especially with a few cedar sprigs between boxes. The downside is that clothespins slip on smooth cord, so use rough cotton cord and test one box’s weight before hanging all 24.
Seasonal swap: After Christmas, the same cord and clothespins hold birthday countdown boxes or photo cards, so nothing about this form is single-season.
9. A Tower of Stacked Gift Boxes
Stack 24 small gift boxes — 3 inches square, in alternating cream and deep green — into a pyramid on a side table: eight on the bottom row, then six, five, three, and two on top. Number each box on its lid, and let the family take one box from the tower each day, so the pyramid slowly shrinks toward Christmas. The shrinking tower is the countdown made visible, and children love watching it change shape. The trade-off is stability: a tall pyramid of light boxes topples if bumped, so build it against a wall, keep the heaviest fillings in the bottom row, and rebuild the top rows each week if little hands get enthusiastic.
Why it works:
- The shrinking tower shows time passing
- Boxes stack flat for storage in January
- Two colors keep the tower calm, not chaotic
10. Upcycled Tin Cans on a Painted Board
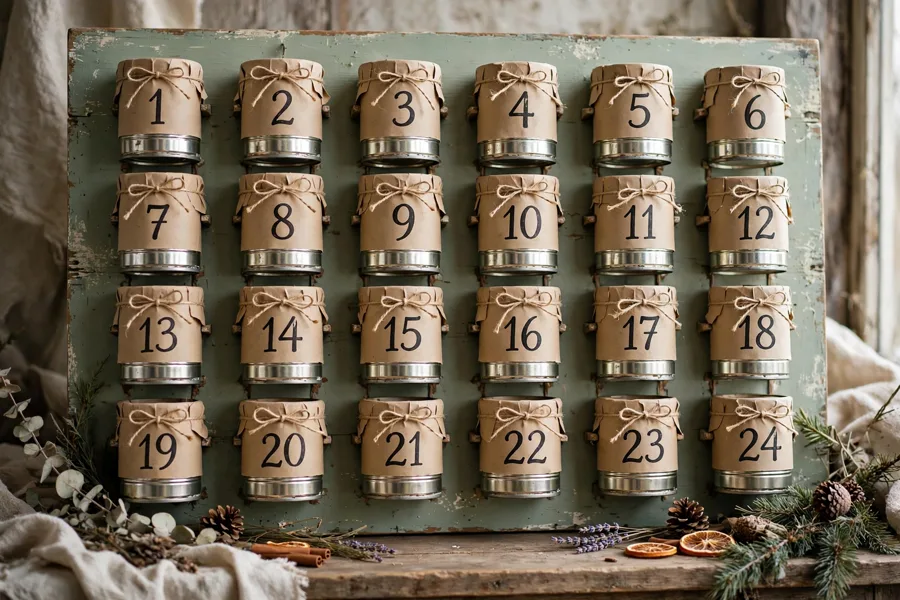
Save 24 clean tin cans, all the same size, 3 inches across and 4 inches tall, and fix them to a wooden board, 36 inches wide and 24 inches tall, open ends facing out. Number each can, fill it with a gift or note, and cover the opening with kraft paper so each day is a paper door. The board hangs on one nail, and the emptied cans stay on it, ready for next year. This is the sturdiest recycled form here, but also the heaviest, so hang the board on a wall stud, not a plaster hook, away from small children. For a softer look, paint the board deep green and the can rims cream.
Budget note: The cans are free, the board is one offcut, and the only real cost is paint and paper — this is the lowest-cost form in the whole list.
11. Small Vials in a Wooden Rack
A wooden rack holding 24 small glass vials, each 4 inches tall and 1 inch wide, stoppered with cork, turns the countdown into an old apothecary display. Fill each vial with a rolled note, a tiny dried flower, or one wrapped sweet, and number the corks 1 to 24. The rack stands on a sideboard or bookshelf, and glass and cork give it a quiet, grown-up feel for a home without small children. It also sits naturally near Christmas entryway decor ideas for a console display, because the narrow rack does not crowd the surface. The trade-off is fragility: glass vials break if knocked, so keep the rack away from edges and out of traffic.
The formula: One narrow rack + 24 corked vials + one small filling per vial.
12. An Advent Wreath Ring of Tiny Boxes
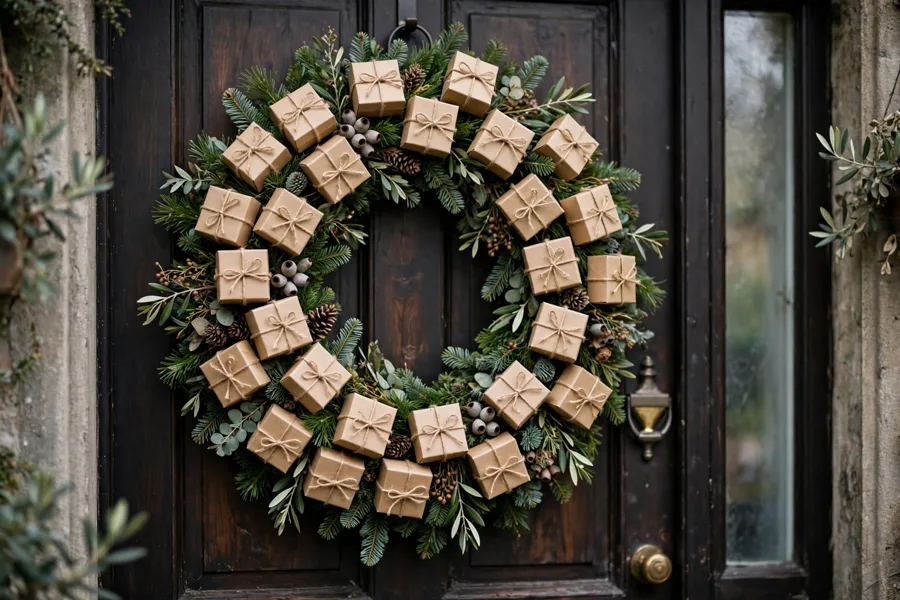
Take a plain wreath ring, 18 inches across, and tie 24 tiny boxes, each 2 inches square, around it with ribbon, so the boxes form the wreath itself. Number each box, hang the ring on a door or wall, and open one box a day as December goes on. The ring form is a two-in-one: countdown and door decoration at once, ideal for a small home where wall space is precious. Because the boxes hang in a circle, balance the weight — put the heaviest fillings opposite each other, or the ring tilts on its hook. In a home with a plain front door, this wreath is often the first Christmas thing guests notice.
Get the look:
- Main piece: Plain wreath ring, 18 inches across
- Supporting piece: 24 tiny kraft boxes, 2 inches square
- Texture or material: Kraft card, ribbon, and cedar sprigs
- Finishing touch: One wide bow at the top of the ring
13. A Tiered Tray of Mini Cups
A three-tiered serving stand, the kind used for cakes, becomes an advent calendar when 24 mini cups, eight per tier, are set on its plates. Each cup, 2 inches across, holds one sweet or a folded note, and a small numbered flag on a toothpick marks each day. The tray stands on a dining table or sideboard, takes up less than a square foot, and looks dressed even before anything is opened. The cups can be paper, ceramic, or metal, and mixing cream and red keeps the tiers from looking flat. The catch is that open cups invite early peeking, so this form suits adults, or families happy to agree that peeking is part of the fun.
Color note: Cream cups on the top tier, red cups below, and a green garland around the stand’s base tie all three tiers into one Christmas display.
| Before December 1 | Check | Why |
|---|---|---|
| Numbers in order | 1 to 24, no gaps | A missing day breaks the ritual |
| Fillings measured | Fits the compartment | Nothing forced or spilling |
| Hanging fixed | Stud or solid hook | Heavy forms stay put |
| Storage planned | Flat or one piece | Refill next year, not rebuild |
Your one next step: pick one form from this list tonight, count out 24 compartments from what you already own, and fill just the first week’s days — the rest can wait until the weekend.