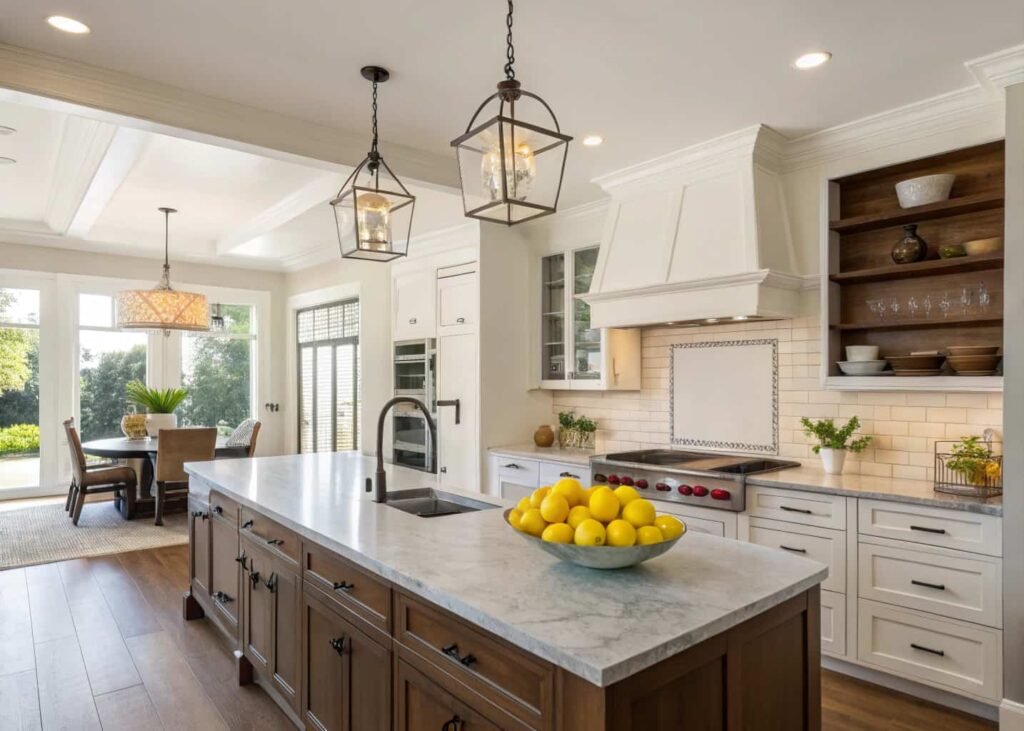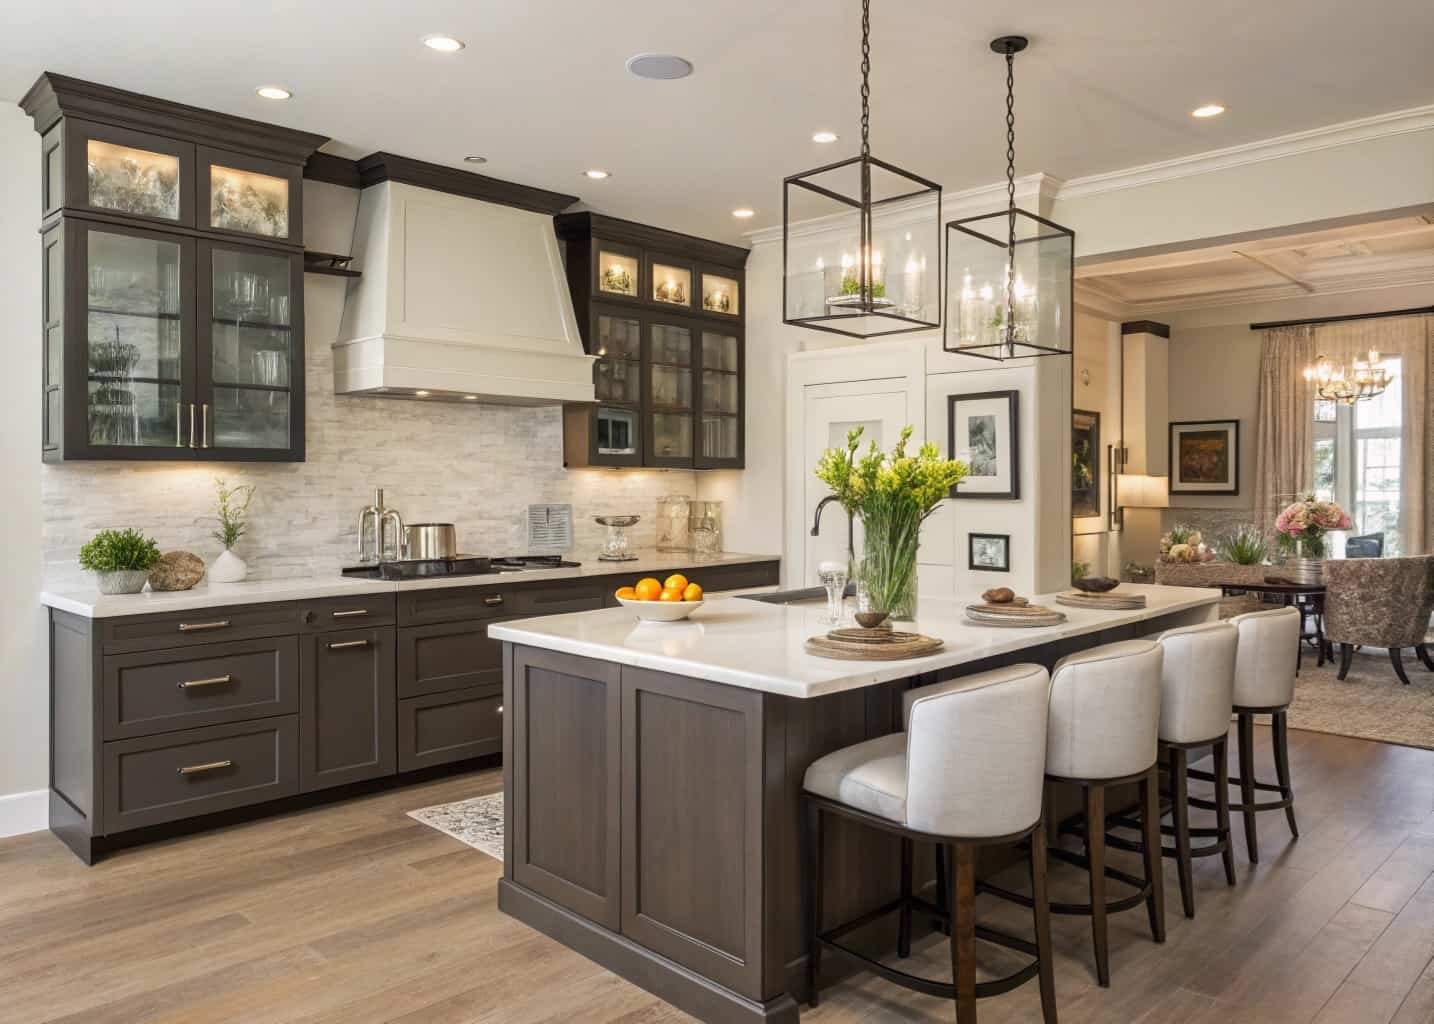
Most kitchen makeovers fail because people try to fix everything at once — new cabinets, new floors, new everything — and run out of budget before the room actually looks finished. You don’t need a renovation to make a kitchen feel new. A handful of the right decor moves, done properly, can shift the whole feel of the room in a weekend. Here’s what actually works, in an order that makes sense if you’re planning this room from the ground up.
Start with a Cohesive Color Palette
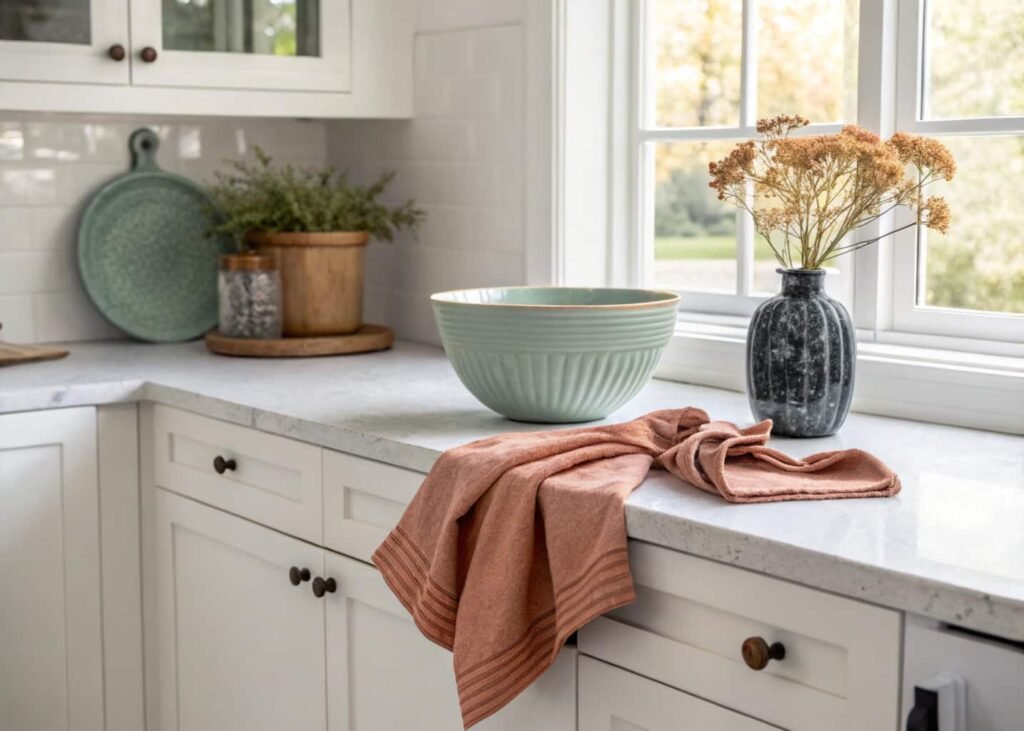
Before you buy a single decor item, pick three colors and stick to them: a base (usually your wall or cabinet color), a secondary tone, and one accent you repeat in small doses — a bowl, a set of towels, a runner. The mistake most people make is treating every new item as its own decision, so the kitchen ends up with six “nice” pieces that don’t talk to each other. If your cabinets are white or a warm wood tone, sage green, terracotta, and soft navy all pair well as accents without needing a repaint. Test your accent color on a $10 item — a dish towel or a small vase — before committing to anything bigger like a rug or open shelf styling.
Open Shelving for a Fresh, Airy Look
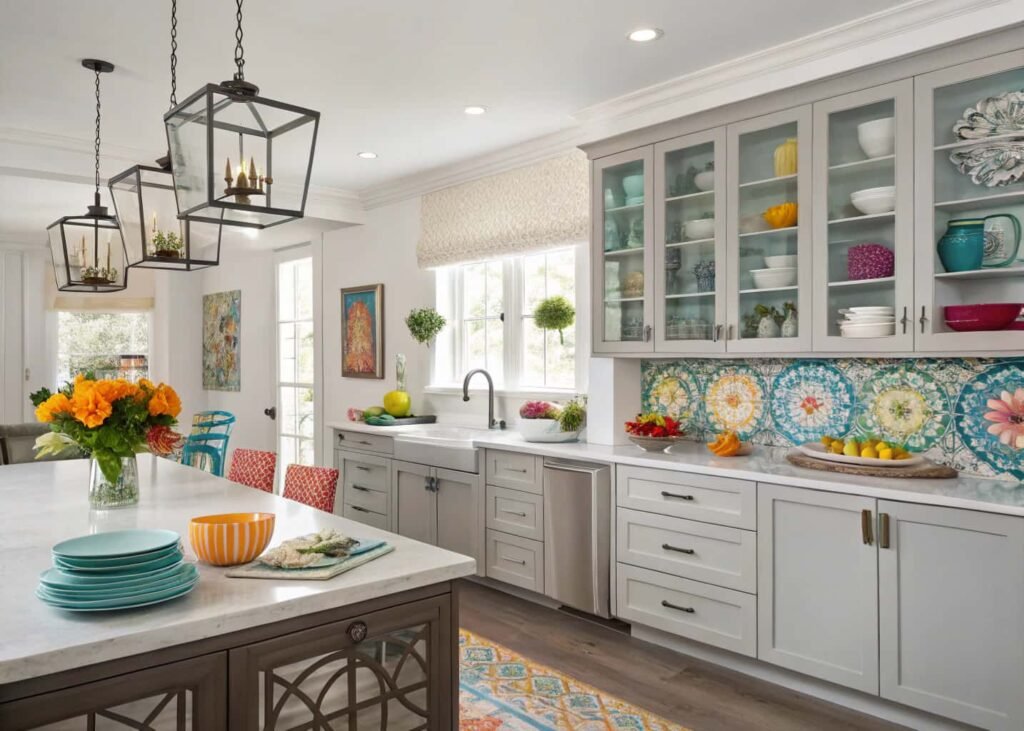
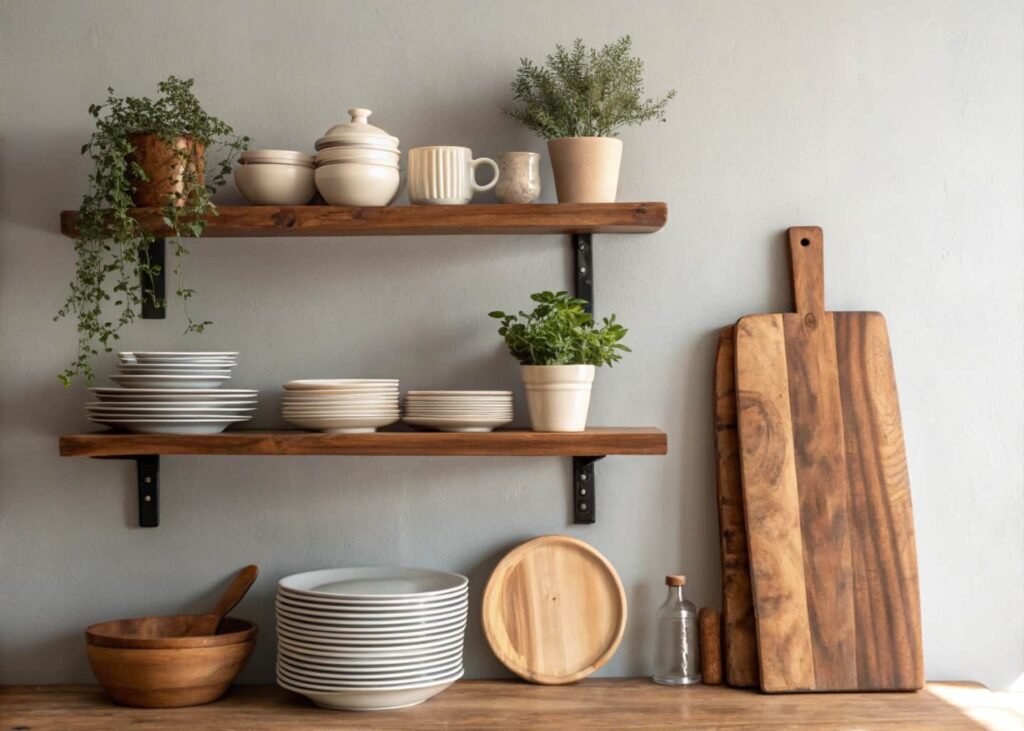
Open shelving works best when you treat it like a still life, not storage. Standard shelf depth for this kind of styling is 10–12 inches — deep enough for plates stacked on edge, too shallow for bulky appliances, which is the point. Group items in threes: a stack of 3–4 plates, a single plant, and one taller object like a pitcher or cutting board leaned against the wall. Leave roughly 30% of the shelf empty — a fully packed open shelf reads as clutter within a month, especially in a working kitchen. If you cook daily and worry about grease buildup, keep open shelving away from the stove and reserve it for the side of the kitchen near the sink or a dead corner.
Statement Lighting Above the Island
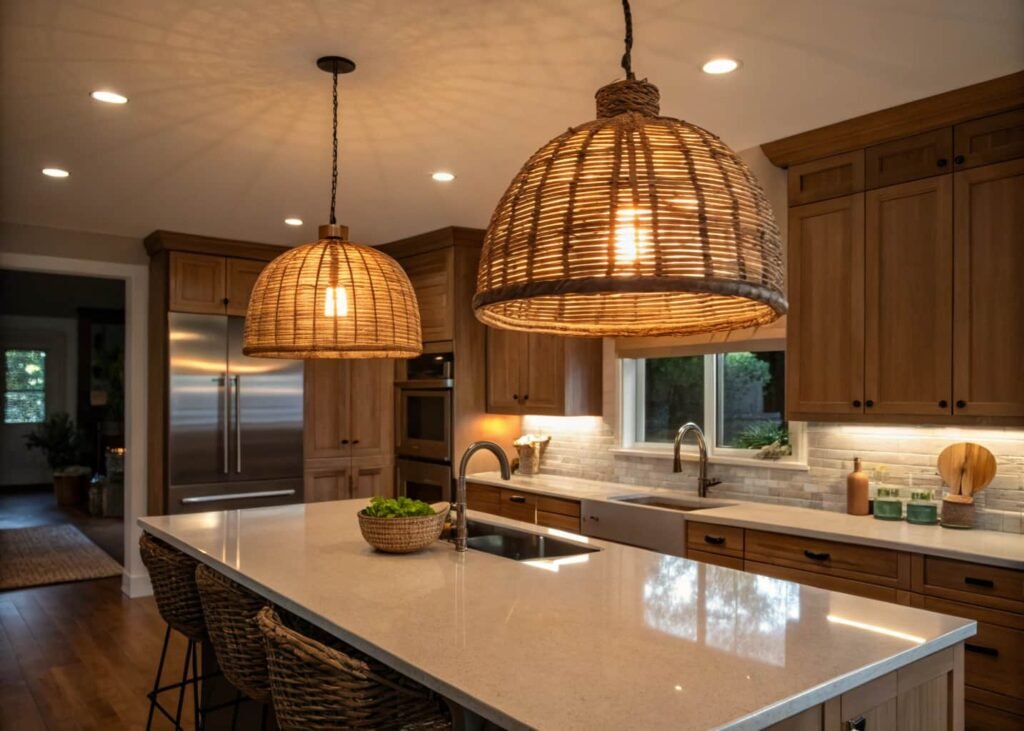
A single pendant light almost never works over an island longer than 6 feet — you need at least two, spaced about 24–30 inches apart, hung so the bottom sits 30–36 inches above the counter surface. This is the most common lighting mistake in kitchen photos: one oversized pendant dead-center that leaves both ends of the island in shadow. Go with glass or woven rattan shades if your kitchen already has a lot of hard surfaces like quartz or stainless steel — it softens the room. Metal cage or matte black pendants work better when the kitchen is already warm-toned with wood cabinetry, since they add contrast instead of competing with it.
Adding Greenery and Herb Gardens
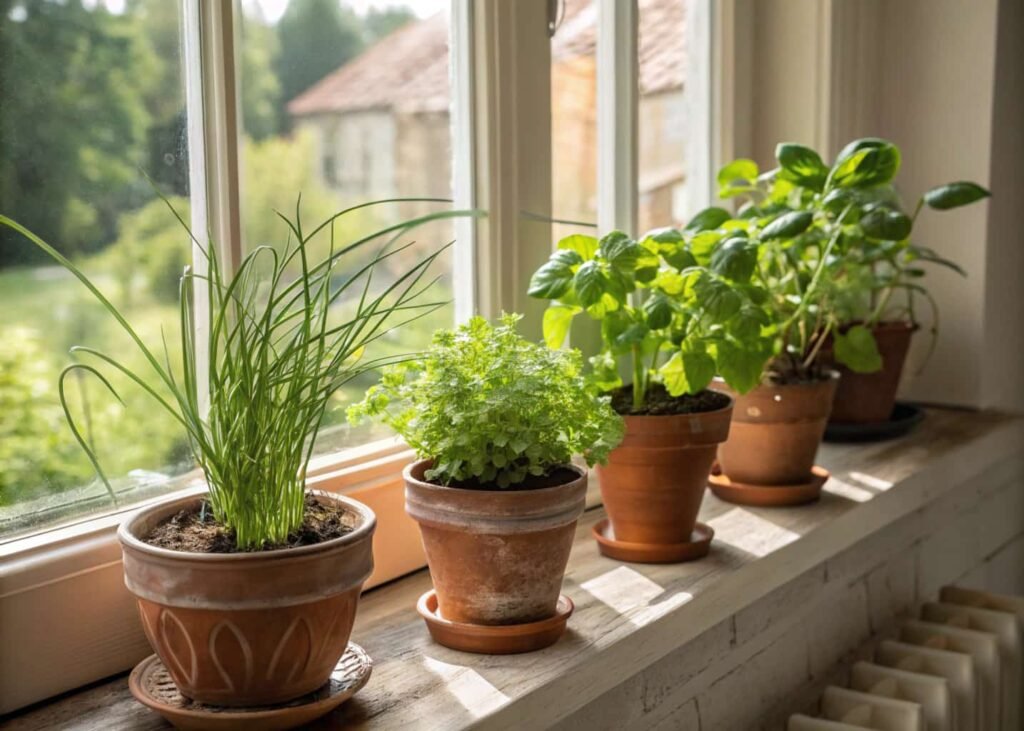
Not every plant survives kitchen conditions — heat, steam, and inconsistent light near a window rule out a lot of common houseplants. Pothos, spider plants, and English ivy tolerate the swings in humidity near a sink or stove far better than something like a fiddle leaf fig. For an actual herb garden, basil, mint, and chives are the most forgiving for a windowsill setup, and mint especially should stay in its own pot — it spreads aggressively and will choke out neighboring herbs within a season. A 4–6 inch terracotta pot with a drainage saucer is the standard size for a windowsill herb setup; anything larger blocks too much light from a standard kitchen window.
Decorative Backsplash Ideas
If you’re not ready to tile, peel-and-stick backsplash panels have improved a lot — the better ones (vinyl or gel-based, not the old plastic sheets) can handle heat near a stove and cost $30–60 for a standard run behind a range. For a semi-permanent option that isn’t full tile work, beadboard panels painted in a contrasting color are a weekend project and cost less than most tile jobs. If you do go with real tile, a 3×6 subway pattern in a herringbone layout instead of the standard brick pattern is the easiest way to make a common material look intentional rather than default-builder-grade. Skip anything with heavy texture behind the stove specifically — grease is much harder to wipe off grooved surfaces.
Mixing Textures: Wood, Metal, and Stone
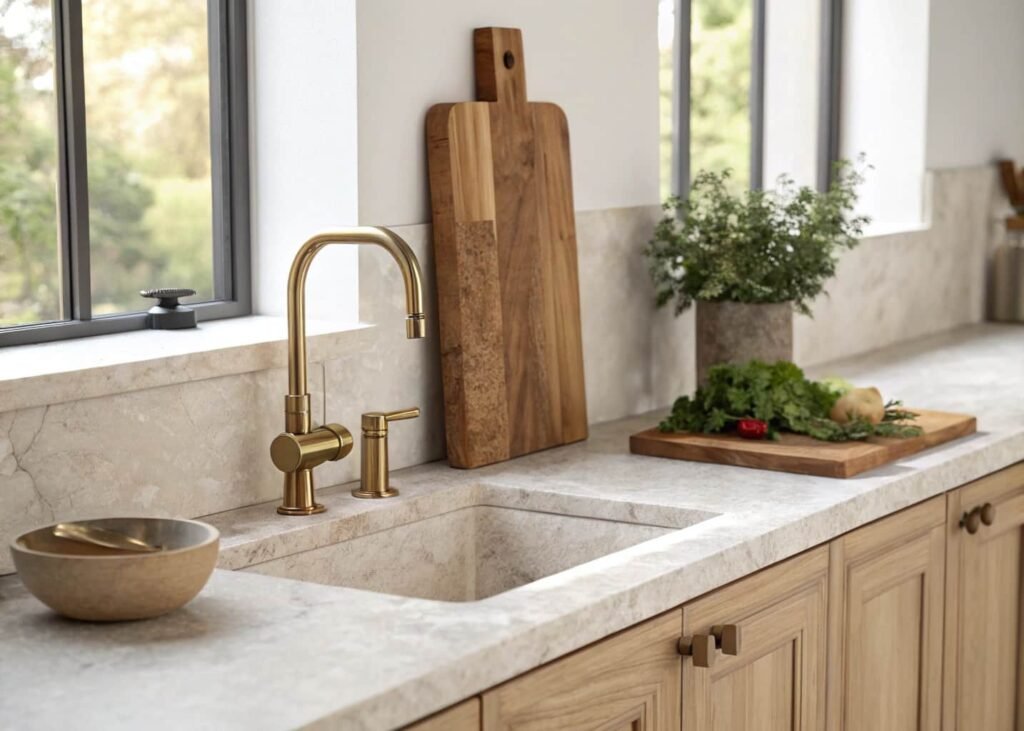
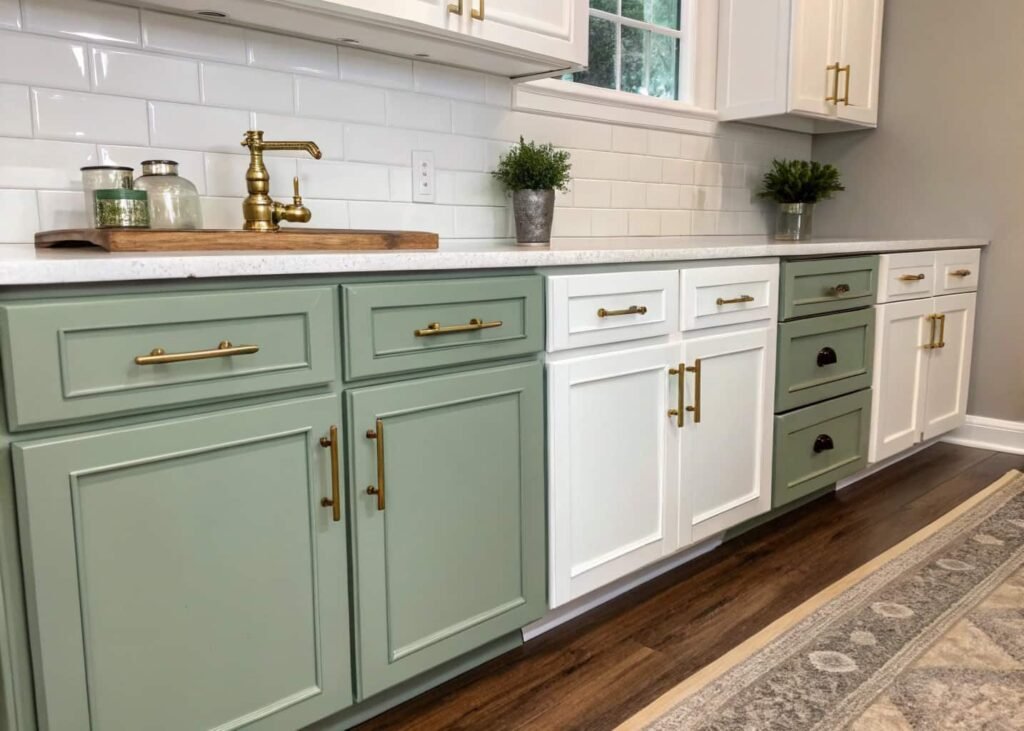
A kitchen with only smooth, hard surfaces — quartz counters, glass cabinet fronts, chrome fixtures — tends to feel cold even when the color palette is warm. The fix is textural contrast, not more color: a woven jute runner on the floor, open wood shelving next to sleek cabinetry, or a raw-edge wooden cutting board displayed upright near a stone counter. Matte black fixtures pair with almost anything, but if your kitchen already leans warm with brass or wood tones, brushed brass hardware ties it together better than switching everything to black just because it’s trending. The rule of thumb: pick two hard materials (stone, metal, ceramic) and one soft or organic one (wood, woven fiber, rope) per zone of the kitchen.
Small Decor Touches That Make a Big Impact
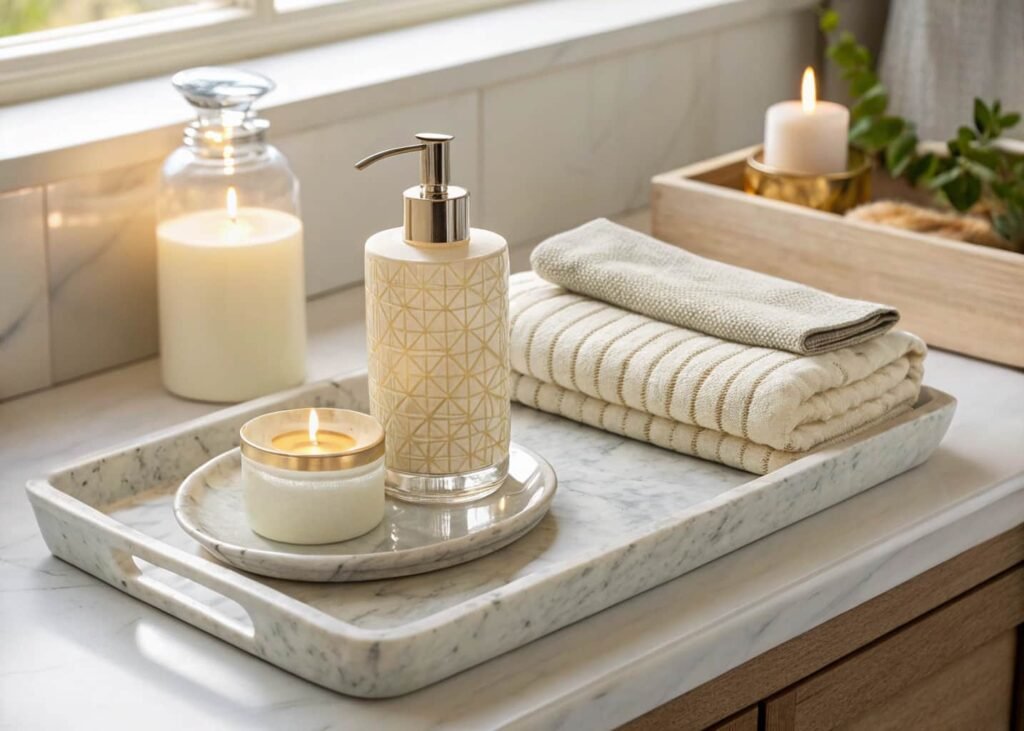
Swap your dish towels and oven mitts for a matching set — this alone changes how “put together” a kitchen looks in photos, and it costs under $25. A wooden or marble tray on the counter to corral soap, hand cream, and a small candle stops counter clutter from looking like clutter; it becomes a deliberate grouping instead. Cabinet knob and pull hardware is one of the cheapest full-kitchen updates available — a standard kitchen with 20–30 cabinet doors and drawers can be re-hardwared for $150–300 depending on the style, and it’s a change that reads as expensive even though it isn’t.
Budget-Friendly Kitchen Decor Updates
If your budget is genuinely tight, prioritize in this order: lighting first (it changes the whole room for the cost of one or two fixtures), hardware second, then soft goods like towels and runners, and treat open shelving or backsplash changes as the last step once the cheaper wins are in place. Secondhand marketplaces are worth checking specifically for ceramic pieces and vintage brass hardware — both hold up well used, unlike upholstered items. A gallon of cabinet paint runs $40–70 and covers a full kitchen’s worth of lower cabinets if you’re not repainting the uppers too, which is a common way to cut a repaint budget in half without it looking unfinished.
Final Styling Tips for a Polished Kitchen
Step back and photograph your kitchen from the doorway before you call it done — decor that looks fine up close often reveals gaps or overcrowding in a wider shot. Rotate a few decor pieces seasonally instead of buying new ones each time; a bowl of lemons in summer and a bowl of small gourds or pinecones in fall costs nothing and keeps the counter from looking static year-round. And resist styling every single surface — one empty counter section gives the eye somewhere to rest, and it’s the difference between a kitchen that looks curated and one that looks staged.