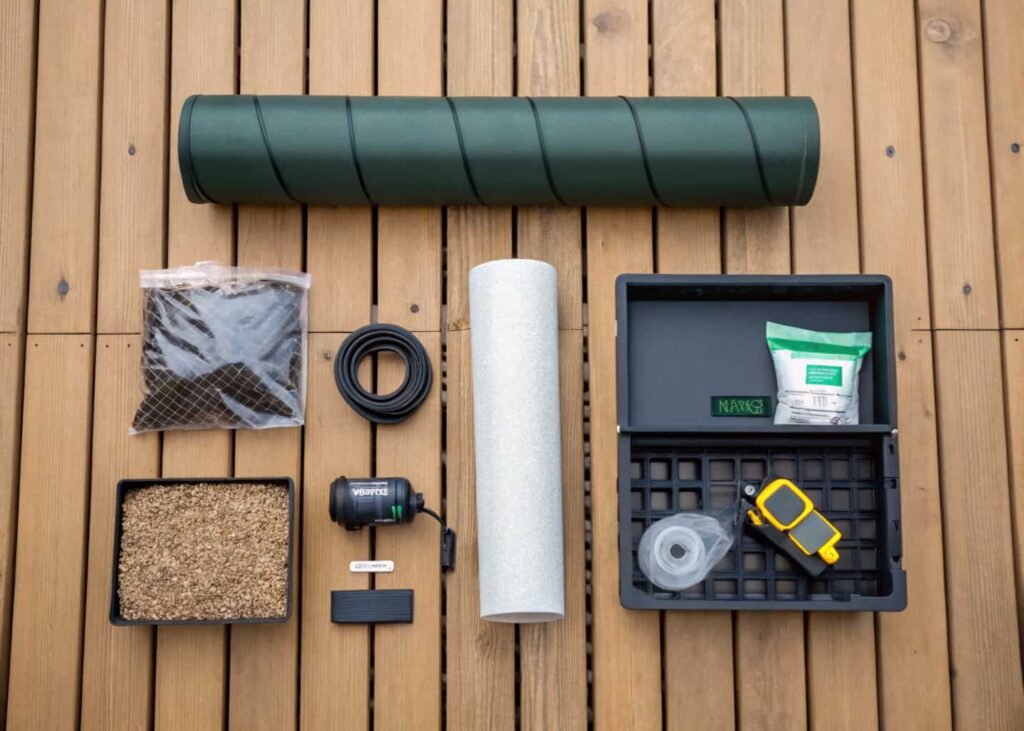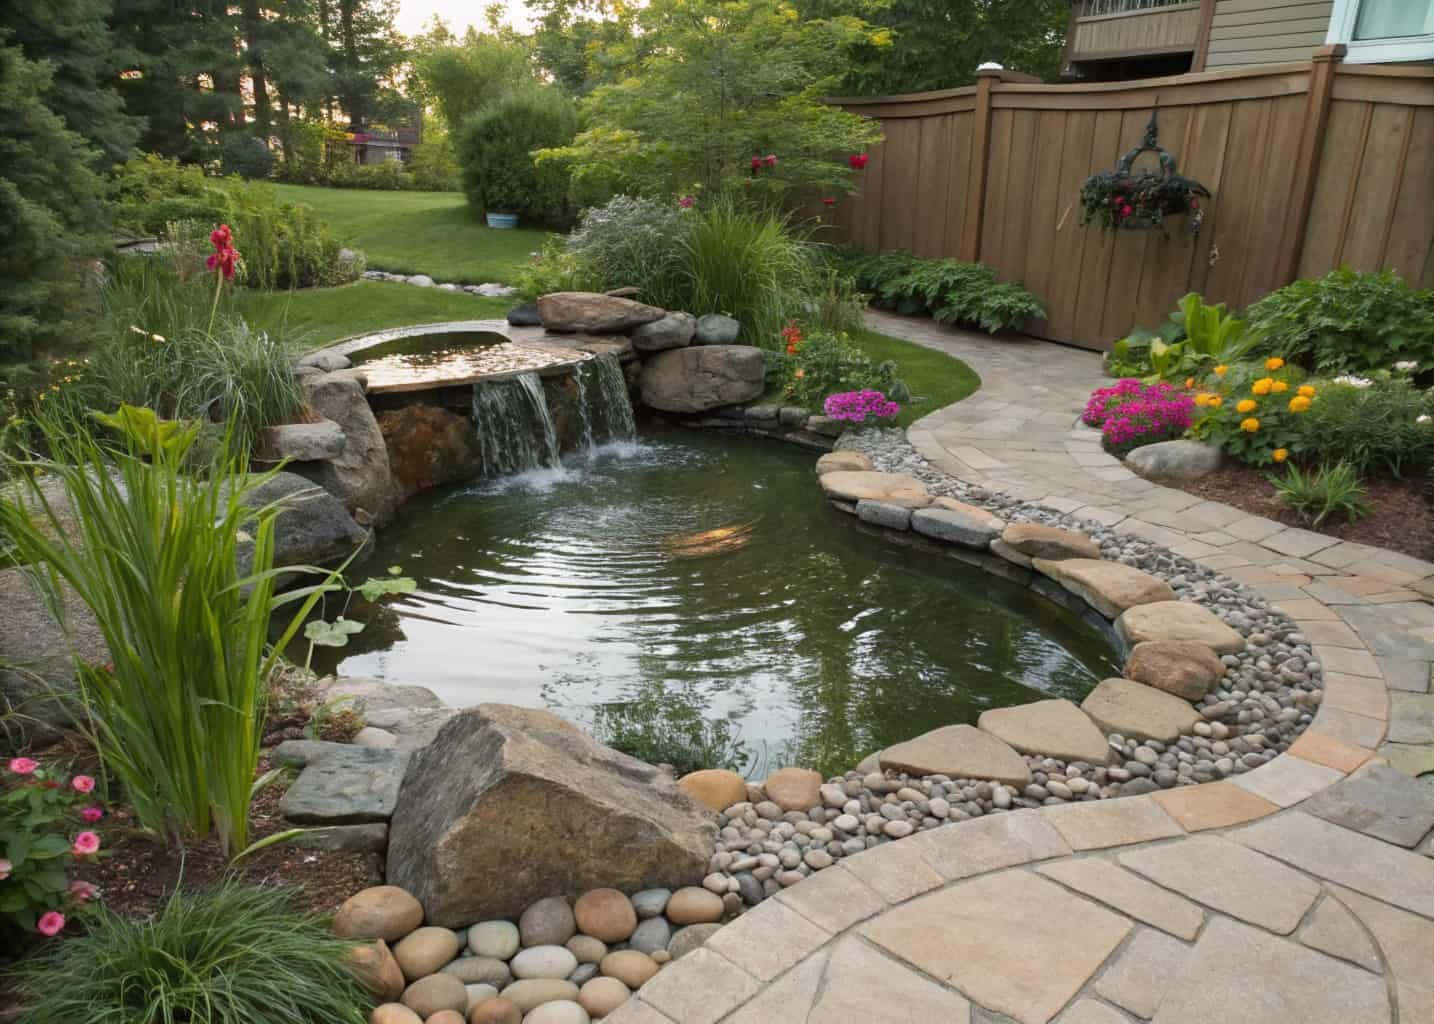
There’s a specific kind of quiet that a moving DIY Water Feature adds to a yard — not silence, but a sound that covers up traffic noise and neighbor chatter without being loud itself. That’s really the whole pitch. Everything else (the plants, the lighting, the fish) is decoration on top of that one functional benefit.
This guide walks through the actual decisions you’ll need to make, including some that most articles skip — like why your pump size matters more than your pump price, and why a lot of new pond owners panic during week three because of something completely normal.
What Is a Water Feature and Why Add One?
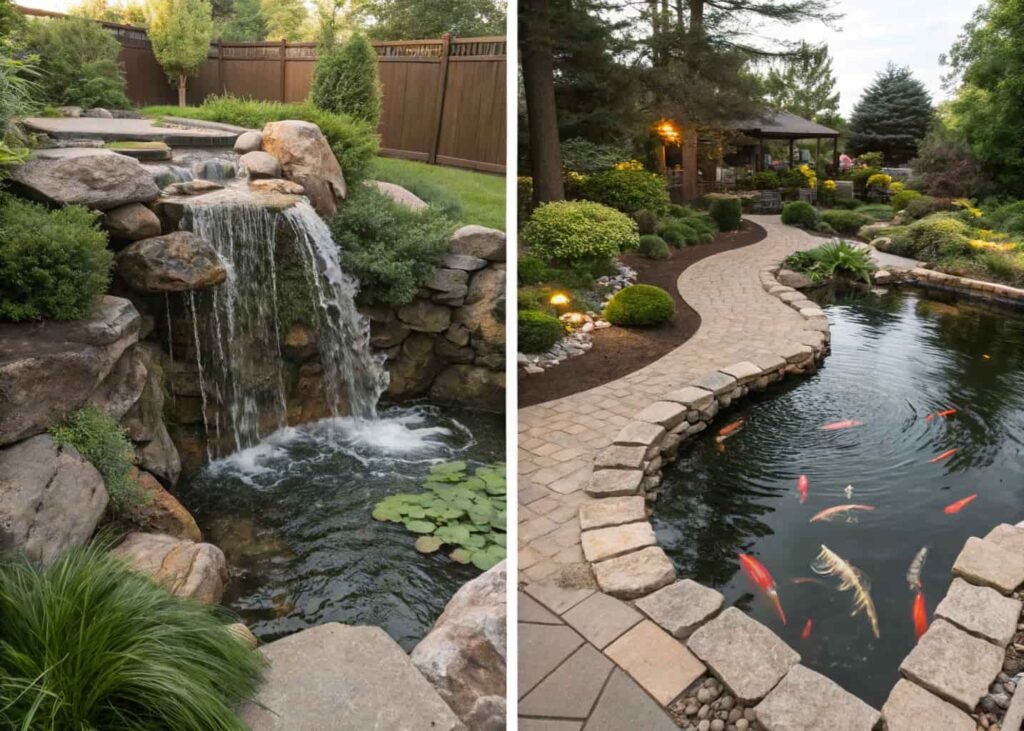
A water feature is any built element that moves or holds water on purpose — a fountain, a pondless waterfall, a full koi pond, a bubbling urn, a recirculating wall fountain. The “DIY” part usually means one of two things: you’re buying a kit and assembling it, or you’re building from raw parts (liner, pump, rock) and designing the shape yourself. Both are legitimate; they just cost different amounts of time versus money. A kit fountain might run you $150–$400 and take an afternoon. A from-scratch 6×8 foot pond with a waterfall can easily eat two full weekends and $800–$2,000 depending on rock and liner quality.
The sound masking is the underrated reason people end up happy with these long-term. A pump moving roughly 500 gallons per hour over a two-foot drop produces enough white noise to cover a busy street from about 15 feet away. That’s a bigger deal for most homeowners than the visual, honestly.
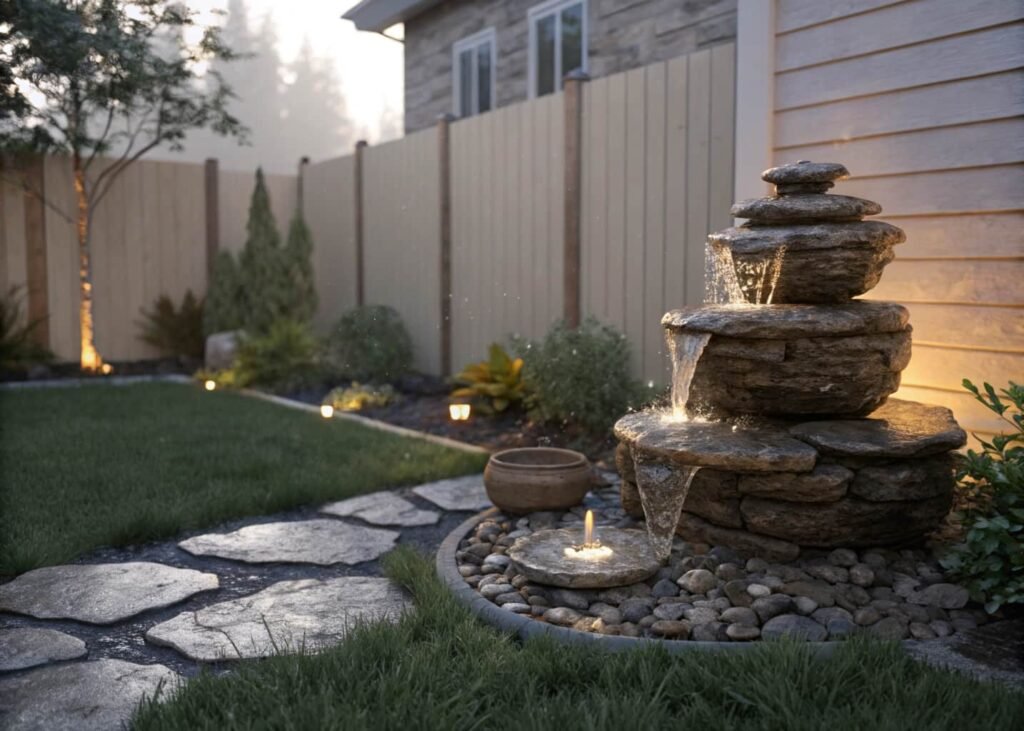
Planning Your Water Feature Layout
Before buying anything, walk your yard at three different times of day and note where the sun actually hits — not where you assume it does. Full sun (6+ hours) accelerates algae growth in still or slow water, which is the single most common reason people abandon a DIY pond project within the first summer. If you’re set on a sunny spot, plan for either heavier filtration or floating plants that shade at least 40–60% of the surface.
Also check your slope. A grade change of even 6 inches over 10 feet changes how you’ll need to terrace a waterfall or level a preformed shell. Skipping this step is why so many preformed pond liners end up sitting crooked with one edge poking above the soil line — it’s almost never a construction mistake, it’s a site-prep mistake made before digging even started.
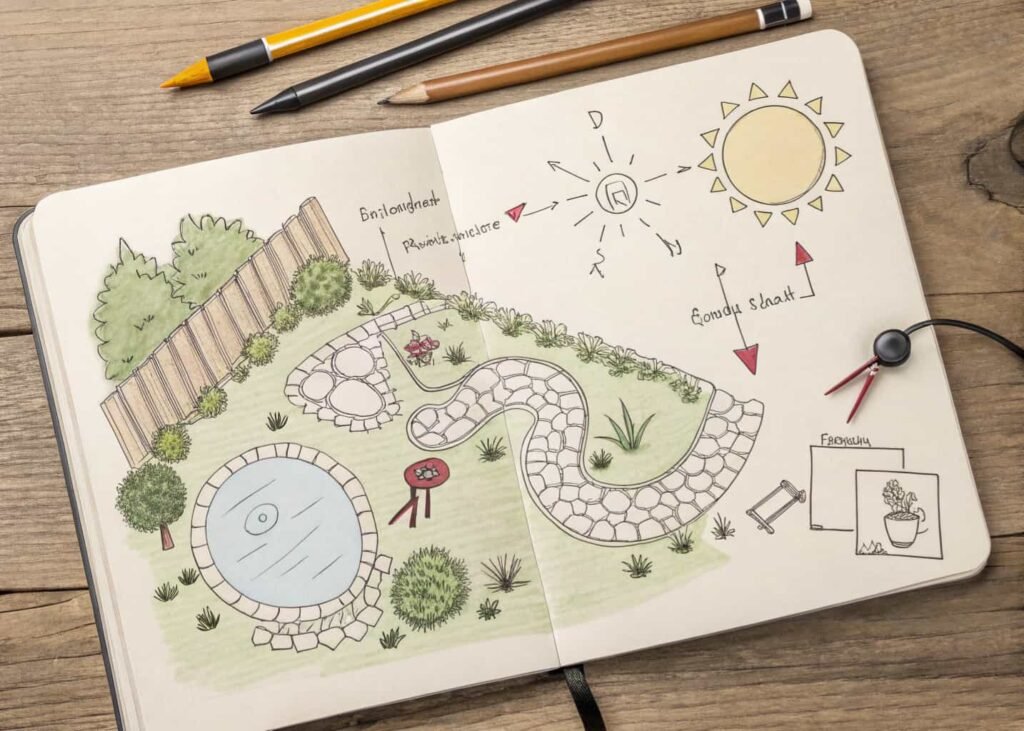
Sketch it out at scale on paper first, even roughly. Mark where the electrical outlet is (or will be, via a GFCI-protected outdoor circuit), because pump cord length is usually only 6–10 feet, and extension cords left outside long-term are a fire and shock hazard you don’t want to gamble on.
Types of DIY Water Features
The three main categories, ranked by realistic weekend-warrior difficulty:
- Container/urn fountains — a ceramic pot or barrel with a small submersible pump recirculating water through a hole drilled in the base. Easiest option; good for patios and small yards.
- Pondless waterfalls — water flows over rock into a hidden underground reservoir (usually a plastic basin with gravel on top), then gets pumped back up. No open standing water, so no mosquito or drowning concerns, and it’s the option most municipalities won’t ask you to fence or permit.
- True ponds — an actual excavated basin, lined or preformed, holding standing water, often stocked with fish and plants.
If you have small kids or pets that roam the yard, a pondless waterfall is the honest recommendation over a full pond — you get 90% of the visual and audio payoff with a fraction of the safety liability. Full ponds are worth it mainly if you specifically want koi or water lilies, which need actual standing depth (18–24 inches minimum for koi to overwinter in most US climate zones).
Choosing the Right Pump and Filtration System
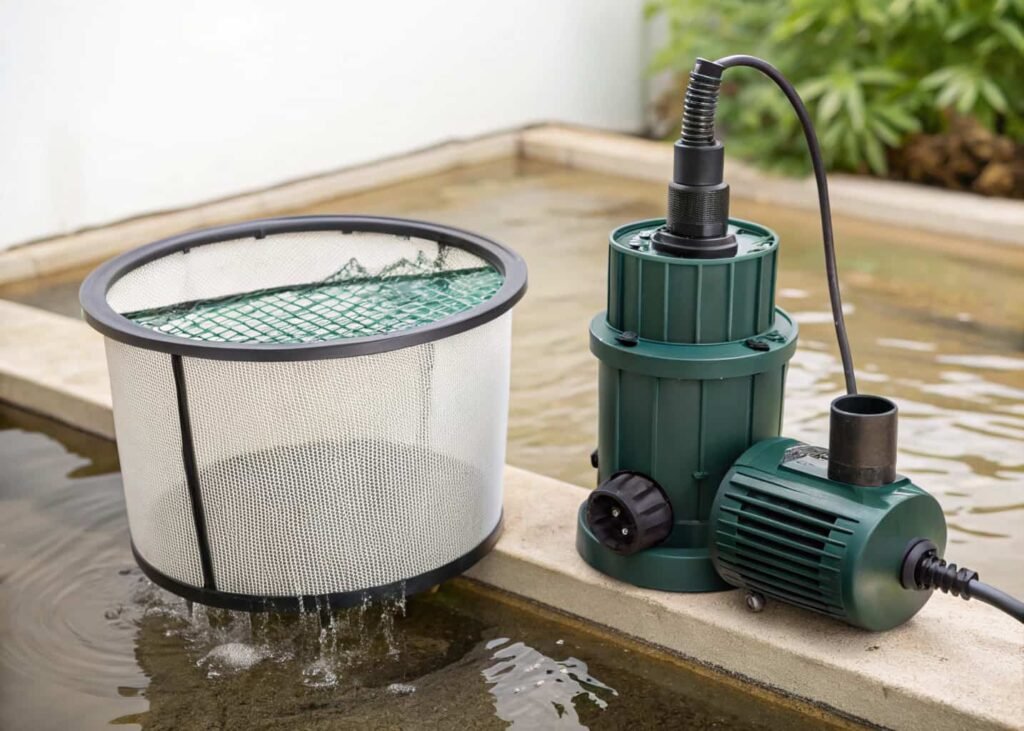
This is where most first-timers overspend or underspend, because pump shopping isn’t intuitive. The number that matters is GPH (gallons per hour) at your specific head height (how far up and how far horizontally the water travels before it falls).
Rough rule: for a waterfall, you want your total pond volume to circulate at least once per hour, and you want roughly 100–150 GPH for every inch of waterfall width to get a full, sheeting look rather than a thin trickle. So an 18-inch-wide waterfall spillway wants a pump in the 1,800–2,700 GPH range — and that’s before subtracting for head height loss, which knocks out roughly 10-15% of rated flow for every extra foot the water has to climb.
For filtration, most kits pair a mechanical filter (a sponge or mat that catches debris) with a biological filter (a chamber with porous media that grows beneficial bacteria to process fish waste and organic matter). If you’re not keeping fish, you can often skip the bio-filter stage and rely on mechanical filtration plus UV clarifier — a small UV bulb the water passes by that kills free-floating algae cells. UV clarifiers are the actual fix for green “pea soup” water; adding more plants alone usually isn’t enough once an algae bloom is established.
Best Materials for Durability
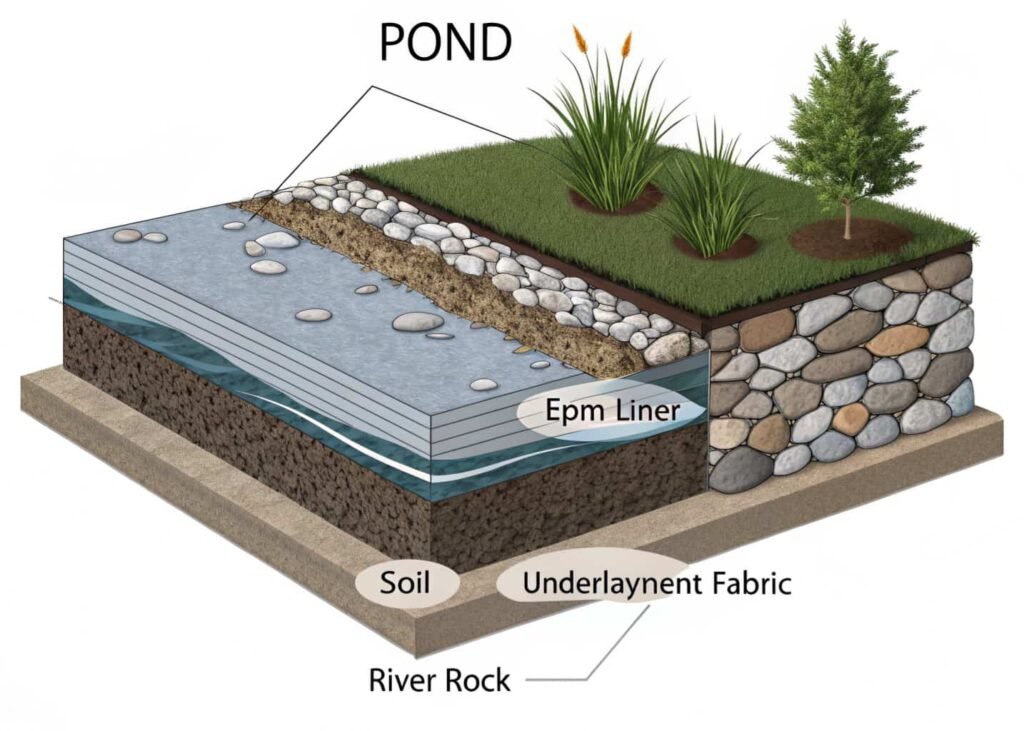
For liners, EPDM rubber is worth the extra cost over PVC almost every time — it’s more UV-stable, more puncture resistant, and flexes without cracking in freeze-thaw climates. Budget PVC liners often look fine for the first year or two, then get brittle at the fold lines. Look for EPDM at 45-mil thickness minimum; anything thinner tears too easily during installation over rocks and roots.
For the rock and hardscape, avoid anything with a lot of loose lime content (some limestone and certain concrete pavers) if you’re keeping fish or plants — it can slowly raise your water’s pH over months, which stresses fish and can cause unexplained plant die-off that people usually blame on something else. River rock and properly cured, fish-safe pond-specific concrete products are the safer defaults.
Underlayment matters more than people think. A cheap or skipped underlayment under your liner means sharp gravel and roots puncture it slowly over a season, and you won’t notice until your water level mysteriously keeps dropping.
Step-by-Step Installation Guide
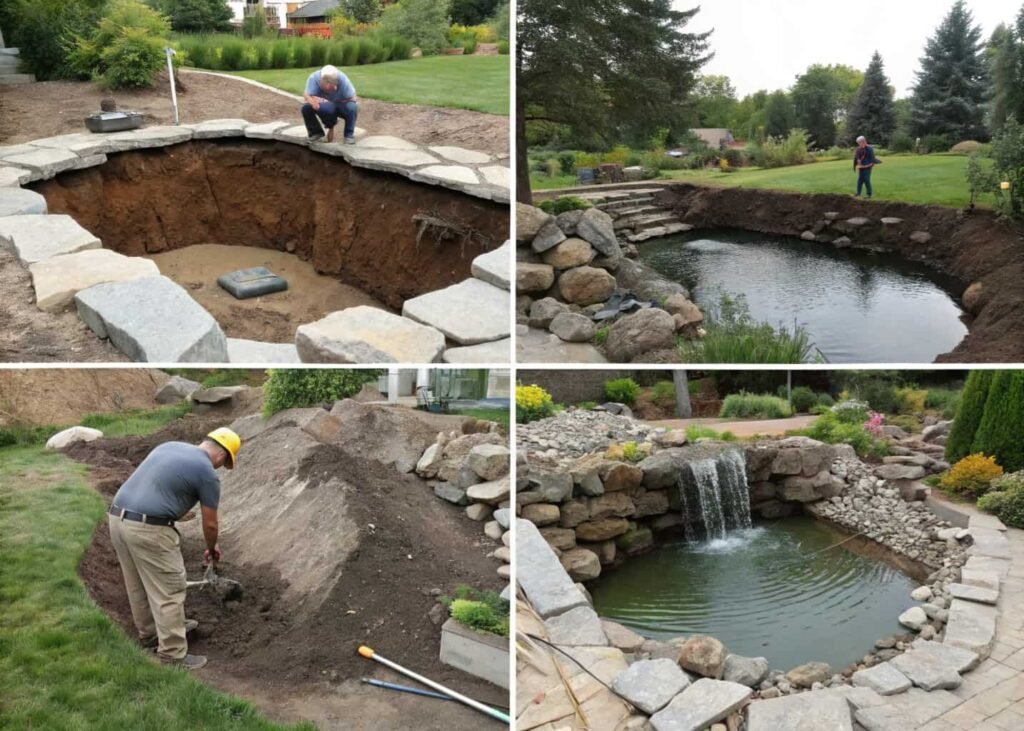
- Mark and excavate. Outline your shape with a garden hose or spray paint, then dig in shelved tiers if you’re keeping marginal plants (an 8–10 inch shelf around the edge for potted plants, then deeper toward center).
- Check level. Lay a 2×4 across the hole with a level on top, checking from multiple directions. This step gets skipped constantly and causes the crooked-edge problem mentioned earlier.
- Remove sharp debris, then lay underlayment. Old carpet scraps work in a pinch but proper geotextile underlayment is cheap enough not to bother with substitutes.
- Lay the liner, leaving at least 6 inches of overlap on all sides — don’t stretch it taut, let it settle into the shape as you add water.
- Fill partially with water first before final trimming, since the weight of the water will settle the liner into its true shape.
- Install the pump and plumbing, positioning the pump on a brick or paver riser rather than directly on the liner bottom, to keep it clear of settling debris.
- Trim excess liner and add edging stones, tucking the liner edge under the first row of stones so it’s not visible.
- Run the pump and check flow, adjusting rock placement at the waterfall lip until you get a sheeting effect instead of gaps or splash-over.
Adding Plants and Fish (Optional)
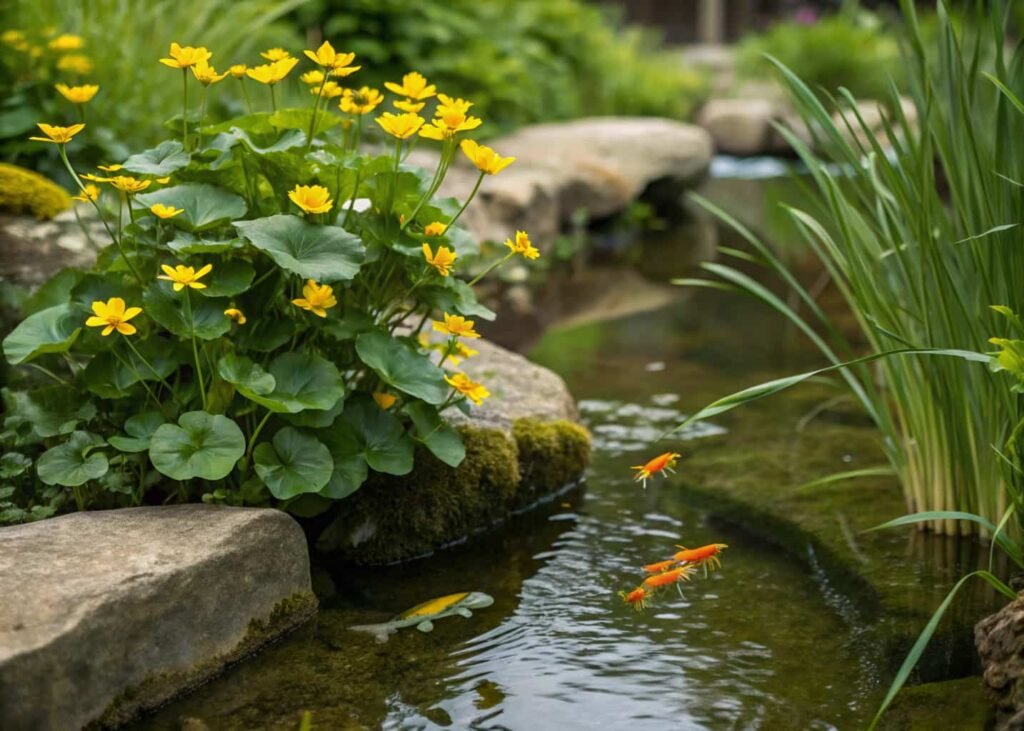
Marginal plants (planted at the shelf depth, roots wet but not fully submerged) like dwarf papyrus, marsh marigold, or pickerel rush do double duty — they look intentional immediately, and their roots pull nitrates out of the water, which slows algae growth. Floating plants like water lettuce grow fast enough to shade the surface within 3–4 weeks of a warm season.
If you want fish, don’t add them the same week you fill the pond. New water needs 2–4 weeks to cycle — meaning the beneficial bacteria colony that processes ammonia from fish waste needs time to establish. Adding fish too early is the number one cause of “my new pond fish all died within days” posts you’ll see in gardening forums, and it has nothing to do with water temperature or fish quality.
Koi need real depth and space (a 1,000+ gallon pond minimum is the realistic floor, not the 200-gallon backyard ponds often shown in kit marketing photos). Goldfish are far more forgiving and a better starter fish for a first DIY pond under 500 gallons.
Lighting and Ambiance Ideas
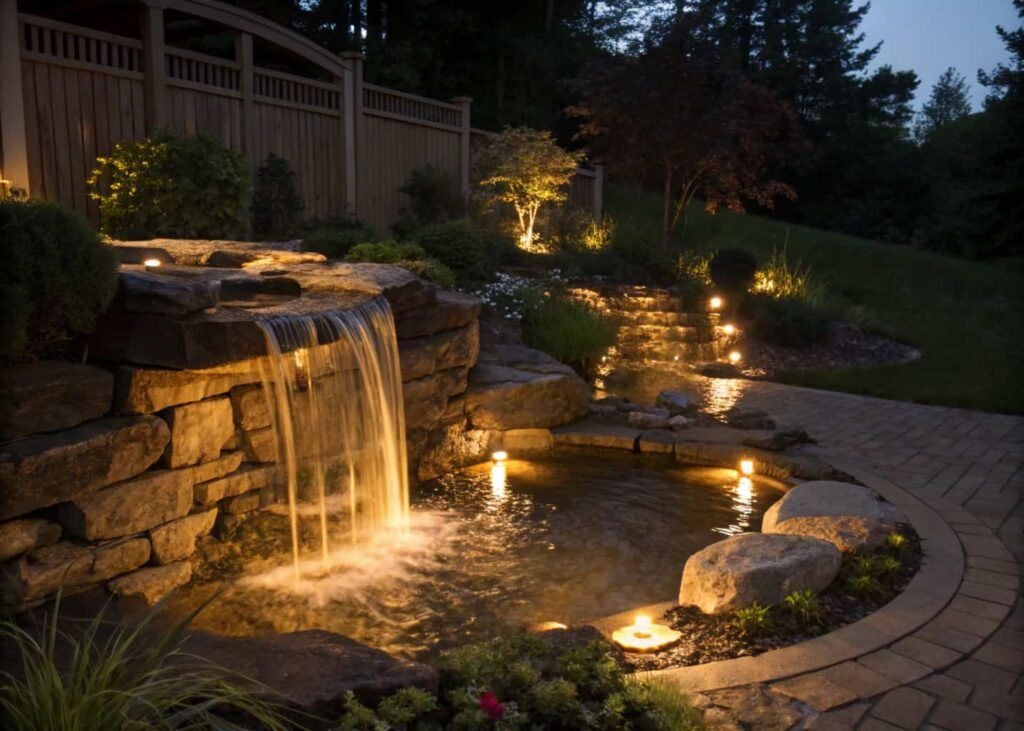
Submersible LED spotlights placed behind a waterfall lip create a backlit glow on the falling water that’s far more dramatic than lighting the pond surface itself — this is a trick most kit instructions don’t mention. Low-voltage (12V) landscape lighting kits are safer than line-voltage near water and easy to run off a transformer plugged into that same GFCI outlet from your planning stage.
Warm white (2700K–3000K) reads as cozier and more natural around stone and greenery than cooler daylight bulbs, which can look sterile or clinical outdoors at night. If you want the water to be the star after dark, under-light it; if you want the whole seating area to feel usable, add a separate path or string light layer instead of relying on pond lights to do both jobs.
Maintenance Schedule
- Weekly: Skim debris, top off water lost to evaporation (this is normal and not a leak — expect roughly 1 inch per week in hot, dry climates), check pump intake for clogs.
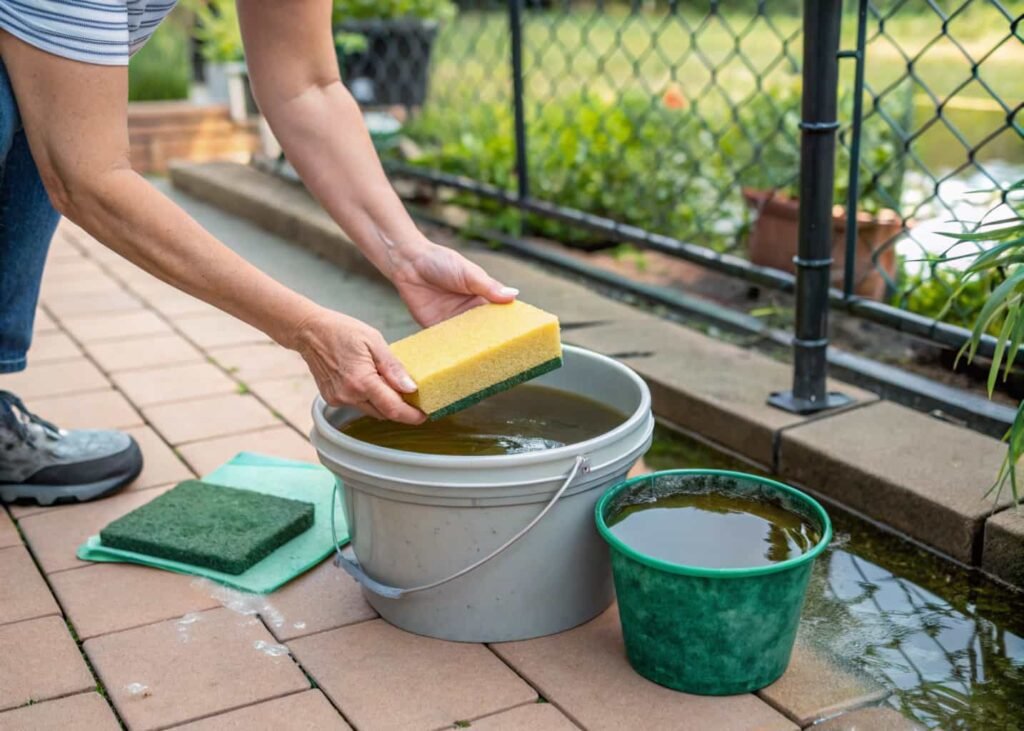
- Monthly: Rinse mechanical filter media in a bucket of pond water (never tap water — chlorine kills the beneficial bacteria you’re trying to keep), trim overgrown plants.
- Seasonally (spring/fall): Do a partial water change (20–30%), inspect liner edges for shifting, clean out accumulated sludge from the pond bottom with a pond vacuum or net.
- Before winter (cold climates): Stop feeding fish once water drops below 50°F, add a floating de-icer or aerator to keep an opening in the ice for gas exchange, and either remove pumps rated for warm-weather use only or drop pump depth below the freeze line per manufacturer specs.
Budget Planning for Your Water Feature
Rough real-world ranges, not marketing numbers:
| Feature type | DIY cost range | Main cost drivers |
|---|---|---|
| Container fountain | $80–$250 | Pot/urn, small pump, tubing |
| Pondless waterfall (small) | $400–$900 | Basin, liner, rock, pump |
| Full pond, 6×8 ft | $800–$2,000 | Liner grade, rock volume, filtration, fish |
| Full pond with koi, 10×12+ ft | $2,500–$6,000+ | Depth/volume, filtration capacity, bottom drain systems |
The line item people underestimate most is rock — natural stone is sold by the ton, and a decent-sized waterfall can eat through 1–2 tons ($150–$400 depending on region and stone type) before you’ve even bought a pump. Buying a kit bundles pump, liner, and sometimes rock together at a small discount over buying each piece separately, but kits limit you to their pre-sized shape. If your yard has an odd footprint, piecing it together yourself usually gets you a better fit for similar total cost.