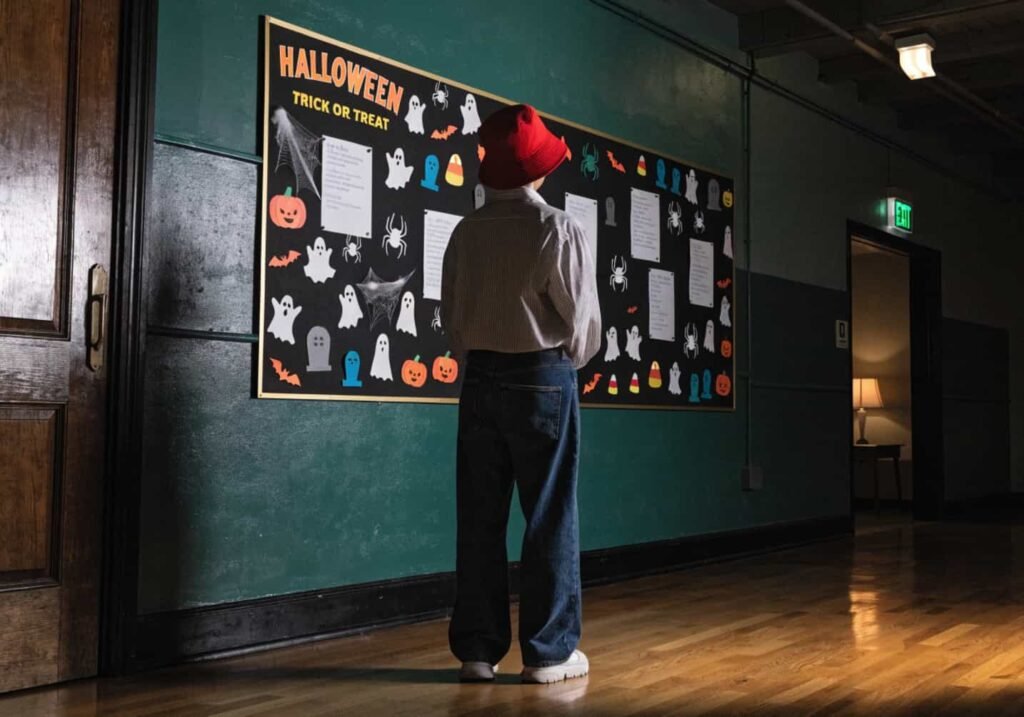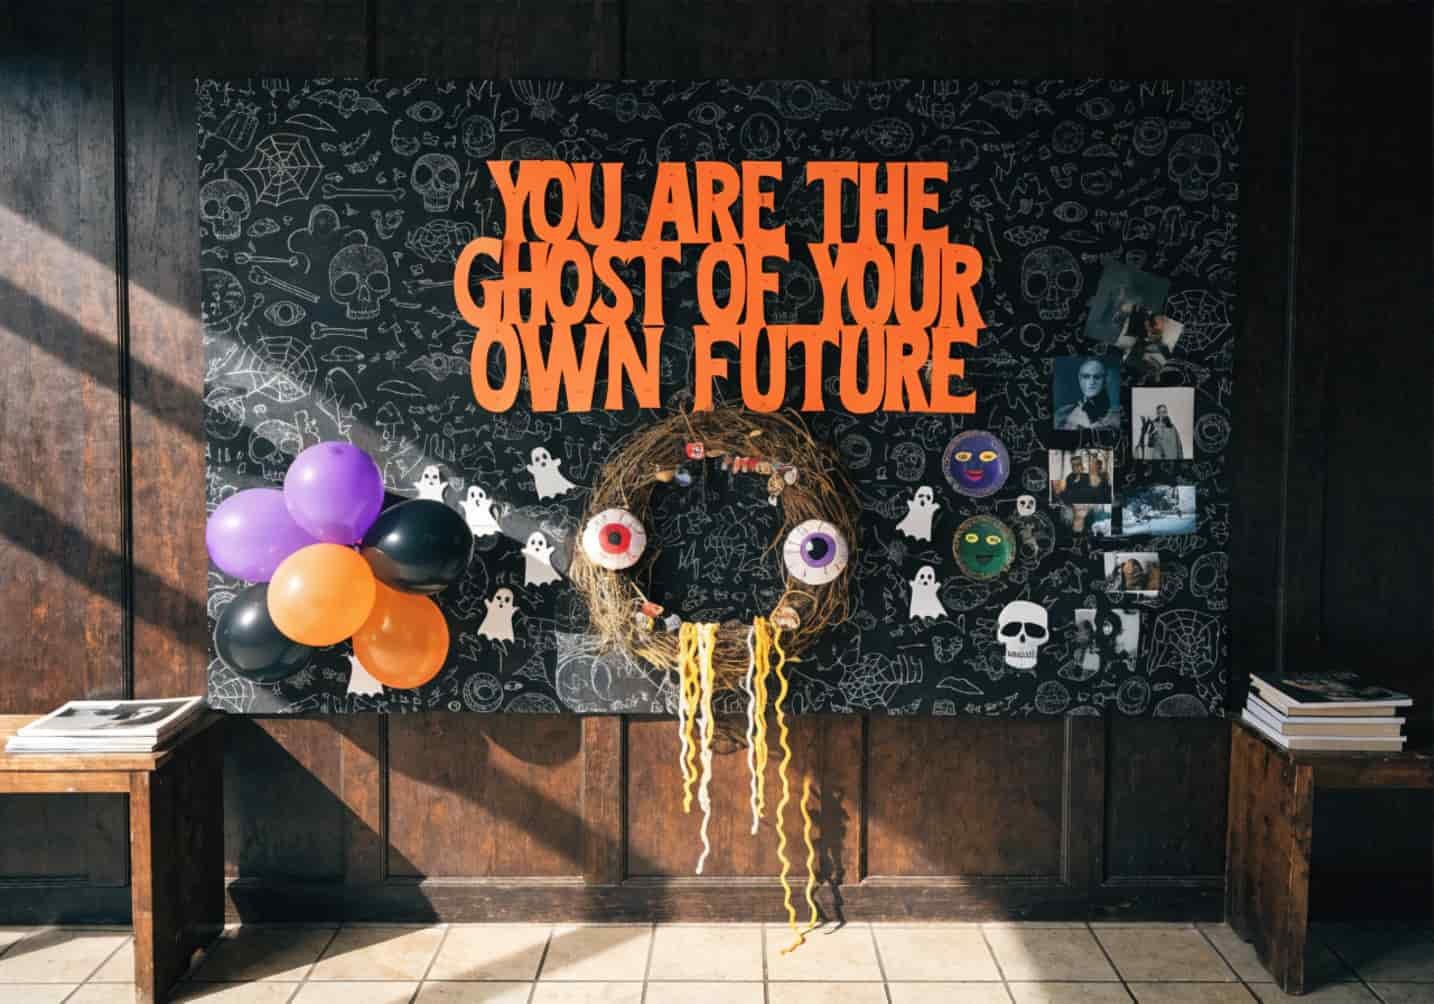
Every October, the same problem shows up: you’ve got a blank cork board, a bin of leftover craft supplies, and a vague idea that it should “look spooky.” Most tutorials online just show you a finished photo and call it a day. This one actually walks through the materials, the sizing, and the mistakes that make boards look cheap versus intentional — whether you’re decorating a classroom, an office breakroom, or a hallway at home.
1. The Basic Concept of Making a Halloween Board
A “Halloween board” usually means one of three things: a cork board (softboard), a foam board, or a magnetic dry-erase board dressed up for the season. Cork is the most forgiving surface because pushpins go in and out without damage — good if you’re going to swap pieces weekly. Foam board (the 3/16-inch thick kind, roughly $6–8 for a 20×30 sheet) is cheaper for a one-time display but tears if you overuse the same pin holes.
The layering principle matters more than people think: background paper first, then a border, then your main cutouts, then small accent pieces on top using foam adhesive dots to create shadow depth. Skipping the foam dots is the single biggest reason boards look flat in photos — everything sits on one plane instead of having visual layers.
2. Halloween Board Ideas for the Classroom
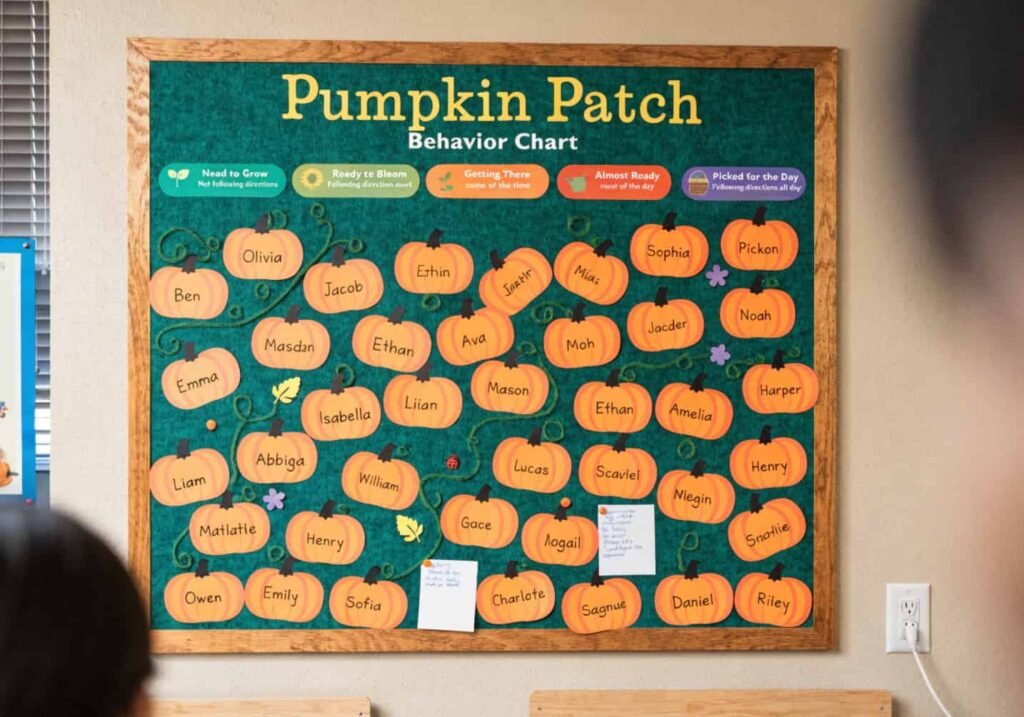
For classrooms, durability beats decoration. Laminate your main cutout pieces (a school laminator run costs pennies per sheet) so they survive being handled by kids and can be reused next year instead of thrown out. A common approach that actually serves a function: a “Pumpkin Patch” behavior or attendance board where each student’s name is written on a small paper pumpkin, and pumpkins move between rows (patch → basket → prize) instead of just sitting decoratively.
One real caution here — if the board will be at a height kids can reach, skip metal pushpins entirely. Use painter’s tape or removable poster strips instead. It sounds obvious, but it’s the most common thing new teachers get flagged for during a room safety check.
3. Halloween Themes for Office Bulletin Boards
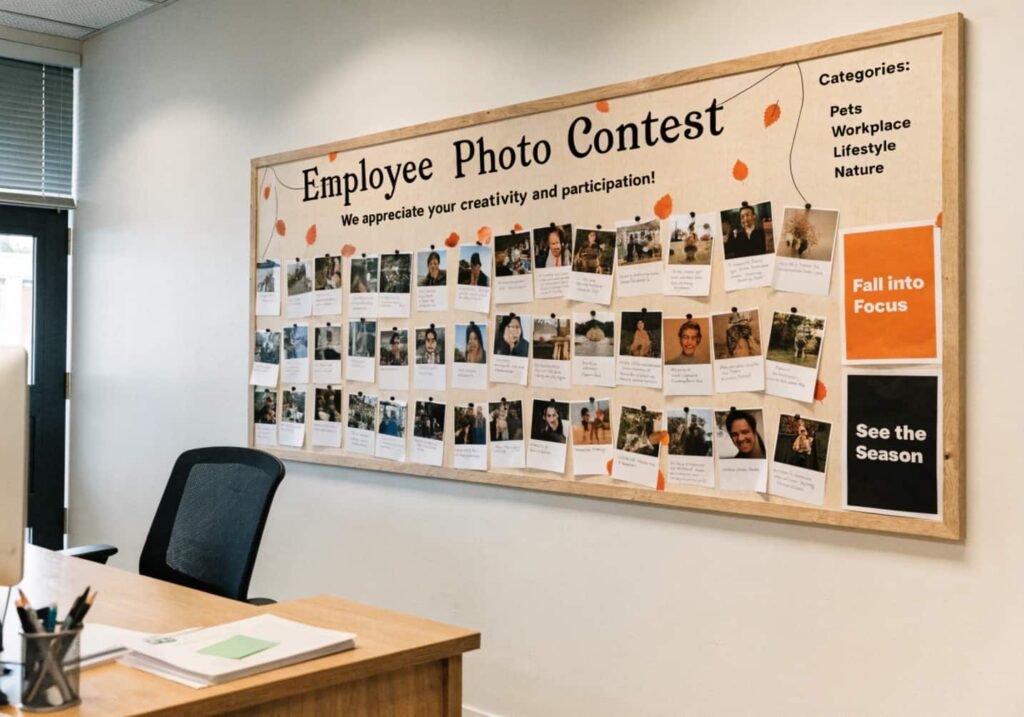
Offices need restraint. A board with fake blood, skulls, or gore reads as unprofessional fast, even in a casual workplace — stick to autumnal and playful rather than horror. A “Guess Whose Baby Photo Is the Spookiest Costume” contest board, or a rotating pumpkin-carving photo contest with staff submissions pinned in a grid, gets more engagement than pure decoration because people check it to see if they’re featured.
If your office has a shared memo or announcement board, don’t replace it — layer the Halloween theme around the existing function so the board still does its job in November.
4. Choosing a Spooky Color Palette
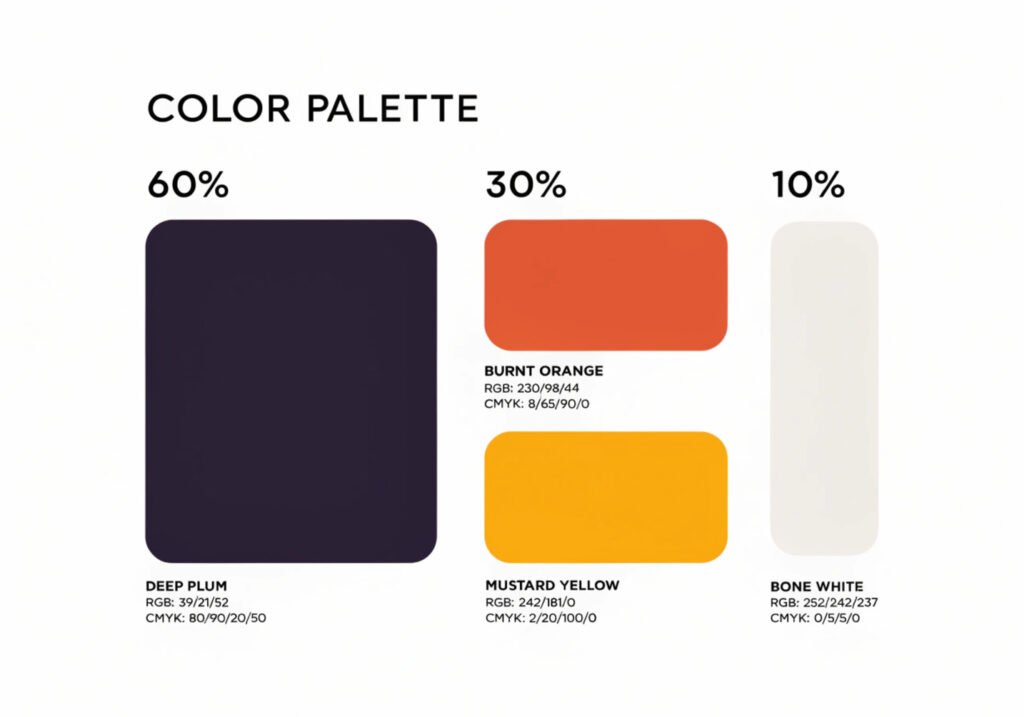
Pure black background with pure orange cutouts is the default, and it’s fine, but it can look harsh under fluorescent lighting. A palette that photographs better: deep plum or eggplant (#2E003E) as the base instead of black, burnt orange (#CC5500) rather than neon orange, and a small amount of mustard yellow or bone white for contrast. Follow a rough 60-30-10 split — 60% dominant background color, 30% secondary (orange), 10% accent (white or metallic gold accents like star stickers or gold paint pen details).
Avoid using four or more colors at once. Boards start looking cluttered past that point, especially at a distance, which is how most people will actually see it.
5. DIY Paper Cutout Decorations
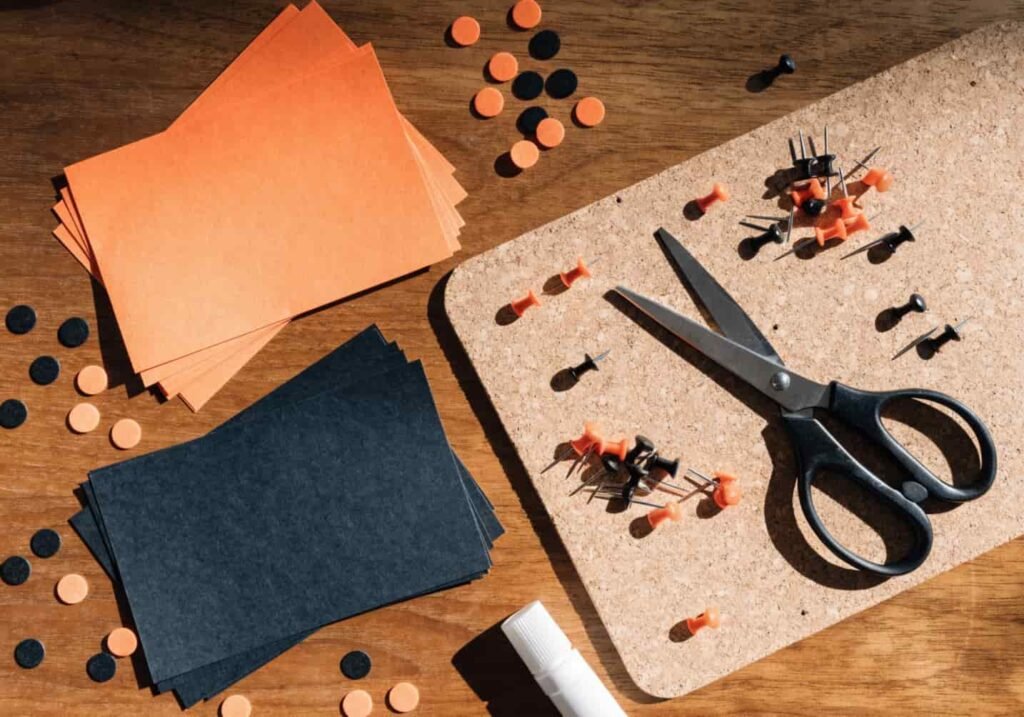
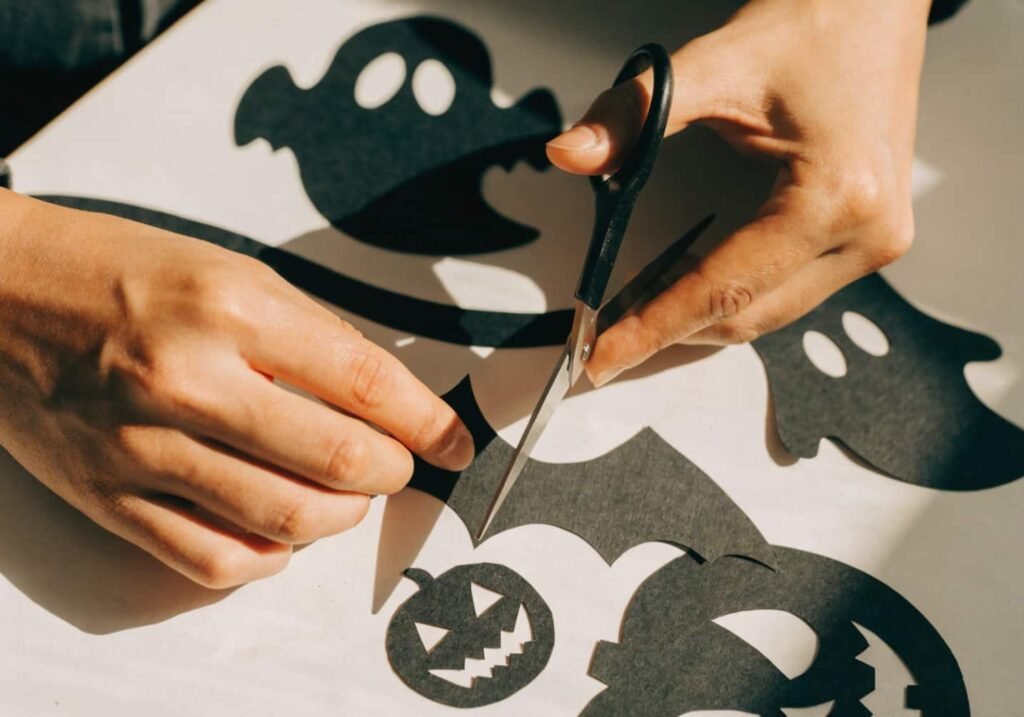
Skip standard printer paper for cutouts — it curls and tears at pin holes. Use 65lb cardstock at minimum; 110lb cover stock is better for anything freestanding like a 3D pumpkin. If you’re cutting by hand, trace with a pencil first using a printed stencil, then cut on the inside of the line, not directly on it — this small habit alone makes shapes look noticeably cleaner. If you have access to a cutting machine like a Cricut, batch-cutting ten bats or ghosts takes about the same time as cutting one by hand.
6. Pumpkin-Themed Board Designs
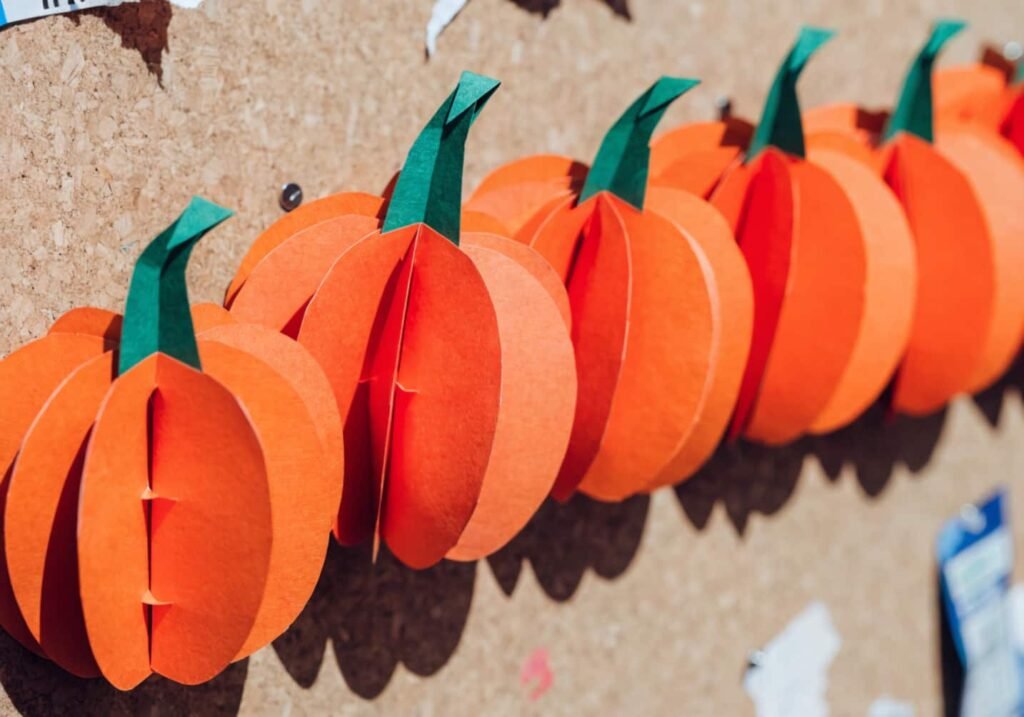
There are three ways to do pumpkins on a board: flat paper cutouts, felt pumpkins with a stuffed 3D look, or folded paper pumpkins (accordion-folded strips glued into a ring, which reads as genuinely 3D from a few feet away and takes about five minutes per pumpkin). For classrooms, a “pumpkin family” naming activity — where each pumpkin represents a family member and gets decorated by a student — turns the board into content rather than pure decor, and it’s one of the few Halloween activities that also works for non-Halloween-observing students since it’s really just a fall/family theme.
7. Ghost and Witch Silhouette Ideas
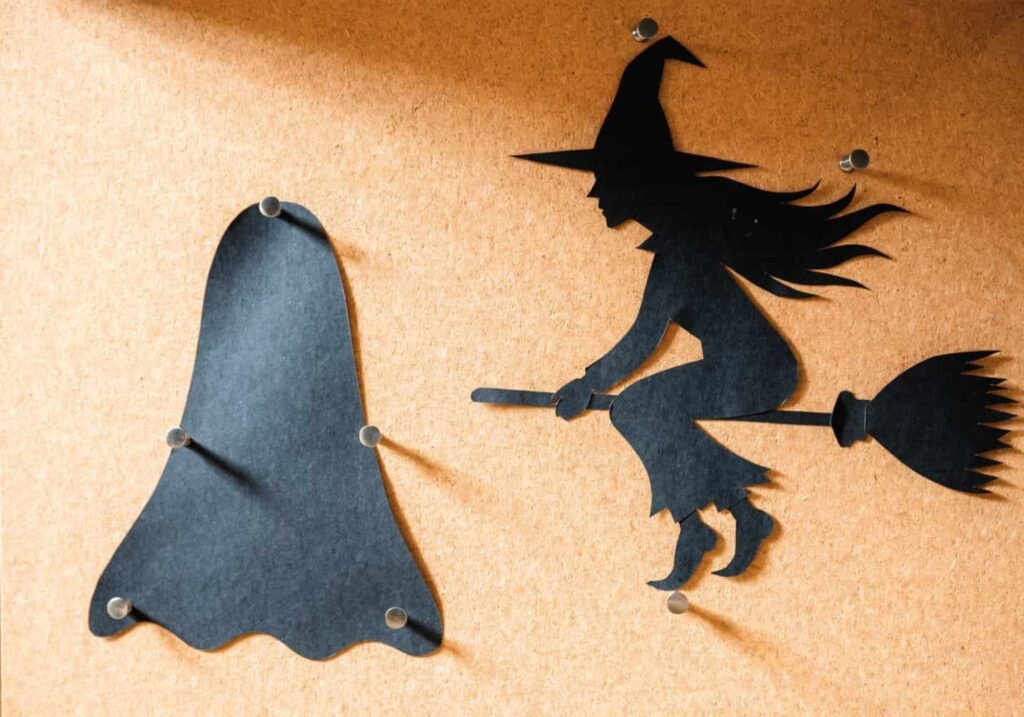
Silhouettes work because they rely on shape recognition rather than detail, which means they read clearly even from across a room. Cut ghost and witch shapes from solid black cardstock and mount them on a lighter background — white, cream, or pale orange — so the outline actually pops. A mistake to avoid: don’t add facial details in a different color on a silhouette. It breaks the visual trick that makes silhouettes effective and just looks unfinished instead.
8. Using Glow-in-the-Dark Elements
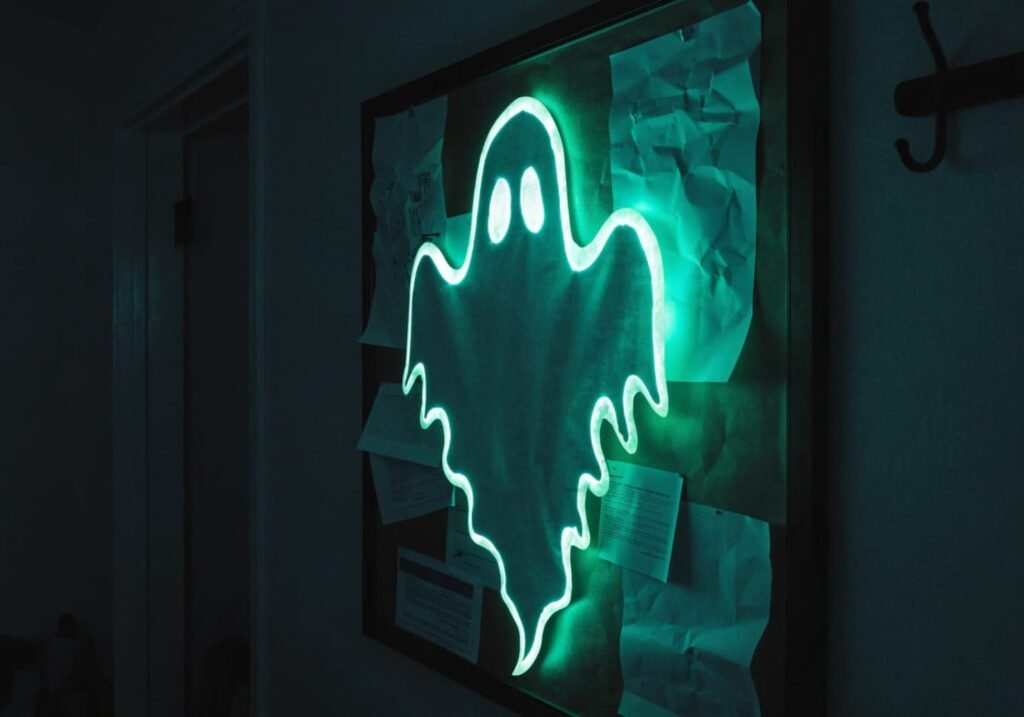
Glow-in-the-dark acrylic paint pens (roughly $6–9 for a pack of two or three) need direct light exposure to charge — about 10 to 15 minutes under a bright lamp or sunlight — and then glow visibly for around 20 to 30 minutes before fading. They work best on details, not entire shapes: outline a ghost’s edges, or dot in “eyes” on a spider, rather than painting a whole cutout, since large glow-paint areas fade unevenly and look patchy once the charge starts dropping. Keep glow paint away from any board near a heat source or direct sun exposure for long periods, since some formulas degrade with UV exposure over weeks.
9. Budget-Friendly Halloween Board Supplies
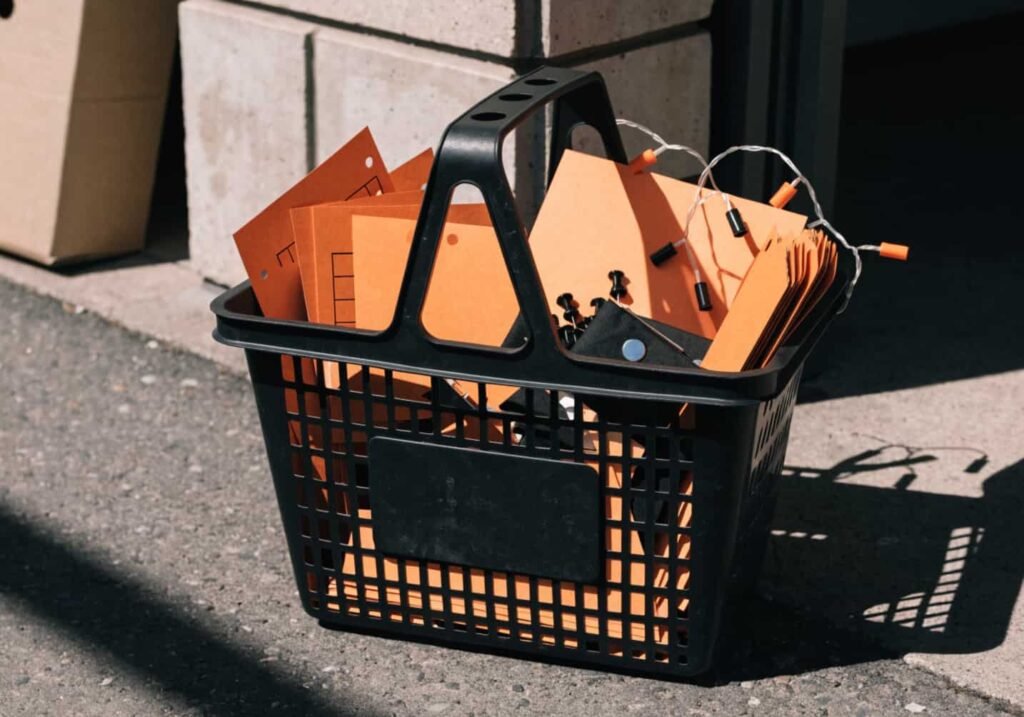
A dollar store run typically covers 80% of what you need: cardstock packs, pushpins, foam dots, and mini string lights, usually for under $10 total for a standard 24×36 board. Compare that to a pre-made Halloween bulletin board kit, which runs $20–30 and often includes pieces you’ll never use, like a border strip in a color that doesn’t match your palette. The trade-off: kits save time (everything’s pre-cut and coordinated), DIY saves money but costs an evening of cutting. For a one-off office board, buy the kit. For a classroom board you’ll rebuild every year, DIY pays for itself by year two since you reuse the laminated pieces.
10. Kid-Friendly Interactive Board Ideas
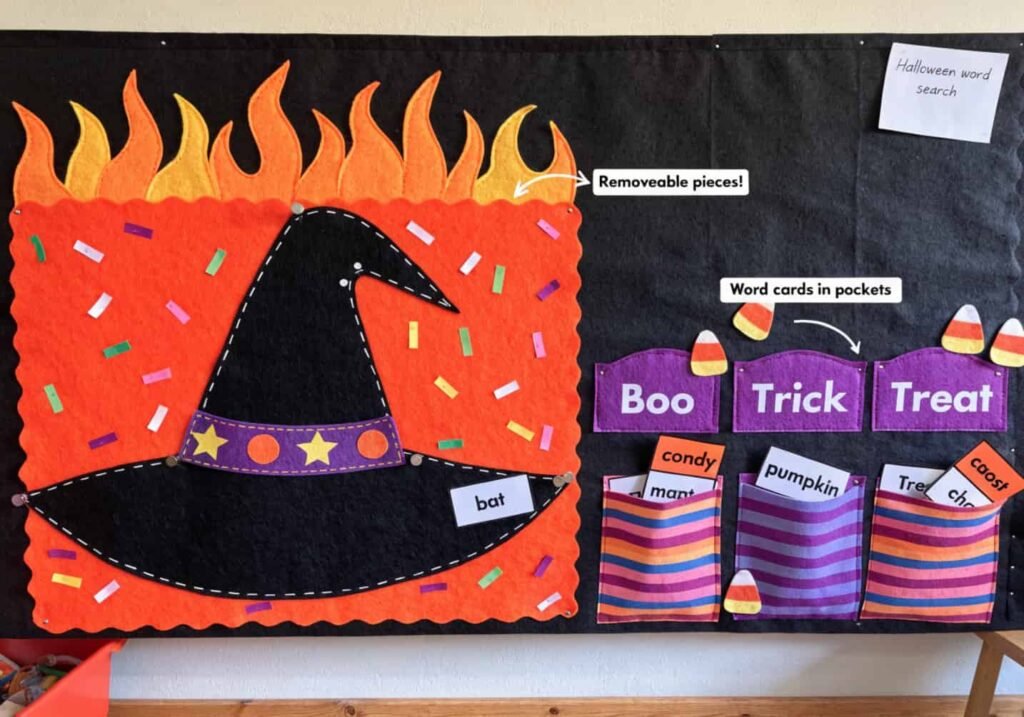
Static boards get looked at once. Interactive ones get revisited. A pocket chart with removable felt pieces — kids can rearrange a witch’s hat, add candy corn to a jar, or match spooky word cards — holds attention longer than a fixed display. For older kids, a QR code sticker linking to a two-minute audio ghost story (recorded on a phone, hosted free through something like a Google Drive share link) turns a bulletin board into something with actual content behind it, not just decoration.
11. Minimalist vs Maximalist Halloween Boards
This is a genuine trade-off, not a style preference. Minimalist boards — a single silhouette, a short phrase, lots of negative space — photograph better and read as more professional, which is why they work well in office settings or shared adult spaces. Maximalist boards — layered cutouts, string lights, multiple textures — hold a child’s attention longer and feel more festive, which is why they’re the better call for classrooms and kids’ party spaces. The mistake is applying one approach to the wrong setting: an overloaded office board looks chaotic, and a minimalist classroom board gets ignored by kids within a week.
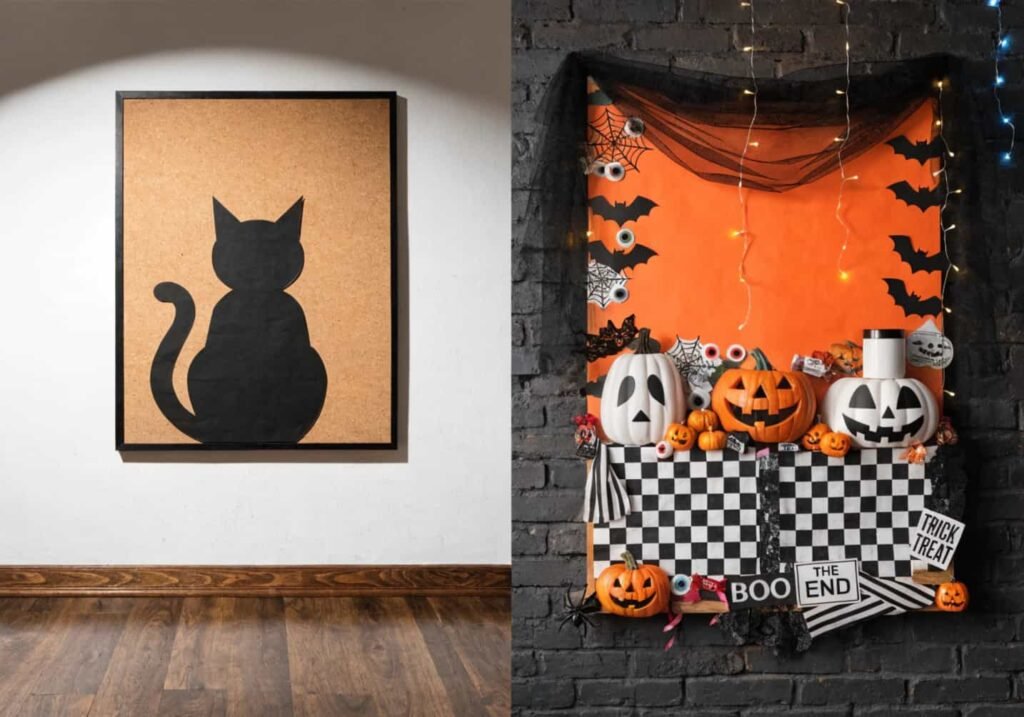
12. Adding Seasonal Quotes and Messages
Vinyl lettering (cut with a home cutting machine or bought pre-cut in sheets, about $5–10) looks cleaner than hand-lettering but is harder to reposition once stuck down. Hand-lettering with a chalk marker on black paper is more forgiving and easier to update seasonally. Keep phrases short — “Trick or Treat,” “Enter if You Dare,” “Boo-tiful Fall” — since long sentences get lost at a distance and are harder to center visually on a board. Avoid using song lyrics or quotes from copyrighted films directly; stick to generic seasonal phrases or write your own short line instead.
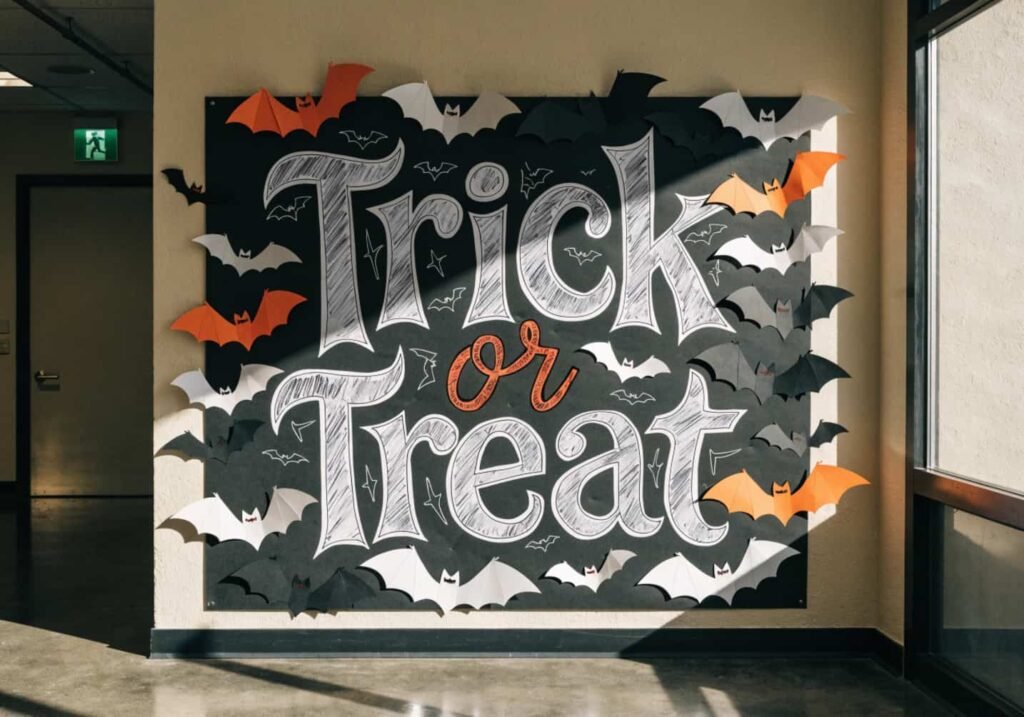
13. Decorating Boards With Recyclable Materials
Egg cartons cut into individual cups and painted black make surprisingly convincing spider bodies — glue on pipe cleaner legs and you’ve got a spider for the cost of paint alone. Toilet paper rolls flattened and cut into strips work as bat wings or Frankenstein arm details. Shredded newspaper, twisted and painted, makes a cheap “cobweb” texture along board edges. This approach costs close to nothing, but it does take longer to assemble than pre-bought decorations, so it’s a better fit for classroom projects where the making is part of the activity, not just the outcome.
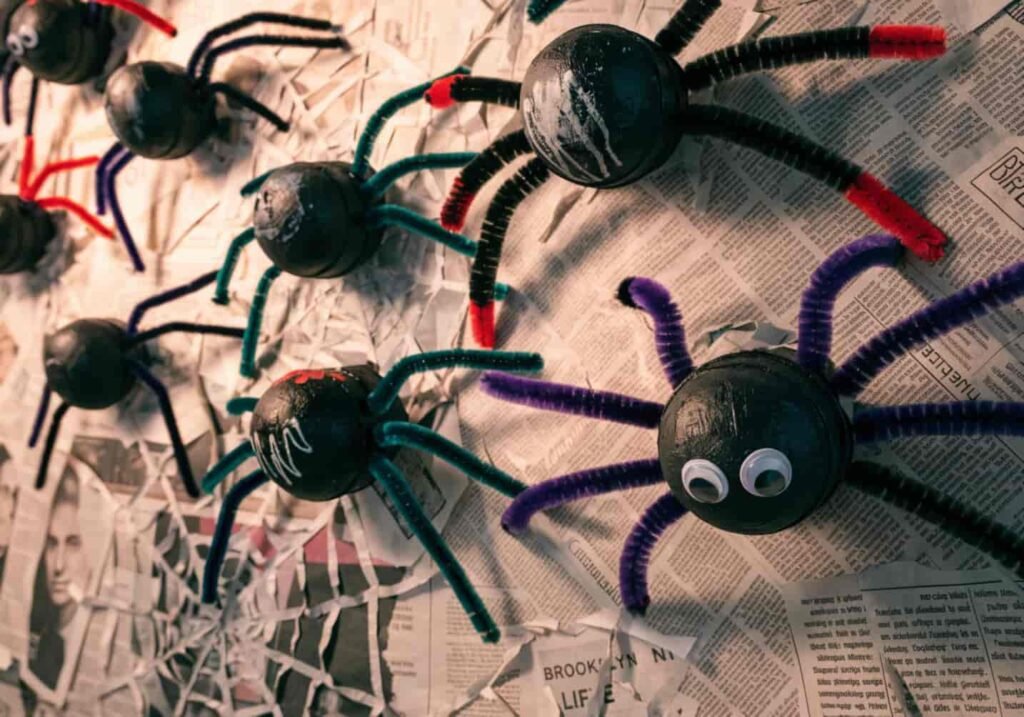
14. Photo Booth Style Halloween Board
If the board is meant to double as a photo backdrop, it needs different proportions than a wall display — think at least 5 feet wide if adults will stand in front of it, with the busiest decoration kept above head height so faces aren’t competing with cutouts. Add a small prop table nearby (witch hats, foam mustaches, paper bats on sticks) rather than pinning props directly to the board. A cheap phone tripod ($10–15) angled at chest height works better than propping a phone against something, since it keeps the framing consistent across everyone’s photos.
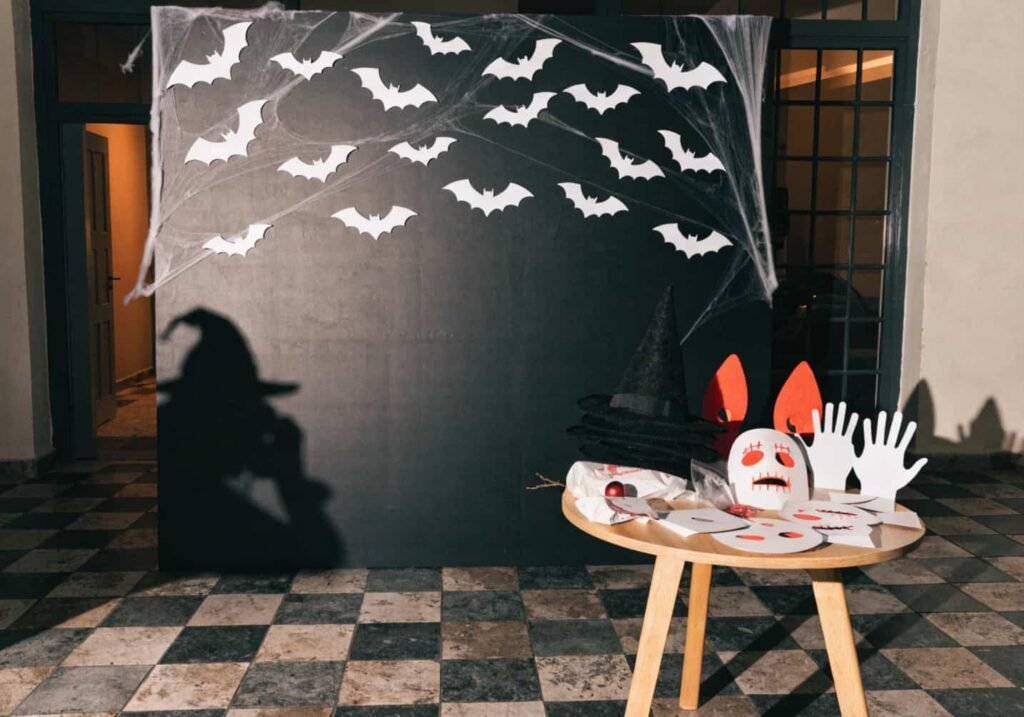
15. Step-by-Step Board Setup Guide
- Measure your board and cut background paper about half an inch oversized on each side, then trim flush once it’s mounted — this avoids visible gaps at the corners.
- Add a border strip using scalloped or zigzag scissors for texture, secured with double-sided tape rather than pins, which won’t show through the paper.
- Lay out your main cutouts on the floor first in the arrangement you want before pinning anything — repositioning pinned paper leaves visible holes.
- Mount large pieces first, then layer smaller accents on top using foam adhesive dots for depth.
- Add lettering last, once you can see how much space is actually left, rather than planning text placement before the visuals are up.
- Step back at least six feet and check the board from that distance — details that matter up close often don’t register from where people will actually view it.