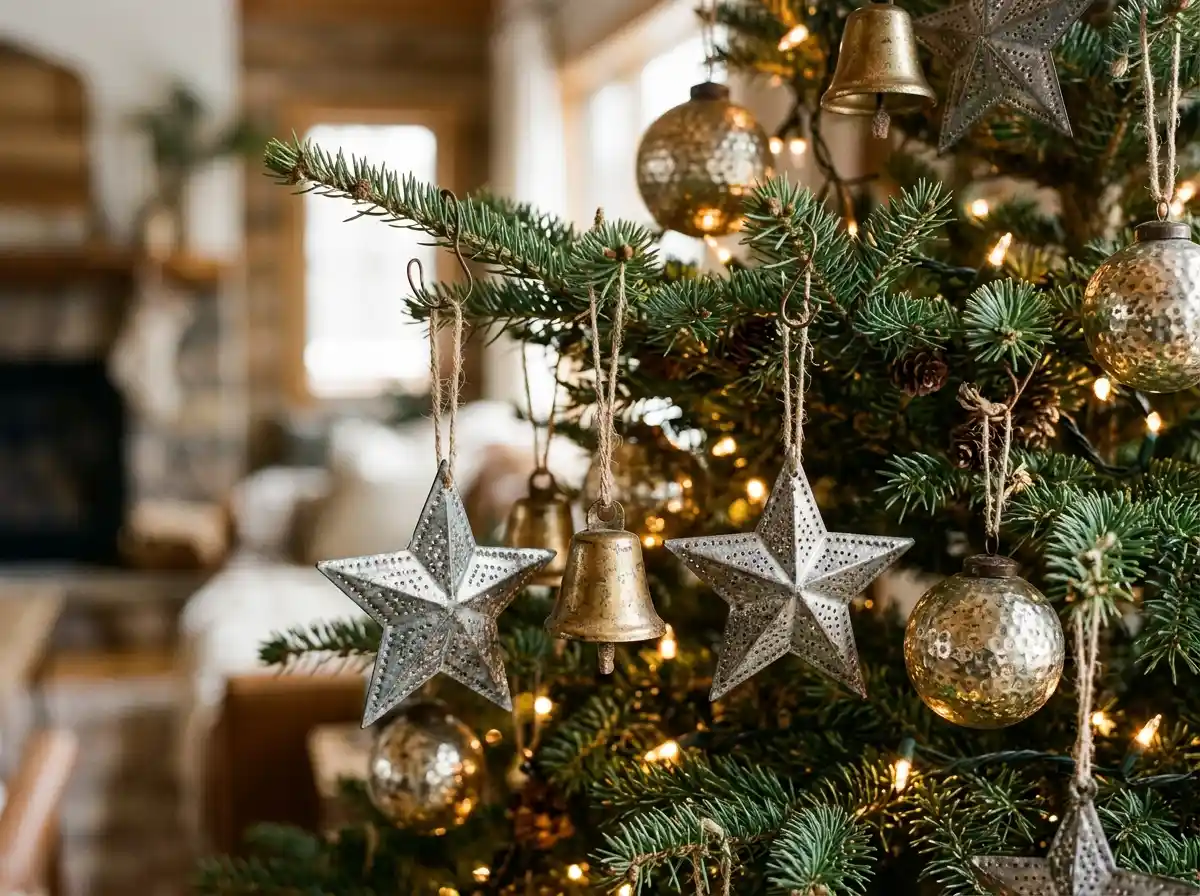
You come home from the flea market with a shoebox of tin stars, brass bells, and one hammered bauble you truly love — then you hang them on the tree and the whole thing reads less “vintage charm” and more “hardware store.” Metal is the easiest Christmas material to get wrong: too much bright shine looks cold, and too many mixed finishes look like leftovers.
The principle is to treat metal ornaments like jewelry on an outfit: one metal leads, one supports, and soft matte textures — greenery, linen ribbon, warm candlelight — sit between the shiny pieces so the eye can rest. Even handmade metal and tin Christmas ornaments follow the same rule: the old pieces glow because fabric and wood do the quiet work around them.
Here are 14 ways to use metal and tin ornaments — punched, stamped, hammered, and hung — including a few you can make from kitchen basics. Most start with things already in a drawer: cookie cutters, foil pans, spare ribbon, and the odd tin you have been meaning to throw out.
The Metal Ornament Formula That Keeps Vintage Shine Looking Intentional, Not Tired
- One metal leads: Choose a dominant metal — warm brass, soft silver tin, or aged copper — and let it take roughly two-thirds of the ornaments so the tree speaks with one clear voice.
- Soft textures between the shine: Alternate every few metal pieces with matte greenery, linen or velvet ribbon, or frosted glass, so the shine reads as accents instead of glare.
- Weight decides the branch: Hang heavier stamped and cast pieces on the lower, thicker branches and save the top third for feather-light foil and tin, which keeps the tree balanced and the treasures safe.
- Repeat one shape three times: Pick a single shape — stars, bells, or tags — and repeat it at least three times across the tree, so new flea-market finds can join in later years and still look planned.
On a deep green tree, that might look like antique brass bells riding low on the branches, punched-tin stars glowing through the middle, and a length of burgundy velvet ribbon weaving between them from top to bottom.
| Finish | Shine Level | Pairs Best With |
|---|---|---|
| Antique brass | Warm, medium | Velvet ribbon and deep green branches |
| Polished silver tin | Bright, cool | White lights and frosted glass |
| Aged copper | Low, rosy | Linen, wood, and cream ornaments |
| Hammered pewter | Soft, dappled | Matte baubles and kraft paper tags |
1. Punched-Tin Ornaments That Glow from Inside
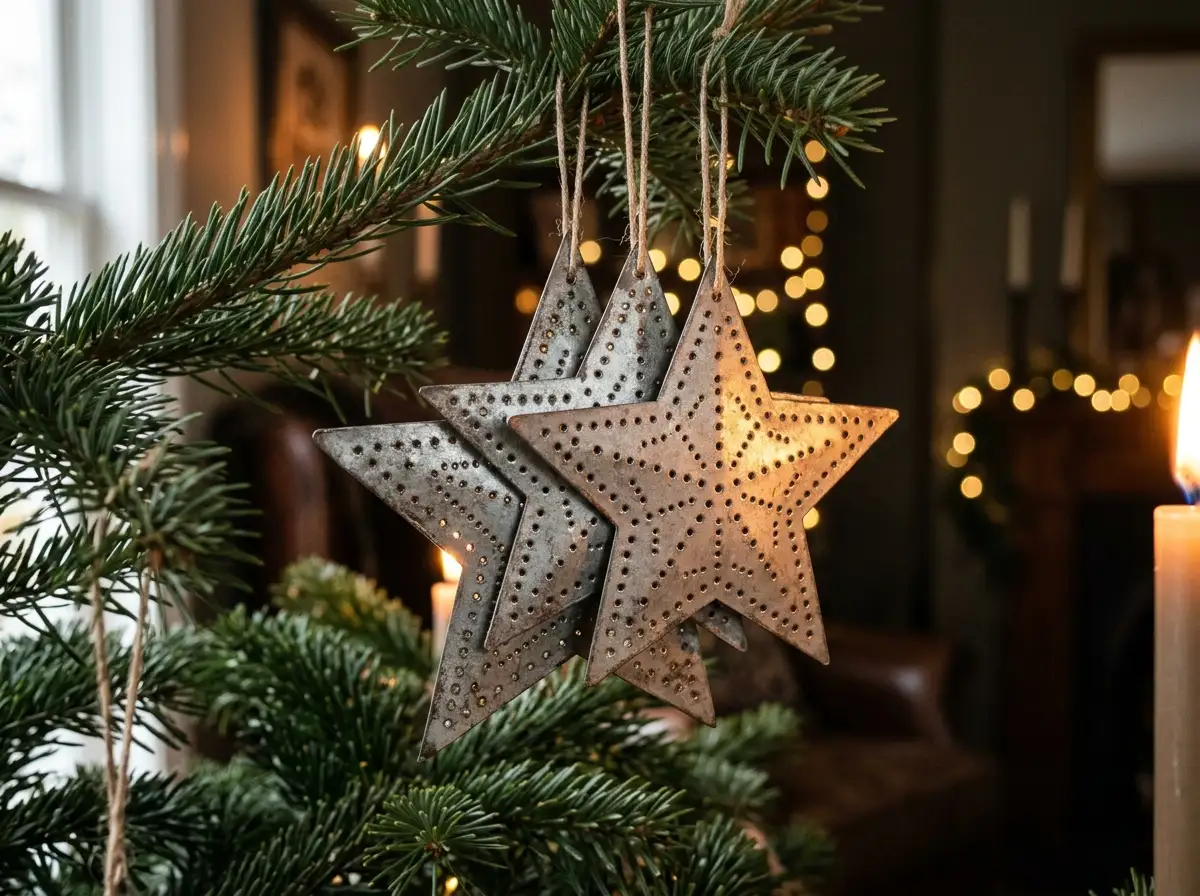
Punched tin is the oldest trick in this list: a flat tin disc or heart with a pattern of tiny holes — a star, a tree, a ring of dots — punched through with a nail and hammer over a block of wood. Hang each piece directly in front of a tree light and the pattern glows like a miniature lantern instead of just reflecting. Work in tin between 3 and 4 inches across; smaller pieces vanish in the branches. One real caution: freshly punched edges can be sharp, so run a metal file around each rim or fold the edge over before hanging.
The formula: Pattern plus a light source behind it turns a flat piece of tin into both an ornament and a lamp — position matters more than polish.
2. Brass Bells Hung on Velvet Ribbon
Sleigh bells look best in clusters, not scattered one by one. Thread three brass bells onto a 12-inch length of velvet ribbon, knot it, and hang the cluster low on the tree where branches are thickest. The Terrain Brass Bell Ornaments come as a set of 50 for $48, which is enough for a dozen clusters with spares for a wreath. The bells give the tree something no glass bauble can: a soft ring whenever a pet brushes past or a present gets tucked underneath. The trade-off is weight — a three-bell cluster is heavier than it looks, so wire it to the branch rather than trusting the ribbon loop.
Get the look:
- Main piece: A cluster of three brass bells
- Supporting piece: Burgundy velvet ribbon, 12 inches per cluster
- Texture or material: Brushed antique finish, never mirror-bright
- Finishing touch: A small cedar sprig tucked into the knot

3. Cookie-Cutter Ornaments Backed with Photos or Fabric
Your kitchen drawer already holds the frames for this one. Take metal cookie cutters — stars, trees, gingerbread figures — and glue a trimmed family photo or a square of plaid fabric to the back of each one, then add a ribbon loop at the top. The metal rim gives a homemade center the finished edge it usually lacks. Be honest about photos, though: use copies, never originals, because heat from tree lights and sunny windows fades paper over a season or two. If you have a cutter from a grandparent’s kitchen, this is the kindest way to put it on the tree every year.
Budget note: This is the near-zero-cost idea in the list — cutters from the drawer, fabric from the scrap bag, and copies of photos for a few cents each.
4. Stamped Metal Tags with Names and Dates
Thin aluminum or brass tags, stamped with a letter punch set, become the ornaments your family will fight over someday. Stamp one per person with a name and the year, or one per Christmas with a word — the baby’s first, the new house, the year of the snowstorm. Hang them through the middle of the tree where hands can reach and turn them over. The honest trade-off is skill: your first few stamps will land crooked, and letter punches take a few practice tags to control. Start with the back of a tag, and keep your ribbon color the same across every tag so the set reads as one family.
Style note: Mix tag shapes freely — round, oval, rectangle — but never mix the ribbon; one ribbon color is what makes a decade of tags look intentional.
5. Hammered Baubles Broken Up with Matte Ornaments
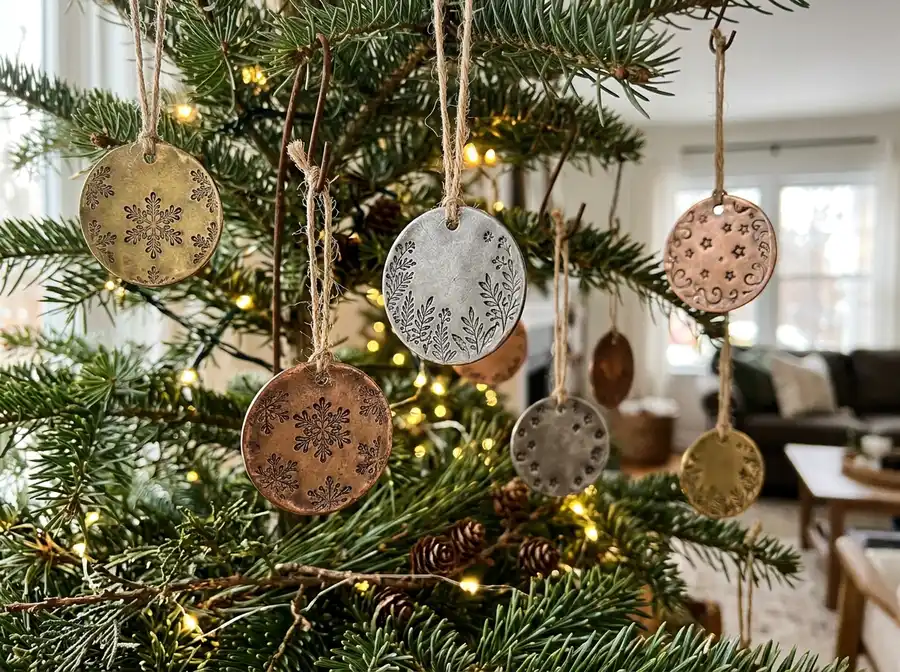
Hammered metal baubles throw light in soft dapples instead of hard sparkles, but a tree covered in them still shouts. Follow the every-other rule: no two shiny baubles may touch — alternate each hammered piece with a matte or frosted ornament so the tree breathes. Think of the tree in three zones as you work: the ornaments in the middle, framed by the pieces above and below, which is why our guide to Christmas tree toppers and tree skirts is worth reading before you hang the first bauble. One trade-off: matte ornaments show dust and fingerprints faster than metal does, so they get a quick wipe at hanging time.
Why it works:
- Hammered texture scatters light softly instead of glaring
- Matte neighbors give the eye a rest between shiny pieces
- The alternation makes even a mixed, collected set look planned
6. Tin Stars Clustered in Threes
One tin star is an ornament; three tin stars are a moment. Cluster stars in three sizes — roughly 4, 6, and 8 inches — at the ends of strong branches, spaced a hand’s width apart, and repeat the cluster three or four times around the tree. Flat tin catches light from several angles at once, so these clusters do the work of the tree’s jewelry without any color at all. Weight is the catch: an 8-inch star will drag a weak branch tip to the floor, so wire each star to the branch close to the trunk side and let only its point reach outward.
Fit check: Your largest star should be no wider than the branch is long — if the star outweighs the branch, move it one branch lower and closer in.
7. Embossed Foil Ornaments You Make in an Afternoon
Heavy craft foil — or the thick foil from disposable roasting pans — embosses beautifully with nothing more than a blunt pencil and a magazine as a pad. Draw stars, snowflakes, or simple folk-art birds, press the lines in from the back so the design rises on the front, cut the shape out, and rub a whisper of dark paint into the lines and wipe it off to fake age. The trade-off is fragility: foil creases permanently if it is squeezed, so these store flat between two pieces of cardboard, never loose in a bin. On a rainy December afternoon, this is the project that keeps small hands busy and proud.
Easy swap: The same embossed shapes, cut smaller and tied with twine, become gift toppers in January — nothing goes back in a box wasted.
| Ornament Type | Typical Weight | Best Spot on the Tree |
|---|---|---|
| Stamped and cast metal pieces | Heaviest | Lower third, close to the trunk |
| Hammered baubles and bell clusters | Medium | Middle third, along the branch middles |
| Punched tin and cookie cutters | Light to medium | Middle branches, in front of lights |
| Foil and thin tin shapes | Feather-light | Top third and branch tips |
8. Metal Angel Figures Among the Branches
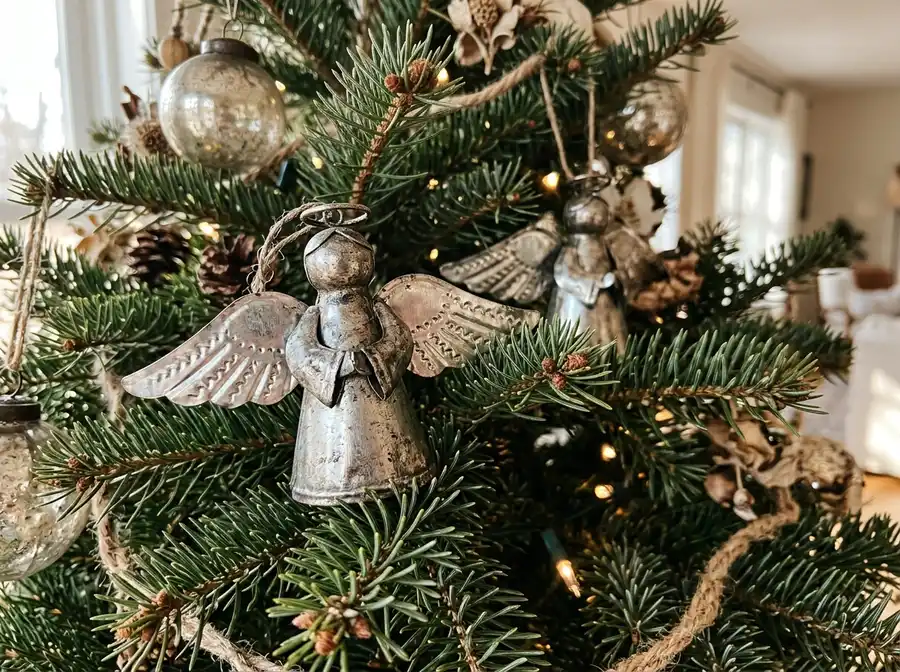
Small pressed-tin or brass angels, 3 to 5 inches tall, were made to perch. Set one at a branch fork on each side of the tree — never more than three to five in total — with the branches cupping them from behind so they read as part of the tree rather than ornaments hung on it. Keep every angel in your lead metal so the figures form a quiet set. Restraint is the whole trade-off here: figural pieces tip into kitschy fast, and the line is simply how many you allow. If your grandmother’s angel is in the box, she gets the topmost perch, closest to the star.
Color note: Angels in the dominant metal only — a single brass angel among silver ones looks lost, but three brass ones look collected.
9. A Wreath Built from Small Tin Ornaments
Ornaments that lost their caps, or the handful of tin pieces too small to register on the tree, get a second life wired onto a plain greenery wreath. Work in clusters of three, tucking each group between the greenery so the metal looks grown into the wreath rather than stuck on it, and hang the finished wreath on an inside door or above the mantel. Know the trade-off before you start: an ornament-covered wreath is genuinely heavy, so use a metal wreath hanger rated for the weight, not a suction hook. This is also the best rescue in the list for a broken-hearted favorite piece.
Texture note: Matte greenery behind bright tin is what keeps the wreath from reading cold — never build one on a bare wire frame.
10. One Lead Metal, One Supporting Metal
Mixing metals fails when three finishes compete in equal shares. It works when one metal takes about 70 percent of the tree and a second takes 30, with a few two-tone pieces — a brass bell with a silver clapper, a tin star with a brass edge — bridging the two. This is the backbone of a convincing retro Christmas aesthetic, where decades of ornaments coexist because the ratio, not the era, stays consistent. The rule does limit you when a lone treasure appears in a third metal; the honest answer is one wild card per tree, hung where it gets its own little spotlight.
The formula: Lead metal twice as visible as the supporting metal, bridged by two-tone pieces — that ratio is the entire secret to mixed metals.
11. Antique Patina Instead of Mirror-Bright Shine
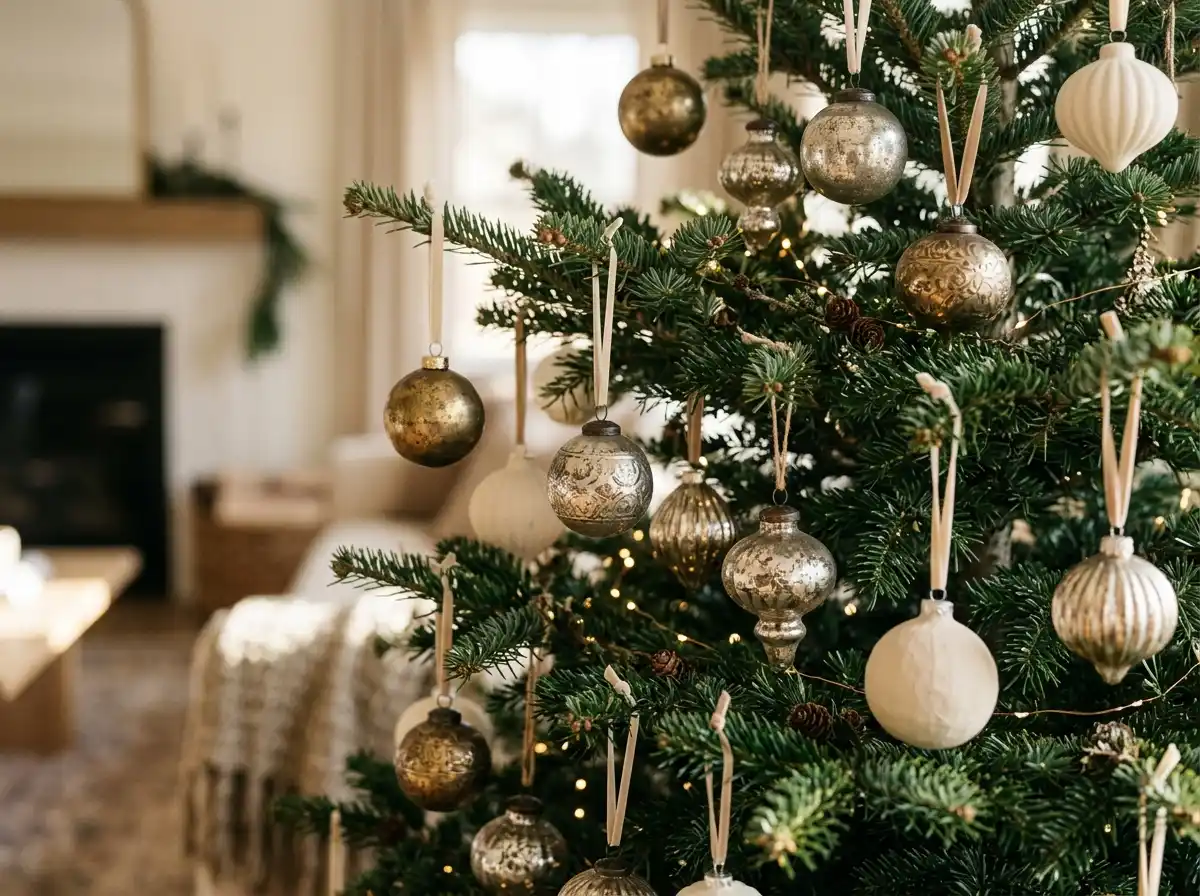
Brand-new chrome-bright ornaments are often what makes metal read as “dated store display” instead of vintage. Aged finishes — antique brass, oxidized tin, soft pewter — absorb a little light instead of throwing it all back, and they sit far more comfortably next to wood and fabric. You can nudge a too-bright piece toward patina with a dab of dark furniture wax rubbed on and buffed off. The trade-off is permanence: on inexpensive plated pieces the wax can take unevenly and cannot fully come off, so test on the back of the ornament first. In a bright, white-walled room, patina is usually the difference between glare and glow.
Best for: Sun-filled rooms, white or flocked trees, and anyone who has ever called chrome “cold” without knowing why.
12. A Tin Ornament Garland for the Mantel or Rail
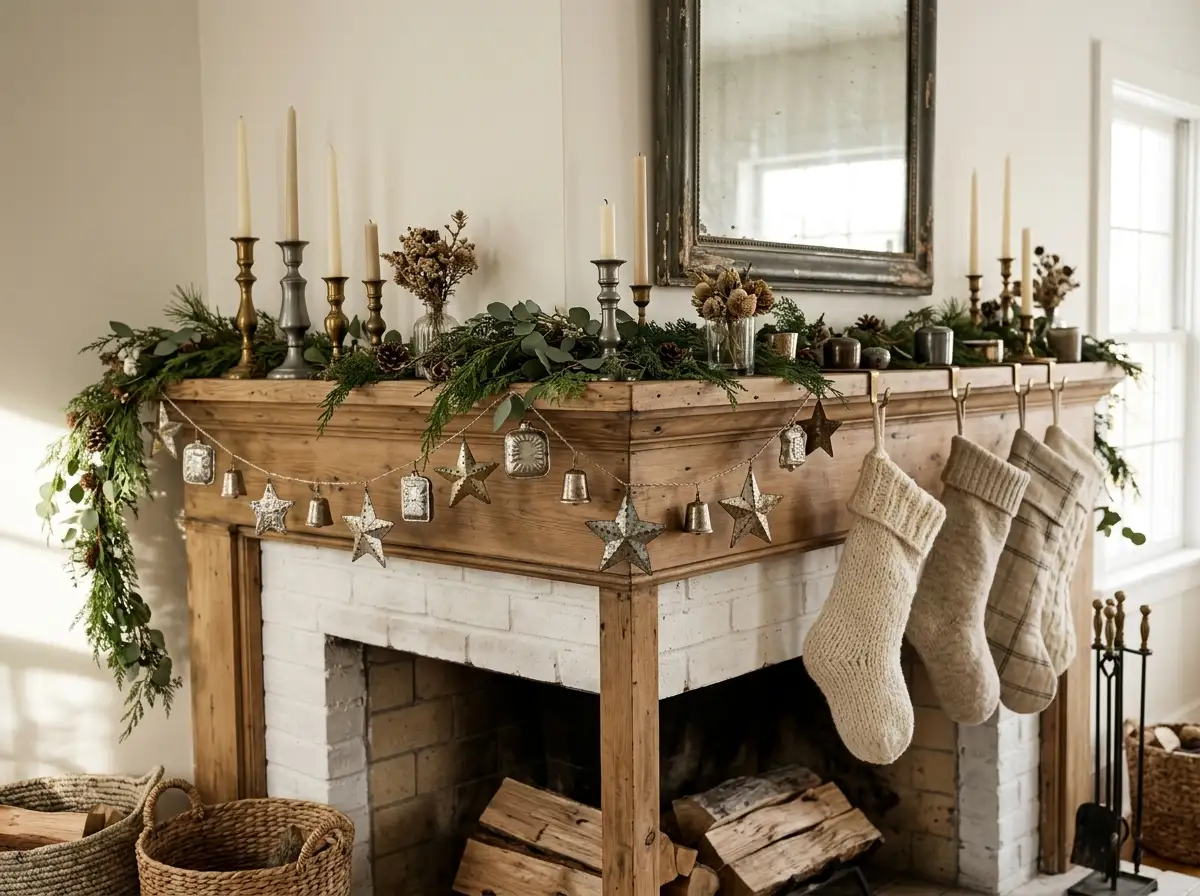
String mini tin stars, hearts, and bells along a length of twine or narrow ribbon and swag the garland across the mantel front or down the stair rail. Spacing of 4 to 6 inches keeps it airy, and the metal pieces chime faintly when the rail is used — an honest side effect most households end up loving. One practical warning: metal sliding against finished wood can scratch, so let ribbon, not bare ornaments, rest against the rail, and pad cluster points with a leaf or two of greenery. If your mantel shelf is already full, this decorates the one surface nothing else is using — the vertical face.
Space note: A garland uses the front face of the mantel, not the top — every inch of shelf stays free for candles, cards, and stockings.
13. Metal Ornaments Resting in a Greenery Centerpiece
Not every metal ornament needs a branch. Nestle hammered baubles and a few loose bells into a low tray of cedar clippings and pinecones and set it on the dining table or sideboard, where the metal catches candlelight from a few inches away instead of across the room. Styling ornaments off the tree is one of the Christmas decor trends for 2026 that actually earns its place, because it rescues the pieces too heavy or too odd to hang. Keep the arrangement under about 6 inches tall — the one real trade-off — so dinner guests can still see each other over it.
Seasonal swap: After Christmas, lift the ornaments out and the tray of greenery and pinecones carries on as plain winter decor until spring.
14. Tin Snowflakes Hung in the Window
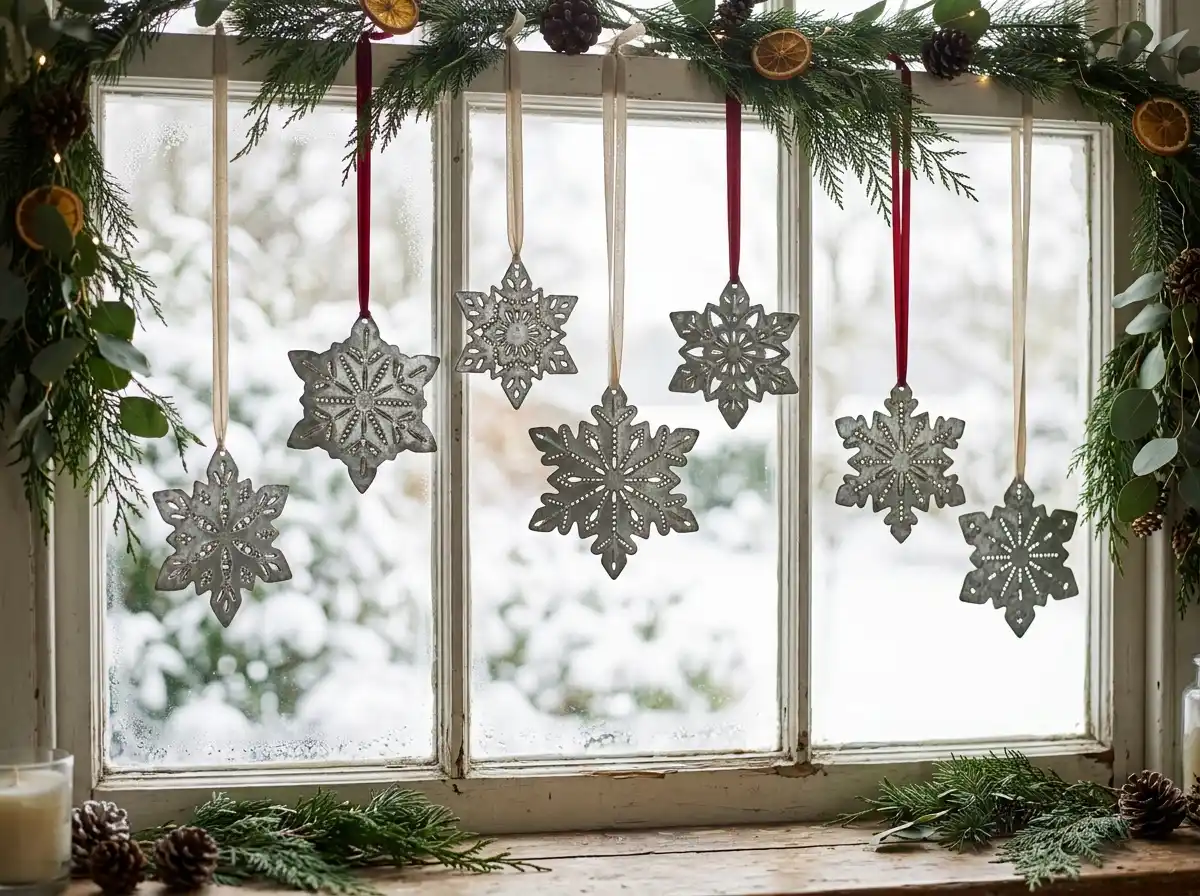
End the tour of the house at the glass. Hang large tin snowflakes — 6 to 8 inches across — on clear fishing line at staggered heights in a front window, where daylight does what tree lights cannot and throws their shadows across the room. Brushed or hammered finishes suit this better than polished ones, since direct sun on mirror-bright metal can glare, which is the one trade-off to plan around. From the street, the window reads as decorated without a single plug or battery. If your tree is already full, this is where the best tin pieces go to be seen from two sides at once.
Why it works:
- Daylight backlights the metal, so the shapes read from indoors and out
- Staggered heights make three snowflakes look like a whole snowfall
- Clear line keeps the focus on the tin, not the hanging hardware
| Problem | Likely Cause | Quick Fix |
|---|---|---|
| Dull grey film on tin | Humidity in storage | Wipe with a soft cloth and one drop of mineral oil |
| Patchy, darkened brass | Oils from handling | Buff gently with a dry microfiber cloth; skip polish for an aged look |
| Bent foil ornament | Squeezed in a packed bin | Press flat under a heavy book overnight, then store between cardboard |
| A mixed set that looks messy | No lead metal | Remove the third finish entirely and rehang with just two |
Your one next step: empty your ornament box onto the table tonight, sort every metal piece into two piles — lead metal and supporting metal — and hang only those two groups this year.