Let me be real with you — I have spent years buying cheap beads ideas from craft stores, dollar bins, and random online sellers. And you know what? Half of my early projects looked exactly like what they were — cheap. But over time, I figured out that the materials are not really the problem. The way you use them is. Once I started applying a few smart techniques, my friends started asking where I bought my jewelry. That felt amazing. So here are 13 bead ideas that genuinely work to make your budget materials look like they came from a boutique.
1. Mix Matte and Shiny Beads
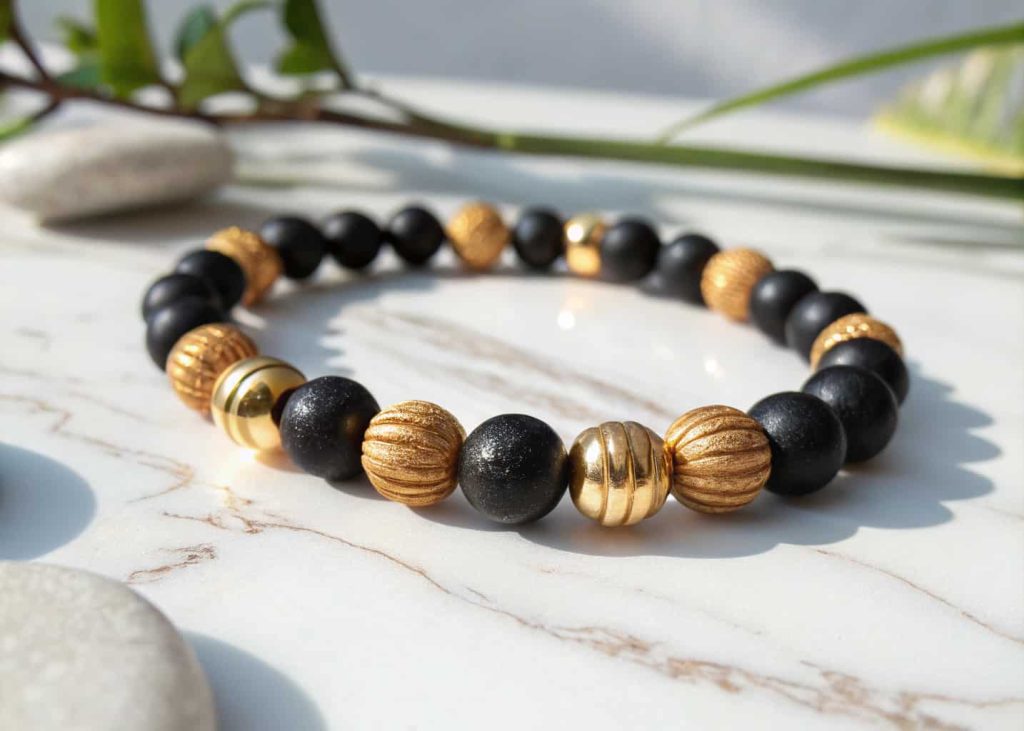
One of the easiest things you can do is mix matte finish beads with glossy ones in the same piece. When everything shines the same way, it looks mass-produced. But when you alternate a dull frosted bead with a smooth shiny one, it creates texture and depth. I once made a bracelet using matte black plastic beads and a few gold-plated rounds from the dollar store. People thought I bought it from a boutique. The contrast is what does the heavy lifting here. Try it once, and you will be hooked on this trick forever.
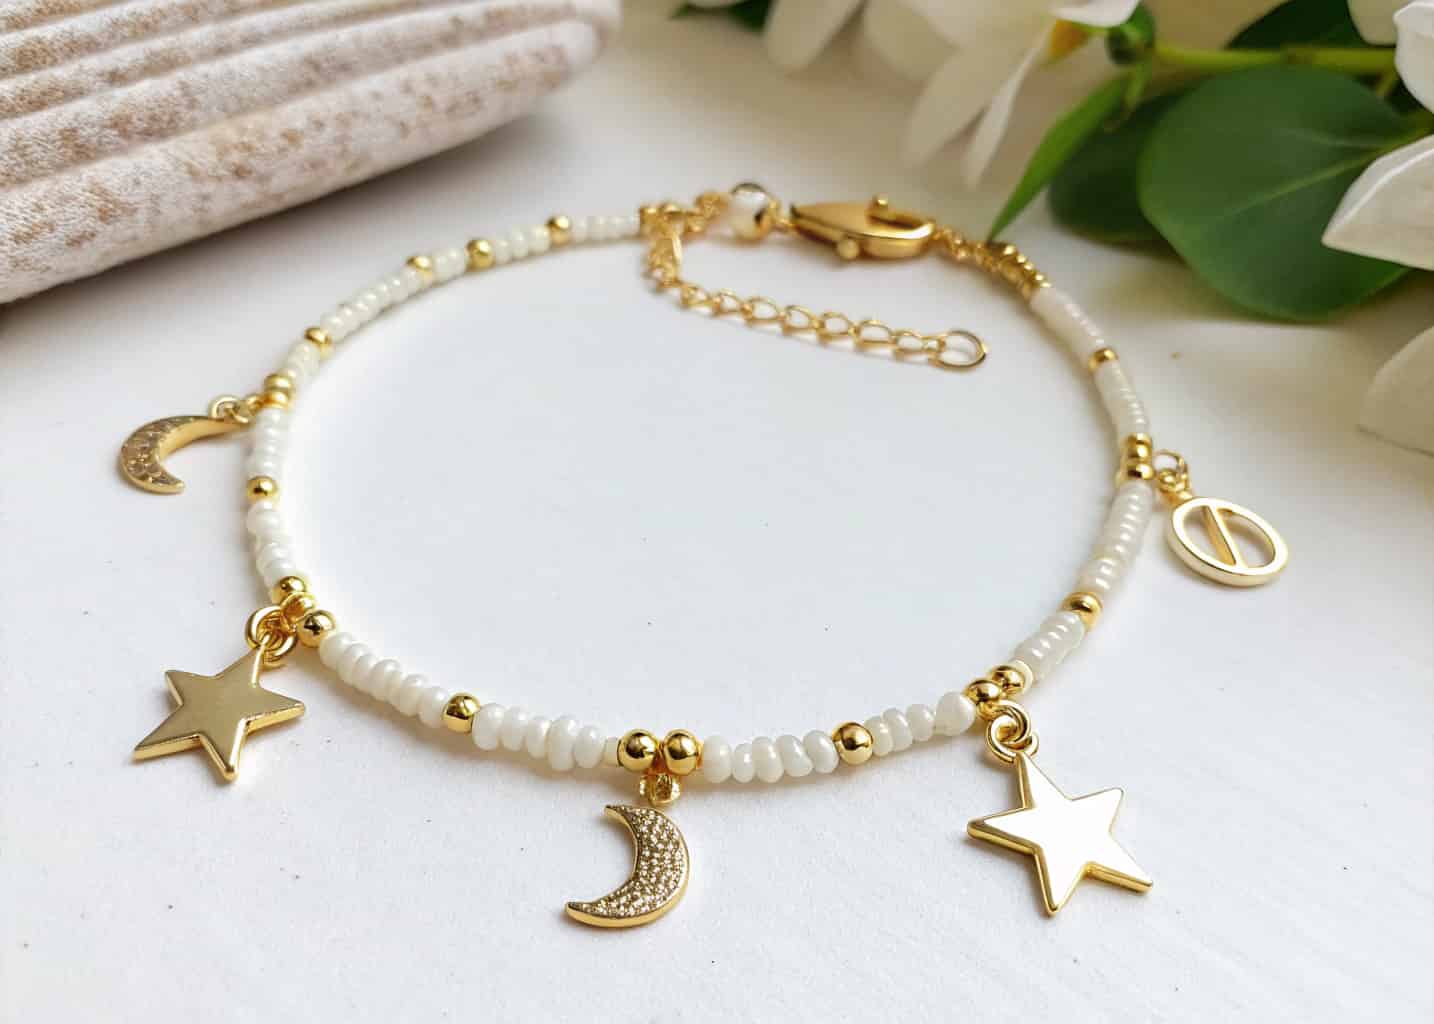
2. Use a Neutral Color Palette
Walk into any high-end jewelry store and look at the color choices — ivory, cream, soft gold, pale blush, warm brown. They rarely use neon or overly bright colors. That same rule works for cheap beads too. When you stick to a neutral palette, your piece automatically looks more refined and intentional. I grabbed a bag of dusty rose seed beads and paired them with off-white and bronze spacers. Everyone assumed it was from an expensive boutique. The secret is that neutral colors photograph beautifully and look polished in real life too.
3. Add Gold or Silver Spacer Beads
Metal spacer beads are cheap but powerful. A simple strand of plain acrylic beads suddenly looks intentional when you add a few tiny gold spacers between each one. I buy these spacers in bulk — like 500 for a couple of dollars — and they go into almost every project I make. The spacing also creates a rhythm that makes your jewelry feel designed rather than just strung together. Think of spacers as punctuation in a sentence. Without them, everything runs together. With them, each bead gets its own moment to shine. It is such a simple upgrade.
4. Try Layered Bead Necklaces
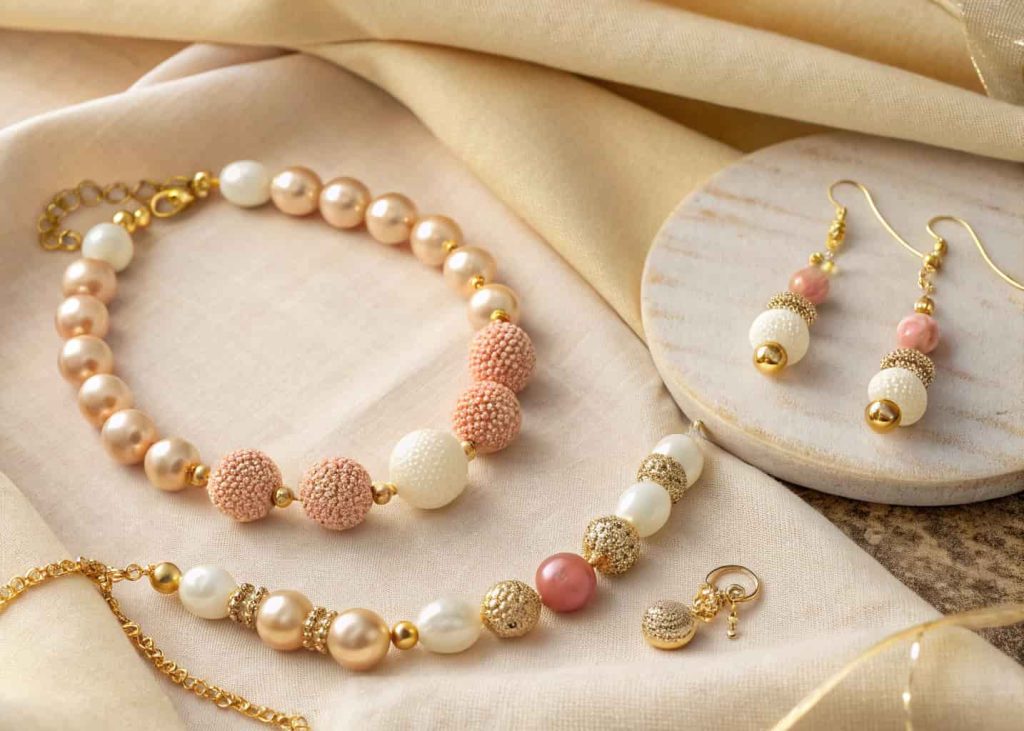
A single cheap necklace might not look like much. But layer two or three strands together at different lengths and suddenly it looks like something you paid a lot for. I layer a short choker-style strand with a medium and a longer one. Each strand can be simple on its own — maybe just plain pearl-style beads or small seed beads. Together they create this full, rich look that looks genuinely expensive. The key is keeping the tones coordinated across all three strands. They do not need to match perfectly. They just need to feel like they belong together.

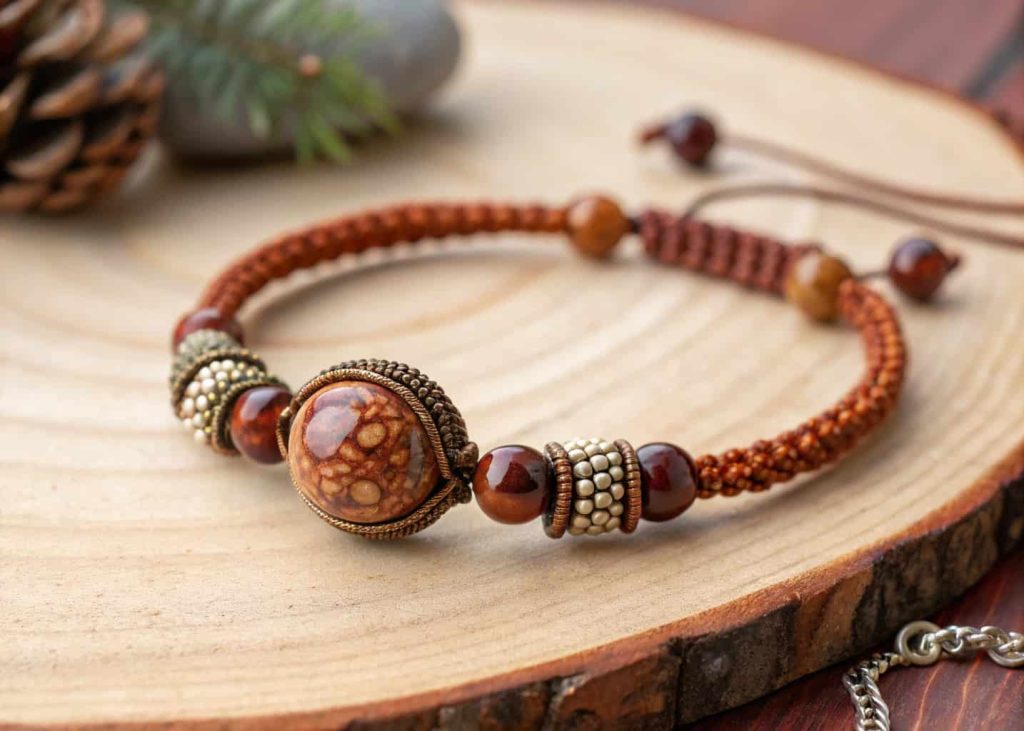
5. Use Chunky Statement Beads Sparingly
Big chunky beads look cheap when you use too many of them. But one or two large statement beads mixed into smaller ones? That looks intentional and high-end. I once bought a bag of large resin beads that looked pretty basic on their own. When I used just one as a focal point on a bracelet with tiny seed beads on either side, it looked designer. Think of it like an outfit — a statement necklace works because everything else is simple. Give your bold beads room to breathe and they will always look better than you expect.
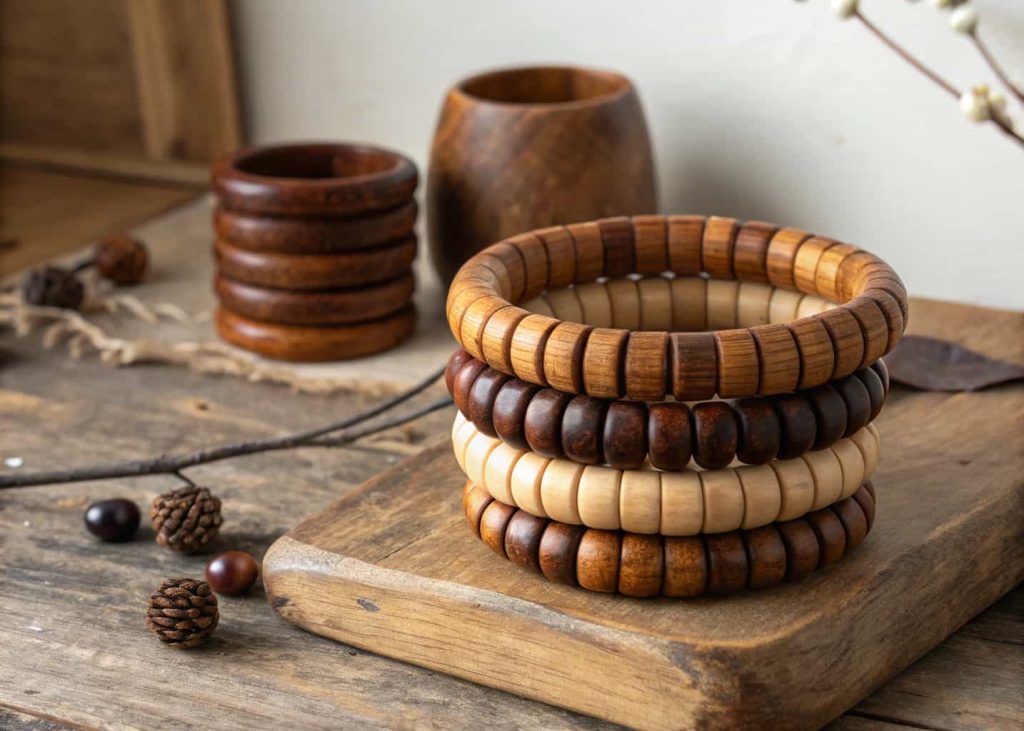
6. Incorporate Natural Wooden Beads
Wooden beads have this earthy, organic quality that looks genuinely luxurious when used right. They are incredibly affordable but people associate them with handcrafted artisan work. Sand them lightly if they feel rough. You can even stain them with watered-down acrylic paint to change the color while keeping the wood texture visible. I made a set of wooden bead bangles last year using beads from the dollar bin and a bit of walnut stain. People at a craft fair thought I was selling premium artisan pieces. Natural wood just has a warmth that plastic can never fake.
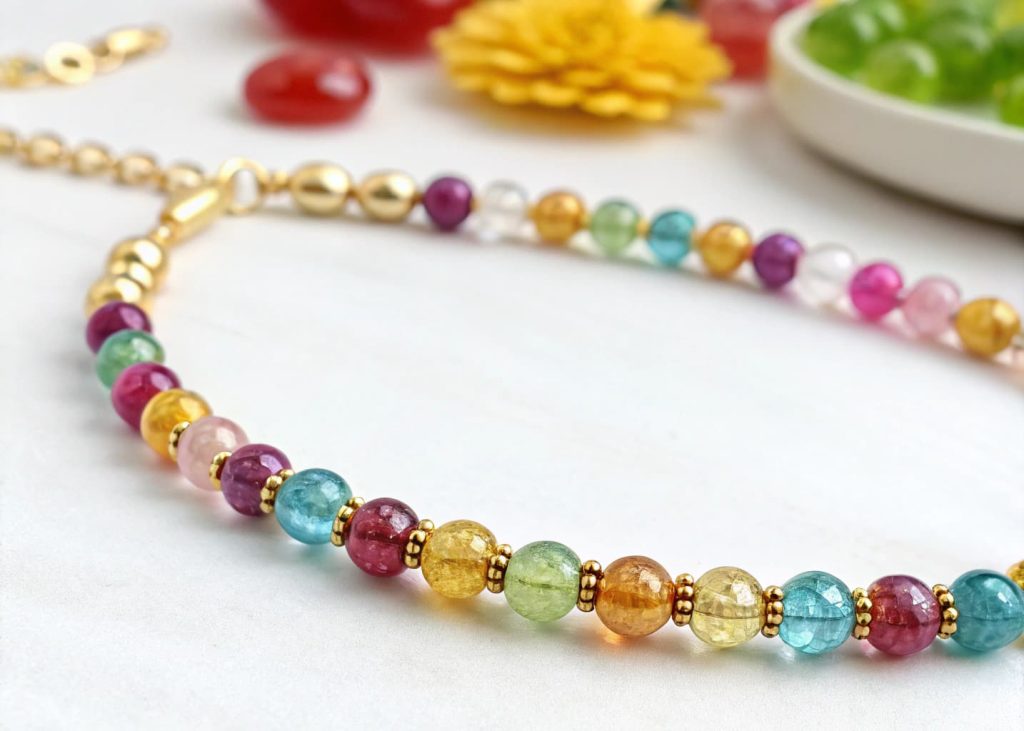
7. Create Patterns with Seed Beads
Seed beads are tiny, cheap, and endlessly flexible. The magic happens when you arrange them in deliberate geometric or floral patterns. Even a simple chevron or stripe pattern instantly makes a piece look like real craftsmanship went into it. I used to just string them randomly and wonder why things looked messy. Once I started planning a pattern on paper first and then beading it slowly and carefully, the results were night and day. Patterns signal skill and effort. Even if the beads cost almost nothing, the design work is what adds value.

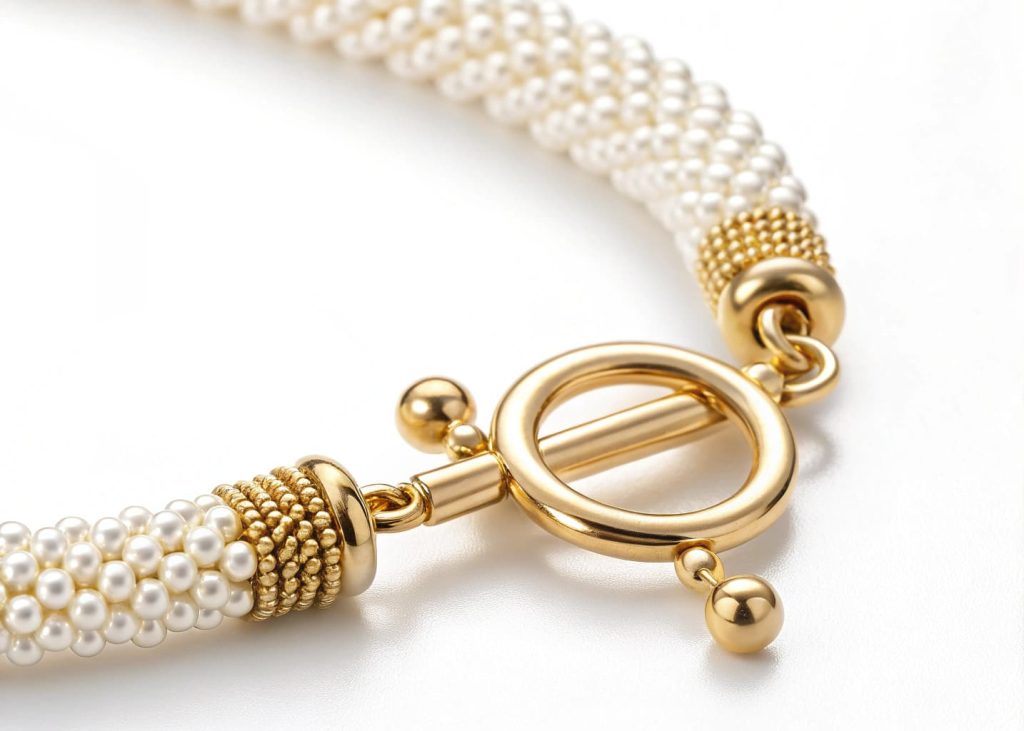
8. Finish with Quality Clasps and Findings
The clasp is the first thing people touch when they pick up your jewelry. A cheap lobster clasp with thin wire looks bad even on expensive beads. Swap out basic findings for something heavier and gold-toned or silver-toned. Toggle clasps, magnetic clasps, or even a simple tied knot look more intentional than a flimsy standard lobster claw. I once remade a bracelet just by replacing the old clasp with a toggle clasp I got for less than fifty cents. The whole piece felt more premium. No one looks at the beads as carefully as they look at how a piece opens and closes.
9. Paint Cheap Beads with Nail Polish
This sounds too simple but it works amazingly well. Plain white or clear acrylic beads become something special with a coat of metallic or pearlescent nail polish. You can create a marbled effect by using two colors and swirling them lightly before the polish dries. I used a rose gold and champagne nail polish combo on some plain white beads once. They looked like expensive enamel beads when they dried. The trick is to let each coat dry fully before handling. Nail polish also adds a subtle shine that makes plastic beads look almost ceramic. Total cost of upgrade: under a dollar.
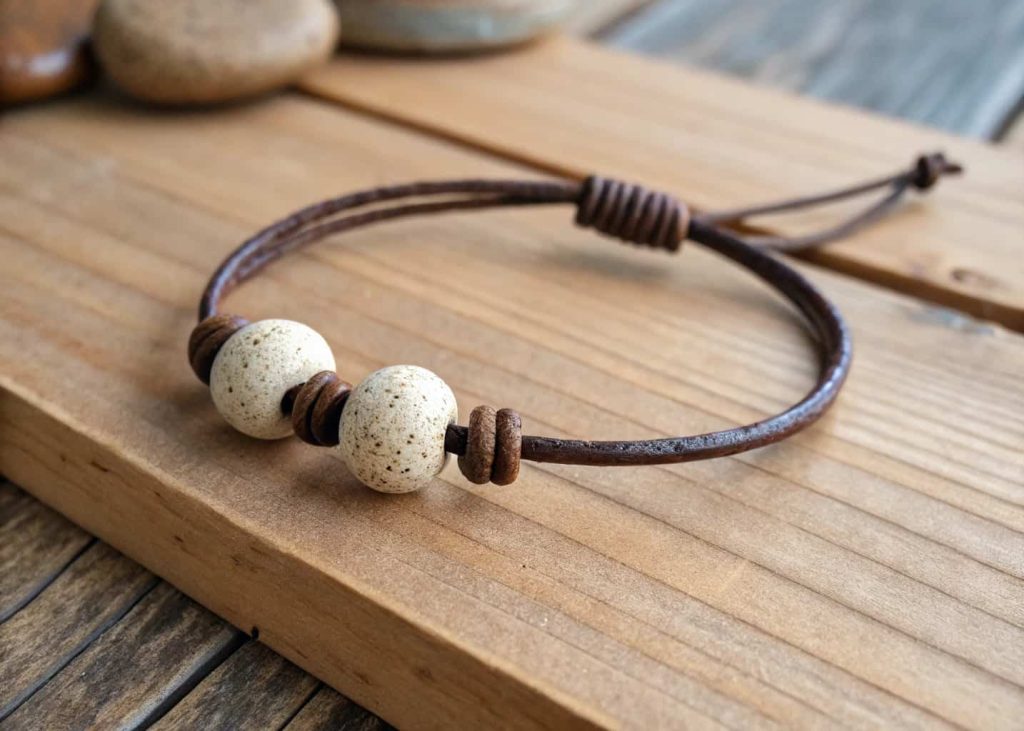
10. Combine Beads with Leather or Cord
Stringing beads on a plain nylon thread can look basic. But slide a few beads onto a leather cord or a waxed cotton cord and everything changes. Leather adds texture, warmth, and an earthy handmade quality that plain string just cannot give. I made a simple men’s bracelet once — three ceramic beads on a brown leather cord with a simple knot closure. It looked like something from a surf boutique. The cord itself carries so much of the aesthetic weight. You do not need many beads. Even two or three spaced beads on a good cord can look striking and completely intentional.
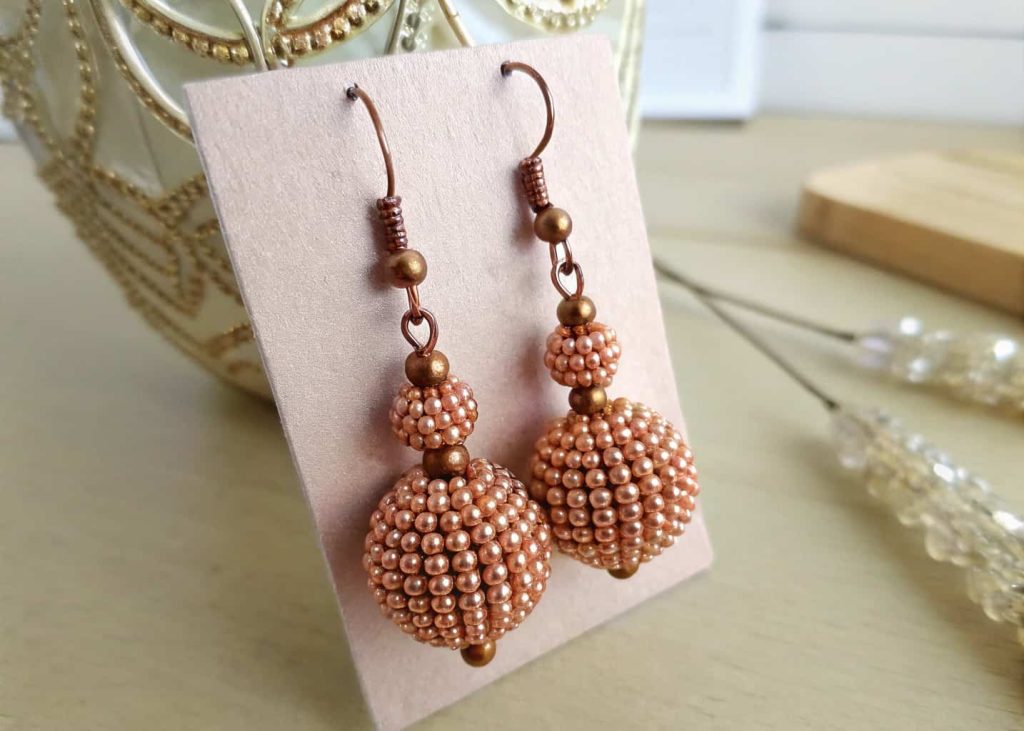
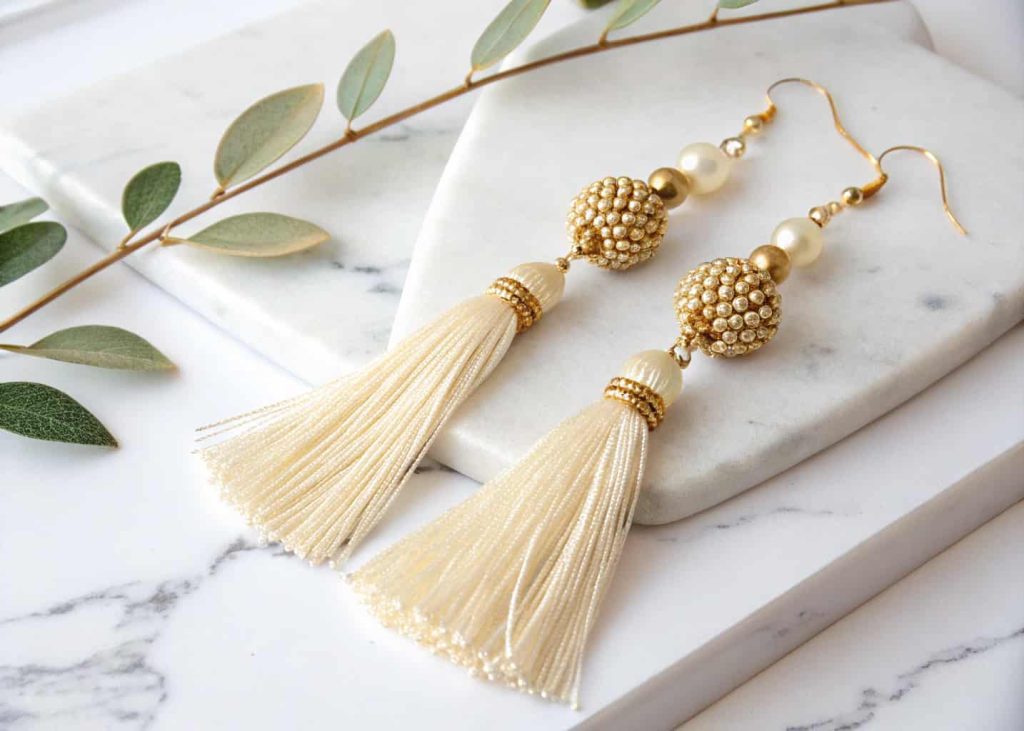
11. Make Tassel and Bead Combos
Tassels add movement, texture, and a designer feel to any piece. When you combine a simple bead strand with a small tassel at the end, it looks boutique immediately. You can make tassels yourself from embroidery thread — it costs almost nothing. I add them to earrings, keychains, bookmarks, and bag charms. A single gold bead at the top of a silk-style tassel looks incredibly elegant and polished. The tassel itself draws the eye and creates a focal point that makes everything look more put-together. People rarely expect cheap materials when they see a tassel involved.
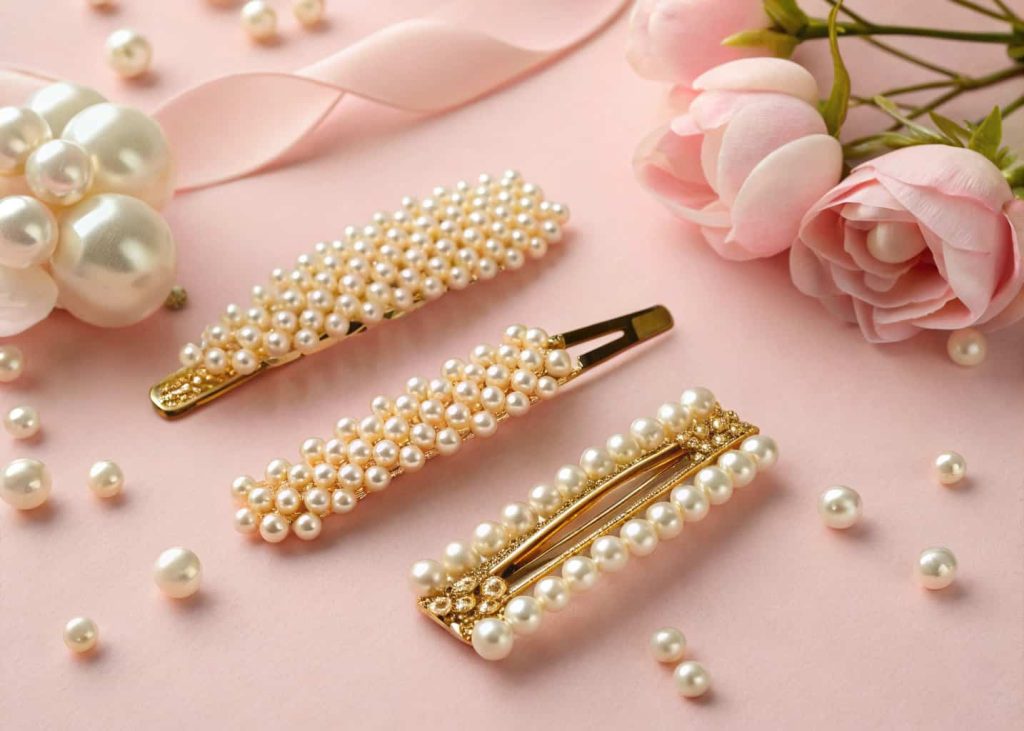
12. Use Beads to Decorate Plain Hair Accessories
Hair clips, headbands, and bobby pins from the dollar store can become your best accessories with a few beads glued or wired on. Pearl-style beads on a simple black hair clip look vintage and elegant. Seed beads woven into a thin headband look intricate and expensive. I gave a pack of plain black clips to a friend after spending an hour adding tiny gold and pearl beads to each one. She wore them to a wedding and got compliments all day. People assume effort equals cost. When something looks carefully made, they assume it was expensive. The beads just help sell that story.
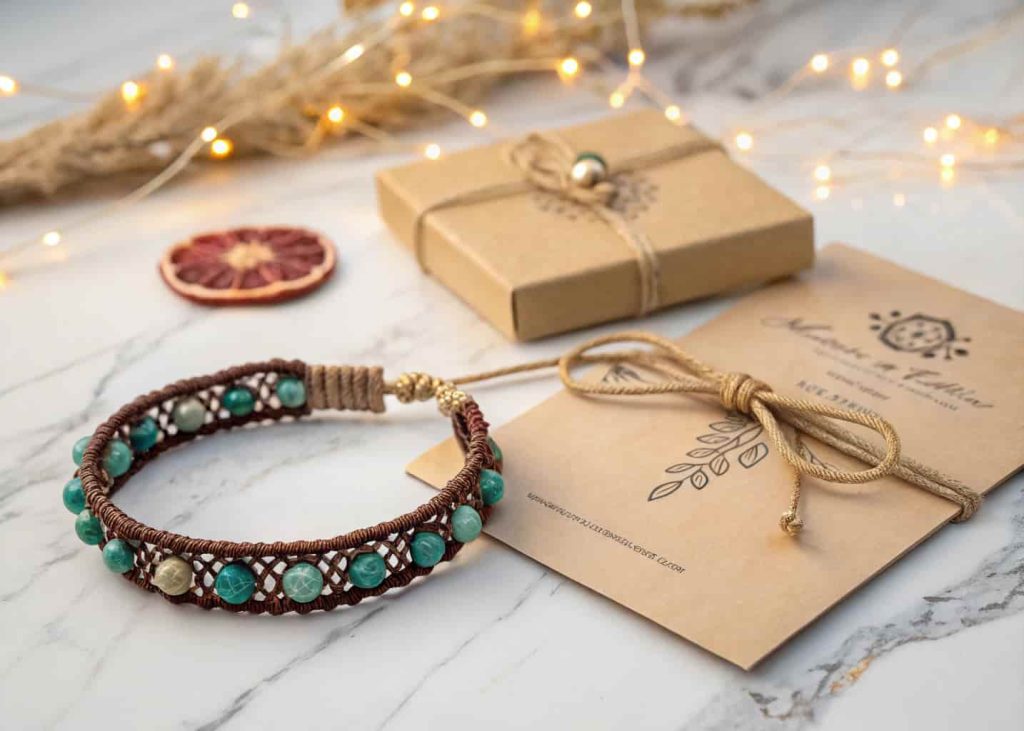
13. Display and Package Your Work Beautifully
This last one has nothing to do with the beads at all but it might be the most important tip here. How you present your work changes how people perceive it. Place your bracelet on a small piece of velvet or a kraft paper card. Tie it with a simple ribbon. A photo of your piece on a marble surface with good natural light looks ten times better than the same piece photographed on a messy table. I started putting my handmade pieces on small cardboard display tags — the kind you can cut yourself — and suddenly everything I made looked like a proper product. Presentation is part of the craft.
Final Thoughts
You do not need expensive materials to make beautiful jewelry and bead crafts. What you need is a good eye, a bit of patience, and the willingness to experiment. I have spent maybe a few dollars total on some of my most complimented pieces. The tricks above are things I have genuinely tested and used. Start with one or two ideas and see what happens. Mix matte and shiny. Add a toggle clasp. Use leather cord. Present your work on a nice surface. Each small upgrade stacks on the others. Before long, you will be the person everyone asks about — and you will smile knowing your secret.