Introduction to Halloween Crafts
Most Halloween craft guides assume you already own a hot glue gun, a stash of felt, and a Cricut sitting in a closet somewhere. This one doesn’t assume that. Everything here works with supplies you can grab from a dollar store or already have lying around the house — cardboard boxes, old jars, black trash bags. The goal isn’t a Pinterest-perfect result on the first try; it’s something that looks intentional and holds up if a kid touches it forty times before October 31st.
Paper Craft Ideas for Beginners
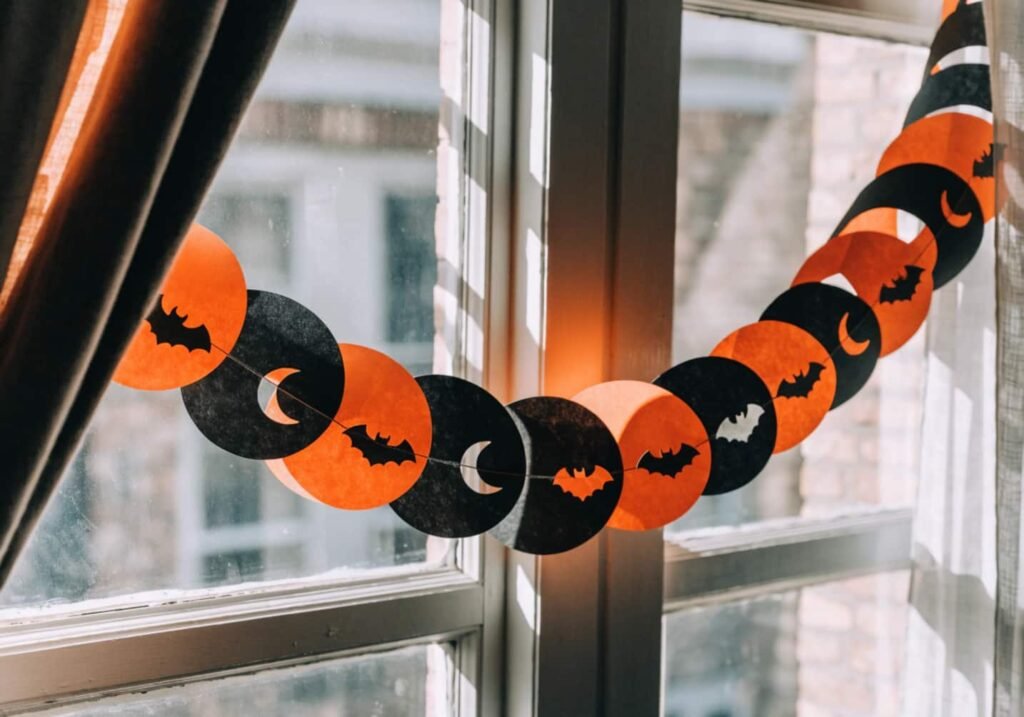
Construction paper chains are the easiest place to start. Still, the version most people make — plain orange and black loops — looks better with one small change: alternate a solid loop with a loop that has a simple shape hole-punched or cut out of it (a small moon, a bat outline) so light passes through when it’s hung near a window. For paper bats, fold a rectangle of black cardstock in half, cut a wing shape from the fold so both sides mirror automatically, then punch two small white dot eyes with a standard hole punch rather than cutting them by hand — it’s faster and comes out symmetrical every time.
Pumpkin Carving and Painting Techniques
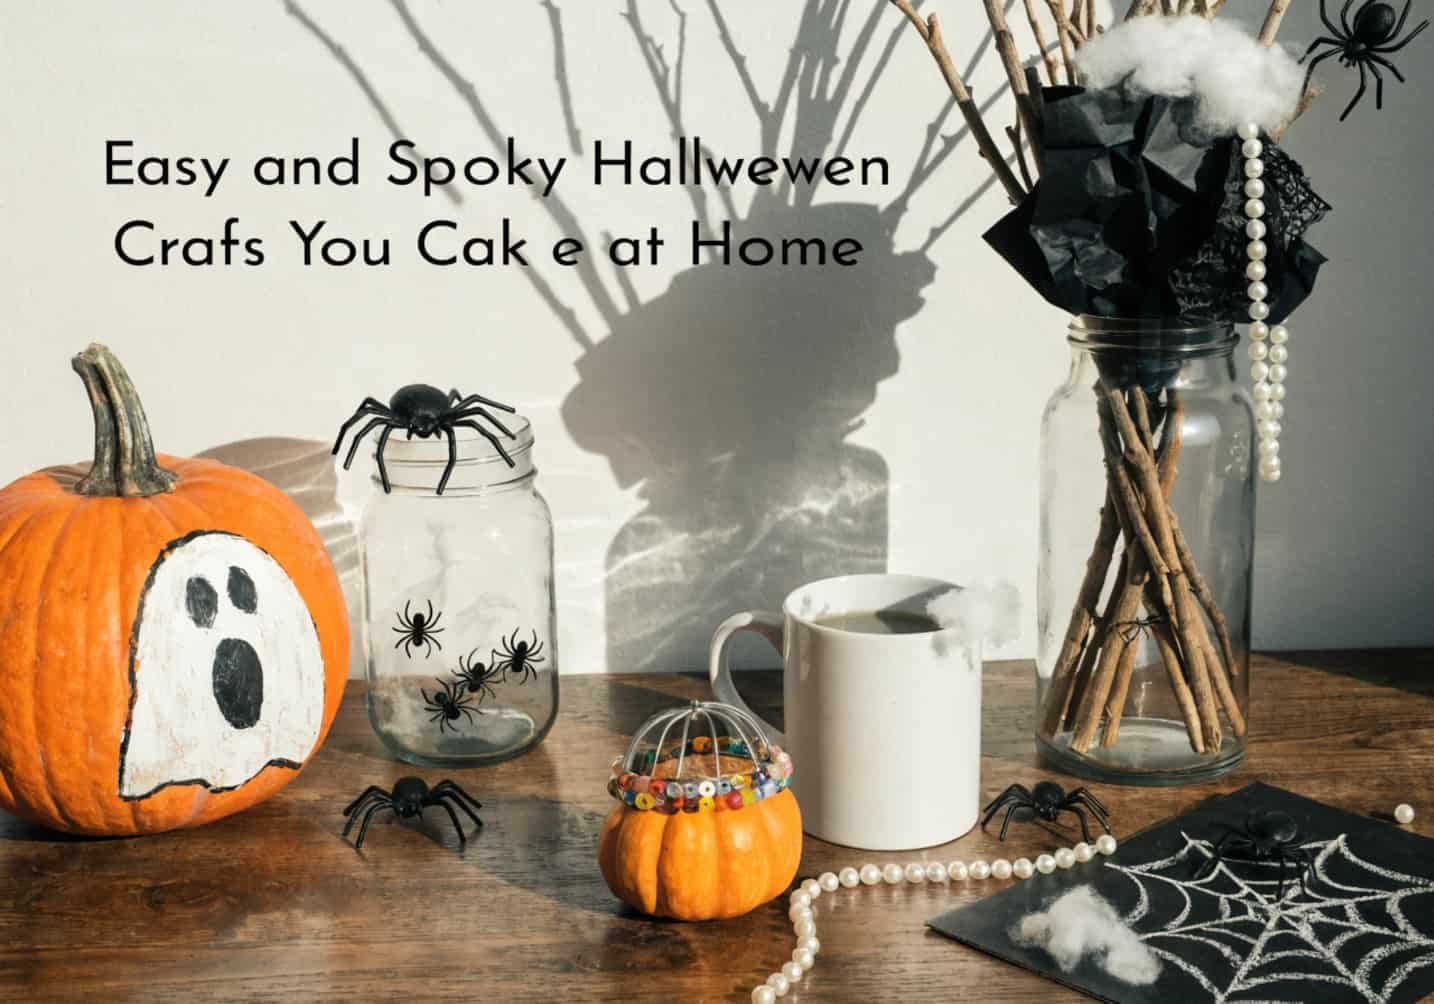
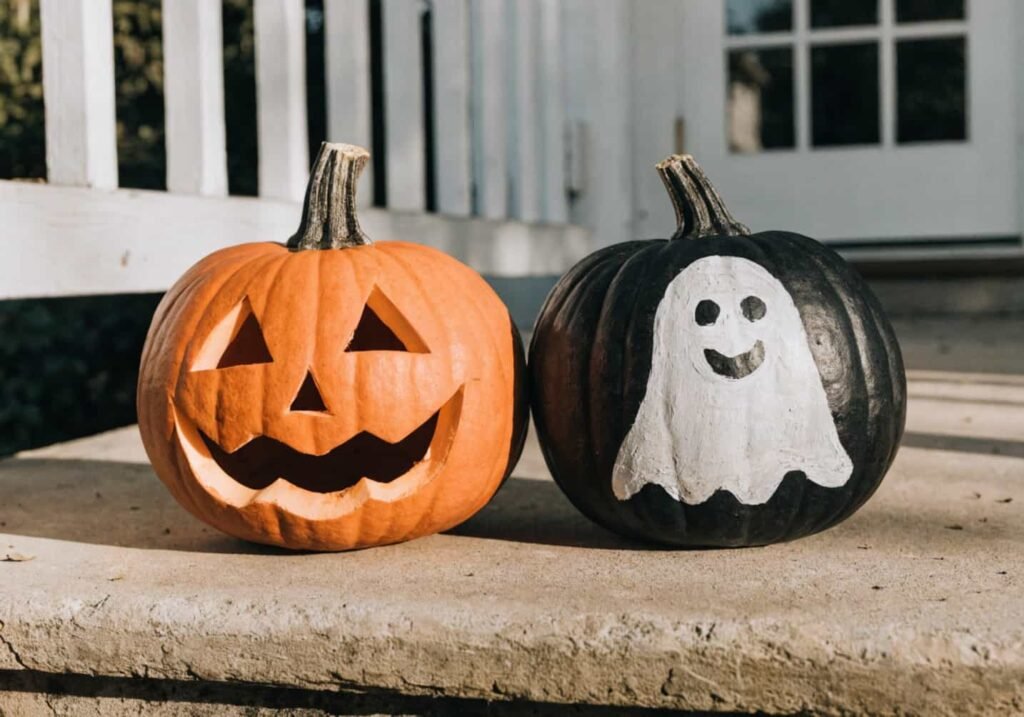
Carving and painting solve different problems, and it’s worth knowing which one fits your situation before you buy a pumpkin. A carved pumpkin looks more dramatic lit up at night but only lasts 3 to 5 days once cut, faster in warm climates, since the exposed flesh starts collapsing almost immediately. Painted pumpkins last weeks — sometimes through November — because the skin stays sealed. For carving, use a serrated pumpkin saw rather than a kitchen knife; kitchen knives bind in the thick flesh and are actually more likely to slip. For painting, acrylic craft paint (not the pumpkin itself, which is porous and matte) needs two thin coats rather than one thick one, or it cracks as the pumpkin naturally shrinks over the following week.
DIY Halloween Decorations for Home
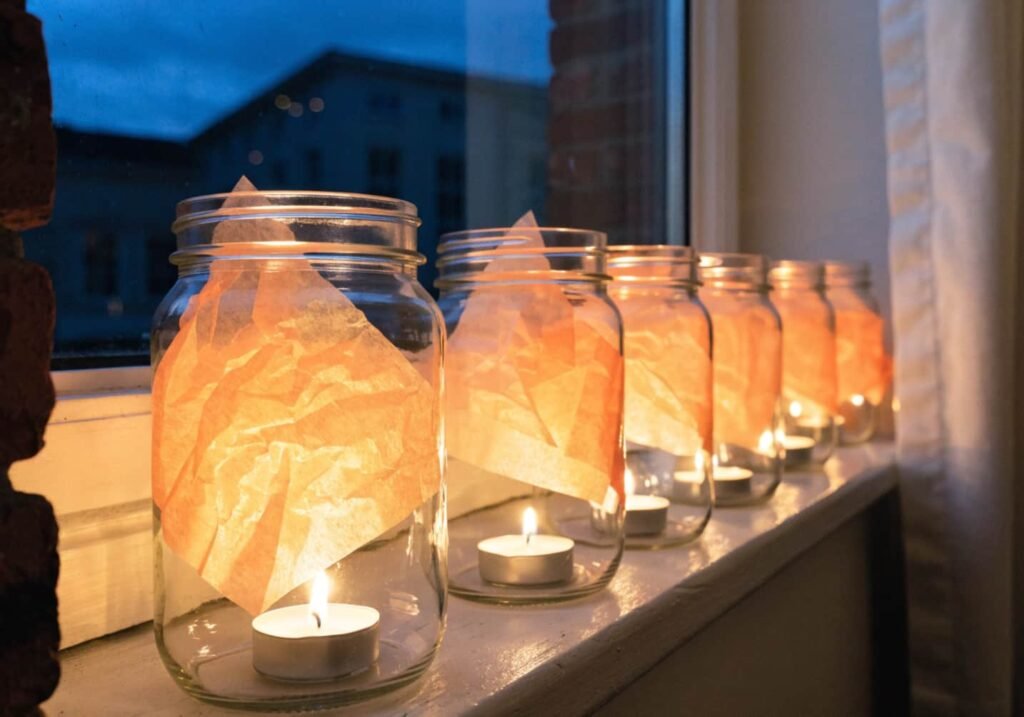
Mason jars with a strip of orange or black tissue paper glued around the inside, then a battery tea light dropped in, give you a flicker effect without an open flame — genuinely safer than actual candles if you’ve got kids or pets running around during a party. A cheesecloth-draped branch, gathered from the yard and stuck in a vase, makes convincing “creepy tree” decor for under a dollar; twist the cloth slightly as you drape it so it doesn’t sit flat and look like a bedsheet.
Kid-Friendly Craft Projects
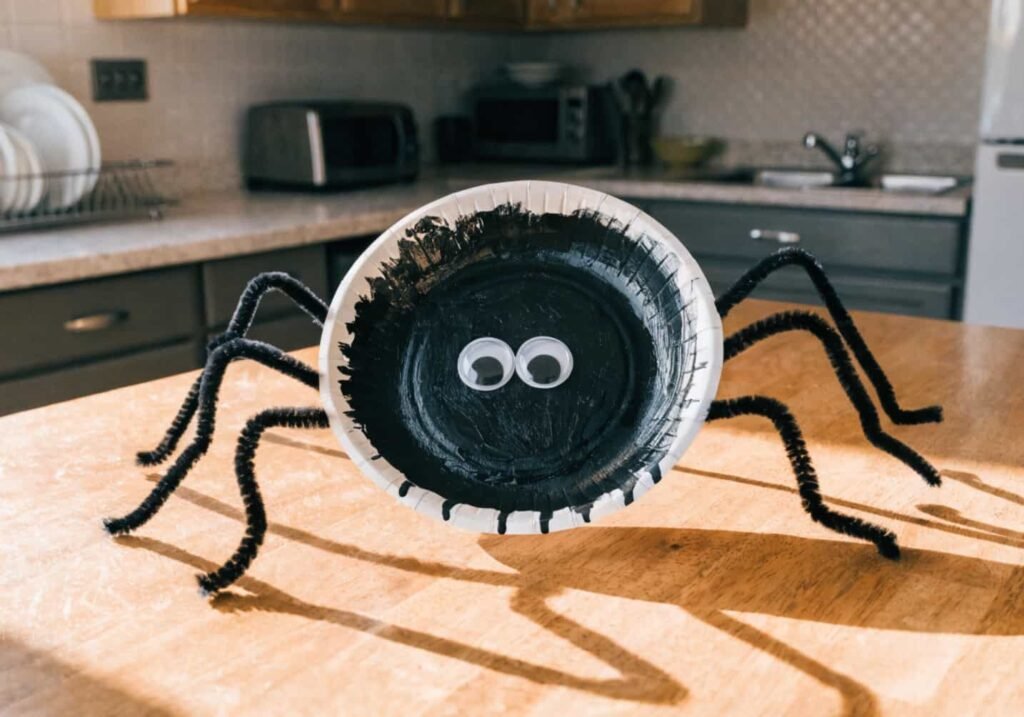
Paper plate crafts hold up best with younger kids because the base shape is already round and sturdy — a paper plate spider (paint black, glue on eight black pipe cleaner legs, add googly eyes) is achievable for a five- or six-year-old with minimal adult help beyond the glue step. Handprint crafts are a genuine trade-off worth mentioning: they’re adorable and make a good keepsake, but paint handprints take real drying time and patience from a toddler, so they work better as a planned one-off activity rather than something squeezed into a group party where kids are moving fast.
Spooky Crafts From Recycled Materials
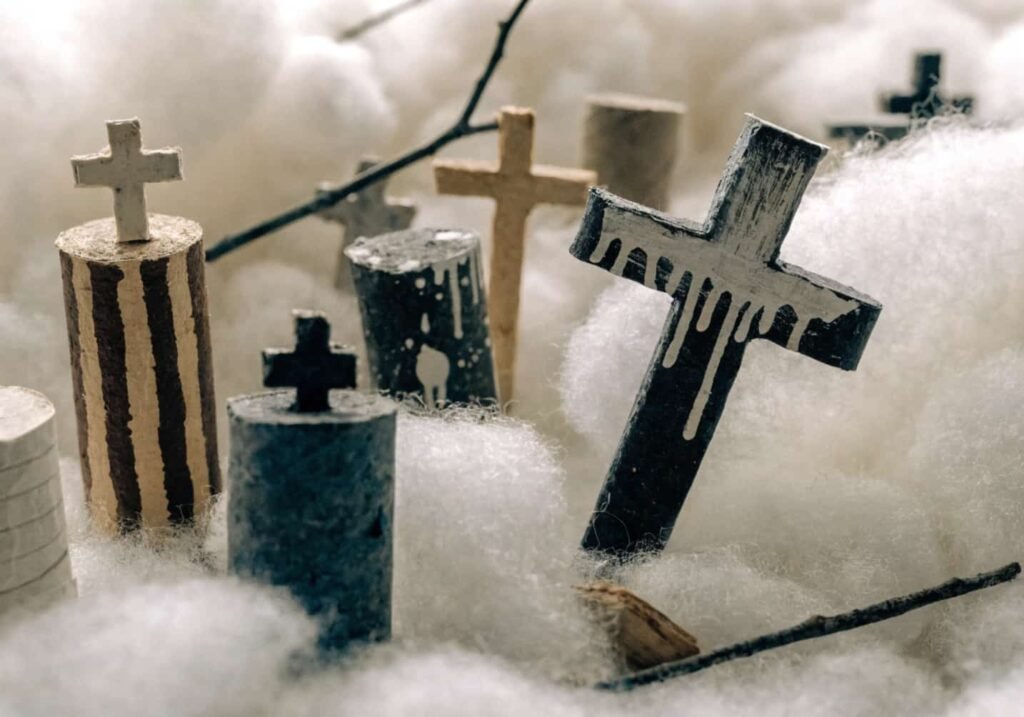
An empty cereal box cut and folded into a simple haunted house shape, then painted, gives you a freestanding decoration with zero material cost beyond paint. Toilet paper rolls make convincing tombstones when flattened slightly, painted grey, and given a hand-lettered “R.I.P.” in black marker — line up five or six of these in a shallow box of cotton batting “fog” for a mini graveyard scene that costs almost nothing and packs flat for storage afterward.
DIY Halloween Costume Accessories
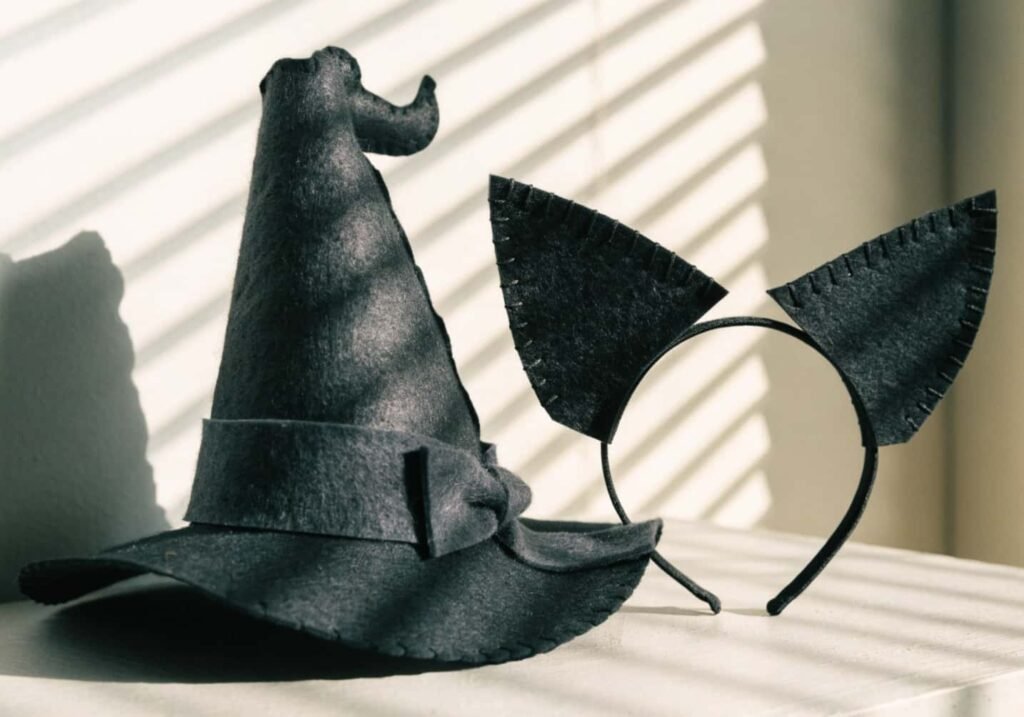
Witch hats, cat ears, and simple masks are almost always cheaper and better-fitting homemade than store-bought last-minute versions. A witch hat from black craft foam (a large sheet runs about $2–3) — cut a cone for the top and a wide circle brim, hot glue the seam, and add a strip of felt or ribbon at the base — holds its shape far better than the flimsy fabric hats sold in seasonal aisles. For cat ears, hot-glue a simple triangle of black felt to a plain headband rather than buying pre-made ones; it takes about ten minutes and the felt version doesn’t flop over the way cheap store versions often do by the third hour of wear.
Glow-in-the-Dark Craft Ideas
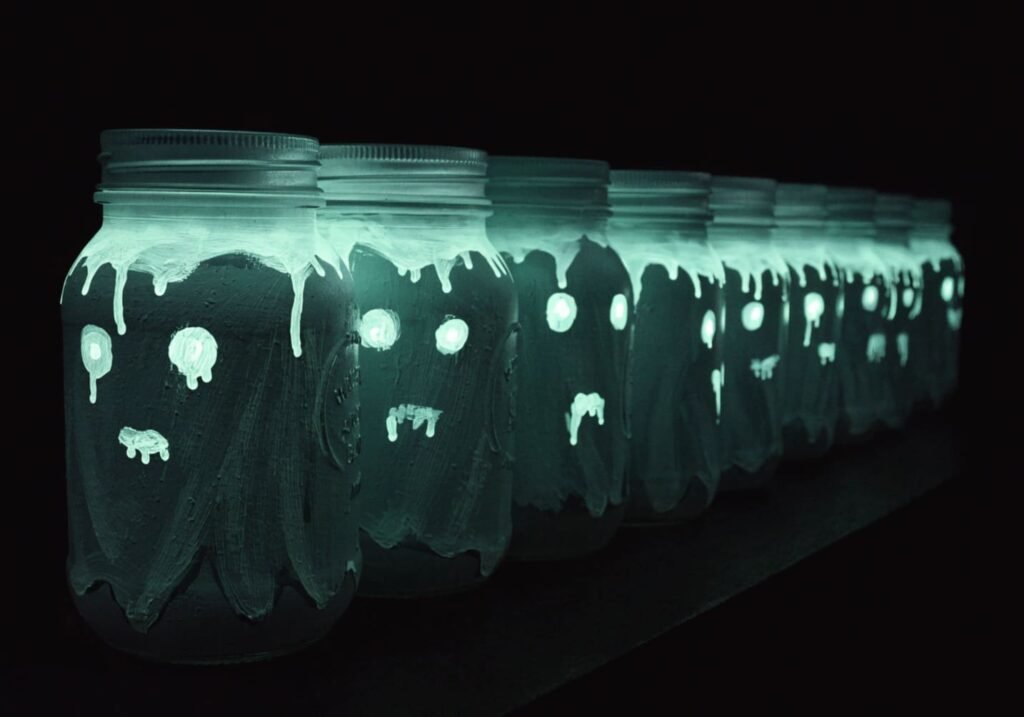
Glow-in-the-dark paint needs light exposure to work, not darkness — a common misconception. Charge painted pieces under a bright lamp or in sunlight for 10 to 15 minutes before the room goes dark, and expect the glow to fade noticeably after 20 to 30 minutes rather than lasting all night. Glow paint pens work best on small details rather than covering an entire shape, since large glow-painted areas fade unevenly and end up patchy toward the edges before the center does. Painted mason jar ghosts (a white balloon-shaped painted jar with glow paint dabbed at the top for “eyes”) work well as a party centerpiece that does something as the room darkens.
No-Carve Pumpkin Decoration Ideas
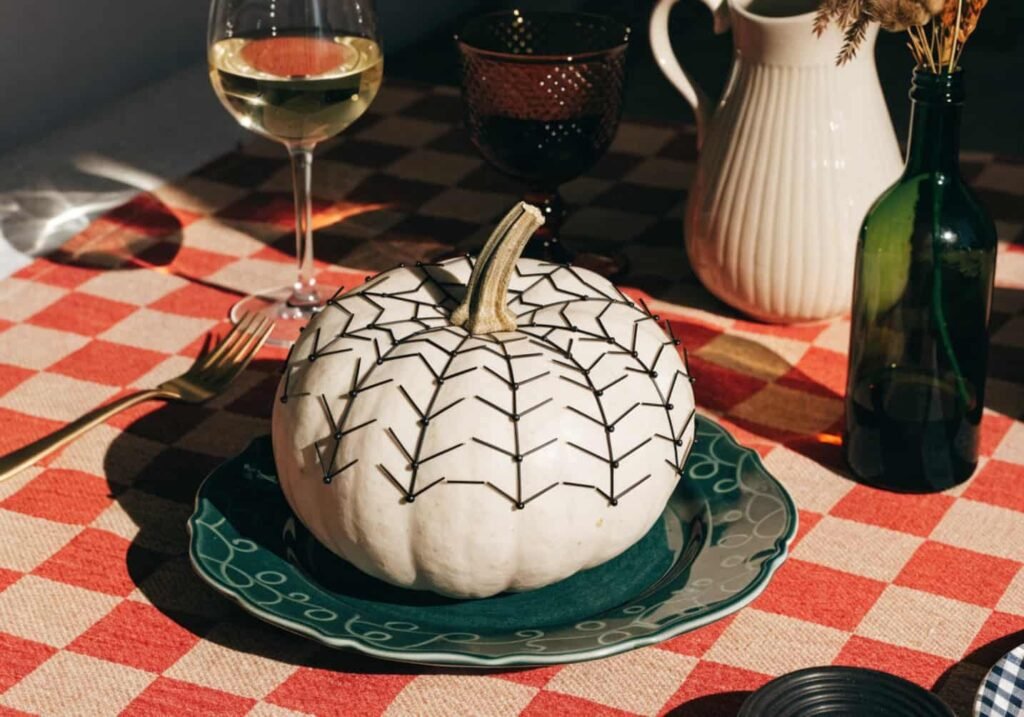
Beyond painting, pushpins are an underrated no-carve technique: pressing black thumbtacks into a pumpkin in a spiderweb or face pattern takes about the same time as light carving but leaves the pumpkin intact underneath, so it lasts significantly longer and can be reused as a plain pumpkin afterward if you pull the pins out. Washi tape works for a cleaner, more modern look — strips of black and orange tape in a geometric pattern around the pumpkin, no mess, fully removable, and safe for a pumpkin you’re not ready to commit to decorating permanently.
Halloween Wreath Making Guide
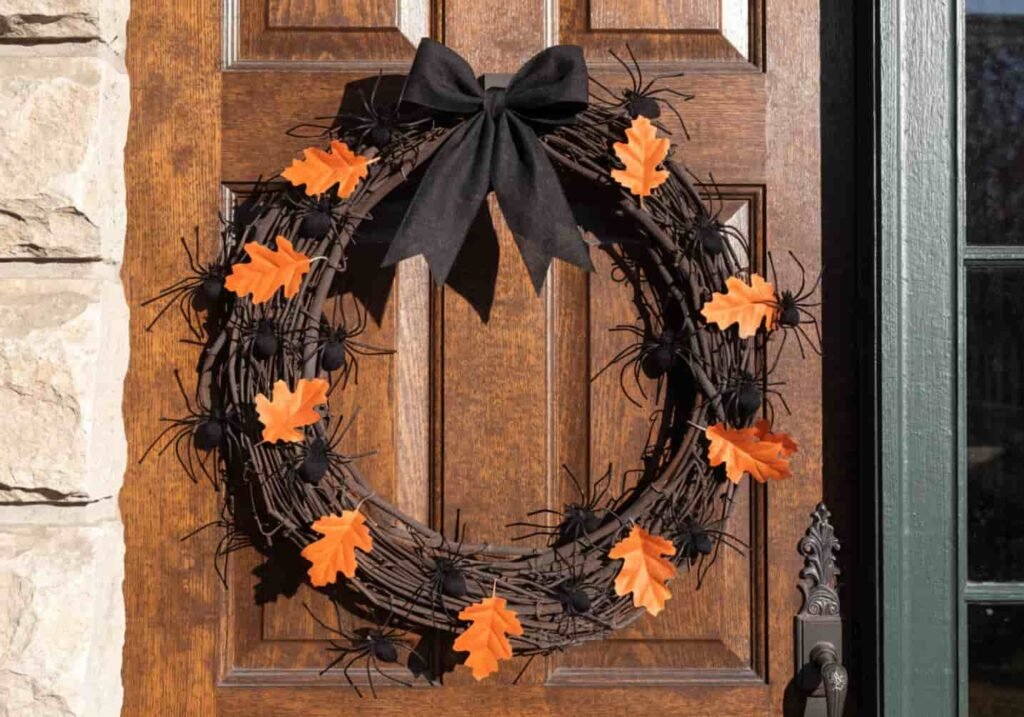
Start with a foam or grapevine wreath base (grapevine, roughly $8–12 for a 12-inch size, holds heavier attachments better than foam). Hot glue is faster than floral wire for attaching lightweight paper or fabric elements, but floral wire holds up better over weeks for anything heavier, like small plastic pumpkins or fake foliage — glue alone tends to pop loose after repeated door slams if the wreath hangs on an entry door. Build from the outside in: attach your biggest statement pieces first (a bow, a large silk spider), then fill gaps with smaller accents last, rather than trying to plan the whole thing evenly from the start.
Spider Web and Ghost Crafts
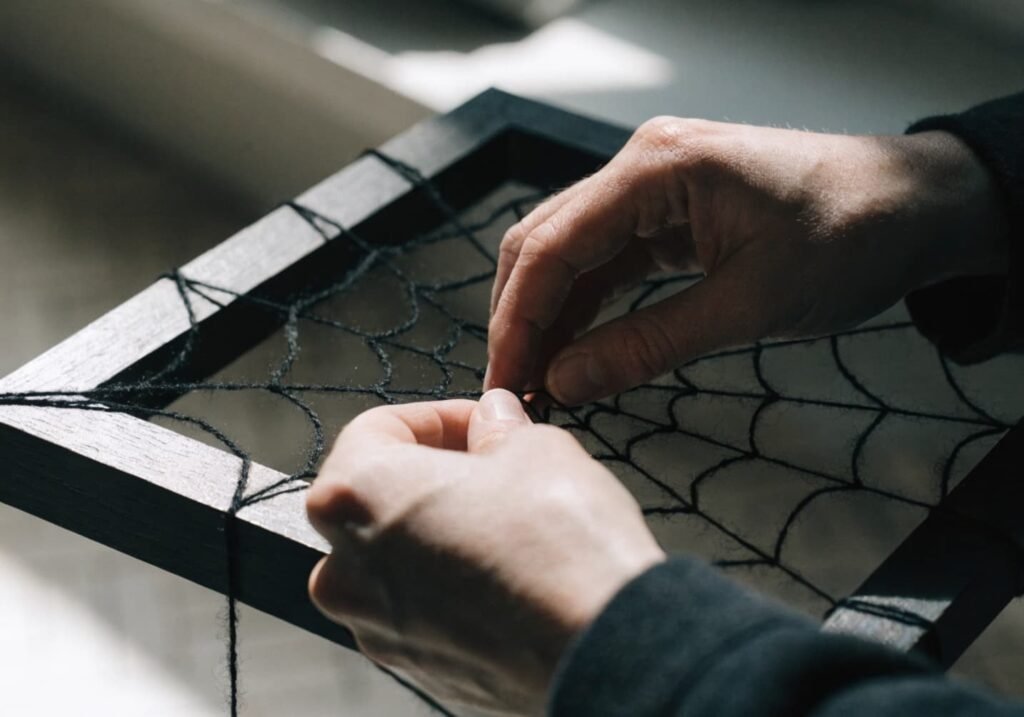
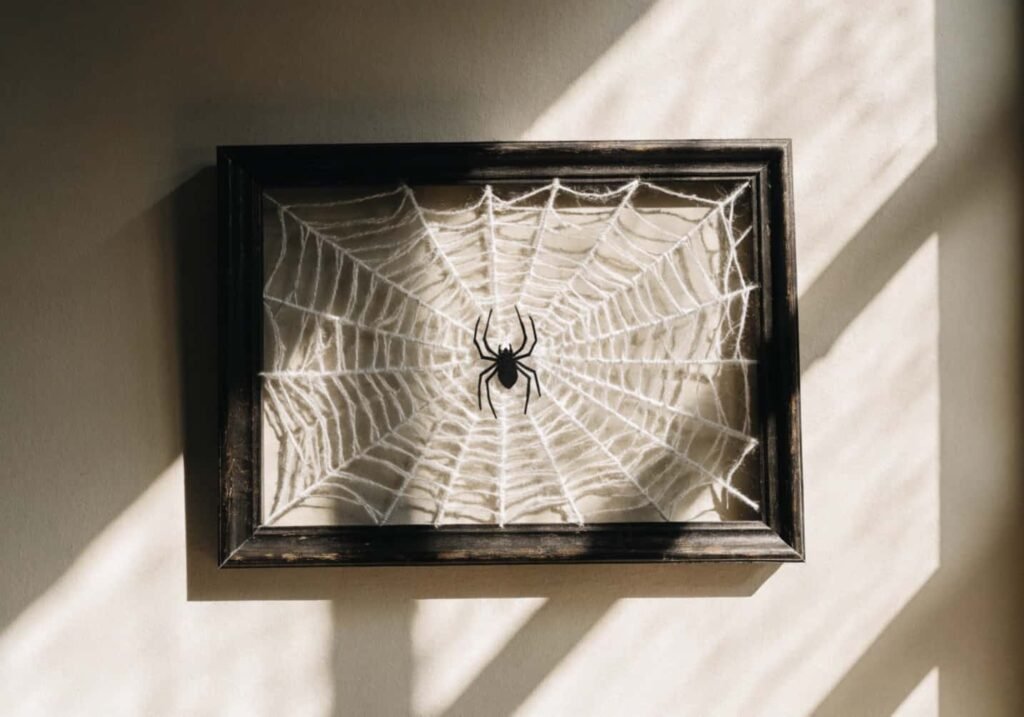
Stretchy polyester “spider web” material (sold cheap around Halloween, usually $2–4 a bag) looks better pulled thin and layered in two spots rather than piled thick in one corner — thick clumps read as messy cotton rather than a web. For a genuinely convincing yarn spider web instead, wrap black or white yarn in a loose star pattern across a picture frame with the glass removed, tying knots at each intersection; it takes about 15 minutes and holds its shape far longer than stretchy synthetic webbing, which sags within a week.
For ghosts, the classic cheesecloth-over-a-balloon method (drape stiffened cheesecloth over an inflated balloon, let dry, then pop and remove the balloon) makes a genuinely three-dimensional ghost shape that store-bought flat ghost decorations can’t match.
Group Activity Craft Ideas for Parties
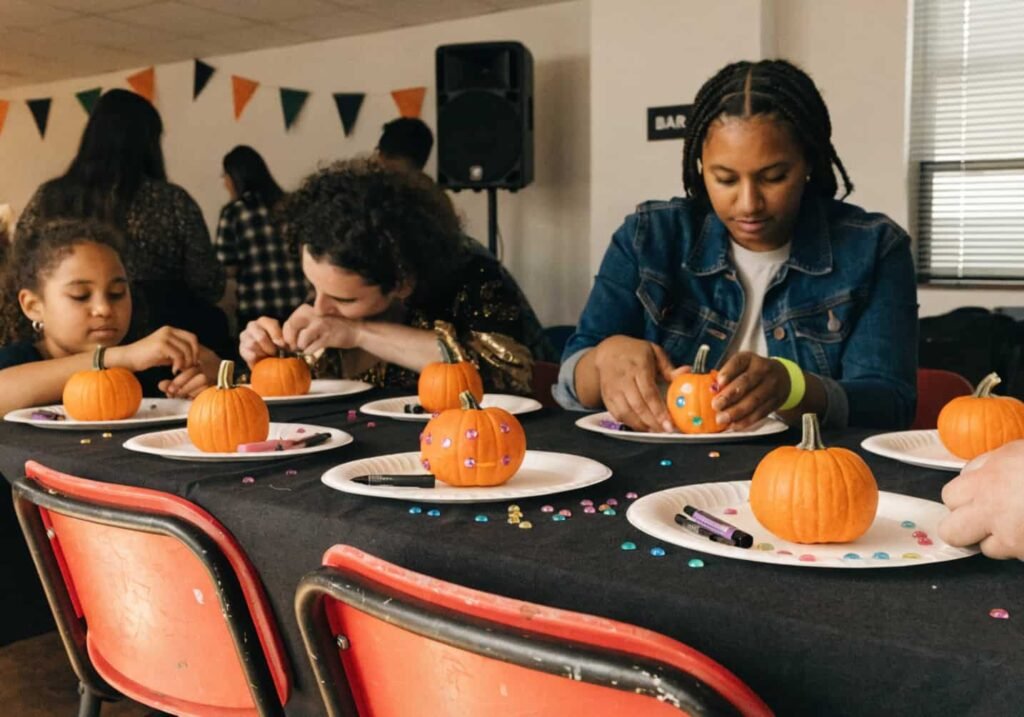
For a group of kids or teens at a party, pick crafts with a fixed number of steps and identical materials per person so nobody’s waiting around — a pre-cut paper bat kit where everyone just assembles and decorates works better than an open-ended painting station, which tends to have a few kids finish in two minutes and others still going twenty minutes later. Set up a “decorate your own mini pumpkin” station with mini pumpkins (often $1–2 each), paint pens, and stick-on gems; it scales well because each person’s pumpkin is self-contained and doesn’t depend on shared drying space the way group painting projects do.
Budget-Friendly Craft Supplies List
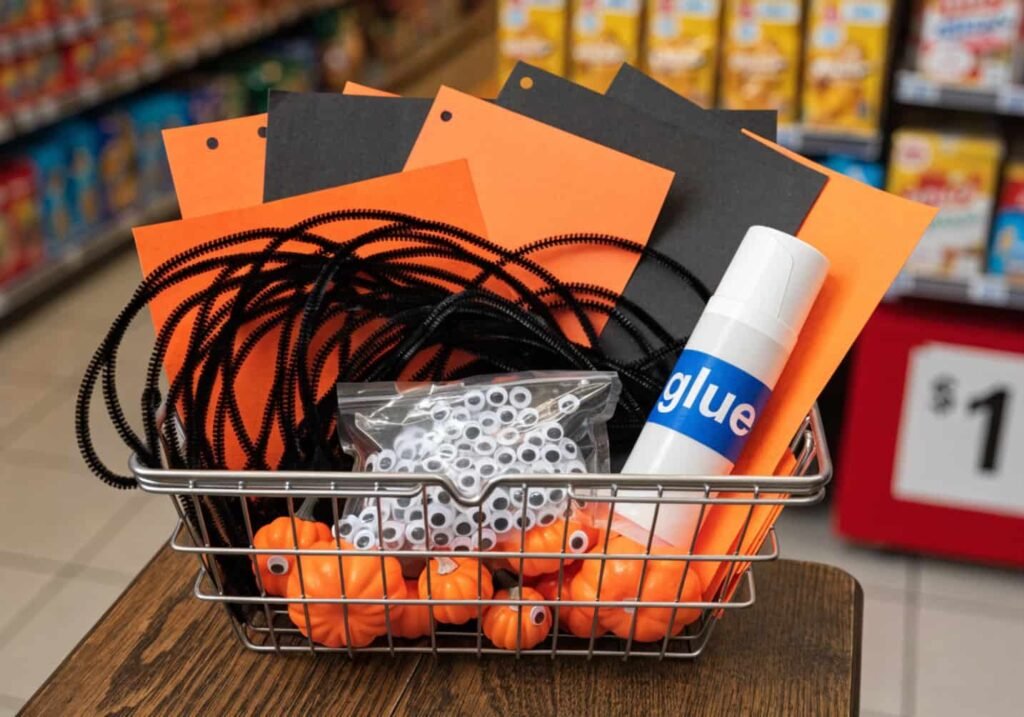
A dollar store trip typically covers black and orange cardstock, pipe cleaners, googly eyes, a bag of stretchy web material, and mini pumpkins for roughly $10–15 total for a party’s worth of supplies. Compare that to a pre-packaged Halloween craft kit, which usually runs $15–25 for a single project’s worth of materials with less flexibility in what you actually make. The trade-off is time again: kits are grab-and-go, dollar store supplies require you to plan the project yourself, but for anything you’re doing with more than one or two kids, the dollar store route stretches noticeably further per dollar spent.
Step-by-Step Craft Tutorials
Pick one project — the yarn spider web works well as a first attempt since it needs no cutting skill. Remove the glass and backing from an old picture frame. Tie one end of black or white yarn to a corner of the frame, then loop it across to the opposite corner and back, building a loose star pattern with six to eight main strands running through the center point. Once the main structure’s in place, wrap yarn in a spiral outward from the center, looping once around each main strand as you cross it to lock the spiral in position — this is the step most tutorials skip, and it’s the difference between a web that holds its shape and one that sags into a tangle within a day. Tie off the end, trim excess, and add a small paper or pipe cleaner spider at the center.