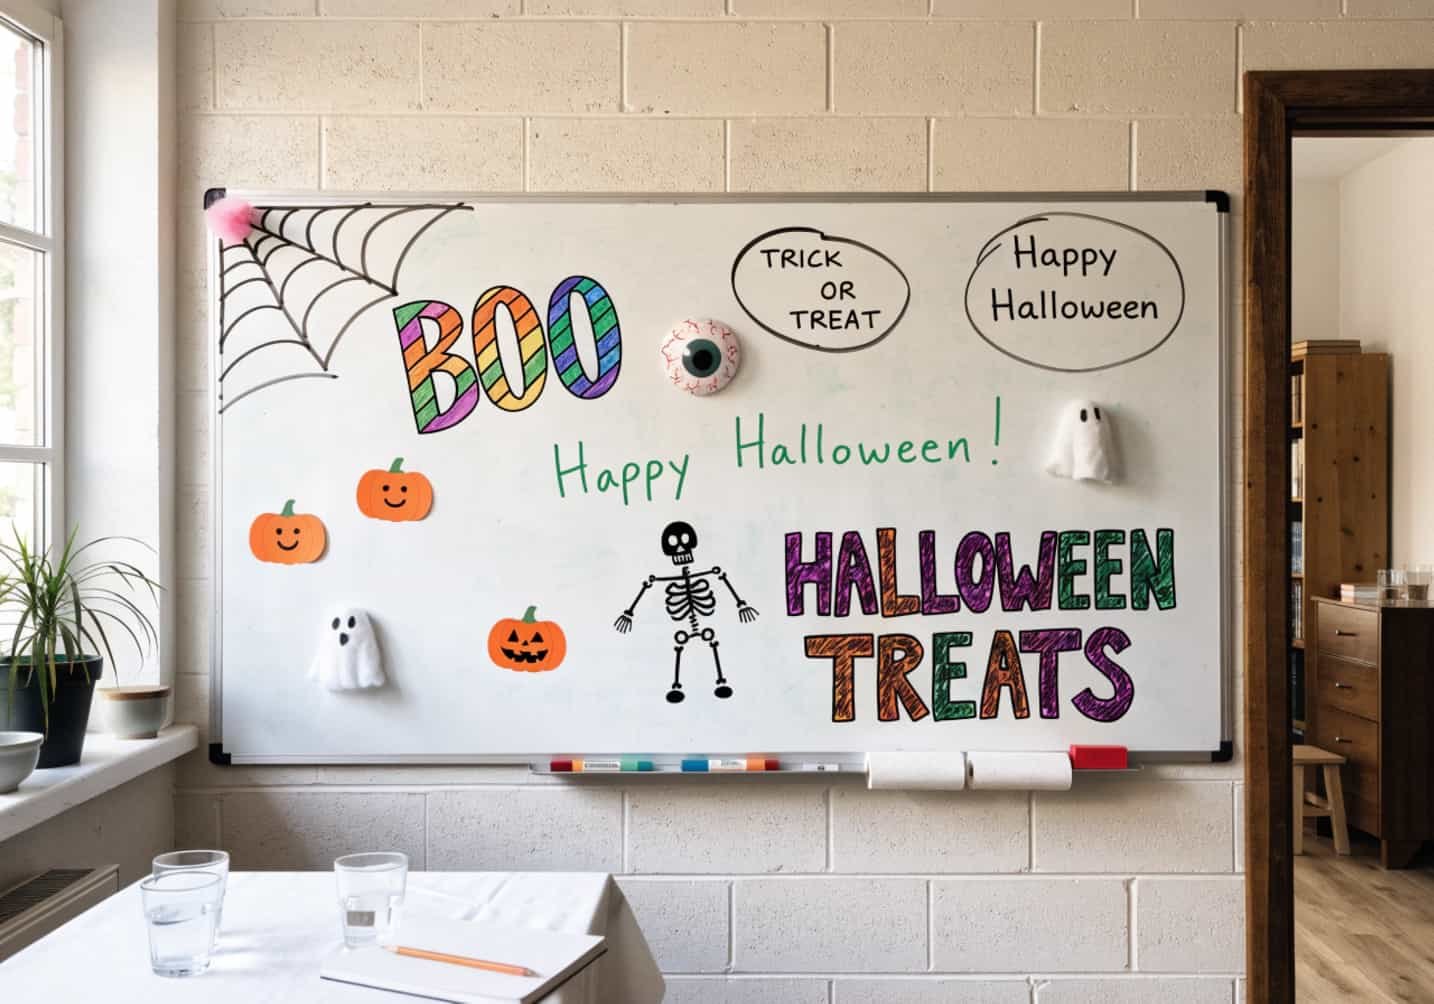
Halloween Whiteboard Ideas get treated as an afterthought compared to cork boards, but they’re actually easier to redo — no cutting, no pins, just markers and an eraser. The catch is that dry-erase surfaces punish sloppy technique in a way paper doesn’t, since every stray line is visible until you wipe the whole thing. Here’s what actually works, section by section.
1. The Basics of Whiteboard Decoration
Standard melamine whiteboards (the kind in most classrooms and offices) work fine with dry-erase markers, but glass or ceramic-coated boards hold ink cleaner and resist ghosting — the faint shadow left behind after repeated erasing. If your board already has ghosting, wipe it down first with a small amount of rubbing alcohol on a microfiber cloth before you start drawing; skipping this step means new colors will look muddy against the old residue.
Plan your layout in a light dry-erase outline first if you’re doing anything detailed, like a pumpkin patch scene. Committing straight to bold marker lines with no plan is the fastest way to end up with a lopsided design you then have to erase and restart.
2. Marker Colors That Set the Halloween Vibe
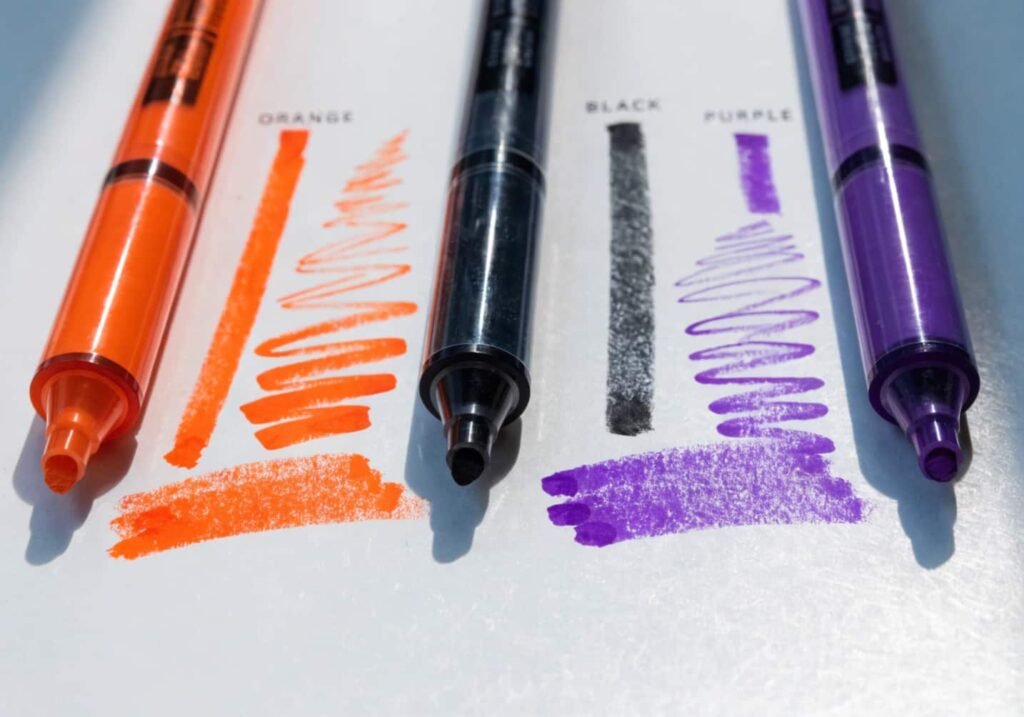
Most dry erase marker packs come with black, red, blue, and green — none of which is orange, which is a problem for an obviously Halloween-themed board. You’ll need a separate specialty pack (brands like Expo or Crayola sell fall/seasonal color sets, usually $6–10 for six colors) that includes orange, purple, and a proper black. Neon dry erase markers exist too, but they tend to be thinner-tipped and streakier — fine for small accents, bad for filling in large shapes.
One thing worth knowing: darker colors like purple and black show up better on white boards than they do on paper, so you can get away with a smaller color palette than you’d use for a paper craft and it will still look intentional rather than sparse.
3. Simple Spooky Doodles and Sketches
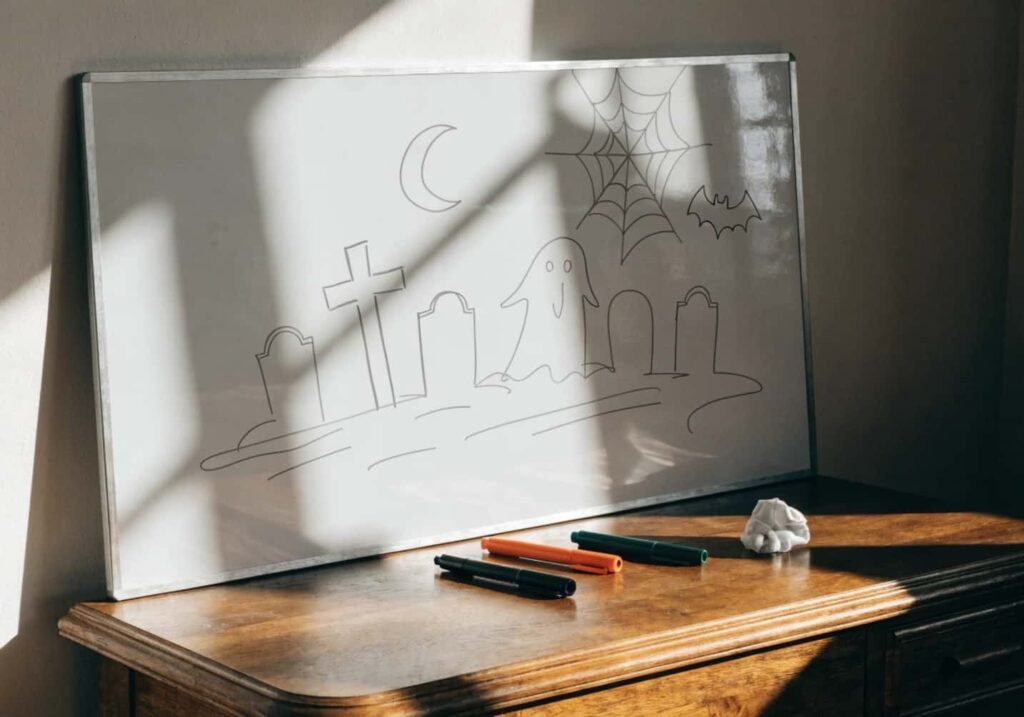
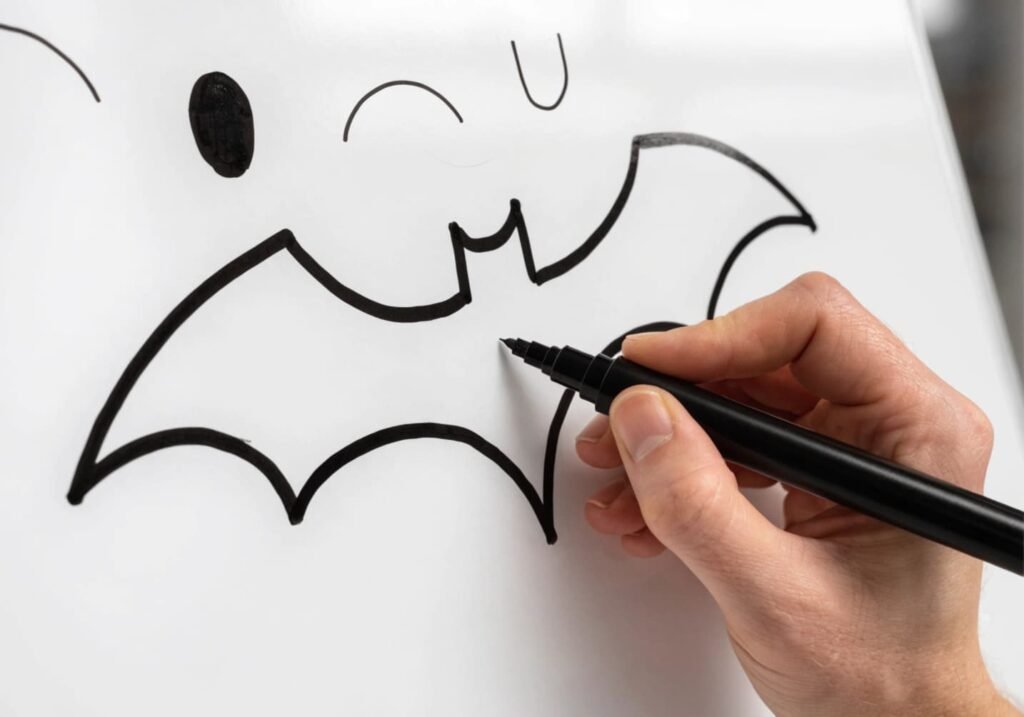
You don’t need to be able to draw well to make this work — most spooky shapes break down into basic geometry. A ghost is an oval with a wavy bottom edge and two dot eyes. A bat is two connected triangles with a small oval body. A spider is a circle with four bent lines on each side. Draw the shape lightly first, then go over it once with a bold outline and fill in details second — trying to freehand a bold line on the first pass is where most wobbly, uneven doodles come from.
For anything repeated multiple times across a board, like a row of bats, trace one shape, take a phone photo of it, and use that as your reference each time rather than trying to redraw from memory. It keeps the sizing consistent.
4. Halloween Puns and Funny Quotes
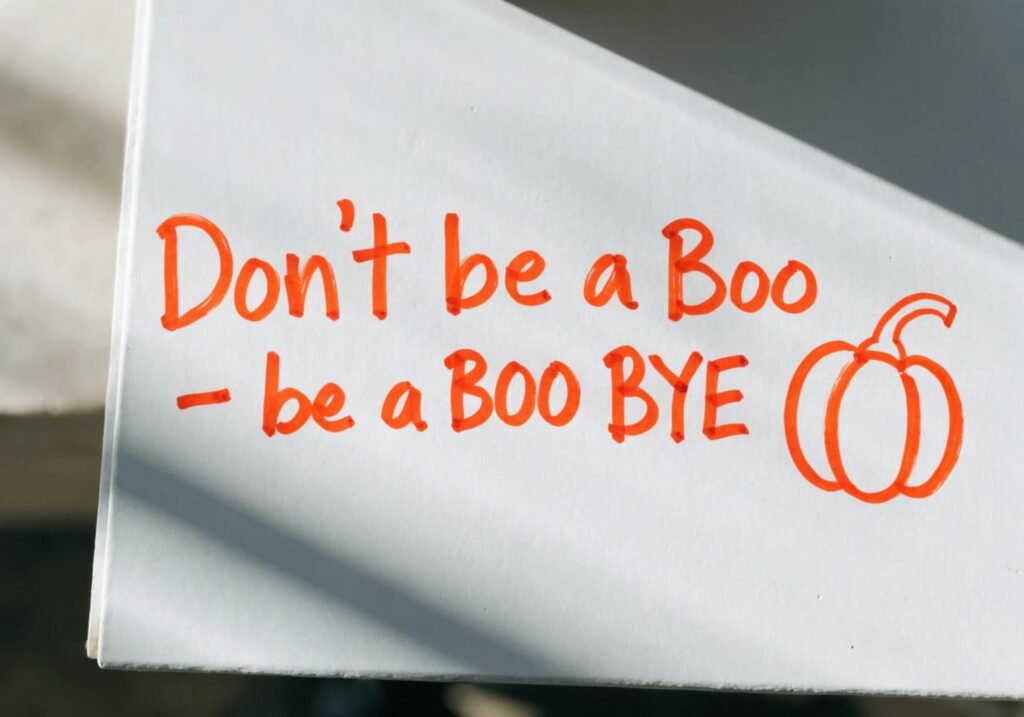
Short lines land better than long ones on a white board because there’s no border to frame text the way paper has — anything more than about six or seven words starts to feel like it’s floating without structure. Simple lines like “Have a fang-tastic day” or “Feeling boo-tiful today” work because they’re short enough to center and read from across a room. Skip anything that references a specific movie or song, since those are typically under copyright — stick to original wordplay or common public phrases instead.
Write text in a different color than your main drawing so it doesn’t visually compete with the artwork. Black text over an orange drawing, or the reverse, usually reads cleanest.
5. Classroom White Board Themes
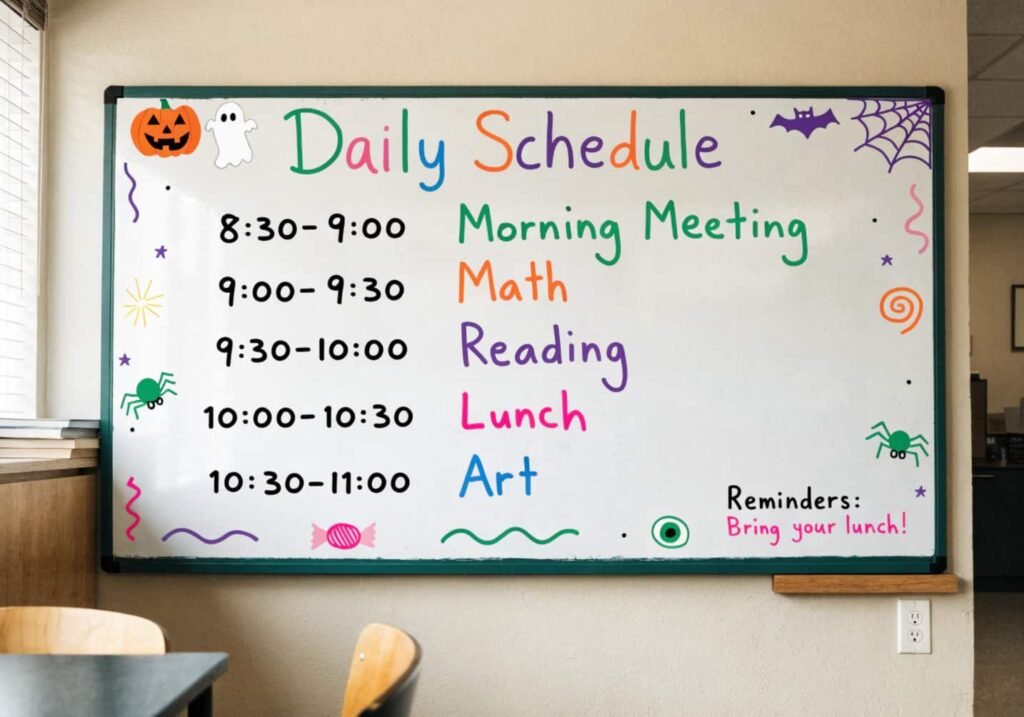
For classrooms, function beats pure decoration — a Halloween-themed daily schedule column, where each subject block gets a small spooky icon instead of plain text, keeps the board useful instead of just pretty. A corner section for a “spooky word of the day” also gives you an easy, low-effort way to refresh part of the board daily without redoing the whole thing.
If the board is a shared teaching tool that gets erased and rewritten constantly, keep decorative elements confined to the outer third of the board and leave the center clear. That’s the part that actually gets used for lessons, and decorating over it means erasing your artwork every single day by accident.
6. Office White Board Halloween Countdown
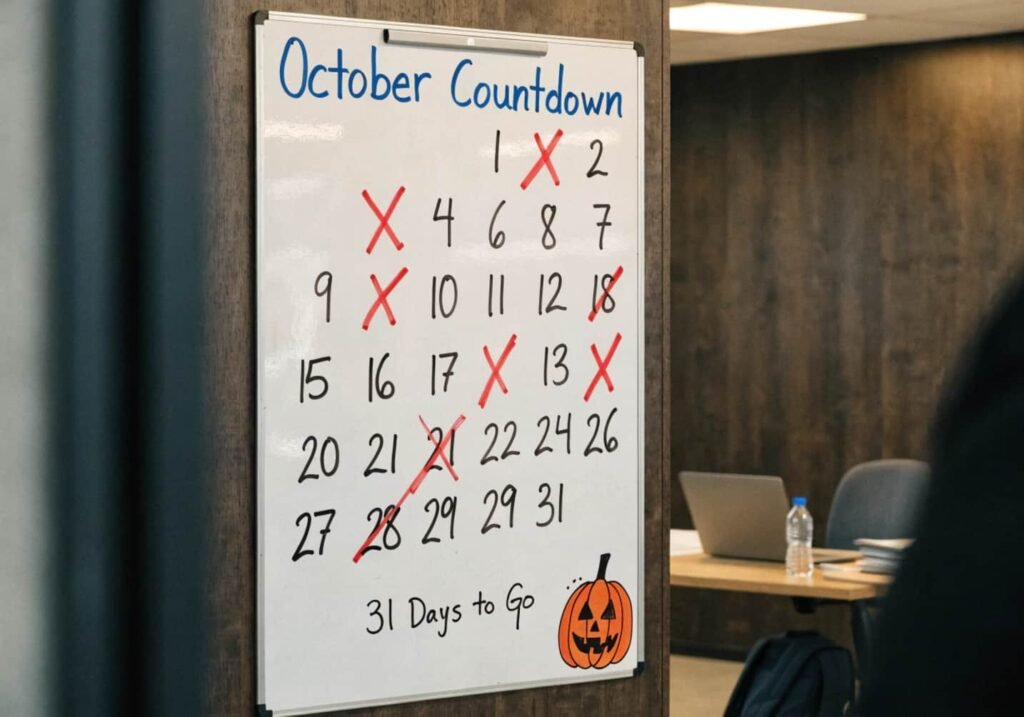
A countdown grid — 31 small boxes, one crossed off each day of October, ending on a hand-drawn jack-o’-lantern on the 31st — is one of the few office Halloween ideas that gives people a reason to actually walk over and look at the board daily. Keep the grid drawn with a ruler or straight edge rather than freehand; uneven boxes are the one detail people notice immediately even if they can’t say why the grid looks off.
Compare this to a static “Happy Halloween” message board: the static version gets looked at once and ignored after day two, while the countdown creates a small daily habit, which is really the only functional difference that matters in a shared office space.
7. Pumpkin and Bat Drawing Tutorials
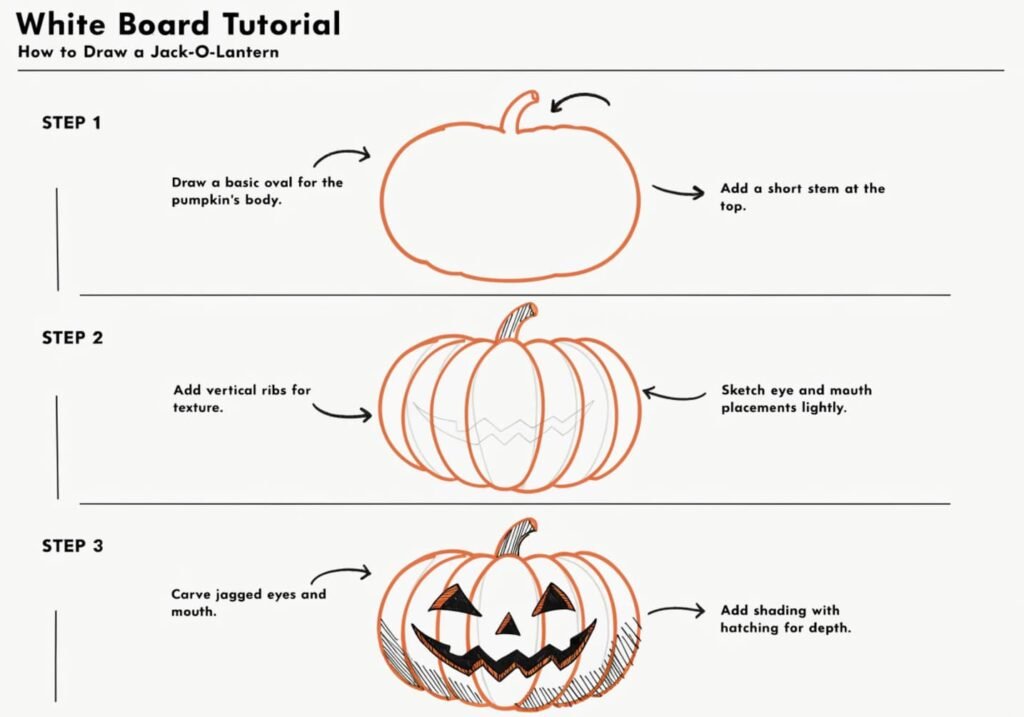
For a pumpkin: draw a wide oval, add three or four vertical curved lines inside to suggest ridges, a small rectangle stem on top, then triangle eyes and a jagged mouth once you’re happy with the base shape. For a bat in flight: start with a small oval body in the center, then draw the wings as two connected “M” shapes extending outward. The mistake most people make is drawing wings that are too rounded, which ends up looking more like a butterfly than a bat.
Layer color after the outline is complete, not before — filling color in first and outlining after makes edges look messy since the outline marker drags through the fill color underneath.
8. Easy Drawing Ideas for Kids
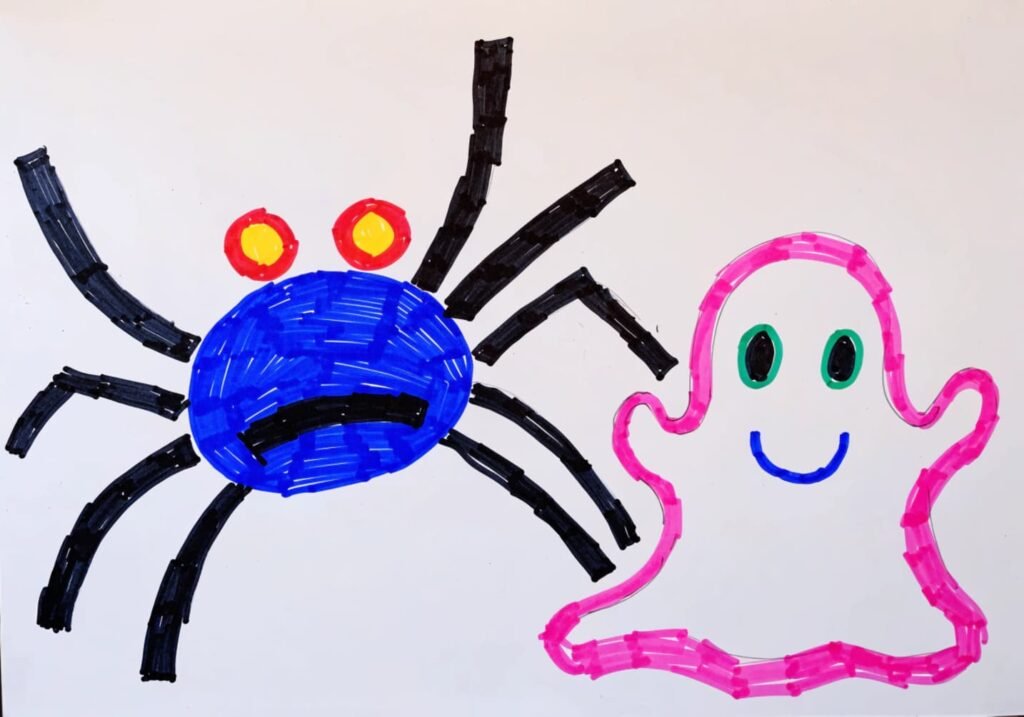
Kids’ drawings hold up better on a shared board if the shapes are big and simple rather than detailed — a fat spider with four thick legs on each side reads clearly from a distance, while a spider with delicate thin legs just looks like a smudge once a few kids have touched the board. Handing a child a fine-tip marker for a big drawing is a common mistake; a broad chisel-tip marker is easier for small hands to control for large shapes, and you can switch to fine-tip only for adding small dot eyes at the end.
9. Erasable vs Permanent Marker Designs
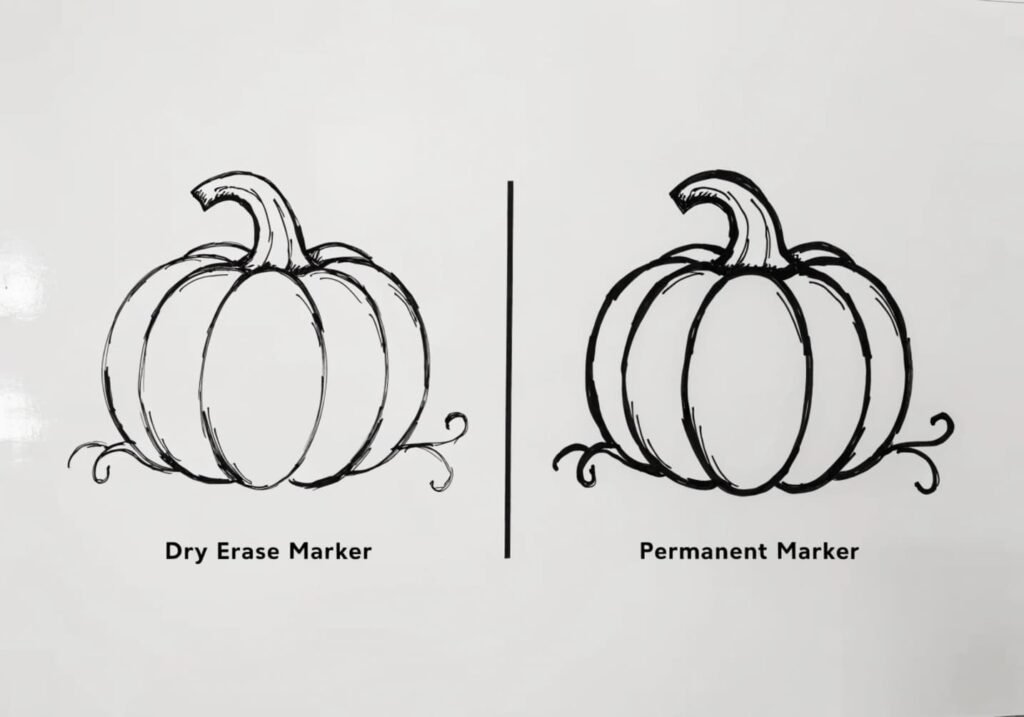
This is the trade-off people get wrong most often: permanent marker on a white board looks bolder and holds detail better, but it’s genuinely difficult to remove later — you’ll usually need rubbing alcohol or a specialty eraser solution, and on older or scratched boards it can leave a faint stain permanently. Dry erase marker wipes off instantly with a cloth but smudges if brushed against accidentally, which matters if the board is in a high-traffic hallway.
The practical rule: use dry erase for anything on a board that gets used for other purposes later, like classrooms or office memo boards. Only reach for permanent marker on a board that’s dedicated purely to seasonal decoration and won’t need to go back to plain white afterward.
10. Minimal Aesthetic White Board Themes
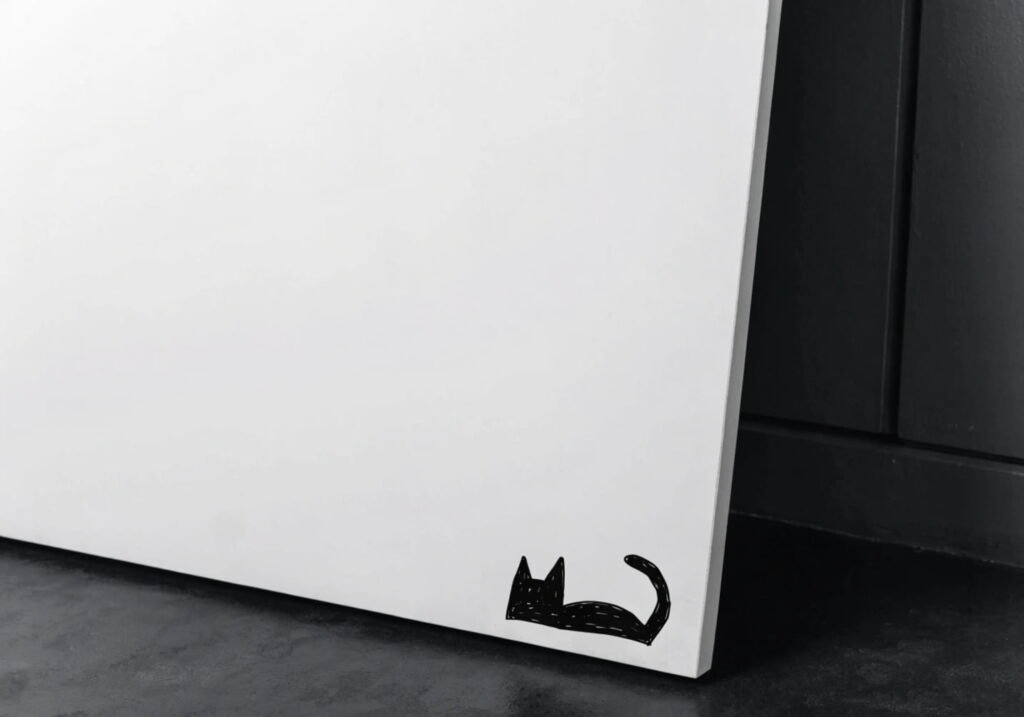
A minimal board — one small drawing in a corner, a short line of text, lots of blank white space — actually suits white boards better than it suits paper, because the surface itself already reads as clean and modern. This works well in home offices or shared adult workspaces where an overly busy board feels out of place. Skip the temptation to fill every inch just because the space is available; a single well-drawn black cat silhouette in one corner with nothing else often looks more deliberate than a board covered edge to edge.
11. Quick 5-Minute Board Makeover Ideas
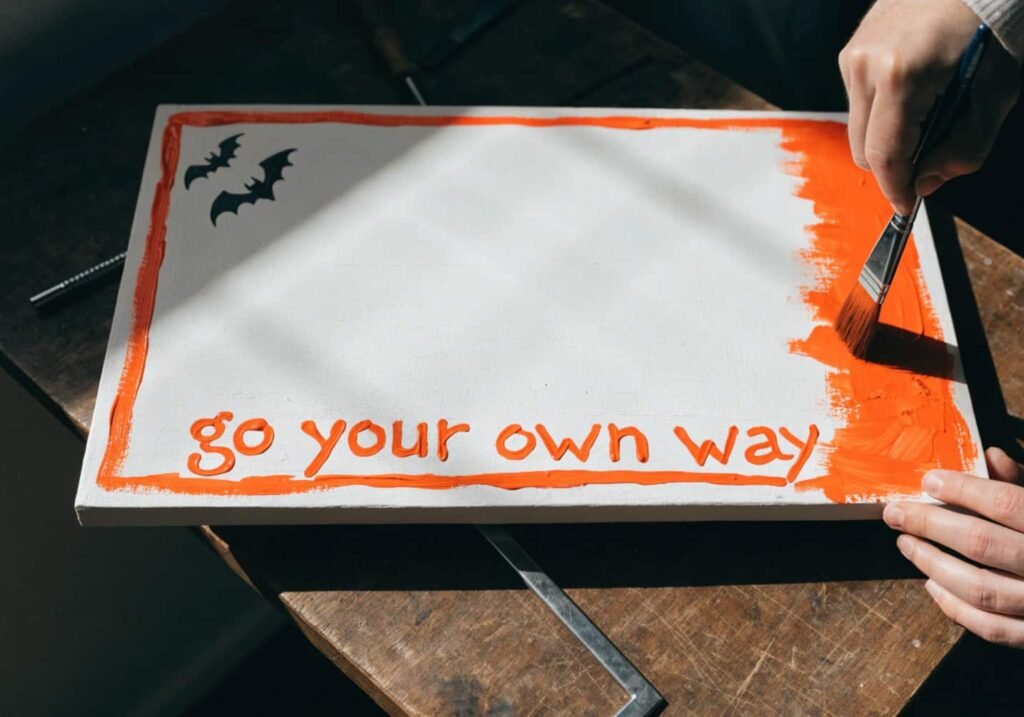
If you genuinely have five minutes: draw a thin orange border line around the edge of the board (one continuous stroke, doesn’t need to be perfectly straight), add three small bat silhouettes in the top corner, and write one short phrase in black along the bottom. That’s it — three elements, under five minutes, and it reads as decorated rather than empty. Trying to add a full scene in that time usually results in an unfinished-looking board, so keep the element count low rather than rushing something detailed.