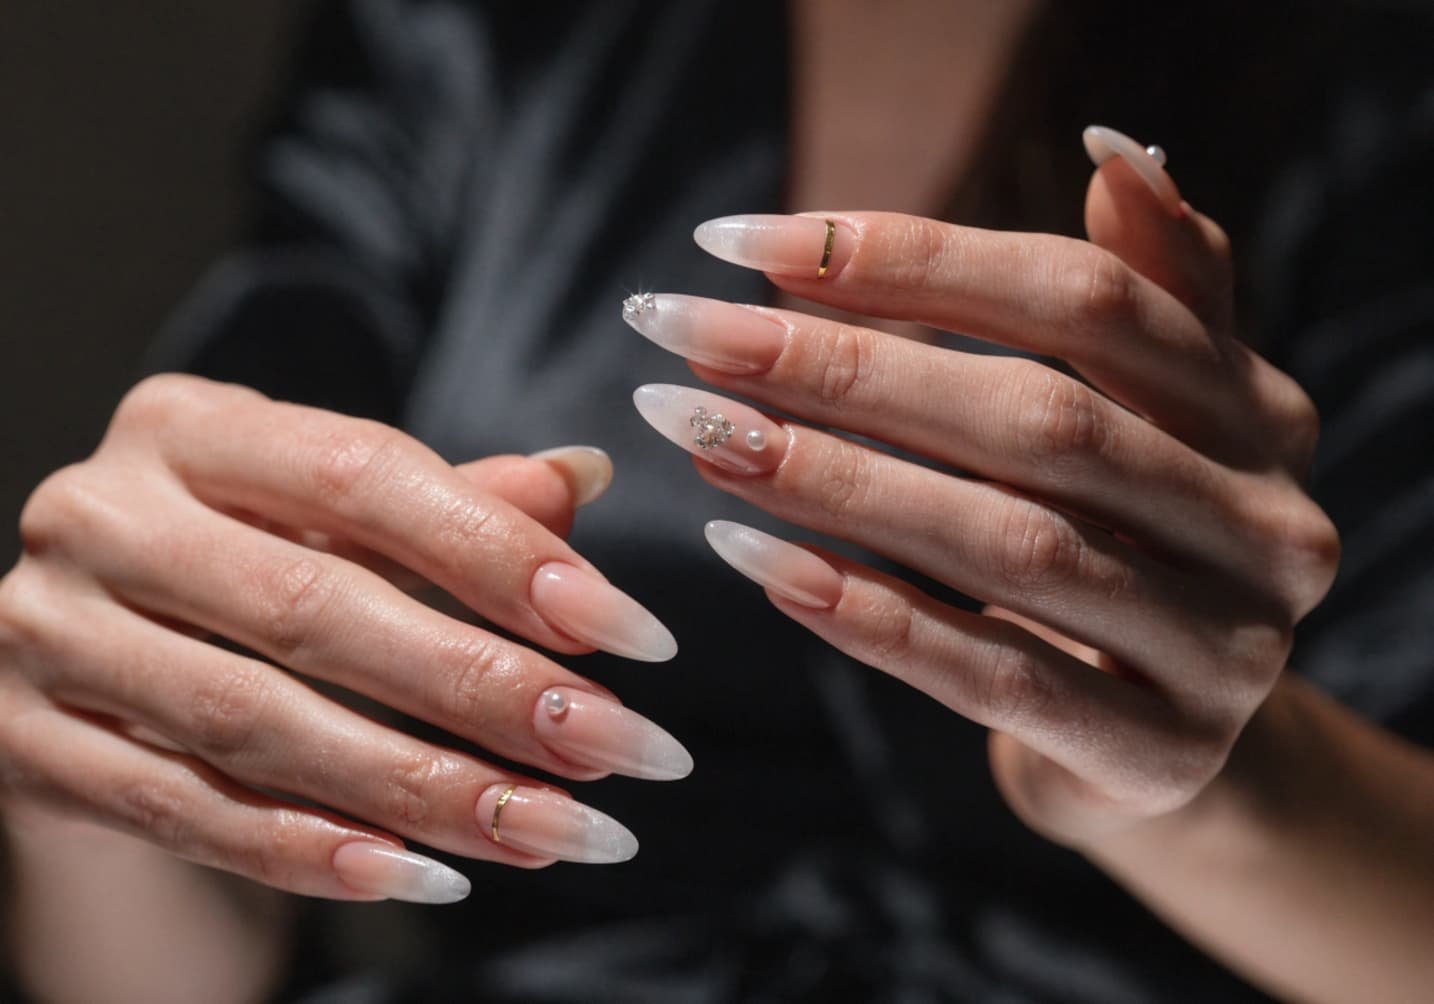
Elegant Touch to Your Nails moves fast, but there’s one look that keeps coming back every few seasons because it just works: the “elegant touch” style — soft, minimal, a little glossy, with one deliberate detail instead of five competing ones. It’s the difference between a manicure that looks expensive and one that looks busy. Here is how to pull it off, not just the mood-board version.
1. The Concept of an Elegant Touch
The core idea is restraint. An elegant nail look usually has one focal point per hand — not per nail — and everything else supports it. Think one accent nail with detail, nine nails in a clean base color. Most people overdo it by putting gems, French tips, and glitter all on the same set. Pick a single element (pearls, a foil line, a chrome fleck) and build the rest of the manicure around making that one thing look intentional. If you’re using a base gel, stick to sheer pinks, milky whites, taupe, or a soft mauve — these read as “polished” under most lighting, unlike stark white or bright red, which can look flat in photos.
2. Using Pearls and Rhinestones
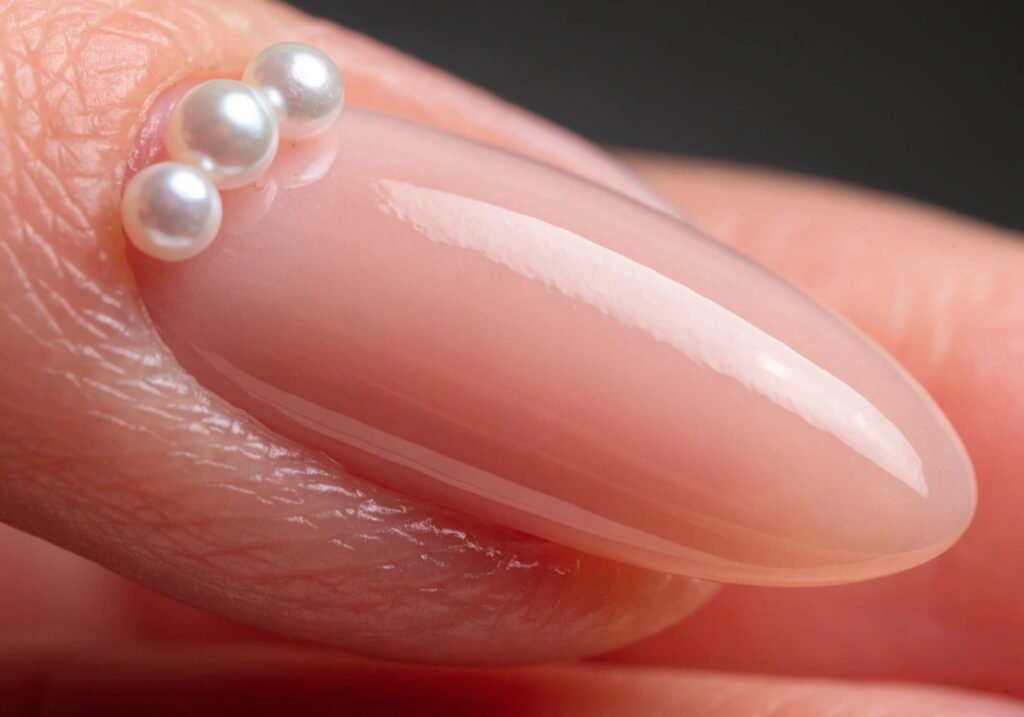
Pearls and rhinestones are the fastest way to add polish without adding clutter, but placement matters more than quantity. The classic mistake is scattering 6–8 stones across a nail — it ends up looking cluttered instead of refined. A cleaner approach: place 2–3 half-pearls (3mm size is standard, sold in nail supply packs of 100+ for a few dollars) along the cuticle line in a gentle curve, or cluster them at one corner. Use a small dot of clear gel builder or nail glue, not top coat, to set them — top coat alone won’t hold heavier embellishments through a full week of wear. Rhinestones under 2mm (“micro” size) work better for everyday elegance; anything larger starts reading as costume jewelry rather than a manicure detail.
3. Foil Accent Nails
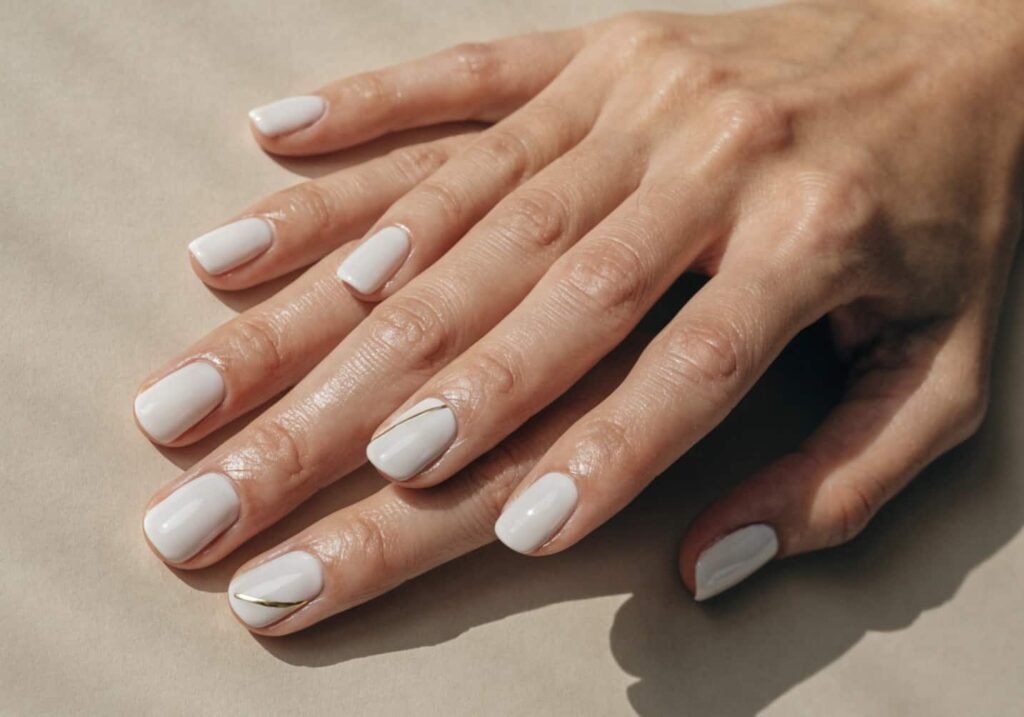
Foil is underused compared to how good it looks in person. You need three things: a foil adhesive (sometimes called foil glue), transfer foil sheets, and a base color that’s already cured or dried. Paint your base, apply a thin layer of foil adhesive and let it go tacky — this usually takes 2–5 minutes depending on brand, and it’s the step people rush. If you press the foil on too early while the adhesive is still wet, it smears instead of transferring cleanly. Once it’s tacky (touch it lightly with a clean fingertip — it should feel sticky but not wet), lay the foil shiny-side up, press firmly with your thumb or a cuticle stick, then peel back slowly. Gold and rose-gold foils pair best with warm nude bases; silver and holographic foils suit cooler pinks and greys.
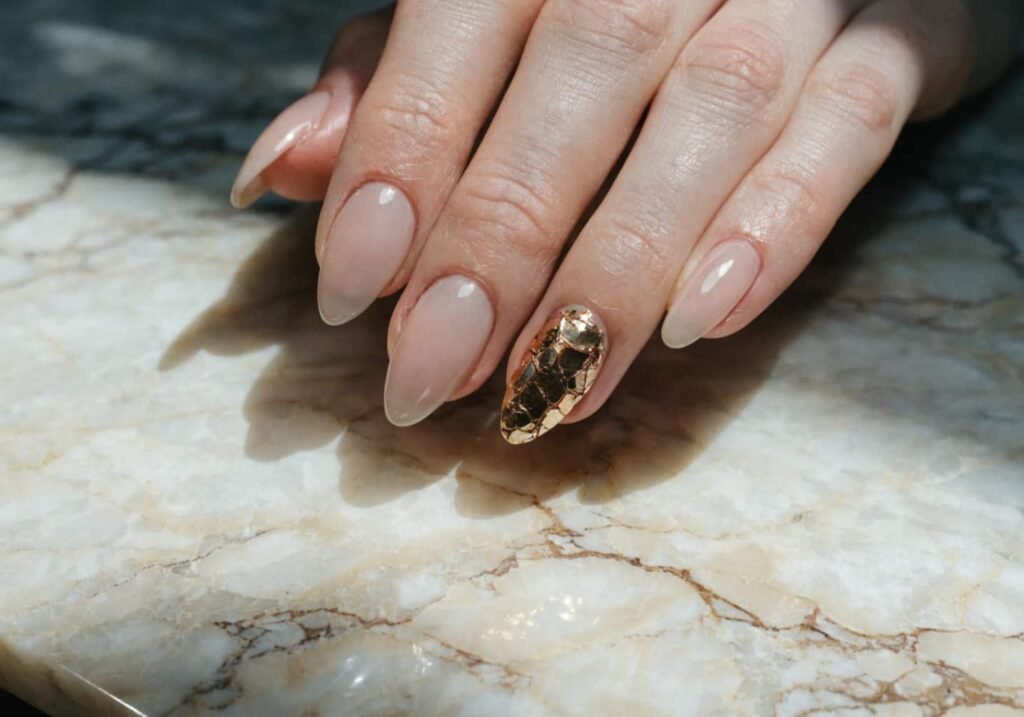
4. An Elegant Touch for Weddings
Bridal nails have one real constraint that other elegant looks don’t: they need to survive a full day of photos, handshakes, and probably some crying. Skip anything with loose embellishments near the tips, since that’s where chipping and snagging happen first (on fabric, veils, hair). Instead, keep pearls and rhinestones set further back toward the cuticle, and use gel polish rather than regular lacquer — gel holds up 10–14 days without chipping versus 3–5 for standard polish. A lot of brides go with a soft French tip using an off-white or champagne line instead of stark white, which photographs warmer under both flash and natural light. If you want one sparkle nail, do it on the ring finger only — it’ll show up in every ring-shot photo anyway.
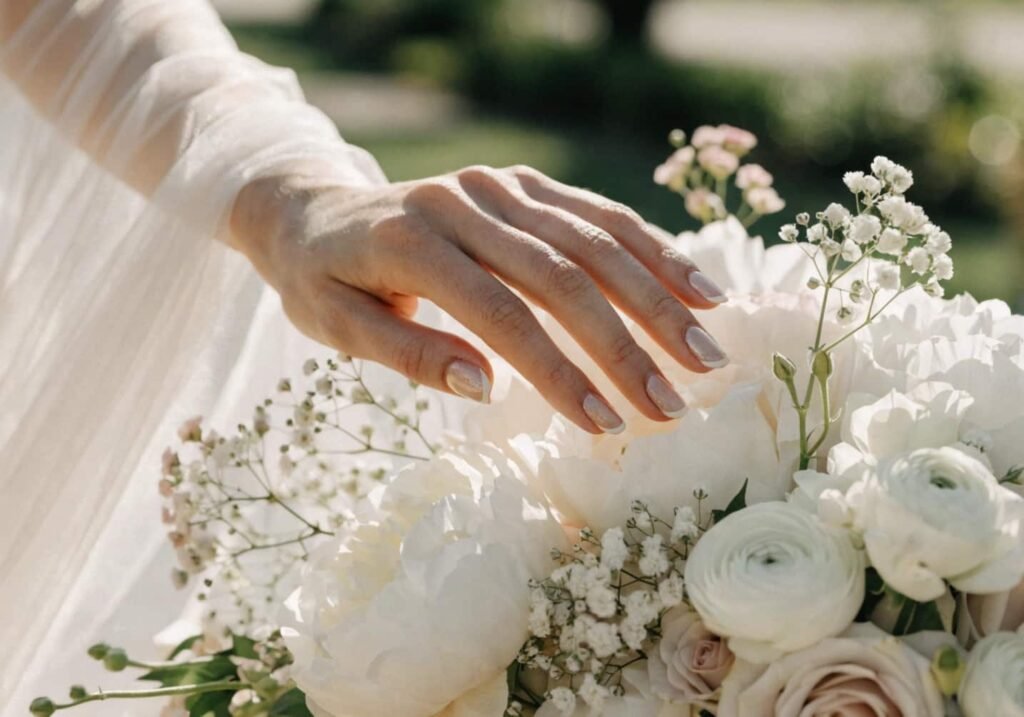
5. Soft Tone Combinations
Tonal manicures — where each nail is a slightly different shade of the same color family — read as elegant because they avoid the harsh contrast of, say, pairing bright red with pastel pink. A reliable formula: pick a base hue (rose, taupe, or sage), then use 3 polishes that shift by about 10–15% in lightness. Milky sheer, mid-tone, and one slightly deeper shade for a single nail. This is easier to execute than gradient nails (which need a sponge technique and blending skill) but gives a similarly custom look. Where people go wrong is mixing warm and cool tones in the same set — a warm beige next to a cool taupe will look mismatched rather than intentional, even though both are “neutral.”
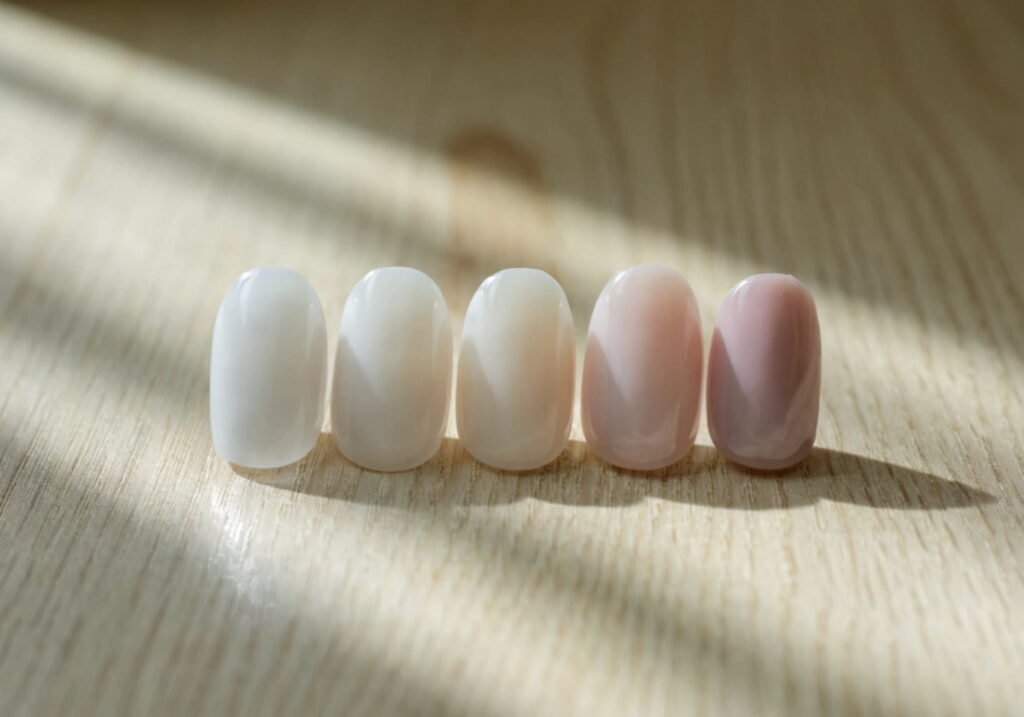
6. Bold Accent Nails
Bold doesn’t have to mean loud. A single dark accent nail — deep burgundy, forest green, or black — against a set of nude or soft pink nails is one of the more sophisticated combinations in nail art, and it’s popular for a reason: dark colors visually shorten the nail, so it works well on shorter or square-shaped nails where an all-dark set might look heavy. The trick most people miss is choosing the placement nail carefully. Ring finger works for most hand shapes. Middle finger accents tend to look slightly awkward because it draws the eye to the center of the hand in a way that feels unbalanced. If you want two accent nails, do them on opposite hands’ ring fingers rather than two nails on the same hand.
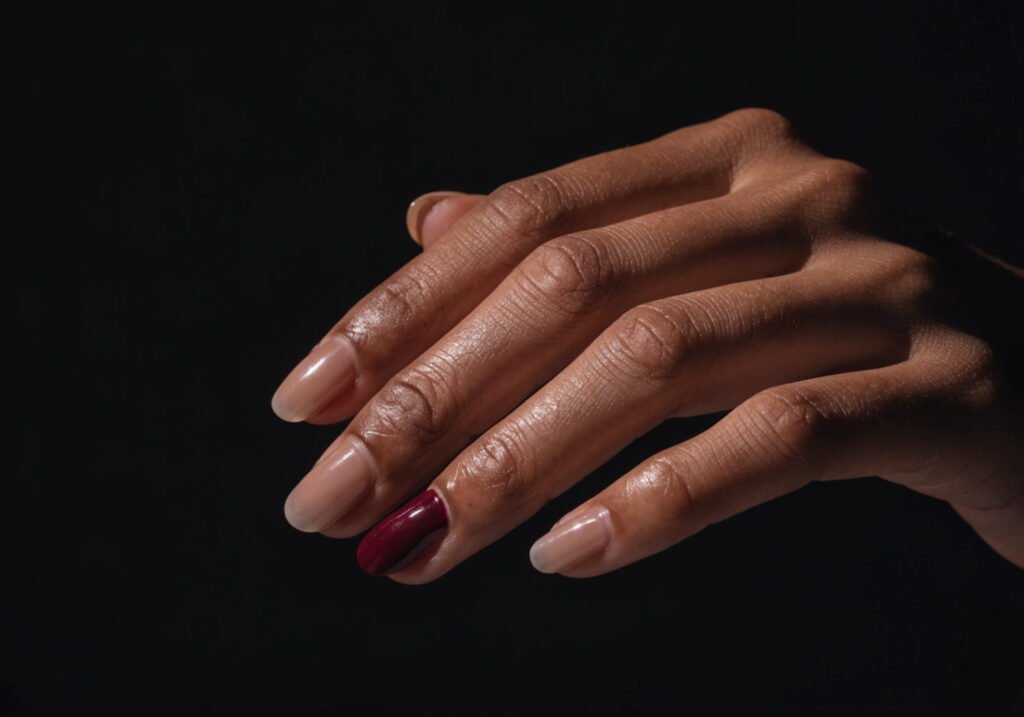
7. Elegant Touch for Everyday Wear
For daily wear, durability decides more than aesthetics do. Anything textured or with embedded elements (pearls, foil, rhinestones) needs a thicker top coat — two coats of a high-shine gel top coat, cured properly under UV/LED for the full recommended time (usually 30–60 seconds per hand depending on your lamp’s wattage), not just a quick pass. Skipping cure time is the number one reason embellishments pop off within days. If you’re not doing gel, keep the design to color and shape only — a simple almond or squoval shape in a soft nude reads elegant without needing any added detail, and it holds up better to daily hand-washing and typing.

8. Nail Art Tools You’ll Need
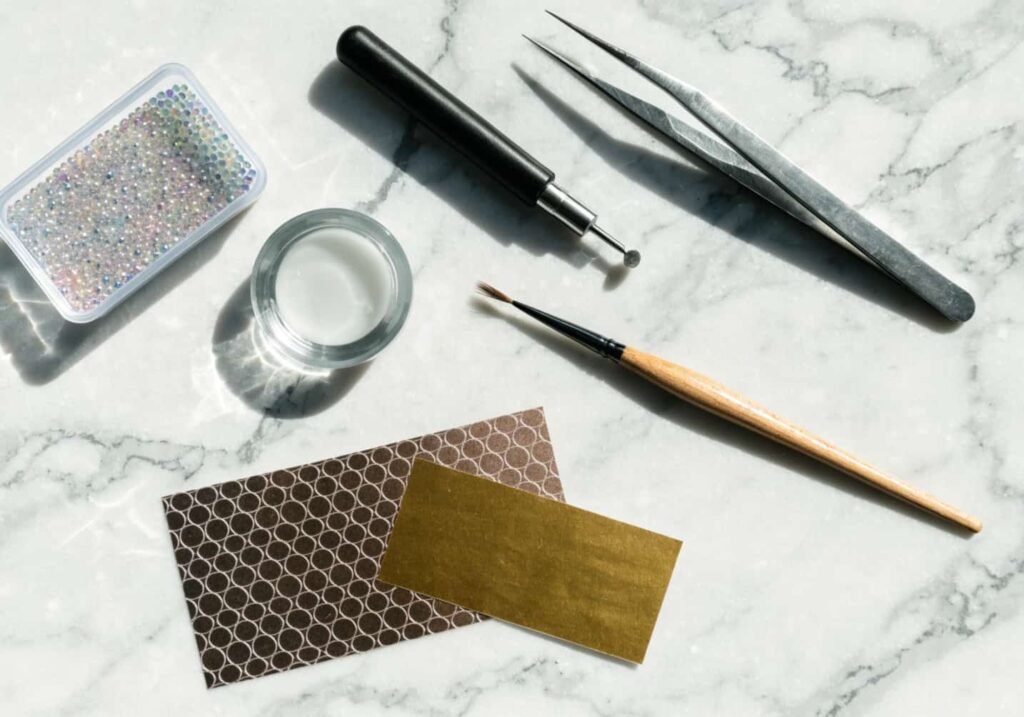
You don’t need a full kit to do most of what’s above, but a few specific tools make a real difference. A dotting tool (dual-ended, around $2–5) is worth it for placing pearls and rhinestones precisely instead of using tweezers, which tend to drop things mid-air. A thin nail art brush (size 000 or 00) is for fine lines like the foil-crack look or delicate detailing — a regular polish brush is too wide and will blob instead of drawing a line. For foil work specifically, get actual foil adhesive rather than trying to use top coat as a substitute; it doesn’t have the right tack level and the foil won’t transfer properly. A cuticle pusher doubles as a foil-pressing tool if you don’t want to buy a separate one.
9. Maintenance Tips for the Elegant Touch
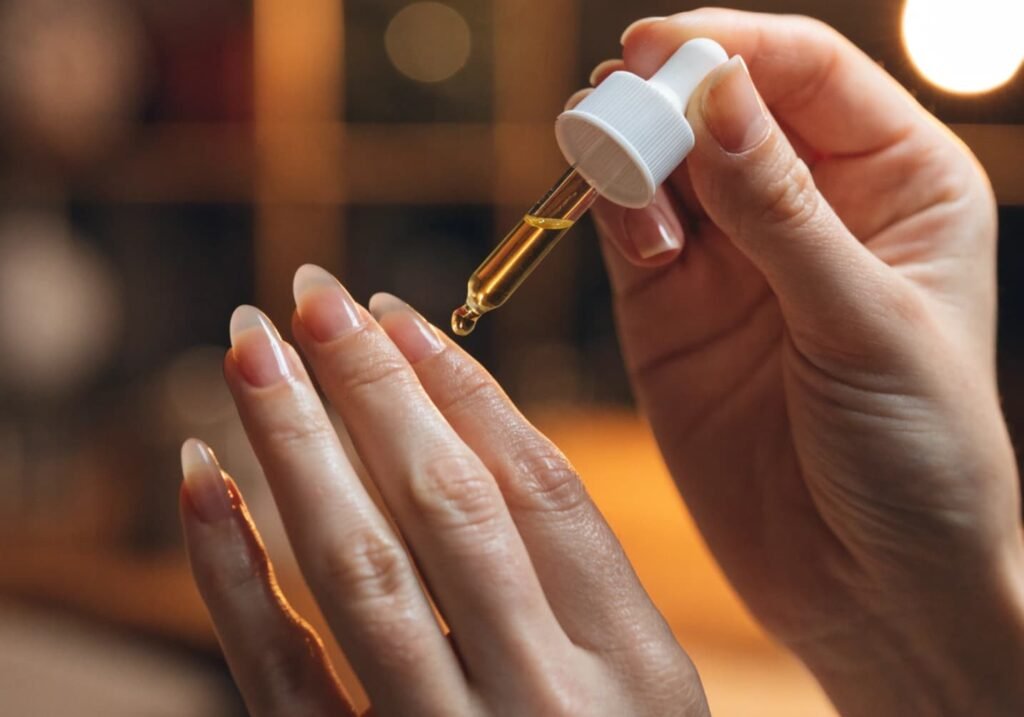
Embellished nails need slightly different upkeep than a plain polish job. Avoid soaking your hands in hot water for extended periods (long baths, dishwashing without gloves) in the first 24–48 hours after application — heat softens the adhesive bond before it’s fully set. Apply cuticle oil daily, not just for the skin but because it keeps the polish edges from lifting, which is usually where chipping starts. If a rhinestone does come loose, don’t try to just glue it back with regular craft glue — use nail glue or clear gel, since craft glue isn’t flexible enough and will pop off again within a day or two. Plan on a touch-up around day 10–12 for gel sets with embellishments, a bit earlier than a plain gel manicure.
10. Products for the Perfect Finish
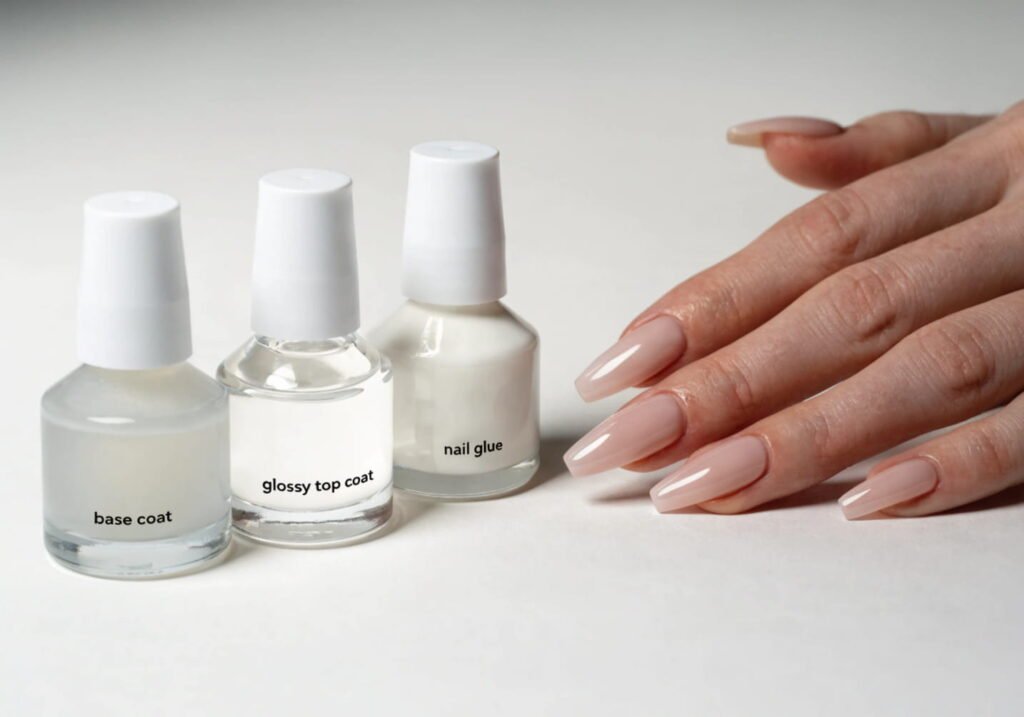
The base-coat-to-top-coat order matters more than people think. Base coat protects the nail and helps polish adhere; skipping it is why some polishes stain the nail bed yellow over time. For the elegant, glassy look most of these designs rely on, a high-shine “glass gel” top coat outperforms a matte one — matte finishes actually mute pearls and foil rather than showcasing them, so save matte top coats for solid-color sets without embellishments. If you’re working with press-ons instead of gel, look for a strong nail glue (cyanoacrylate-based, not the brush-on kind that comes in basic press-on kits) — it holds embellished or heavier tips significantly longer, especially at the edges where lifting starts first.