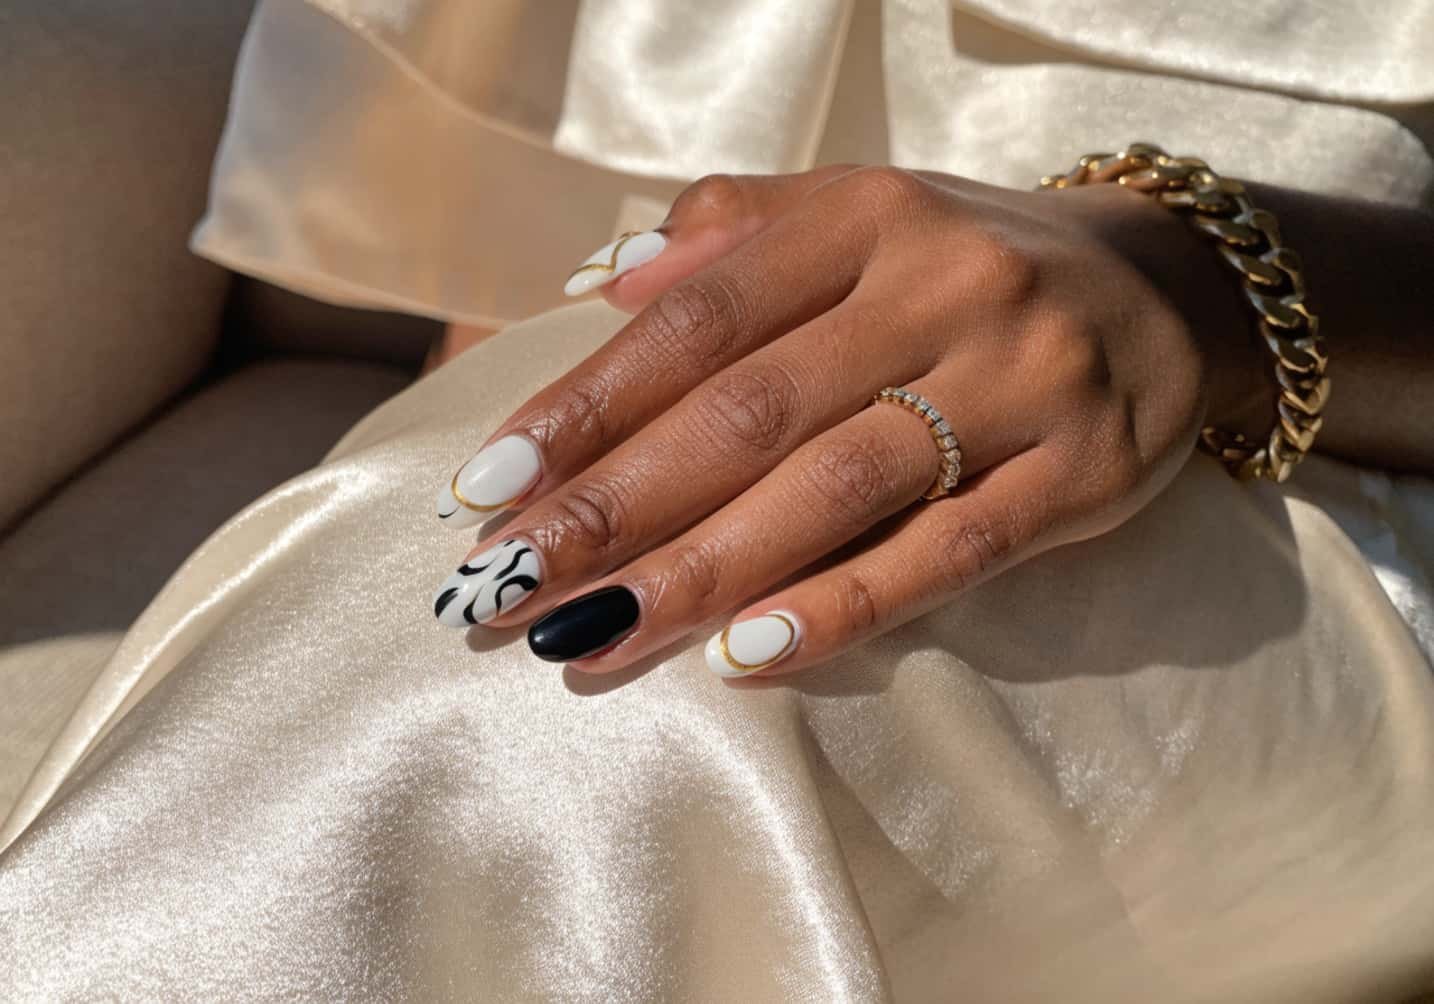
I redid my own nails four times last month before I landed on something I didn’t immediately want to soak off. That’s the thing nobody tells you about “classy” nail design — it’s rarely the first attempt, and it’s almost never the most complicated one. The designs that actually read as elegant are usually the ones with the fewest elements, done with precision. Here’s a practical breakdown of what’s working right now, and how to actually get there.
1. Trending Classy Nail Designs
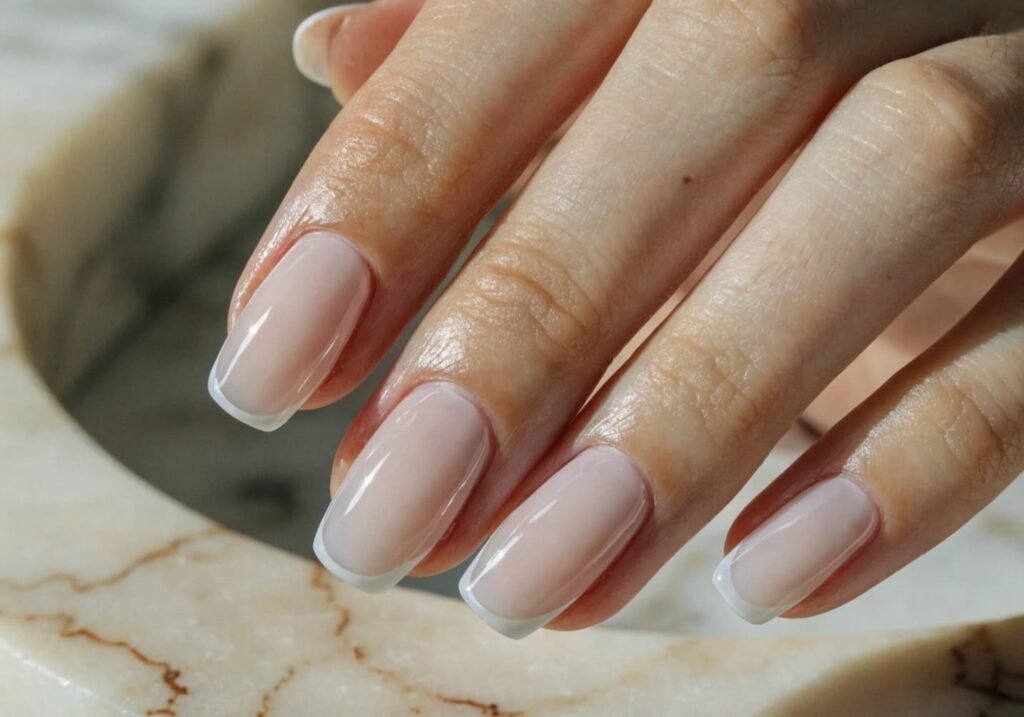
Right now the look that keeps showing up in salons is what techs are calling “quiet nails” — a play on the quiet luxury trend in fashion. Think glazed donut chrome (a sheer pearl powder buffed over a neutral base), soft milky whites, and single-tone glossy sets with zero embellishment. The other big one is the “micro-French,” where the tip line is shaved down to 1-2mm instead of the classic 5mm band. If you’re going to a salon, bring a reference photo — “classy” means wildly different things to different techs, and vague requests like “something elegant” often come back busier than you wanted.
2. Geometric Pattern Designs
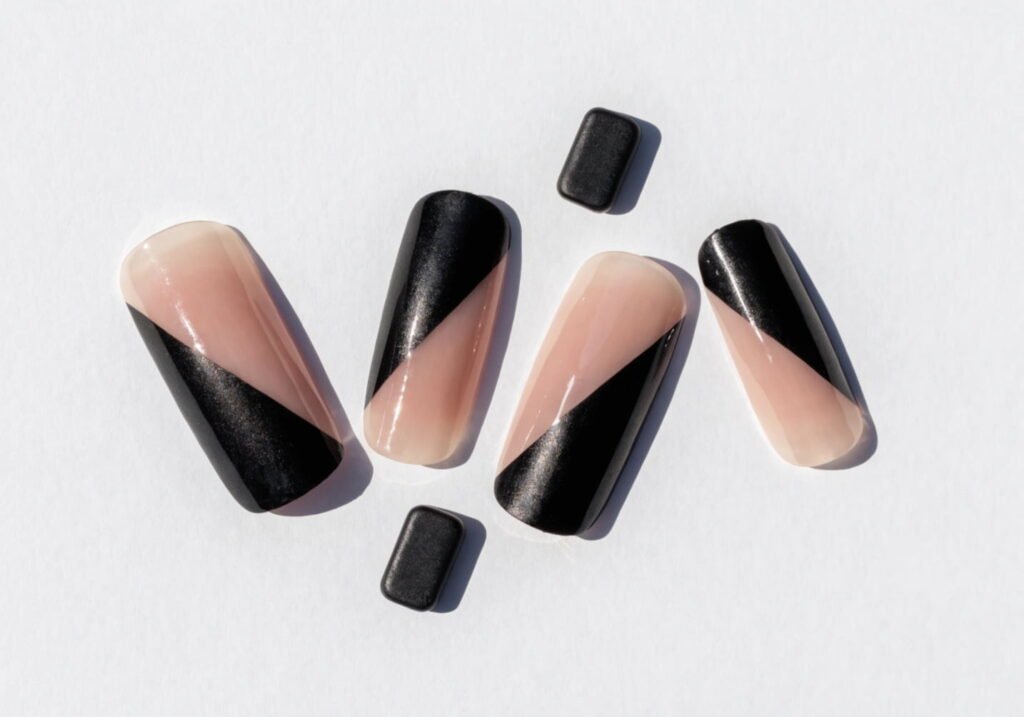
Geometric nail art looks intricate but it’s really just masking tape and patience. The standard method: paint your base color, let it cure fully (this matters — under-cured polish will lift when you tape over it), then lay strips of low-tack nail vinyl or washi tape at your chosen angle and paint the second color over the exposed section. Peel while the polish is still slightly tacky, not bone dry, or you risk pulling up the edge. Single-line geometric designs — one diagonal stripe, one triangle at the cuticle — read as far more expensive than an all-over pattern. Save the busy grid patterns for an accent nail only, usually the ring finger.
3. Nude and Pastel Design Ideas
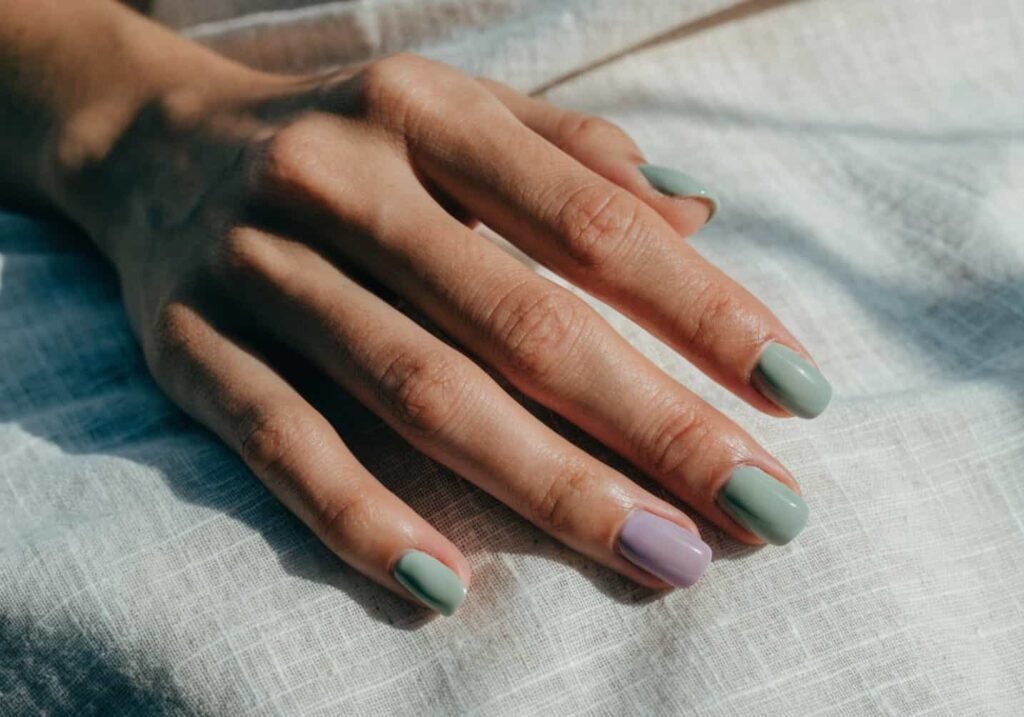
Nude isn’t one shade — it’s a range, and picking the wrong undertone is the most common mistake I see. Pink-based nudes (like a soft rosewood or ballet slipper) suit cooler skin undertones, while peachy or caramel nudes work better on warmer undertones. If you’re unsure which you are, check the veins on your inner wrist: blue-ish veins usually mean cool undertone, green-ish means warm. For pastels, go one shade lighter than you think you want — pastel polish tends to look more saturated once it’s on the nail under indoor lighting than it does in the bottle. A sage green or a dusty lilac in a sheer, jelly-like finish (rather than solid opaque) keeps it looking sophisticated instead of costume-y.
4. Minimal Line Art Designs
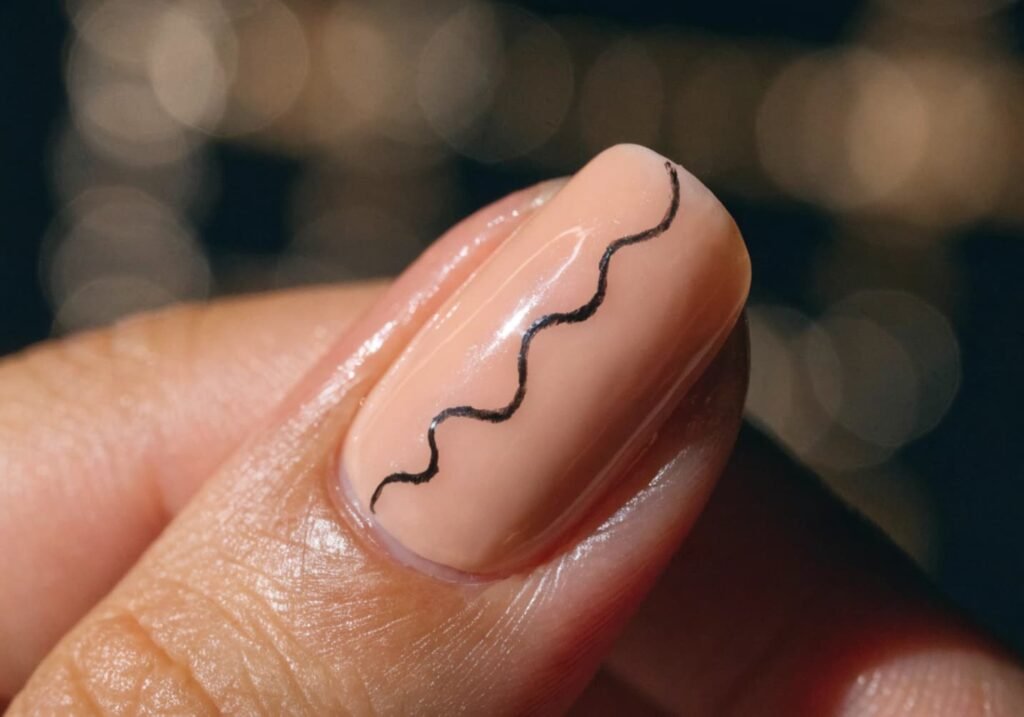
This is where a detail liner brush (size 000 or 00, sold in most beauty supply stores for $3-6) makes a real difference over a regular polish brush. Load it lightly — too much polish and your line wobbles. Common minimal designs: a single wavy line across the nail bed, a small crescent moon at the cuticle, two parallel fine lines near the tip. The trick most tutorials skip: rest your pinky finger against the surface you’re painting on for stability, the same way you’d brace your hand while signing a document. Freehand lines drawn with a fully airborne hand almost always come out shaky, even for people with steady hands otherwise.
5. Seasonal Classy Designs
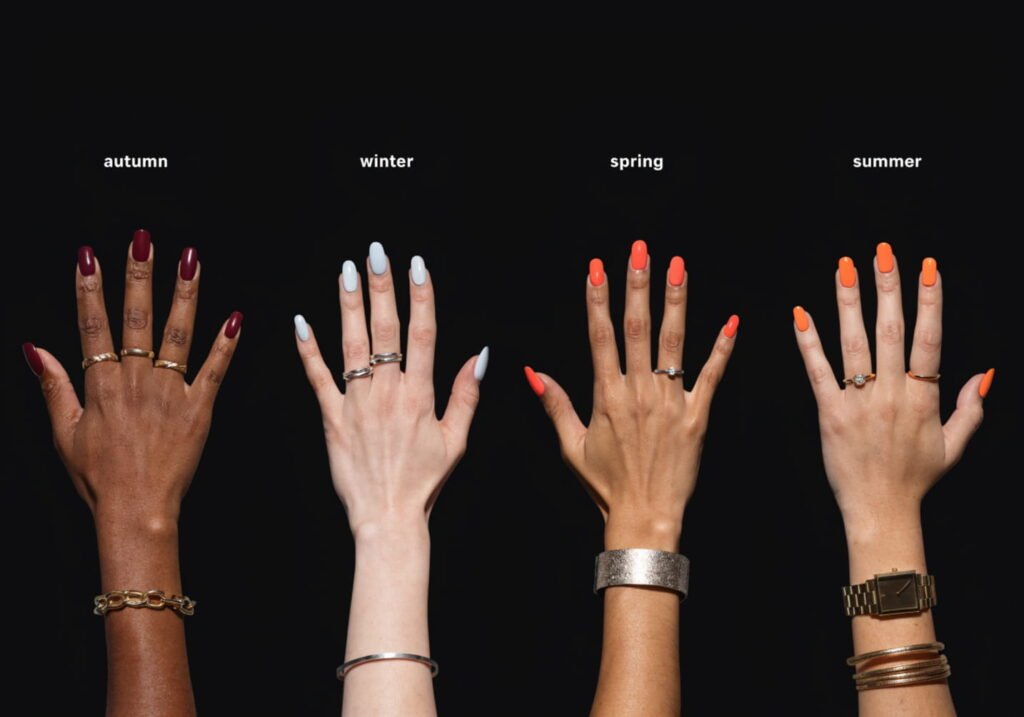
Seasonal doesn’t have to mean literal pumpkins or snowflakes — that’s the version that ages a manicure fast. A more wearable approach is shifting undertone and finish with the season: warm terracottas and deep burgundies with a matte or soft-shine top coat for autumn, icy blues and silver-flecked whites with high-gloss chrome for winter, sheer corals and a glass-like finish for spring, and saturated but not neon brights (think coral-orange, not traffic-cone orange) for summer. If you want a literal seasonal motif, keep it to one accent nail, done small — a single tiny leaf outline rather than a full scene.
6. Designs for Short Nails
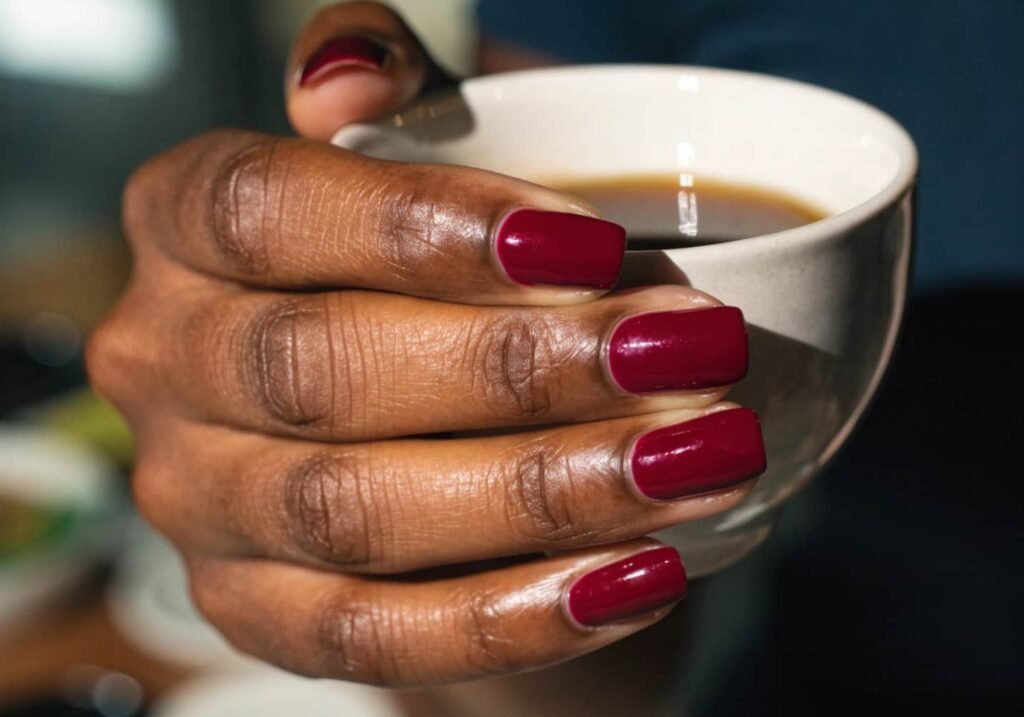
Short nails actually have more design options than most people assume, but scale matters — a design proportioned for a long almond nail will look cramped on a short square one. Vertical elements (a single stripe running tip to cuticle, a French tip done as a thin “V” instead of a straight line) elongate the nail bed visually. Avoid horizontal bands near the cuticle on short nails; they cut the nail visually in half and make it look even shorter. A solid, glossy single color is also just genuinely underrated on short nails — it looks intentional rather than like a placeholder while you “grow them out.”
7. Designs for Long Nails
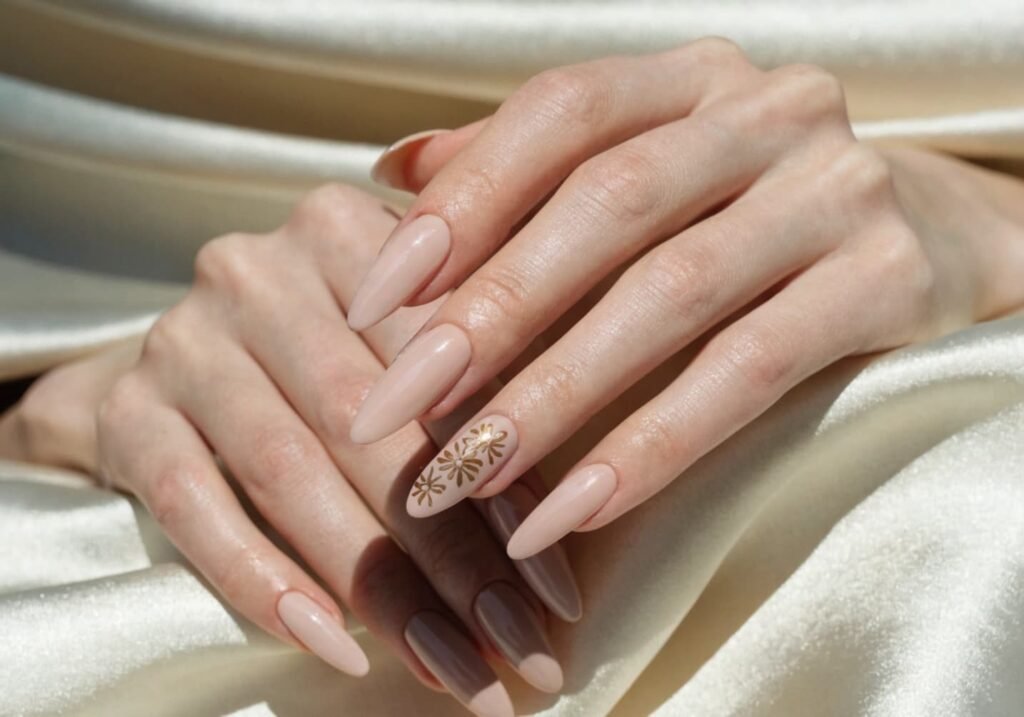
Long nails can carry more visual weight, but that’s also where designs go from “classy” to “a lot” fastest. If you want ornate details — 3D pearls, hand-painted florals, negative space cutouts — put them on one or two nails max, usually the ring finger and thumb, with the rest kept plain or in a complementary solid. This is called an “accent nail” approach, and it’s the actual technique behind most of the elegant long-nail sets you see on Pinterest, even though the photos rarely explain it that way. Also worth knowing: long nails in a square or squoval shape read as more polished and less costume-like than very sharp stiletto shapes, which have mostly fallen out of the “classy” category and into the statement-nail category.
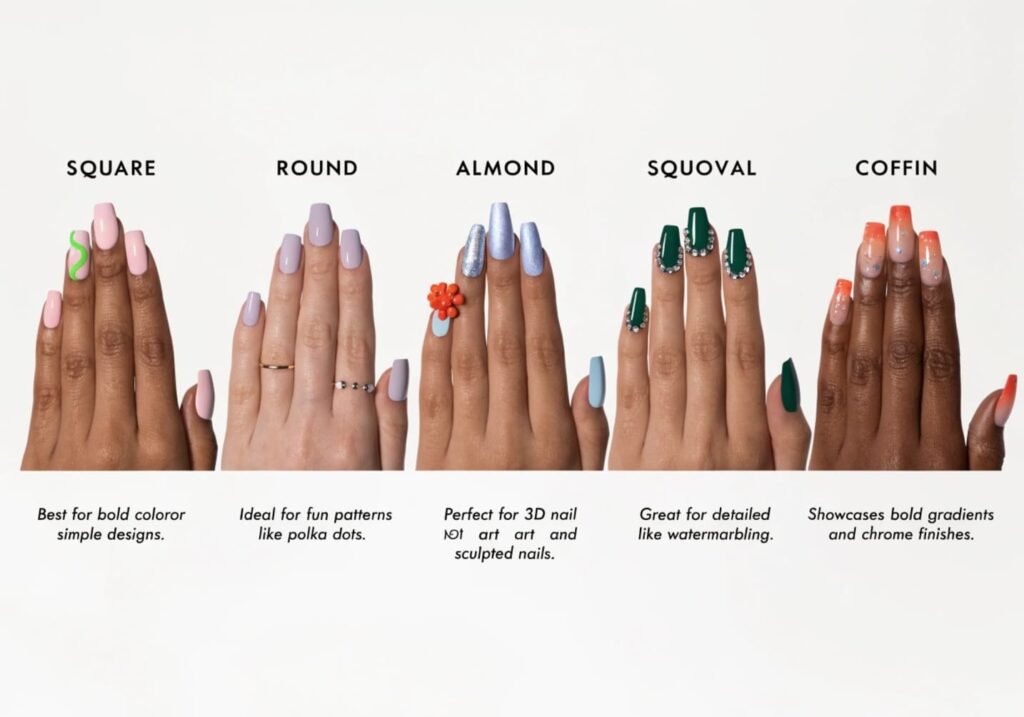
8. Choosing Designs Based on Nail Shape
- Square: Works best with straight-line designs, French tips, and geometric patterns. Curved or diagonal lines can look slightly off against the hard corners.
- Round: Suits soft, curved designs — swirls, dots, ombré. Sharp geometric lines can visually clash with the rounded edge.
- Almond: The most forgiving shape for almost any design, including negative space and abstract line art, because the tapered tip gives extra visual length.
- Squoval (square with softened corners): A safe middle ground — handles both straight and curved designs reasonably well, which is why a lot of nail techs recommend it to first-time clients unsure what they want.
- Coffin/ballerina: The flat tip is a good canvas for a distinct tip design (ombré, French, chrome) since there’s more surface area at the end to work with.
Matching the design to the shape rather than fighting it is the difference between a manicure looking custom versus looking like it was copied off a photo of someone with different nail shape entirely.
9. Trending Tools for Nail Designing
A few tools have genuinely changed what’s possible at home in the last couple of years:
- Magnetic cat-eye gel ($8-15 a bottle) — contains metallic particles that a magnet (usually included with the polish) pulls into a pattern while the gel is still wet, before curing under UV/LED light. Gives a shifting, almost holographic line effect without any freehand skill required.
- Silicone stamping plates and clear jelly stampers — image plates have moved from metal to more precise laser-etched steel, and the clear silicone stamper head (instead of the old opaque pink ones) lets you actually see where you’re placing the design, which was the main source of stamping frustration before.
- Dip powder systems — still the most durable option for people who work with their hands a lot; a full dip set typically lasts 3-4 weeks compared to 1-2 weeks for regular polish, though removal requires acetone soaking and is harder on natural nails than gel.
- UV gel pens — pre-loaded, no mixing needed, good for beginners doing simple line art since you’re not managing brush-loading and polish consistency at the same time.
If you’re building an at-home kit from scratch, the combination that gets the most mileage for the least cost is: a detail liner brush, one bottle of magnetic gel, and a basic 5-plate stamping set — that covers roughly 80% of the designs above without needing a full acrylic or dip setup.