Nail trends move fast, but a few things have stayed constant this year: people want color that photographs well, finishes that don’t chip after two days, and shapes that actually suit their hands instead of whatever look is trending on a stranger’s Instagram. This piece walks through what’s actually working right now, what’s a waste of money, and a few technical details most “top 10 nail trend” articles skip entirely.
1. Why the Gorgeous Nails Trend Is Growing
Part of it is simple economics — a full acrylic set at a mid-range salon runs $45 to $75 in most US cities, while a bold lipstick or a new bag can cost three or four times that. Nails became the “affordable luxury” people reach for when they want to feel put-together without a big spend. The other part is video. Close-up hand shots do well on short-form content because they’re easy to film in five seconds — tapping a phone, stirring coffee, holding a coffee cup — and that constant exposure normalized more adventurous colors and finishes than what salons offered a decade ago. Ten years ago, French tips and plain red covered maybe 70% of requests at most salons. Now nail techs report a much wider spread of requests, chrome and cat-eye gel included.
2. Bold Colors for a Gorgeous Look
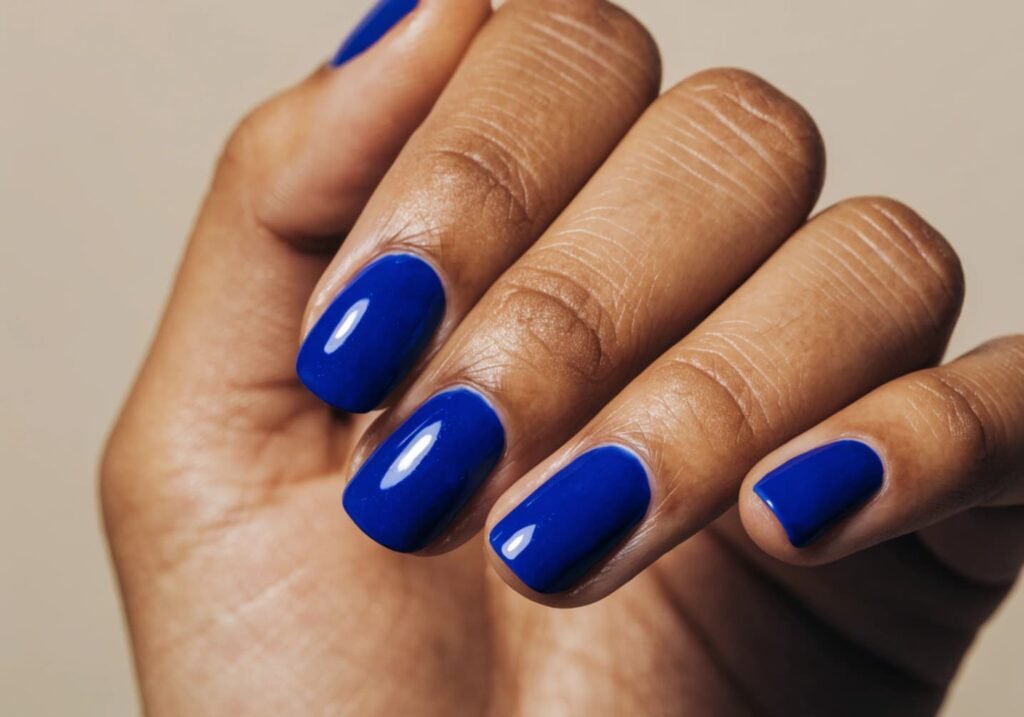
Cobalt blue, deep emerald, and a orange-red people are calling “tomato red” are the three colors salons keep restocking this season. What actually makes a bold color look expensive rather than costume-y is opacity — a cheap two-coat polish often looks streaky under gel top coat, so ask for a color-matched base coat first (most professional gel lines like Gelish or OPI GelColor sell one) instead of relying on three coats of pigment alone. If you’re doing it yourself, thin coats matter more than most people think: two thin coats plus a third if needed will always look smoother than one thick coat, because thick polish pools at the cuticle line and takes twice as long to dry.
3. Glitter Nail Art Ideas
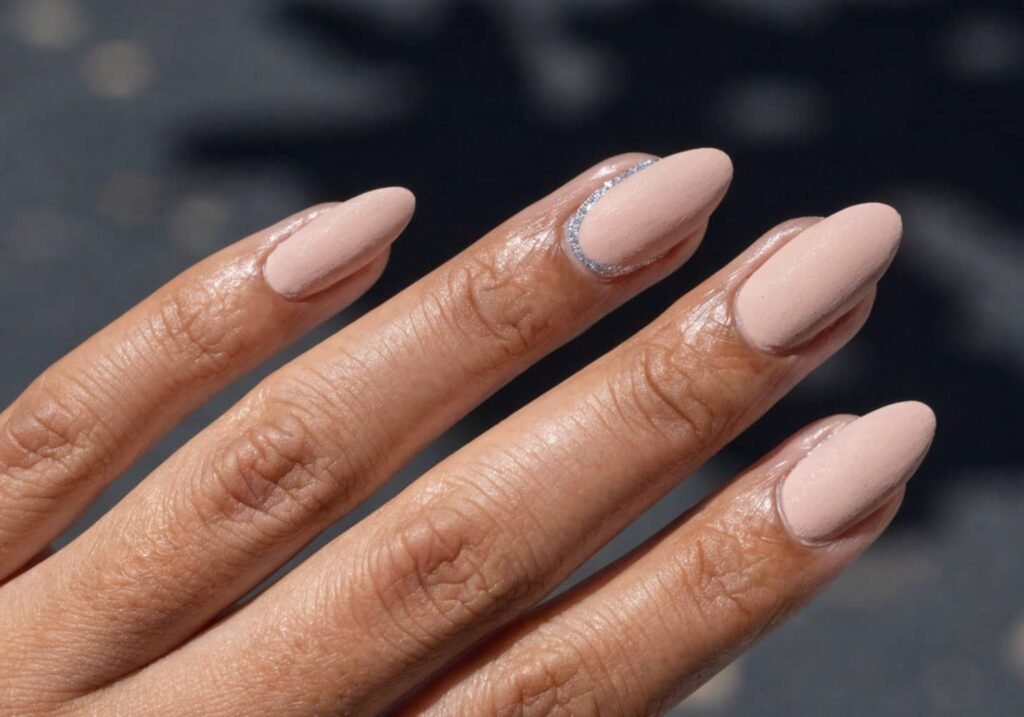
Fine glitter (the kind sold as “dust” or “micro-glitter”) is far easier to apply evenly than chunky glitter, which tends to clump near the cuticle and needs to be pressed in with a dotting tool or even a makeup sponge dabbed over tacky topcoat. A trick most tutorials leave out: apply glitter over a topcoat that’s still slightly tacky rather than fully cured — it grips better and you use less product. For an accent-nail look rather than all ten fingers glittered, glitter tips or a glitter gradient on the ring finger only tend to age better over a two-week wear period than full glitter coverage, which can look worn down by day five as edge glitter starts lifting.
4. Chrome Finish Nails
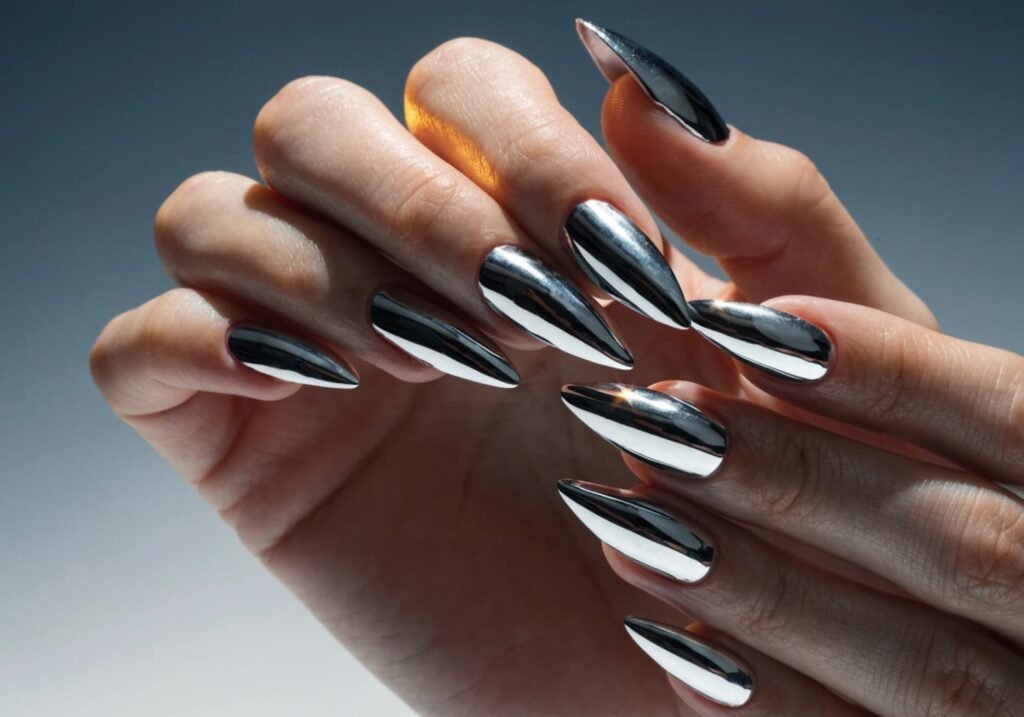
Chrome nails aren’t polish at all — they’re a mirror-finish pigment powder (usually a mica-based compound) buffed onto a fully cured gel base with a soft applicator, not painted on. This is why chrome only works over gel, not regular polish: the powder needs a slightly tacky, perfectly smooth surface to bond to, and regular polish never gets tacky enough. A common misconception is that any topcoat will “seal” chrome — it won’t unless it’s a non-wipe gel topcoat, because a wipe-style topcoat can drag the pigment and leave streaks. If your chrome manicure came out patchy, the base coat probably wasn’t buffed smooth enough before the powder went on; any ridge or bubble shows through immediately under chrome.
5. Ombre-Style Gorgeous Nails
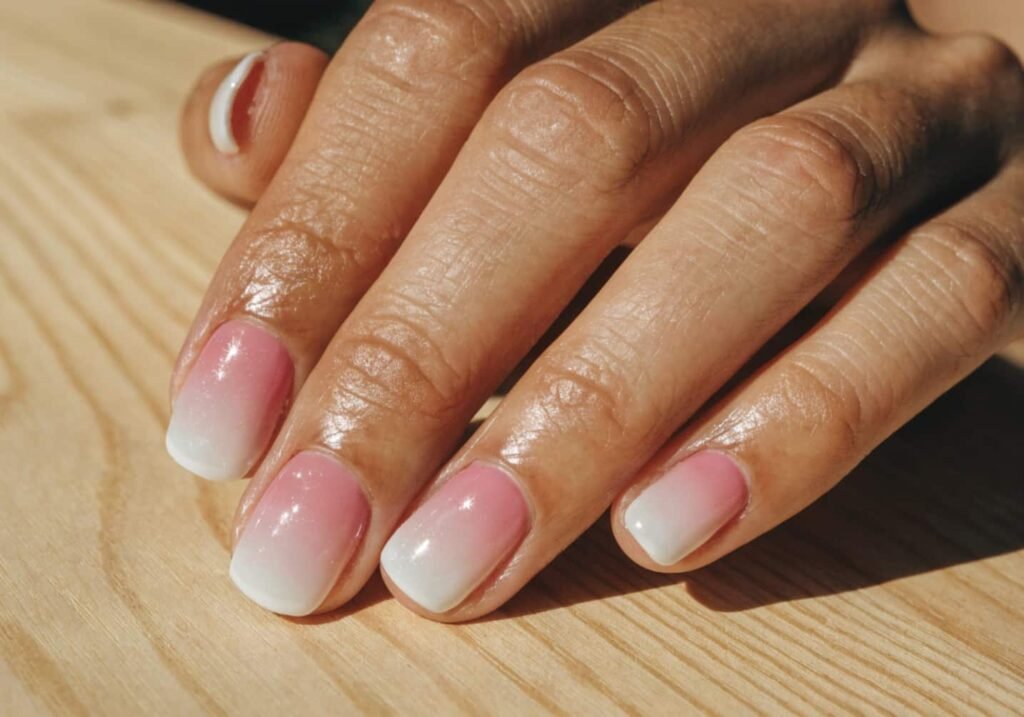
The cleanest ombre gradients come from a makeup sponge, not a brush. Dab two adjacent colors onto the sponge edge-to-edge, then press-and-lift (never drag) across the nail three or four times, rinsing and re-loading the sponge every couple of nails so the blend doesn’t muddy. A vertical gradient from cuticle to tip is more forgiving for beginners than a horizontal one, since any unevenness reads as intentional shading rather than a mistake. One trade-off worth knowing: ombre wears out faster on the thumb and index finger simply because those nails touch things most, so the gradient line visibly shifts within a week even while the rest of the set still looks fresh.
6. Best Shades for Your Skin Tone
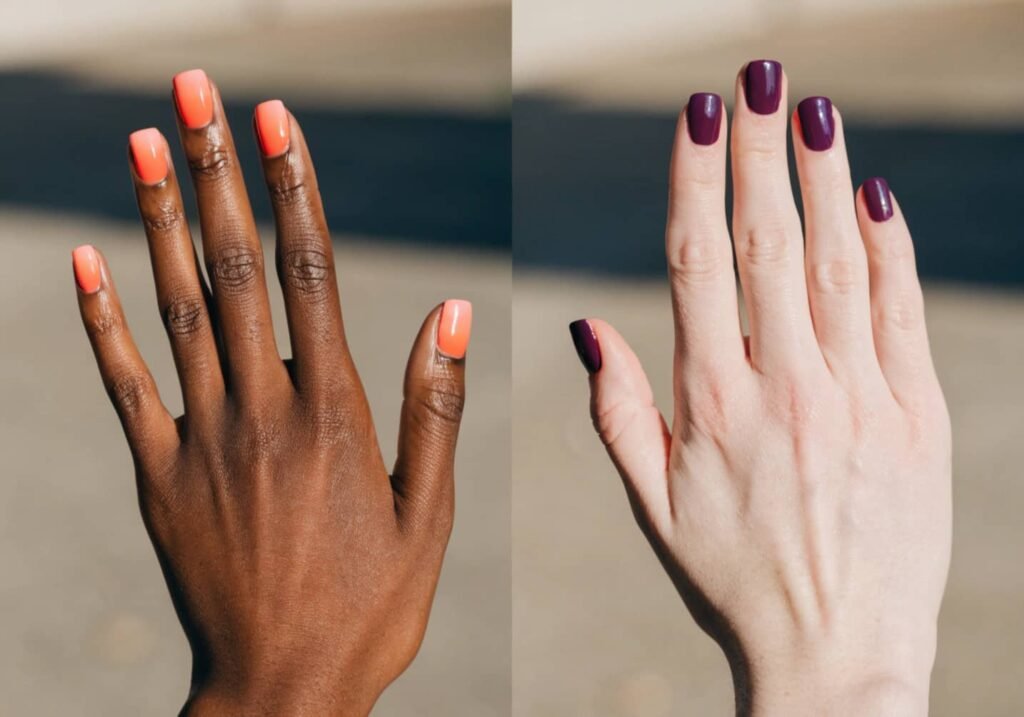
This gets oversimplified into “warm skin wears warm colors,” which isn’t quite right — undertone matters more than overall skin depth. Cool undertones (visible blue-ish veins on the wrist, silver jewelry looks better than gold) tend to suit blue-based reds, berry tones, and icy pastels. Warm undertones (greenish veins, gold jewelry flatters more) usually look better in coral, orange-red, and warm terracotta shades. Neutral undertones can wear almost anything, which is genuinely the easiest group to shop for. If you’re not sure which you are, the quickest check is holding a plain white and a plain cream fabric near your face in daylight — whichever makes your skin look brighter, not the fabric, is roughly your temperature.
7. Nail Art Designs That Grab Attention
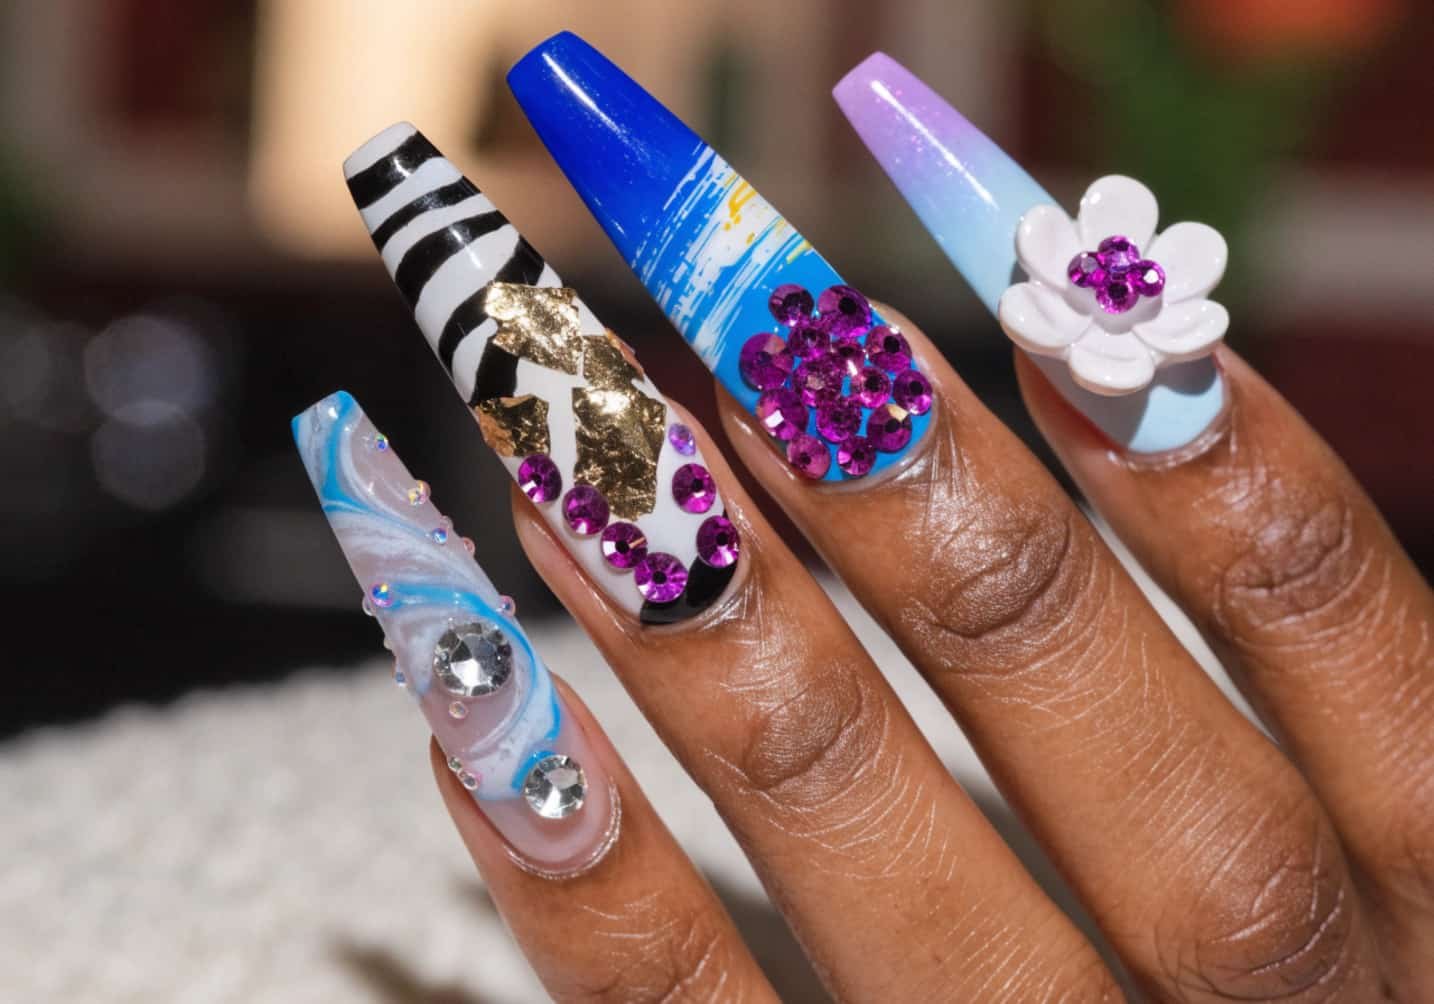
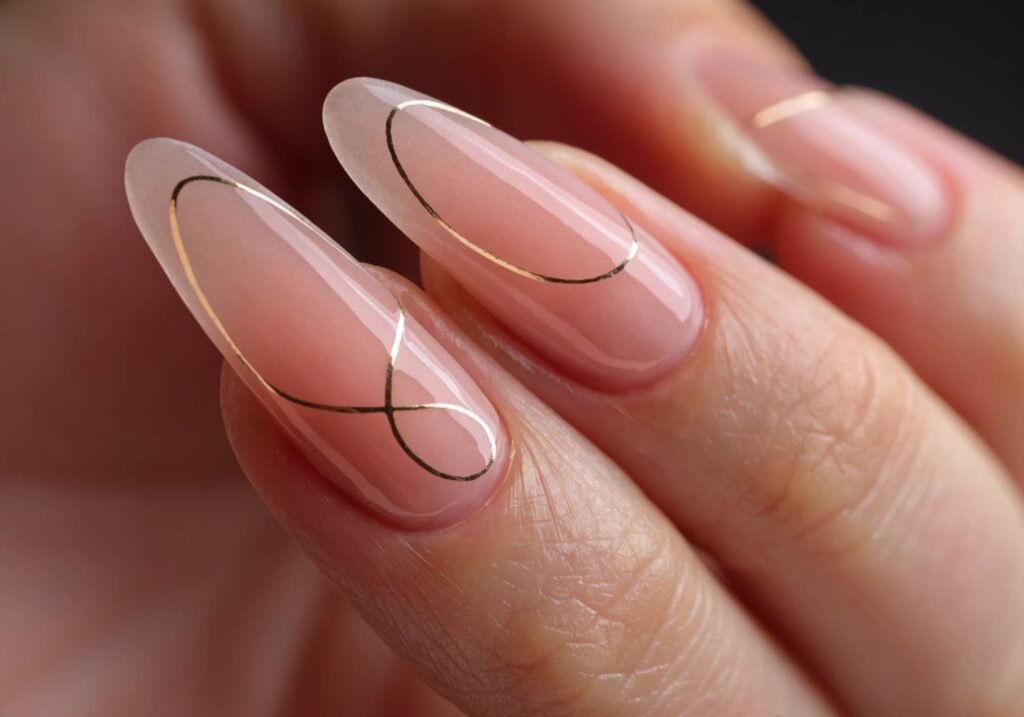
Line art (thin gold or black lines forming abstract swirls or geometric shapes) has replaced a lot of the heavier 3D nail art from a few years back, mostly because it’s faster for techs to do — a striping brush and a steady hand versus 20 minutes of applying charms. Negative space designs, where part of the natural nail is left bare inside a painted border, also photograph better than fully covered art because the contrast reads more clearly on camera. If you want a design that lasts, avoid anything raised (charms, 3D gems) on your dominant hand — they catch on fabric and pull off within days, while flat designs on the same hand can last the full two to three week gel cycle.
8. Long Vs Short Gorgeous Styles
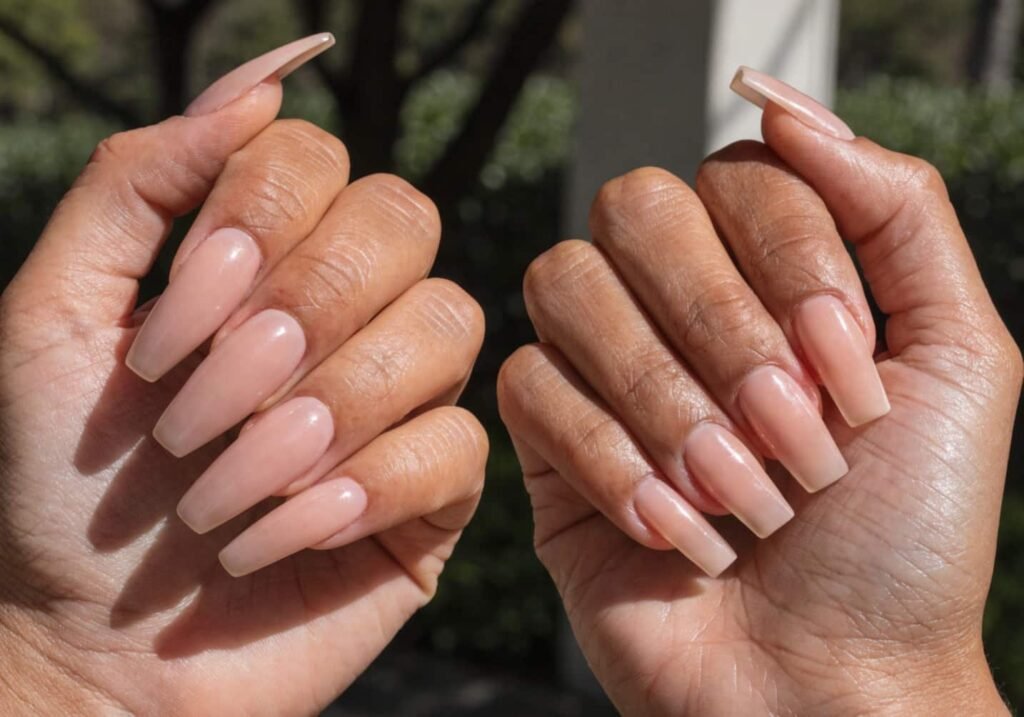
Long nails photograph dramatically but come with real daily-life costs: typing speed drops noticeably for most people in the first week, and anything past the fingertip by more than about 5mm starts catching on zippers, keyboards, and phone screens. Short and medium almond or squoval shapes have become more common in office-heavy cities for exactly that reason. If you want the visual drama of long nails without the daily friction, a medium length (roughly 3–5mm past the fingertip) with a pointed almond shape gives a similar elongated look while staying functional. Genuinely long sets (stiletto or coffin past 1cm) are best treated as an occasion look — worth it for a wedding or a shoot, not something most people should commit to for daily wear.
9. Gel Vs Acrylic for a Gorgeous Finish
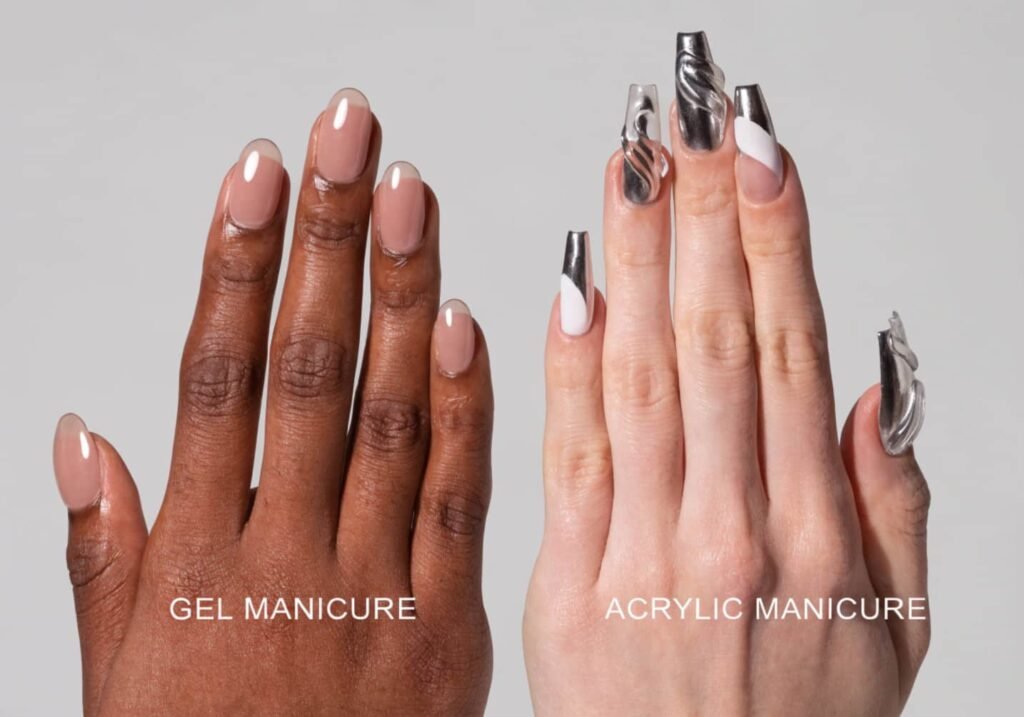
Gel and acrylic get lumped together but they behave very differently. Gel is UV/LED-cured, flexible, and thinner, which makes it look more natural and easier to soak off in about 10–15 minutes with pure acetone. Acrylic is a liquid-and-powder mix that air-dries hard, is more rigid, and is genuinely better for extending or reshaping a badly damaged natural nail because it can be filed into structure gel can’t hold. The trade-off: acrylic removal is rougher on the nail bed if done wrong (it should be soaked, not pried off), and it has a noticeable chemical smell during application that gel doesn’t. For someone who just wants their natural nails to look polished and glossy, gel is the better pick. For someone who bites their nails or has very short, weak nails and wants length and structure, acrylic is usually the more durable choice, even though it’s the less “natural-looking” of the two.
10. Getting a Salon-Worthy Look at Home
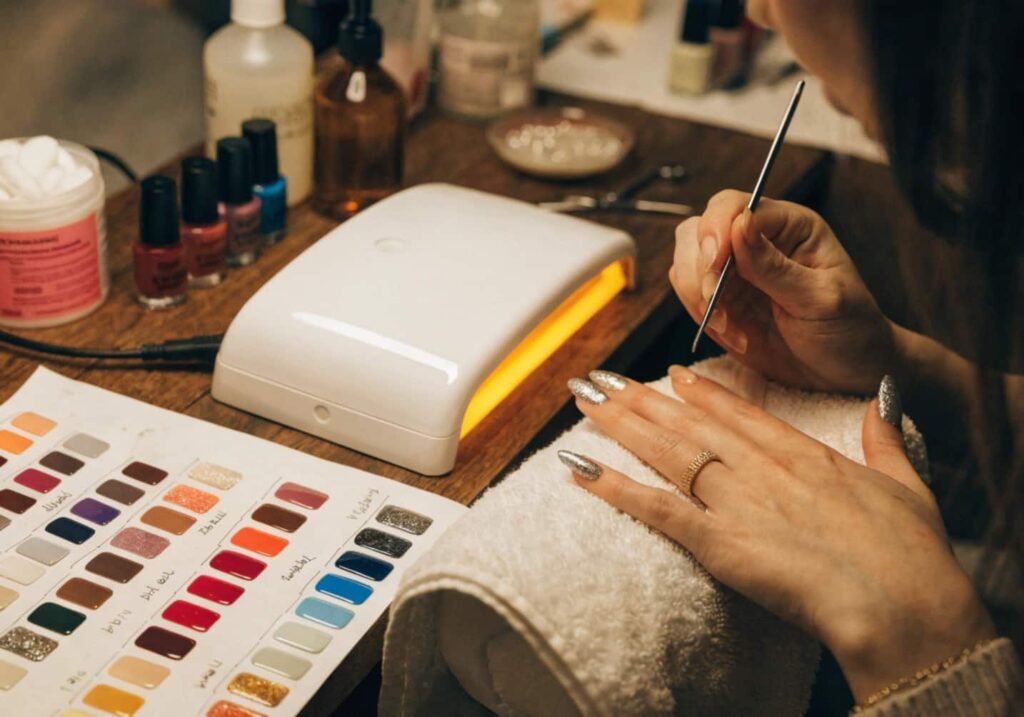
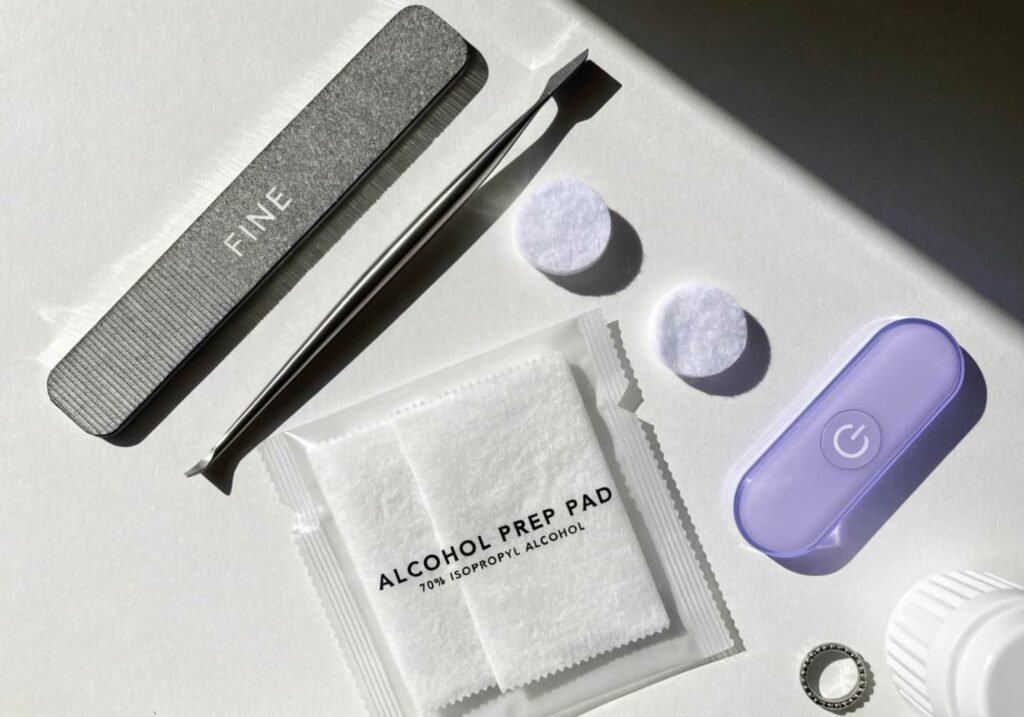
The single biggest gap between home manicures and salon ones isn’t the polish — it’s prep. Salons push back cuticles, lightly buff the nail plate to remove shine (which helps polish grip), and wipe with alcohol or a dehydrator before any color goes on. Skipping that buff-and-dehydrate step is why home polish often peels within two days even with a good topcoat. A basic at-home kit that gets you most of the way there: a glass or 240-grit file, a cuticle pusher, 99% isopropyl alcohol and a lint-free wipe, and a proper UV or LED lamp if you’re doing gel (a $25–40 lamp is enough for personal use; you don’t need a salon-grade one). Skip nail dryers marketed for regular polish — they blow air across the surface while the polish underneath is still soft, which causes dents, not faster drying.
11. Gorgeous Nails for Special Events
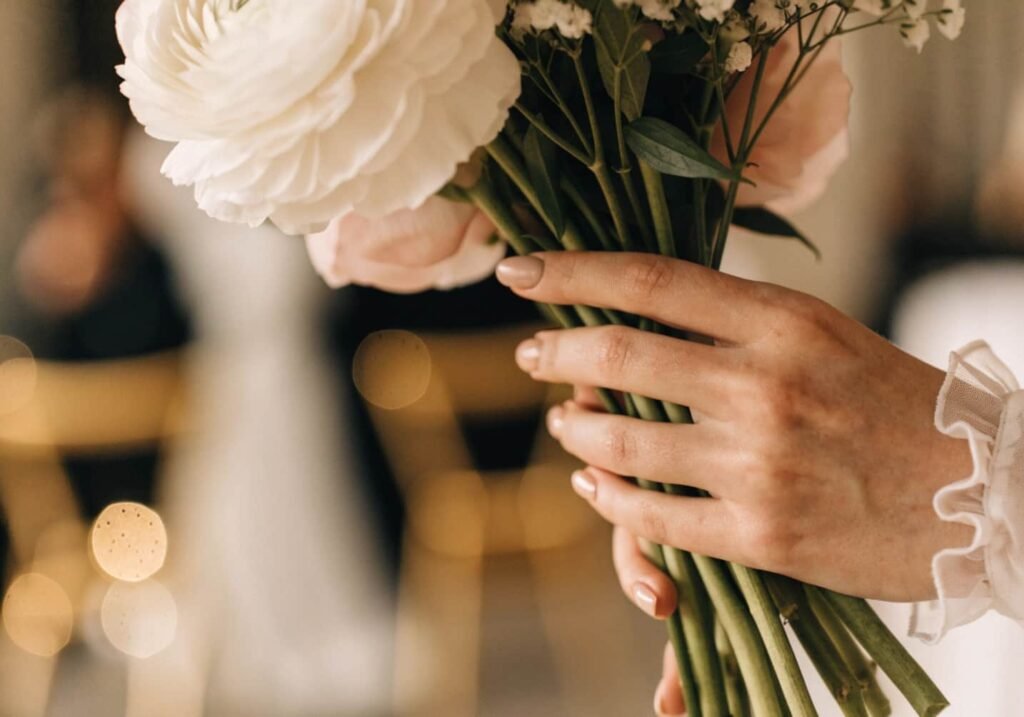
For weddings, most brides go with something that won’t fight the dress or the photos six months later when they look back at them — which is why classic French, soft nude, or a pale blush gel still dominates bridal requests over trend colors. For a night event like a gala or a holiday party, this is where chrome, deep jewel tones, and glitter accents actually make sense, since flash photography and dim lighting make subtle colors disappear on camera. One practical tip: book any elaborate design at least three days before the event, not the morning of — that gives it time to settle and cure fully, and gives you a buffer if a nail chips and needs a quick fix before the big day.
12. Maintenance Tips for Long-Lasting Shine
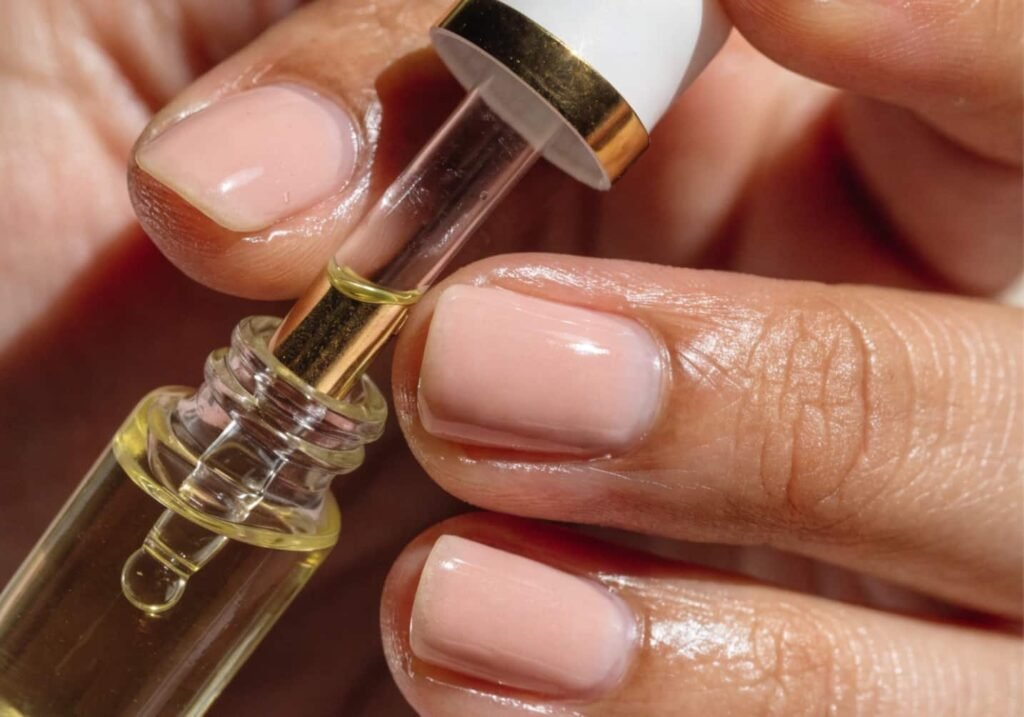
Cuticle oil daily (not just at the manicure appointment) is the one habit that makes the biggest visible difference — dry cuticles lift polish edges faster than almost anything else. Wearing gloves for dishwashing matters more for gel and acrylic than people expect, since hot water and dish soap slowly degrade the seal at the edges, which is usually where lifting starts first, not the center of the nail. If you get gel manicures regularly, using SPF on your hands specifically (not just your face) helps prevent the yellowing that UV lamp exposure can cause over many cycles — it’s a small step, but it’s the difference between nails that look fresh at three weeks and ones that look tired by week two.