There’s a difference between nails that look “done” and nails that look elegant, and it usually comes down to restraint. A lot of people chase elegance by adding more — more rhinestones, more color, more nail art — when the actual secret is closer to editing things out. The most sophisticated hands I’ve seen belong to people whose nails you almost don’t notice at first, and then you can’t stop looking at them.
This isn’t a guide to trends that’ll be dead in six months. It’s a breakdown of what actually separates polished, grown-up nails from everything else, plus the specific techniques and products that get you there.
1. What Elegance Means for Nails
Elegance in nails isn’t a specific color or shape — it’s proportion. An elegant manicure respects the natural nail bed instead of fighting it. That means the polish color, the length, and the shape all work with your hand rather than trying to distract from it.
A good rule of thumb: if someone has to get within a foot of your hand to notice the manicure is expensive-looking, you’ve done it right. If it announces itself from across the room, it’s probably closer to “statement” than “elegant.” Neither is wrong, but they’re different goals, and mixing them up is where a lot of manicures go sideways.
2. Minimalist Nail Art Ideas
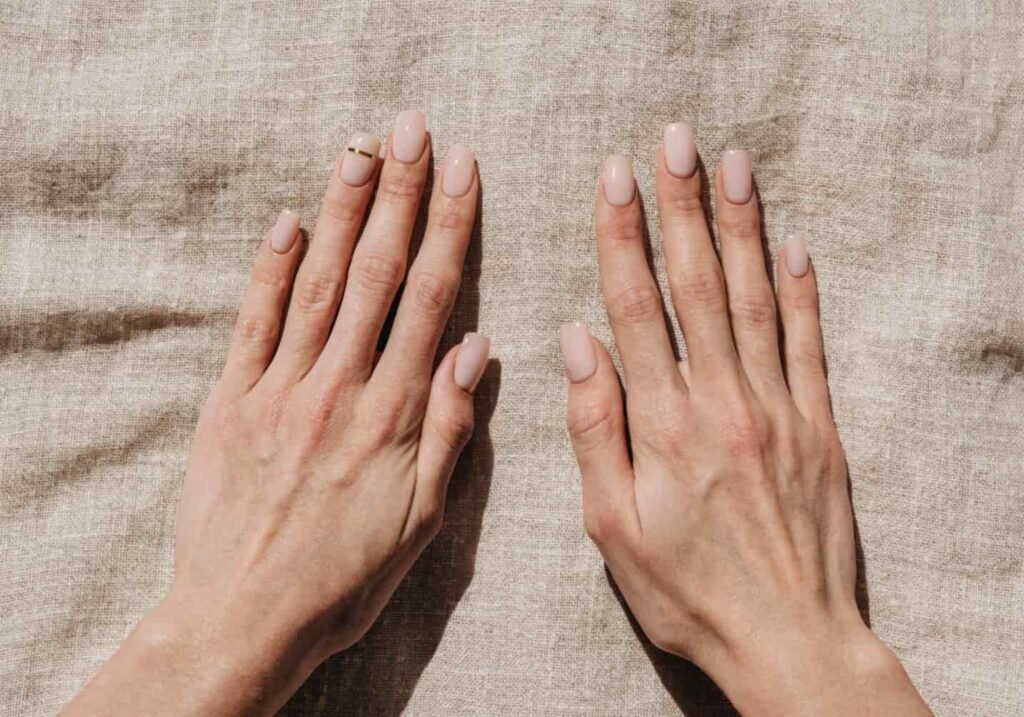
Minimalist nail art gets a bad reputation as “boring,” but it’s actually harder to execute than a full nail art design because every flaw shows. A single thin gold line at the base of the nail, one small dot at the cuticle edge, or a barely-there French tip with a 1-2mm line instead of the usual 3-4mm — these require a steadier hand than a full floral design where mistakes blend in.
If you’re doing this at home, use a detail brush (a 5/0 or 3/0 nail art brush, not the polish’s built-in brush) and thin your polish slightly with a drop of polish thinner so it glides instead of dragging. One clean line beats five wobbly ones.
3. Best Elegant Nail Polish Shades
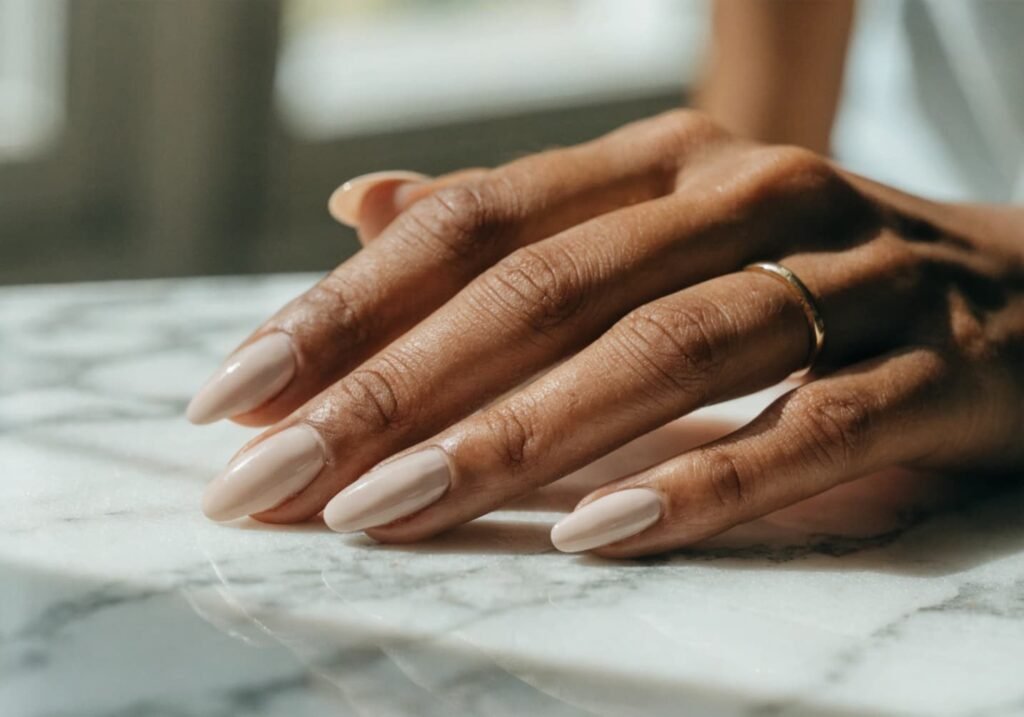
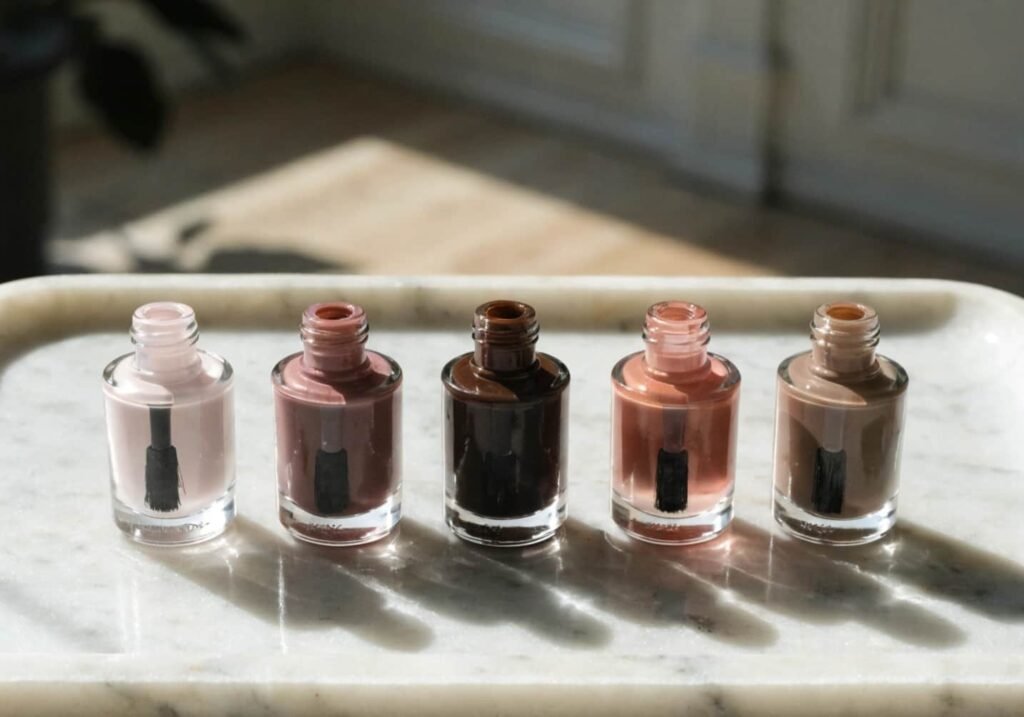
Not every nude is elegant, and not every red is loud. The shades that read as sophisticated tend to have a slightly muted or “dusty” undertone rather than a pure, saturated pigment straight out of the bottle.
A few categories that consistently work, regardless of skin tone:
- Milky pinks with a grey or beige undertone (think “your nail but better,” not Barbie pink)
- Terracotta-mauve — a red with brown mixed in, less aggressive than a classic crimson
- Espresso brown for fall/winter, especially with a slight sheen rather than full gloss
- Sheer rose or “your nail but better” gel polishes, which have become popular because they photograph clean and don’t chip visibly as they grow out
Avoid anything labeled “neon” or with shimmer particles you can see settle at the bottom of the bottle if the goal is sophistication over trend.
4. Elegant Bridal Nail Looks
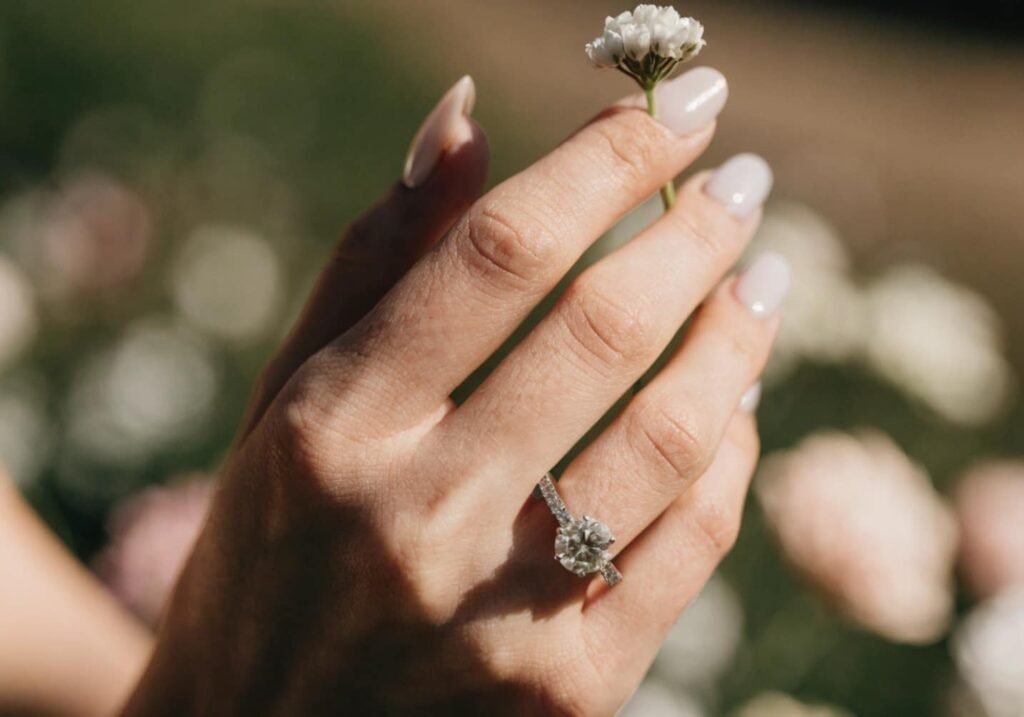
Bridal nails have their own set of rules because photos are unforgiving in a way daily wear isn’t. Glossy finishes photograph better than matte under flash photography — matte can look chalky in flash shots, especially in dimmer reception lighting. If the wedding has an evening reception, lean glossy or a soft glazed finish rather than matte.
Length matters more here than people expect. Anything past a medium almond or short squoval shape tends to show up awkwardly in ring-shot close-ups, where the ring becomes secondary to overly long nails. Most bridal nail techs recommend staying within 2-3mm past the fingertip for the ring photos specifically, even if you want length for the rest of the day — some brides get a shorter “photo set” and a longer “party set” changed after the ceremony, though that’s a more advanced (and pricier) approach.
5. An Elegant Twist on French Tips
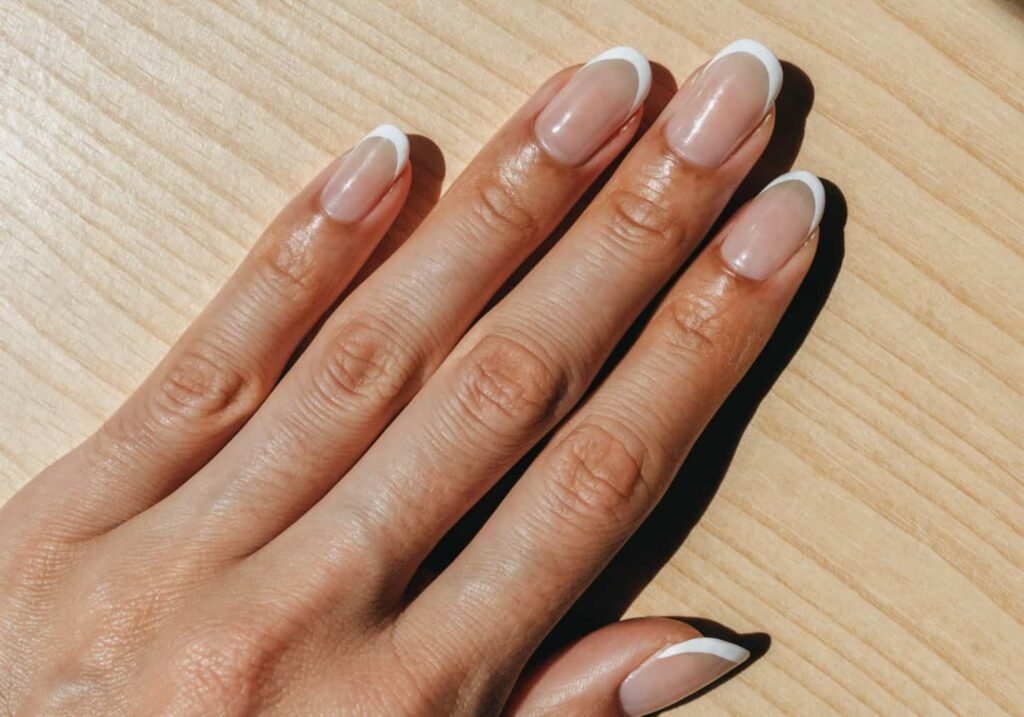
The classic white-tip French manicure has been reworked so many times it barely resembles the original anymore, and that’s mostly for the better. A few versions worth knowing:
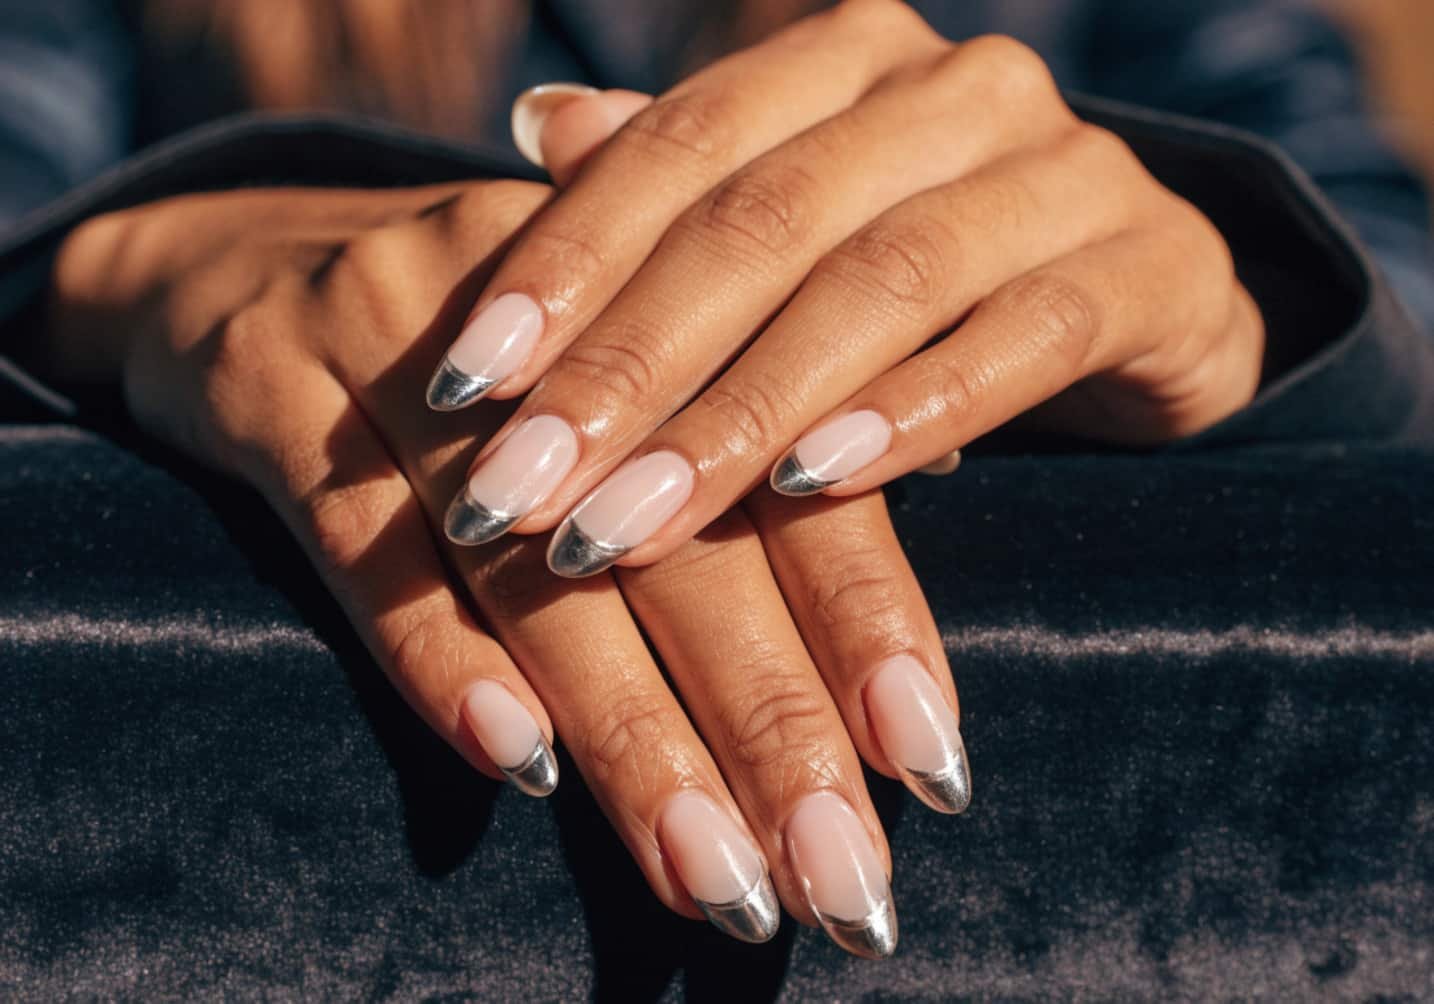
- Micro French: the tip line is 1-2mm instead of the traditional 4-5mm, giving a much subtler edge
- Colored French: swap the white tip for a translucent color like soft mauve, sage, or espresso instead of stark white
- Reverse French (smile line at the cuticle): a thin line of color at the base instead of the tip — less common, reads as more editorial
- Diagonal French: the tip line is angled instead of straight across, which elongates a shorter or wider nail bed
If you’re getting this done in a salon, ask specifically for “thin line” or “micro tip” — the default most techs use is thicker than what actually looks modern right now.
6. Matte Vs Glossy Elegant Finish
This is a genuine trade-off, not just a preference thing. Glossy finishes reflect light and make the nail bed look longer and the polish color look richer and truer to the bottle. They also show scratches and dullness faster — a glossy manicure starts looking tired around day 5-7 without a top coat refresh.
Matte finishes hide minor surface imperfections and small dents better, and they photograph beautifully in natural daylight, but they can look flat or chalky under artificial indoor lighting, particularly warm-toned bulbs. Matte also tends to show visible growth-out lines sooner because the texture makes the demarcation between polish and bare nail more obvious.
My actual recommendation: glossy for anything photographed indoors or at night (events, weddings, dinners), matte for daytime and outdoor settings where natural light does the work. If you can only pick one for daily wear, glossy is more forgiving over a two-week gel cycle.
7. Elegant Nails for Daily Wear
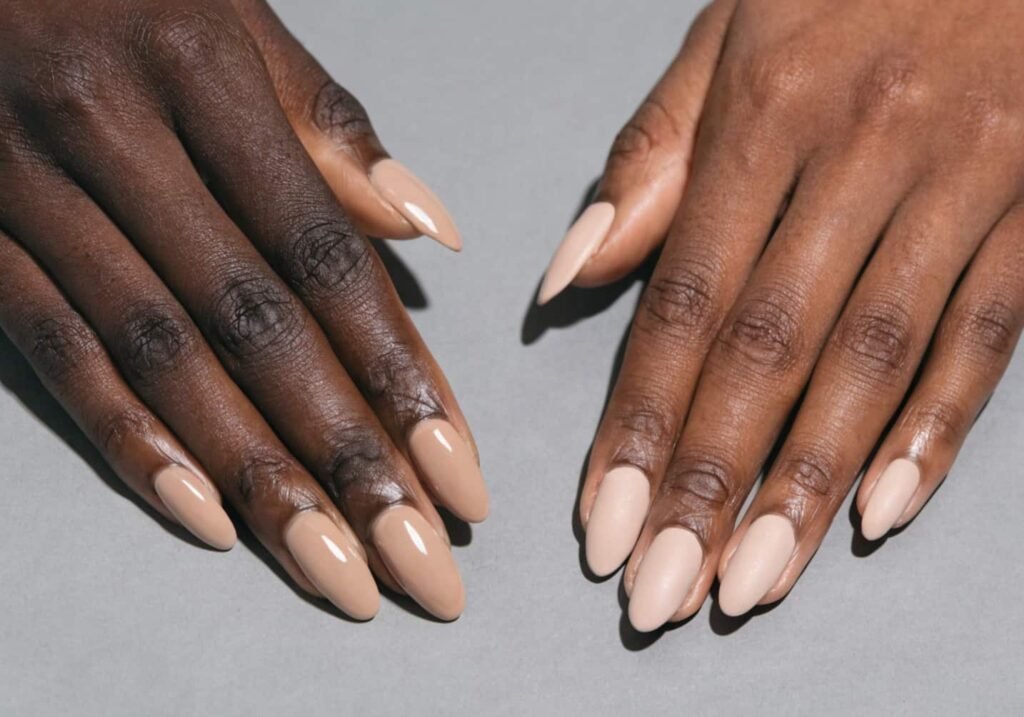
Daily wear elegance is really about durability decisions made upfront, not just color choice. Gel polish holds shape and shine for roughly 2-3 weeks with minimal chipping if applied correctly, versus regular lacquer which starts chipping within 3-5 days on most people’s dominant hand. If your job involves a lot of hand-washing, typing, or manual tasks, gel is worth the extra $15-25 over regular polish just from a longevity standpoint.
Keep the shape low-maintenance too. A rounded square or soft squoval grows out more gracefully than a pointed stiletto or coffin shape, meaning fewer visible gaps between fills. If you’re not getting fills every 2 weeks religiously, this shape choice alone saves you from the “grown-out” look creeping in early.

8. Seasonal Elegant Nail Trends
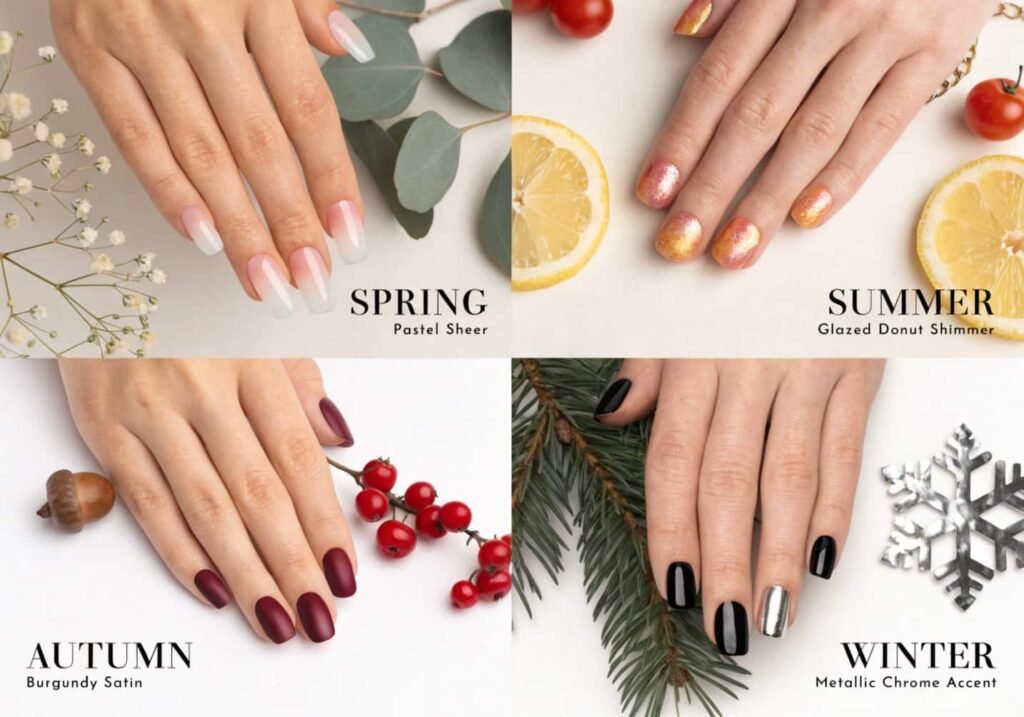
Seasonal doesn’t have to mean seasonal colors slapped onto the same shape year-round — the texture and finish shift more than people realize.
- Spring: sheer washes of color, jelly finishes, barely-there pastels with a glass-like translucency
- Summer: glazed donut finish (a shimmering, almost oily-looking top coat over nude) stayed relevant longer than most trends because it works on every skin tone
- Fall: deeper, muted tones — burgundy, espresso, olive — often in a soft satin finish rather than full gloss or full matte
- Winter: chrome or metallic accents used sparingly, like a single foil nail among otherwise plain ones, rather than all ten nails
The elegant approach to trends generally is picking one seasonal element (a color, a finish) and applying it to an otherwise classic shape and length, instead of overhauling the whole look every few months.
9. DIY Elegant Nails at Home
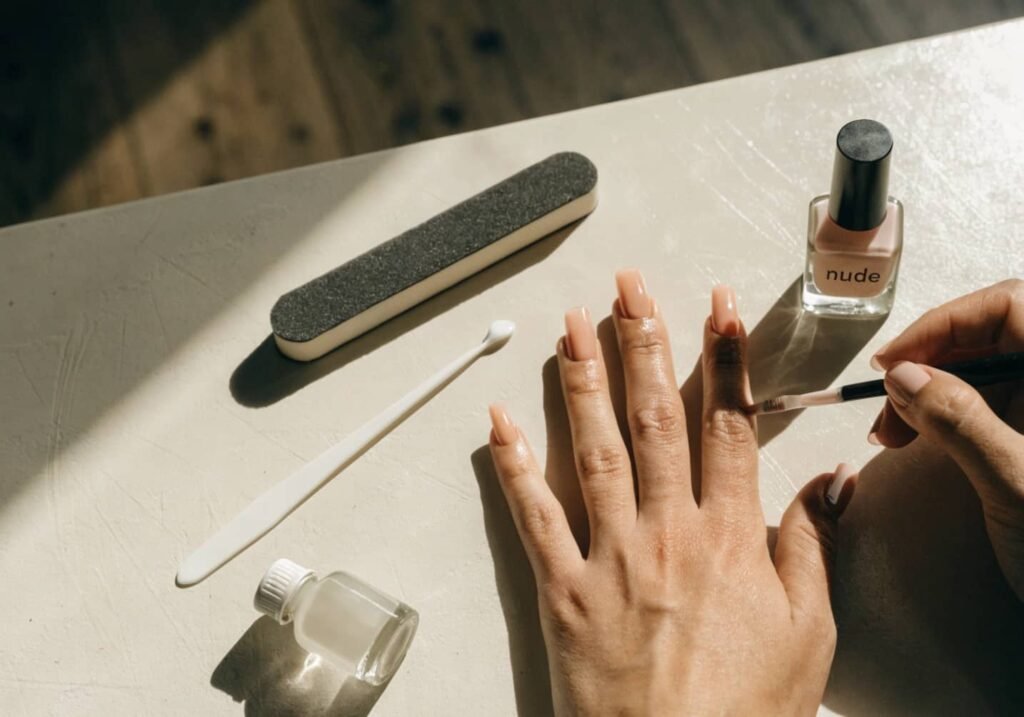
Salon-quality elegance at home is achievable, but it depends heavily on prep work most people skip. Before any polish goes on:
- Push back cuticles with a metal pusher after a warm soak, don’t cut them unless you’re trained to
- Buff the nail surface lightly with a 4-way buffer block — this alone makes polish adhere better and last longer
- Apply a thin base coat and let it fully dry (60 seconds minimum) before color
- Use two thin coats of polish instead of one thick coat — thick coats take longer to dry and are more prone to dents and smudging
- Cap the free edge (swipe the brush over the very tip of the nail) with every coat to seal it and slow down chipping
The biggest mistake home manicures make isn’t the polish choice, it’s rushing dry time between coats. A gel-like nude polish still needs a genuine top coat and 10-15 minutes of no-touch drying time to actually set, longer than most people give it before putting gloves on or grabbing their phone.
10. An Elegant Nail Care Routine
Elegant nails start well before polish. Weak, ridged, or dehydrated nail beds don’t hold color evenly no matter how good the manicure technique is. A basic routine that actually moves the needle:
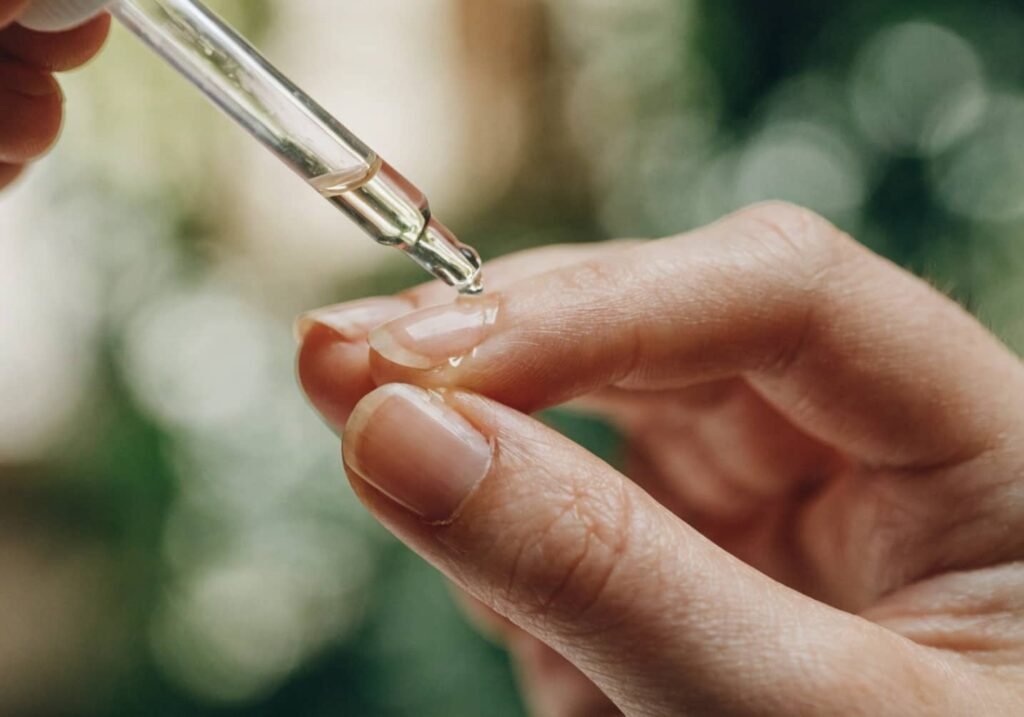
- Cuticle oil applied nightly, not weekly — jojoba or vitamin E based oils absorb faster than heavier options
- A nail hardener or ridge-filling base coat if your nails are naturally thin or prone to peeling
- Biotin supplements can help over 3-6 months for some people, though results vary and it’s not guaranteed
- Gloves for dishwashing and cleaning — prolonged water and detergent exposure is one of the fastest ways to weaken nails and lift gel polish early
- A short break between gel manicure cycles every few months lets the nail bed recover; continuous gel with no breaks is one of the more common causes of thinning nails over time
None of this is glamorous, and it’s the part most people skip because it’s not visually satisfying like picking a polish color. But it’s the actual difference between nails that look elegant for one appointment and nails that look elegant consistently.