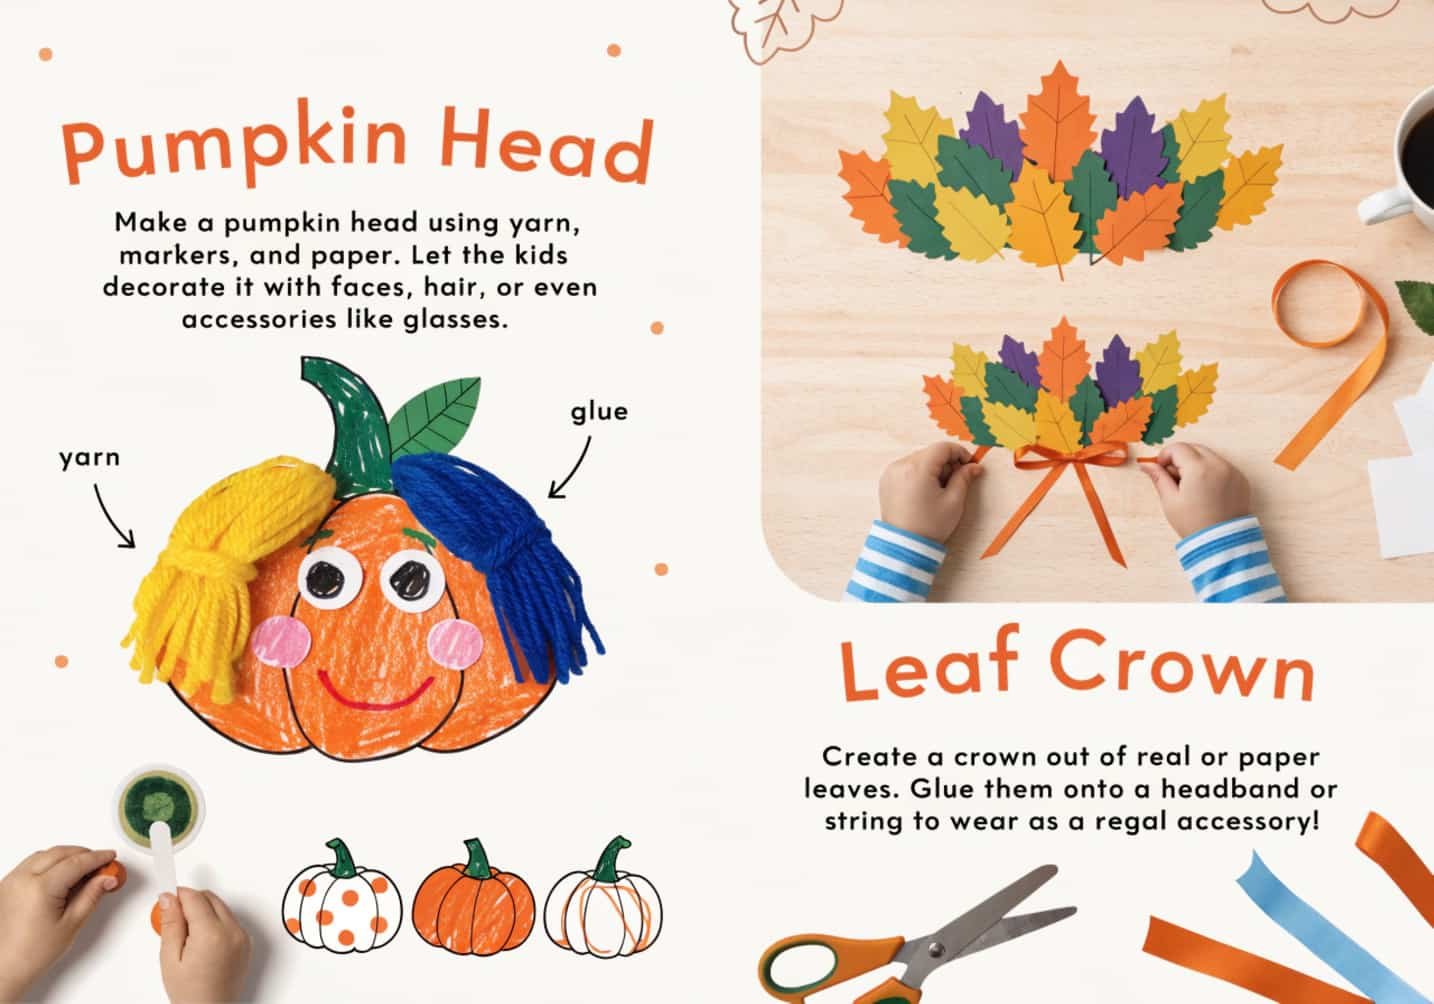
Fall Crafts for Kindergarten: Hands are still figuring out how to hold scissors properly, so the best fall crafts lean on big movements — tearing, pressing, stamping — rather than fine detail work. Most of what’s below can be done with a glue stick, construction paper, and whatever leaves are sitting in your backyard right now. None of it needs a die-cutting machine or a trip to a craft store.
Why Fall Crafts Actually Help at This Age
Skill-building sounds like a buzzword, but there’s something real here. At five and six, kids are working on the pincer grip (thumb and forefinger holding small objects), bilateral coordination (using both hands for different jobs at once, like holding paper still while cutting), and basic sorting logic. Leaf rubbing works the pincer grip because kids have to hold a crayon flat and apply steady pressure. Tearing paper for a collage works bilateral coordination in a way cutting doesn’t, since one hand has to grip and the other has to pull. If a teacher or parent is choosing which crafts to prioritize in a 20-minute window, pick one that involves tearing and one that involves gluing small pieces — that combination covers more motor skill ground than five crafts that are all just “color and cut.”
Leaf Rubbing Art
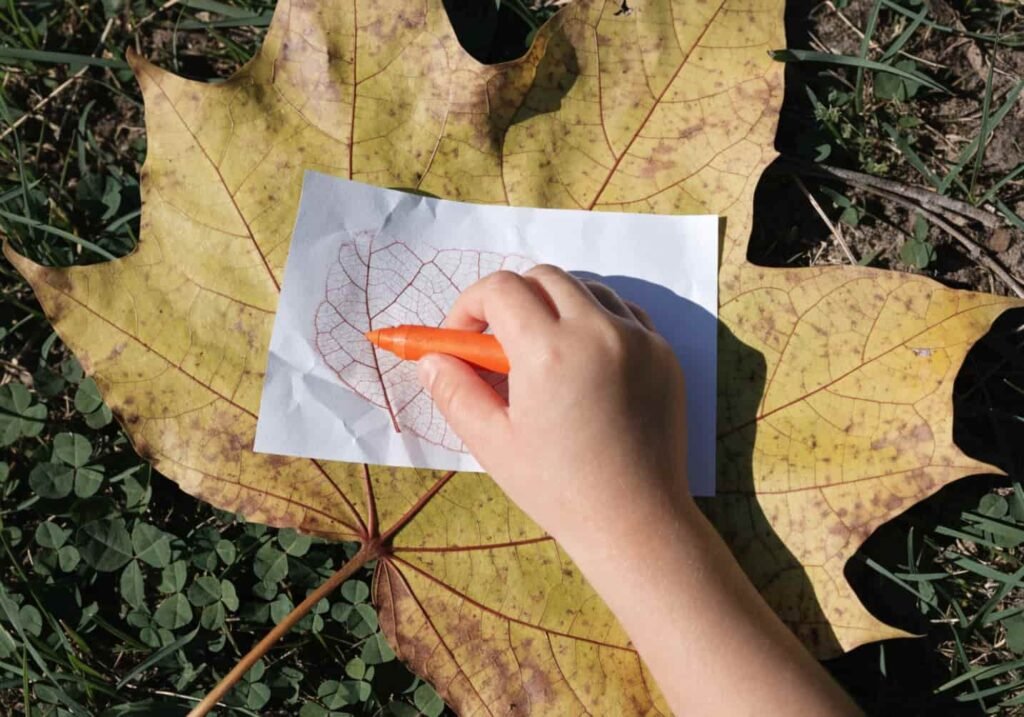
This is the cheapest craft on the list and the one that surprises kids the most the first time they try it. Collect leaves with raised veins — oak and maple work better than thin, papery leaves like birch, which tend to fall apart under pressure. Place the leaf vein-side up under a sheet of plain white paper or thin printer paper (nothing thicker than 20 lb), then peel the paper wrapper off a crayon so the flat side can make full contact with the surface. Rub sideways, not up and down, using the length of the crayon rather than the tip. One common mistake: kids press too hard right away and tear the paper. Have them start light and press harder only once they see the shape emerging — it teaches pressure control, which is genuinely useful for handwriting later. A finished sheet usually holds 4–6 leaf rubbings in different colors before it looks cluttered.
Paper Pumpkin Craft
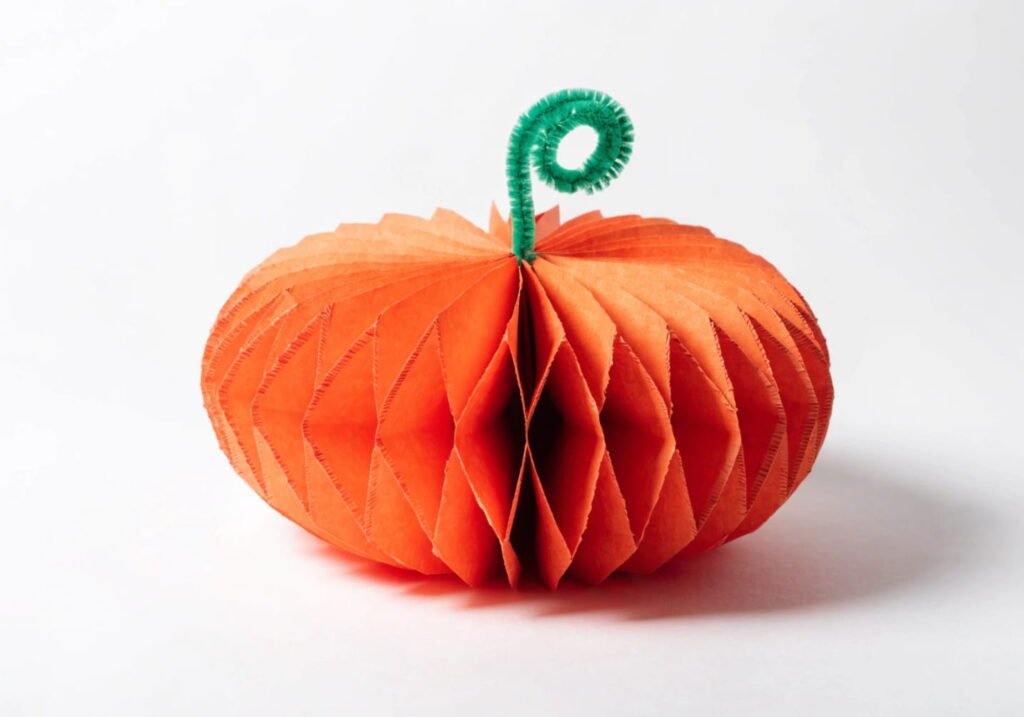
Skip the pre-cut pumpkin templates if you can — cutting an oval freehand, even a lopsided one, is better practice than tracing. Fold orange construction paper in half, cut a rounded oval shape along the fold so it opens into a symmetrical pumpkin body, then accordion-fold 4–5 strips of orange paper and glue them side by side onto the oval for texture (this is the step most tutorials skip, and it’s what makes the pumpkin look three-dimensional instead of flat). A green pipe cleaner twisted into a curl makes a more durable stem than a paper triangle, which tends to get bent in backpacks on the way home. If you’re doing a whole class set, precut the ovals for kids under five and let five-and-six-year-olds attempt the cutting themselves.
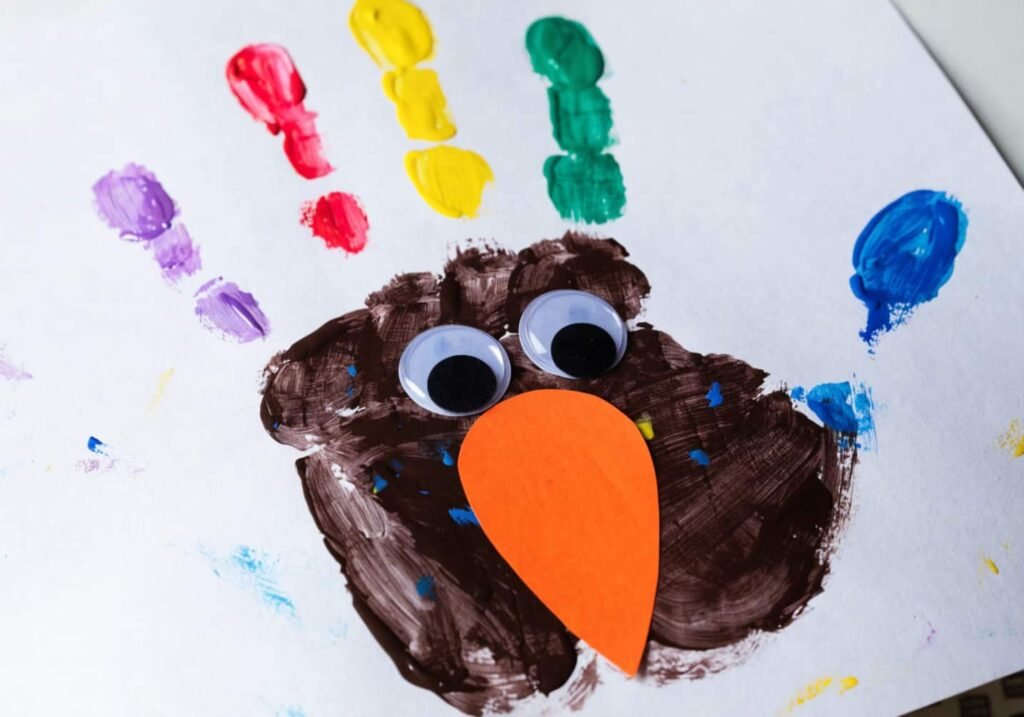
Handprint Turkey
The trick nobody mentions in most versions of this craft is drying time. Kids press a painted hand onto paper, then immediately want to add googly eyes and feathers before the paint has set, which smears the whole thing. Let the handprint dry for at least 15 minutes — better yet, do the handprint at the start of craft time and come back to finish the turkey face and feet after doing something else in between. Use brown or red paint for the palm (the turkey’s body) and let kids choose their own colors for each finger since those become the tail feathers; mismatched rainbow feathers are part of the charm and kids are usually proud of picking the colors themselves. A small orange triangle glued on for the beak and two wiggle eyes finish it in under a minute once the paint is dry.
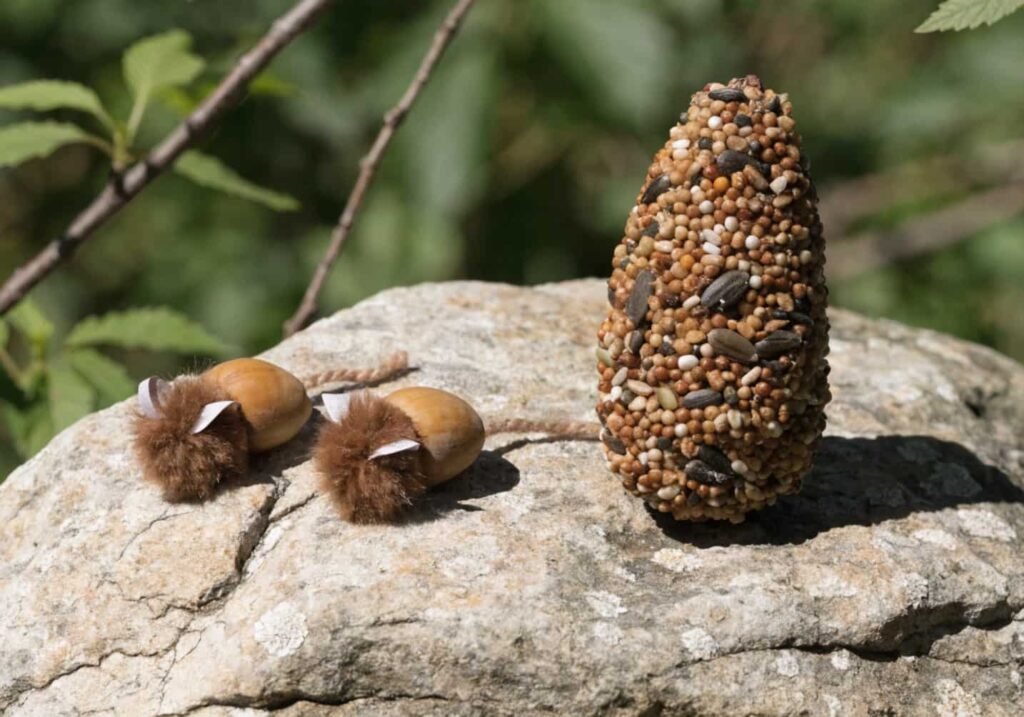
Acorn and Pinecone Crafts
These work best as a two-part activity: a nature walk to collect materials, then the craft itself the next day once everything’s had time to dry out (fresh pinecones are often slightly damp or sticky with sap and don’t glue well). For acorns, kids can glue small pompoms or cotton balls into the caps to make tiny “acorn mice” — just a pompom body, two small paper ears, and a thin yarn tail. Pinecones dipped partway into a shallow dish of glue and rolled in dry oatmeal or birdseed make simple bird feeders, which doubles as a lesson about what animals eat in fall. Keep the collecting walk to about 10 minutes; kids will grab more acorns than they need in the first two minutes and the rest of the walk becomes negotiation over who found the biggest one.
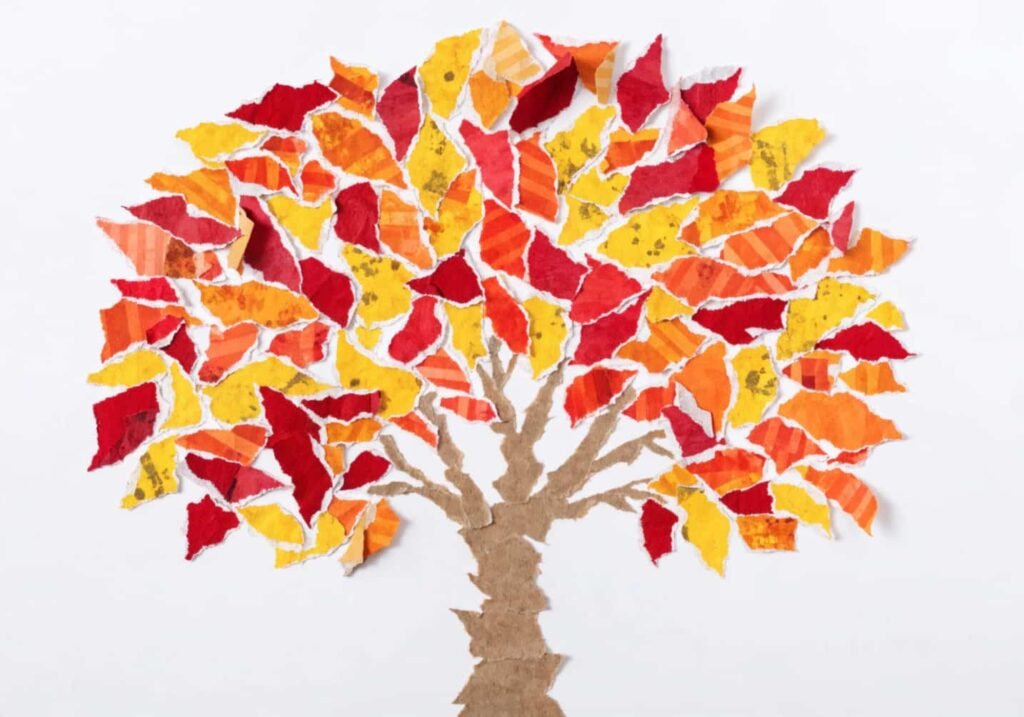
Fall Tree Collage with Torn Paper
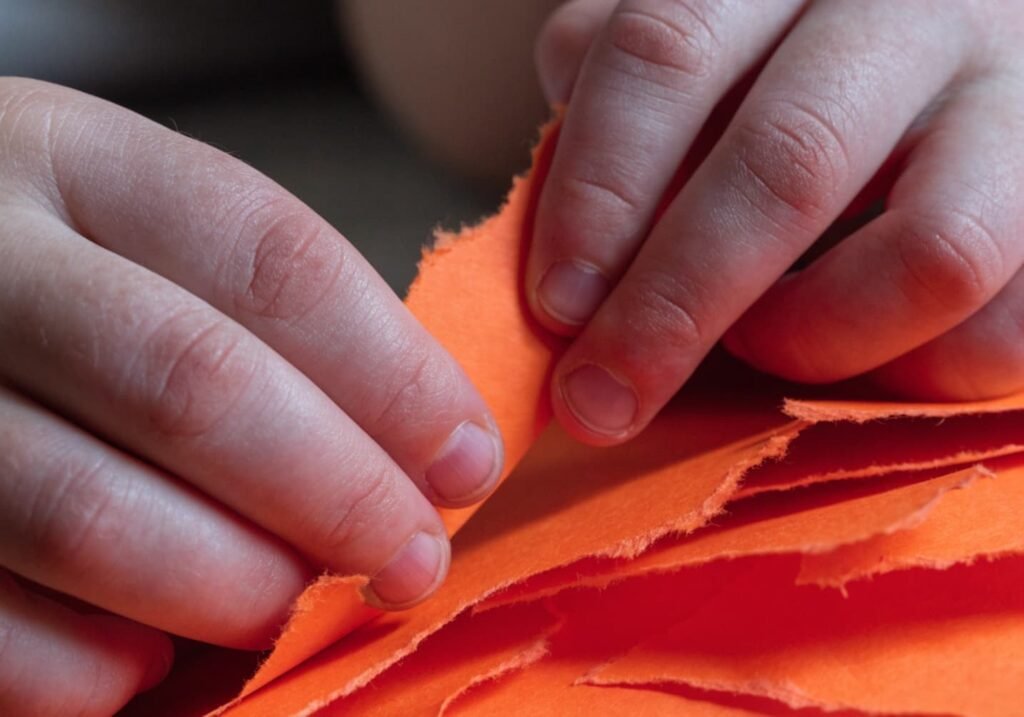
Give each child a brown paper strip and trunk shape, then a pile of pre-torn (or self-torn) squares in red, orange, yellow, and brown. Torn edges catch light differently than cut edges and actually look more like real foliage once glued down in clusters — this is worth explaining to parents who assume scissors would make a “neater” tree, because neater isn’t actually better here. Have kids glue from the top of the canopy downward and overlap pieces rather than leaving gaps; overlapping is also what stops the collage from looking sparse once the glue dries and pieces settle. For a nice variation, skip the trunk entirely and have kids press torn pieces directly around a handprint, turning fingers into branches.
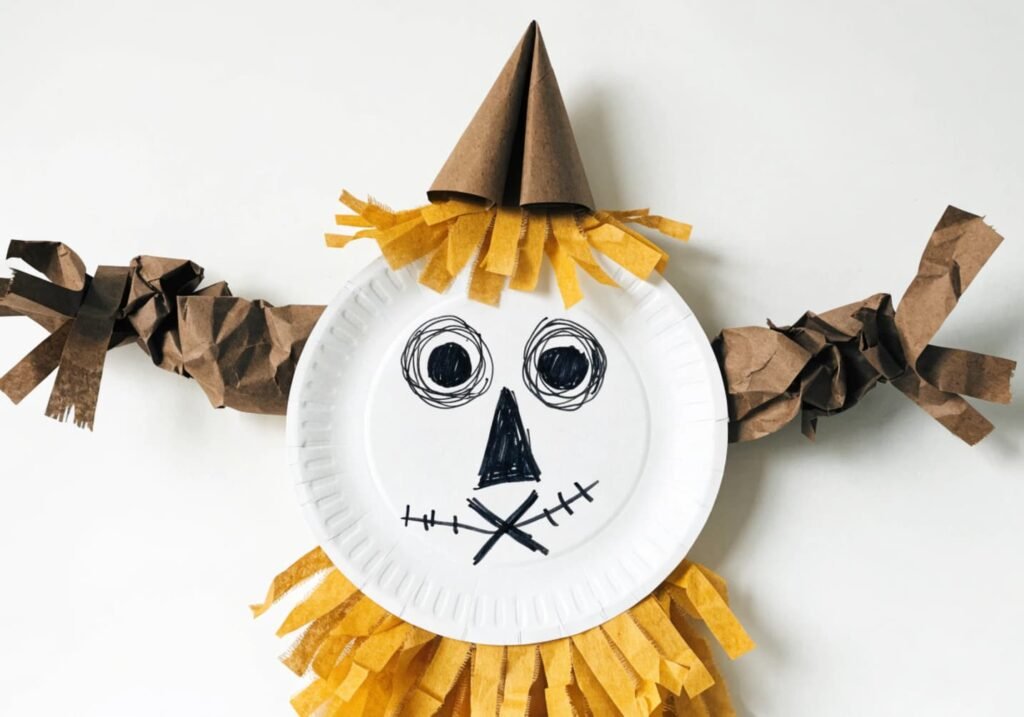
Scarecrow Craft for Beginners
Base the scarecrow on a paper plate or a cut oval of tan cardstock for the face, then build the body out of simple shapes — a rectangle for the shirt, strips of yellow or brown crepe paper glued around the edges for straw. A drawn-on stitched smile (an X-shaped mouth) and a triangle nose made from felt or paper give it that classic scarecrow look without needing any painting. This one’s easy to scale up or down: younger kids can stick with a plain face and hat, older kindergarteners can add patched overalls cut from scrap fabric or patterned paper. It’s also one of the few crafts on this list that holds up well as a stick puppet if you tape a wooden craft stick to the back.
Fall Wreath from Recycled Materials
A paper plate with the center cut out is the base most people reach for, but a cut-open cereal box ring works just as well and is free. Cover the ring in brown paper first so the cardboard doesn’t show through gaps, then glue on a mix of things you’d otherwise throw away: torn magazine pages in fall colors, bottle cap “acorns,” toilet paper tube slices flattened and cut into leaf shapes, even shredded brown paper bag for texture. This is a good group project because it doesn’t need to look uniform — a wreath made from ten kids’ random contributions looks more textured and interesting than one made from matching store-bought leaves. Punch two holes at the top and thread yarn through to hang it.
Paper Plate Owl
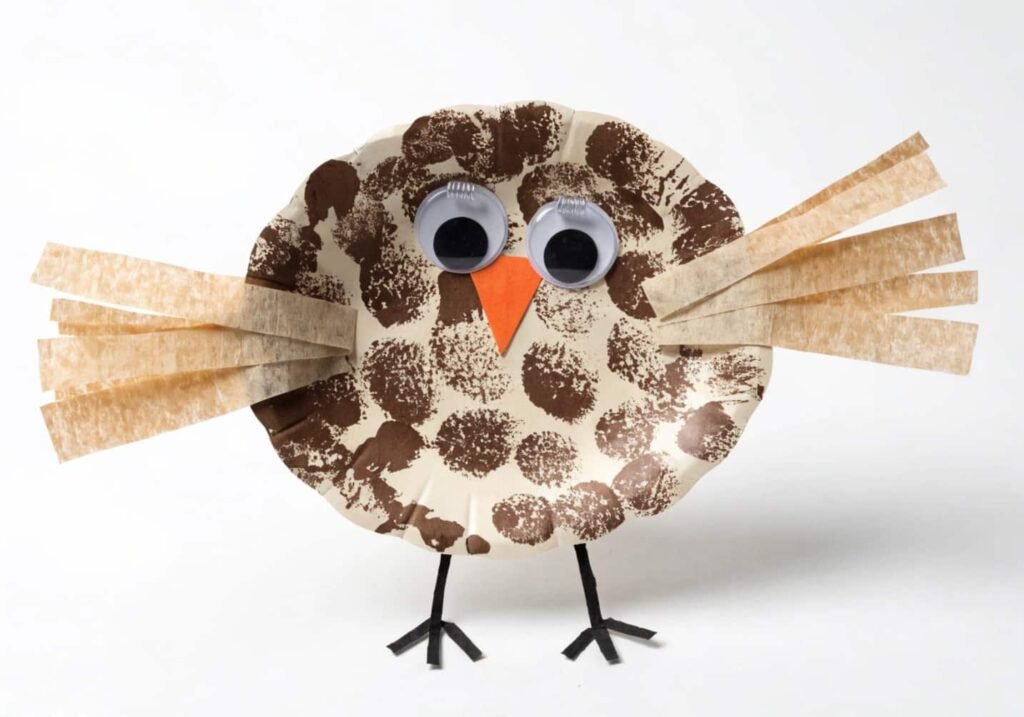
Two paper plates make this easy: one folded slightly and glued as the body, one cut into two wing shapes and a triangle beak. Big wiggle eyes or two white paper circles with black paper pupils give it the wide-eyed owl look, and brown or gray paint stamped with a sponge or bubble wrap adds feather texture without requiring any drawing skill. If you want it to double as fall-themed decor rather than just a keepsake, punch a hole at the top and hang a few from a branch or string across a window — the texture reads well from a distance.
Fall Color Mixing Activity
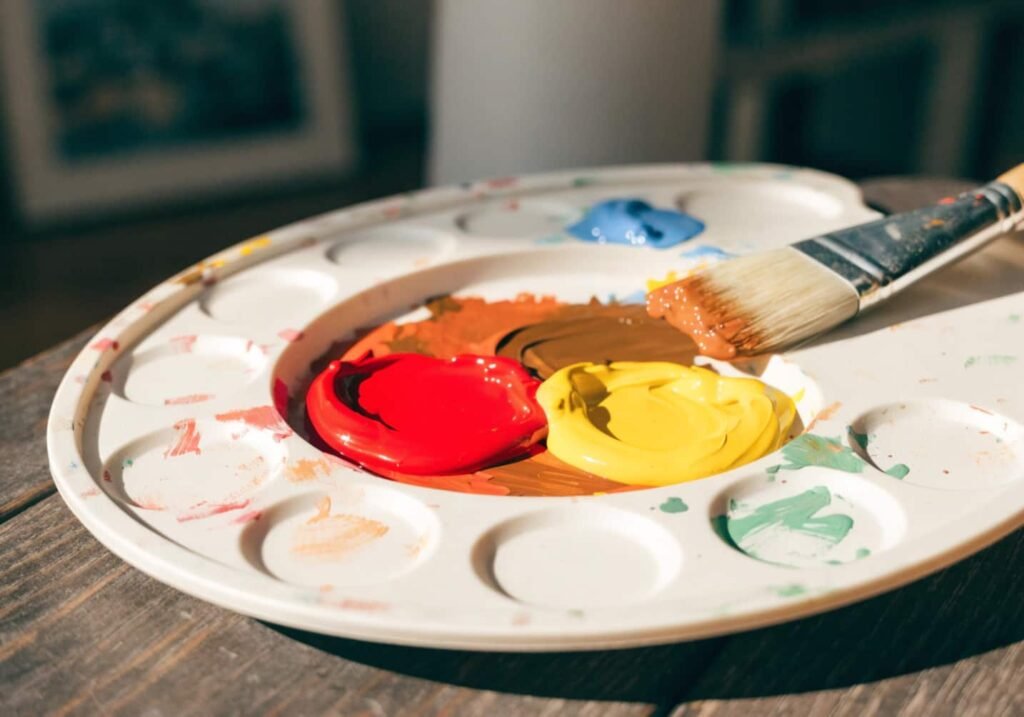
This one’s less about the finished product and more about the process — it works as a science lesson disguised as art. Give kids just the three primary colors of paint plus white, and have them mix their own oranges, browns, and deep reds instead of handing them pre-mixed fall colors. Red and yellow makes orange, and adding a small amount of blue to orange muddies it into the brownish tones you actually see on fall leaves — that’s the piece most craft tutorials skip, and it’s the part that gets kids genuinely excited when they realize they made “leaf brown” themselves. Let them paint directly onto real leaf shapes cut from cardstock, or onto coffee filters, which spread the color in an interesting mottled way that mimics actual leaf coloring.
Managing Craft Time Without Chaos
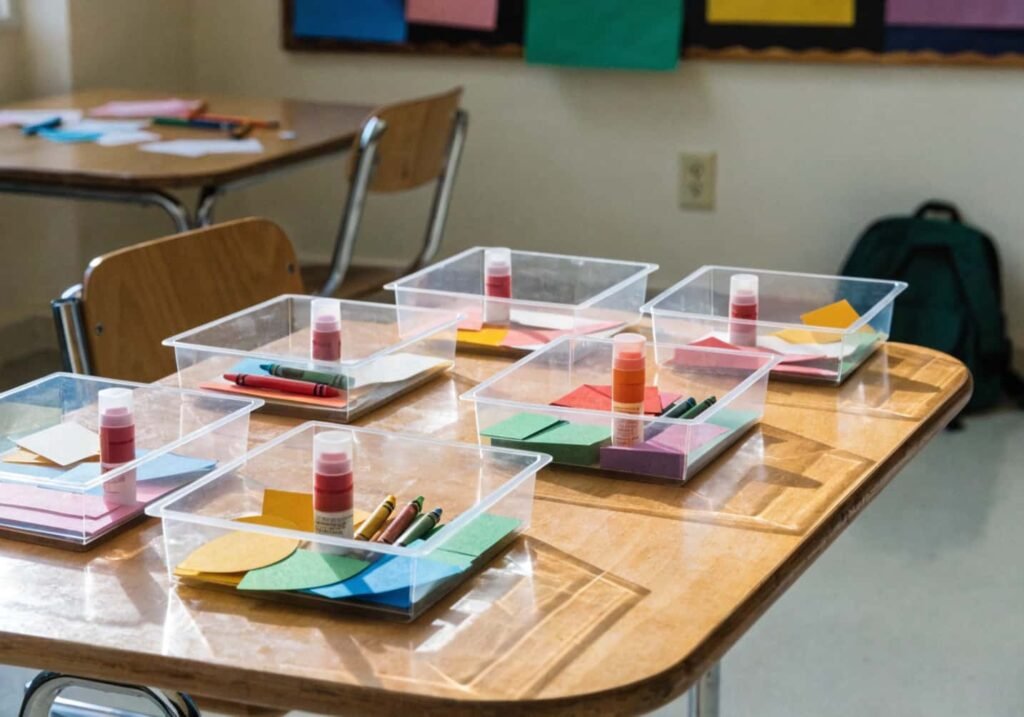
Set out materials in small trays per table group instead of one shared supply bin in the middle of the room — kids under six will reach across each other for the “good” red crayon every time, and it eats up more time than the craft itself. Precut anything that requires more than a straight-line cut; freehand curved cutting is a skill most kindergarteners are still building, and waiting on one slow cutter holds up the whole table. A 3-2-1 countdown for glue stick caps back on works better than asking kids to clean up all at once. If a craft has more than four steps, do it over two shorter sessions rather than one long one — attention for a single seated task at this age realistically runs about 12–15 minutes.
Displaying the Finished Crafts
Hallway bulletin boards work, but a low string of twine hung at kid height (around 3 feet up) with crafts clipped on using clothespins lets children actually see their own work instead of it being six feet over their heads. Grouping by craft type rather than by child tends to look better and avoids any comparison between whose turkey has more feathers. Cardstock crafts hold up on display for weeks; paper plate crafts start to sag after about two, especially near a window with humidity, so rotate those out sooner or reinforce the back with a strip of tape.