A Christmas village can turn a whole room into a story, yet most villages end up as a long row of houses crammed onto one shelf. The houses crowd each other, the lights tangle, and the little town looks like a shop display instead of a place.
The fix is to give the village room to breathe: one clear surface, houses at different depths, and empty space between them so each building reads on its own. When the village has streets and gaps, the eye wanders through it like a real town.
These 17 ideas do exactly that, and most of them use basics you already own: a tray, a mirror, a shelf, or a snow cloth. Pick one, and your village will tell its story without clutter.
The Village Display Formula That Keeps Towns Looking Charming
- One surface earns it: build the whole village on a single clear surface, so the town has a boundary and the room keeps the rest.
- Vary the depths: set houses at different depths, tall ones at the back and small ones at the front, so the village reads like streets.
- Leave gaps: leave empty snow between buildings, because a real town has space and a crowded row does not.
- Light the windows: light as many windows as you can, since warm windows are what turn houses into a village.
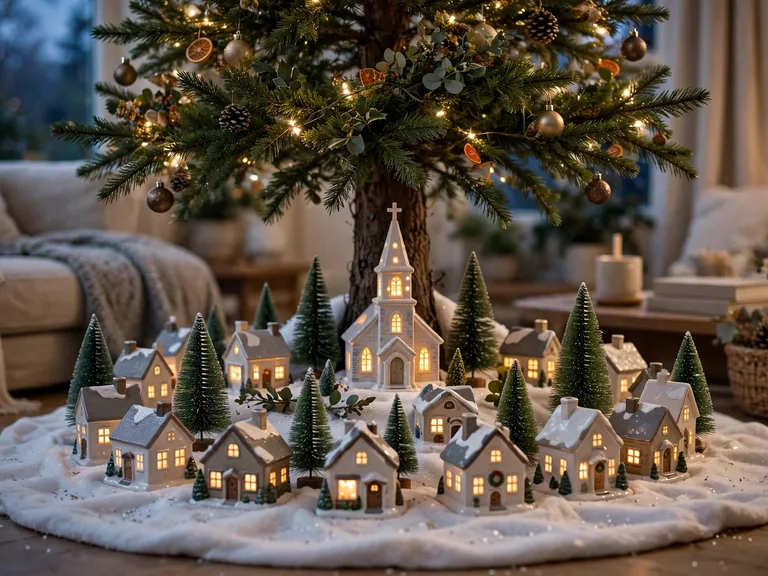
A ring of ceramic houses around the tree base, church at the back, bottle-brush trees between them, and warm windows glowing gives you a town, a story, and a scene in one circle.
1. Village Ringing the Tree Base, No Train
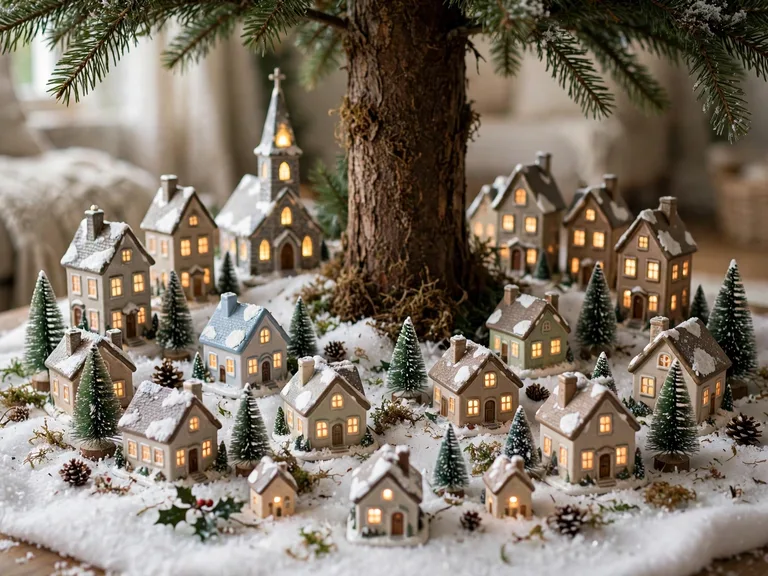
Ring the village around the tree base in a circle on a snow cloth, with the church at the back, and the tree becomes part of the town. Set the houses in a loose ring around the trunk, tallest at the back and smallest at the front, and tuck bottle-brush trees between them. No track and no train here — the circle is the whole display. See how a train around the tree changes the same space if you ever want movement.
The formula: Main: ceramic houses in a ring on a snow cloth / Supporting: the tree trunk as the town centre / Finishing: church with a lit steeple at the back.
2. Village Along the Kitchen Counter Back Edge
Run the village in a row along the back edge of the kitchen counter, behind the jars, with a snow runner underneath. Set the houses against the wall, tallest in the middle, and let the snow runner separate them from the chopping boards and jars. The village stays out of the cooking zone, and the kitchen gains a glowing backdrop for the whole season. A Christmas kitchen island decor display sits on the island instead.
Get the look:
- Main piece: ceramic houses in a row against the wall
- Supporting piece: white snow runner under the houses
- Texture or material: smooth ceramic against warm wood counter
- Finishing touch: tallest house in the middle
3. Village on the Stair Landing
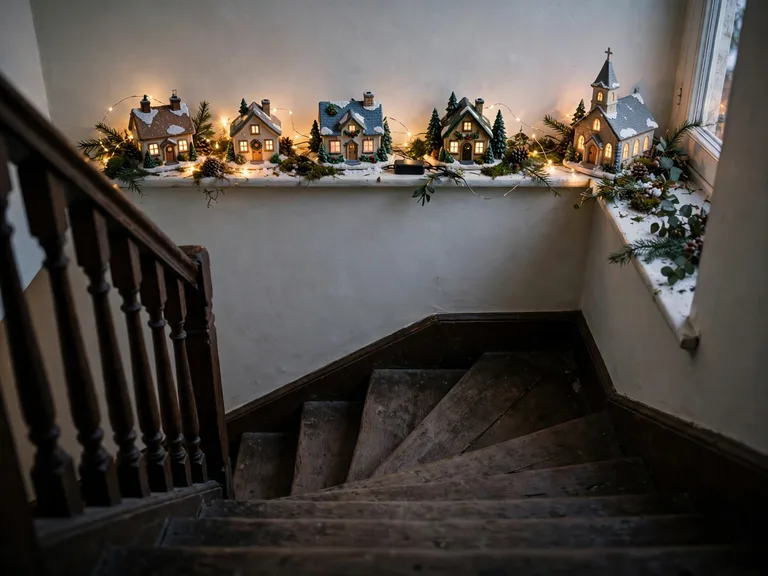
Set the village along the landing ledge, seen as you come up the stairs, and the landing becomes a viewing platform. Place the houses in a shallow row along the ledge, church at one end, and let the warm windows glow toward the stairwell. Keep the houses flat against the wall so nobody brushes them on the way past, and use battery lights so no cable crosses the landing. The village is seen from below and above, which gives it a stage no shelf can match. It is a small, surprising display.
Color note: Warm window light against a pale landing wall suits any staircase, and the glow reads clearly in the evening.
4. Outdoor Village on the Porch
Build an outdoor village from weatherproof ceramic houses on the porch table and steps, lit with battery tealights. Set the houses in a loose group on the table, with one or two on the steps below, and place a tealight in front of each window. Use only outdoor-rated houses, and bring the tealights in during heavy rain. The village glows for passers-by, and the porch feels like a street in miniature. It is the only village in this list made for the outdoors, and it earns its place.
Texture note: Rough ceramic and soft snow feel right on a wooden porch, and the tealight glow warms the cold air.
5. Room-Trail Village
Place one tiny house in each room of the house, a trail to follow from the front door to the tree. Put a cottage in the hallway, a shop in the kitchen, a church in the living room, and one small gingerbread house among them in the dining room. Each house stands alone, so the trail feels like a treasure hunt rather than a display. Children love finding the next house, and guests follow the trail without being told.
Best for: A family home where the village is a game as much as a display, and every room gets a small part.
6. Village in a Low Wooden Dough Bowl
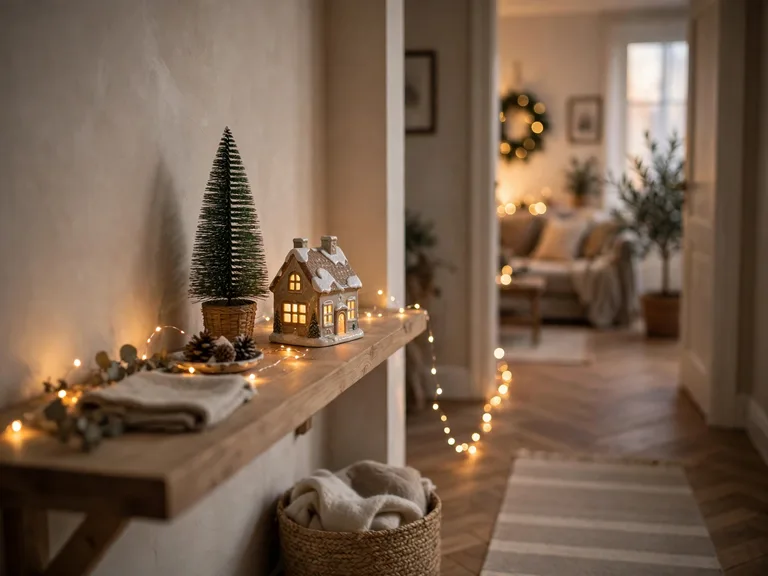
Build the village in a low wooden dough bowl, with houses, bottle-brush trees, and snow in an open bowl on a side table. Set the tallest house at the back of the bowl, the smallest at the front, and scatter the snow so it settles between them. The bowl gives the village a boundary, and the whole display lifts off the table in one piece. For more small-scene styling, see these Christmas vignette ideas.
Space note: A dough bowl suits a side table or a stool, since the village is small and needs to sit where it can be seen up close.
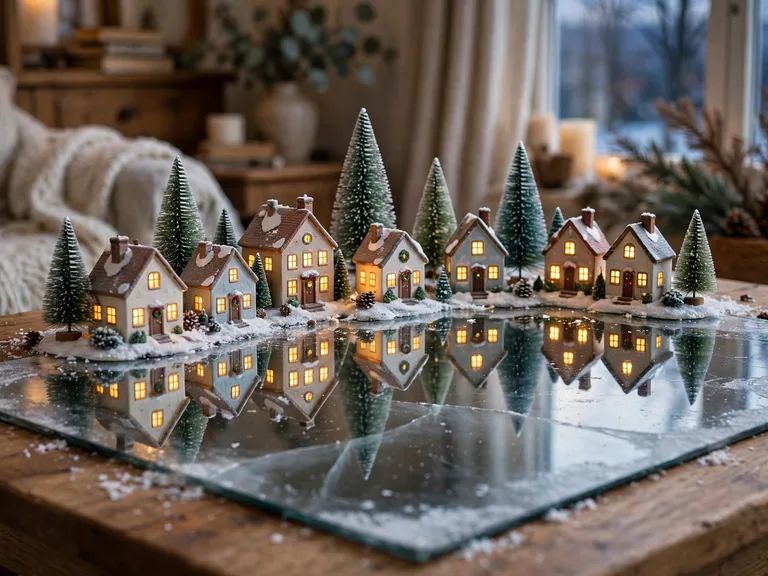
7. Village on a Mirror Base
Stand the village on a large mirror, so the lights double in the reflection and the town looks twice as big. Lay the mirror flat on a table, set the houses on it in a loose group, and let the warm windows reflect below each house. The mirror reads as ice or a frozen lake, and the doubled glow makes a small village feel grand. See this guide to Christmas village display ideas for more ways to build levels and light.
Fit check: Press each house gently before you step back — if it slides on the glass, add a felt pad underneath.
8. Village in a Shadow Box on the Wall
Build the village inside a deep shadow box frame, hung on the wall at eye level, and the town becomes a picture. Line the back with a dark blue fabric, set the houses at different depths, and tuck bottle-brush trees between them. The frame gives the small village weight, and the wall keeps it safe from dust and small hands. Hang it where the hallway light falls on it, and keep the glass clean so the windows stay bright.
Style note: A dark blue backing makes warm windows glow, and the deep frame gives the houses a real sense of street depth.
9. Village on the Piano Top
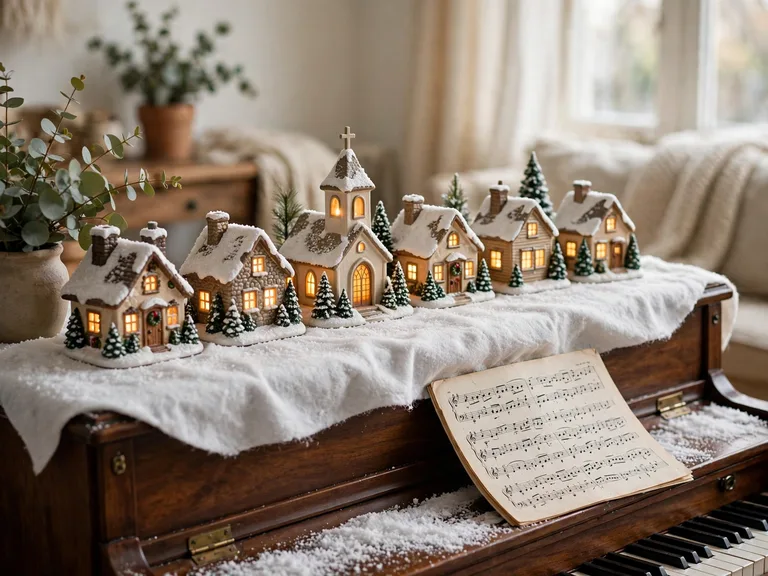
Line the village along the piano top with a snow cloth, keeping the sheet music at the other end. Set the houses in a shallow row against the wall, church in the middle, and let the snow cloth protect the piano finish. The piano is already a stage, so the village sits naturally on it, and the music area stays free for playing. Keep the houses clear of the keys and the lid, and lift the whole cloth off when the piano is tuned. It is a village with a soundtrack built in.
Easy swap: Trade the ceramic houses for wooden ones after Christmas and the same snow cloth becomes a quiet winter scene.
10. Village on the Bedroom Dresser
Set the village along the low, wide dresser top with a snow runner, and the bedroom gains a glowing town. Place the houses in a row against the wall, tallest in the middle, and let the snow runner separate them from the everyday dresser items. The dresser is low and wide, so the village reads clearly from the bed, and the warm windows glow softly at night. Keep the houses clear of the mirror and the jewellery, and use battery lights only. It is a calm, bedtime village.
Seasonal swap: Swap the snow runner for a plain white cloth in January and the village stays out as a winter town.
11. Village in a Repurposed Fish Tank
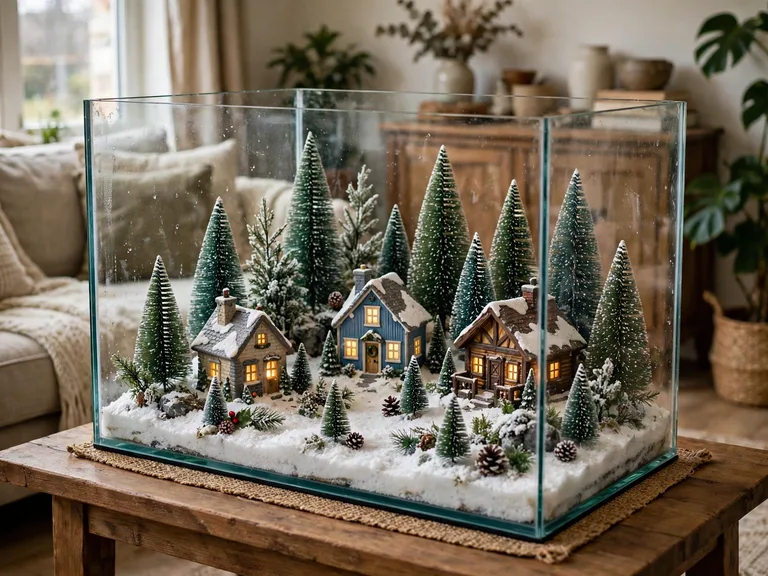
Turn a large glass fish tank into a village diorama, with houses, trees, and snow inside, and the lid left off. Set the tank on a sturdy table, lay a snow base inside, and arrange the houses at different depths with bottle-brush trees between them. The glass walls protect the village and frame it like a museum case, while the open top lets you reach in and rearrange. The tank is a ready-made display case, and the village looks bigger inside it.
Why it works:
- The glass walls frame the village like a case
- The open top lets you rearrange easily
- The tank makes a small village look grand
12. Village on a Hallway Shelf
Run the village in a row on a narrow hallway shelf, lit from behind, and the hallway becomes a street. Set the houses in a single row against the wall, with a battery light strand behind them so the windows glow toward the hall. Keep the shelf narrow and the houses small, so nobody brushes them in passing, and fix the light strand with small clips. The hallway is the one room everyone walks through, so the village is seen a dozen times a day.
Budget note: A narrow shelf, a few small houses, and one battery light strand cost little, and the hallway is already there.
13. Village Around a Central Church
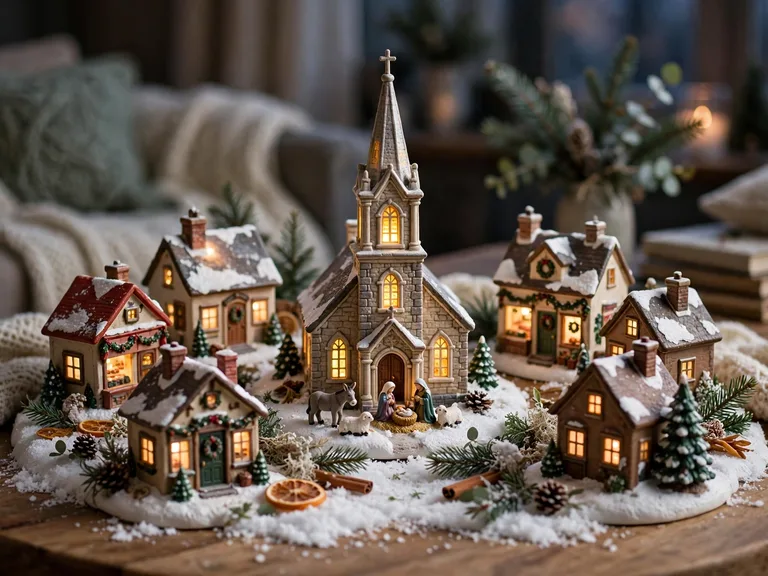
Build the village around a central church, with its lit steeple as the anchor and the houses and shops facing it. Set the church in the middle of the display, place the houses in a loose circle around it, and add a tiny nativity set as one small element among the houses, tucked beside the church door. The church gives the town a centre, and the facing houses make it feel like a real square.
The formula: Main: church with a lit steeple at the centre / Supporting: houses and shops facing it in a circle / Finishing: a tiny nativity beside the church door.
14. Night Village
Build a night village with a dark-blue backdrop and a paper moon behind the houses, windows lit warm. Set the houses against the backdrop, hang the paper moon above them, and light every window so the town glows against the night sky. The dark backing makes the warm light feel stronger, and the moon gives the scene a story. Keep the backdrop flat and the houses close to it, so the moon reads as sky rather than decoration.
Get the look:
- Main piece: ceramic houses with warm lit windows
- Supporting piece: dark-blue backdrop with a paper moon
- Texture or material: smooth ceramic against matte paper sky
- Finishing touch: every window lit, none left dark
15. Village on the Hearth Floor
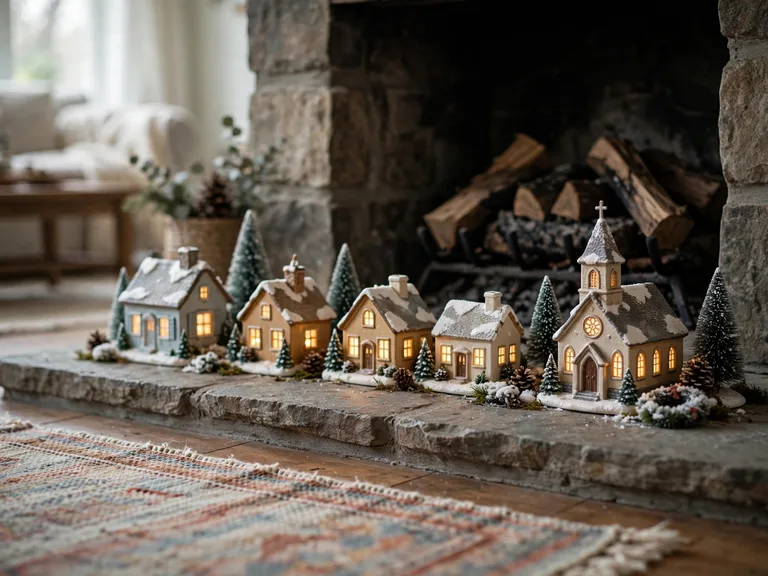
Set the village along the hearth boards at floor level, around the rug edge, and the fireplace gains a town at its feet. Place the houses in a shallow row on the hearth, church at one end, and let the rug edge frame the front. Keep the houses well clear of the firebox, and only build the village when the fire is unlit. The floor-level view makes the houses feel life-size to a child sitting on the rug, and the hearth stone frames them well.
Color note: Warm window light against dark hearth stone suits any living room, and the low line reads calm from the sofa.
16. Village in a Teacup Row
Set one tiny house in each teacup, a row of teacups along a shelf, and the village becomes a set of small portraits. Choose matching teacups, place one miniature house in each, and add a pinch of fake snow around its base. The teacups give each house its own frame, and the row reads like a gallery of tiny homes. Keep the shelf narrow and the cups steady, and use houses small enough to sit inside the cup. It is the smallest village in this list, and the most charming.
Texture note: Smooth porcelain cups and rough miniature houses feel delightful together, and the snow softens every edge.
17. Kids’ Play-Table Village
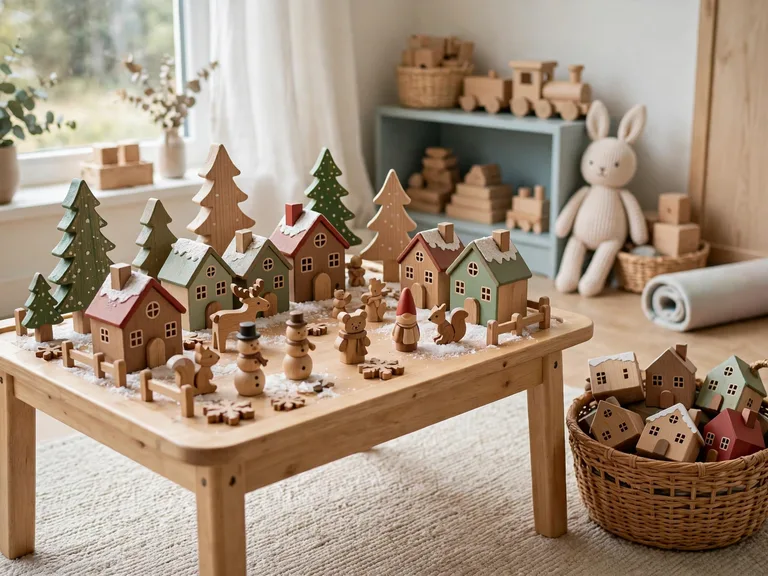
Build a wooden toy village on the play table, made to be touched and rearranged. Set wooden toy houses, trees, and small figures on the table, and let children move them around, build streets, and tell stories. Keep the pieces chunky and the table low, so small hands can reach everything safely. The village changes every day, which is exactly the point — it is a toy, not a display. Pack the pieces into a basket at bedtime, and the table is clear for tomorrow.
Best for: A playroom or a family living room where the village is played with daily and rebuilt just as often.