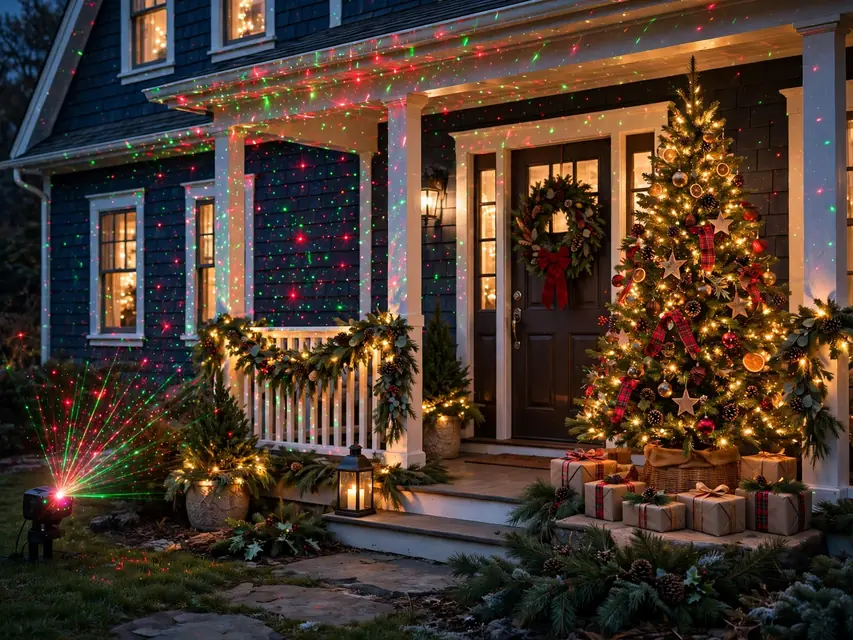
A full ladder-and-clips light display takes a whole weekend and a head for heights, yet a bare house looks forgotten on a street of decorated homes. Most families end up choosing between exhaustion and sitting the season out.
Laser projectors close that gap in about an hour. One or two units, aimed thoughtfully at walls and trees, kept off windows and roads, and layered with a couple of real light features, read rich rather than gimmicky.
These 10 setups run from a single projector on the house front to a full layered show, and every one of them is ground-level and ladder-free, using timers and gear you set up once.
The Laser Light Formula That Keeps Dazzling Looking Tasteful
- Aim at a canvas, not the sky: walls, garage doors and big trees catch the pattern; open air wastes it and annoys pilots and neighbors.
- Two colors at most: red and green, or white alone, reads festive; rainbow modes read arcade.
- Layer one real thing: a lit wreath, two string-light trees or a lantern pair grounds the lasers in something solid.
- Timers end the show politely: set the projector to switch off by ten or eleven so the street can sleep.
For example: one projector throwing red and green dots across the house front (two colors, big canvas), a lit wreath on the door and string lights in one shrub (real layers), on a timer that ends at ten (polite), outshines houses that took all weekend.
| # | Idea | Best For | Budget/Effort |
|---|---|---|---|
| 1 | Red and Green Laser Dots Across the House Front | The classic full cover | Mid |
| 2 | Laser Star Shower Aimed into a Big Yard Tree | A tree full of moving stars | Mid |
| 3 | White Twinkle Lasers on the Garage Door Canvas | The subtle, elegant version | Mid |
| 4 | Lasers Layered with Two Real String-Light Trees | Depth, fake and real mixed | Mid to high |
| 5 | Projector Hidden in a Shrub on a Nightly Timer | Invisible kit, automatic show | Mid |
| 6 | Blue and White Laser Snowfall on the Porch Wall | Falling snow that never melts | Mid |
| 7 | Lasers Aimed Up into Branches, Never at Windows | Canopy sparkle, safely | Mid |
| 8 | Second Projector Covering the Side Wall of a Corner House | Two street views, both dressed | High |
| 9 | Laser Dots on a Fence Backdrop for Family Photos | A photo station outdoors | Mid |
| 10 | Falling Stars Motion Laser Set to an Evening Timer | Movement, then darkness by ten | Mid |
1. Red and Green Laser Dots Across the House Front
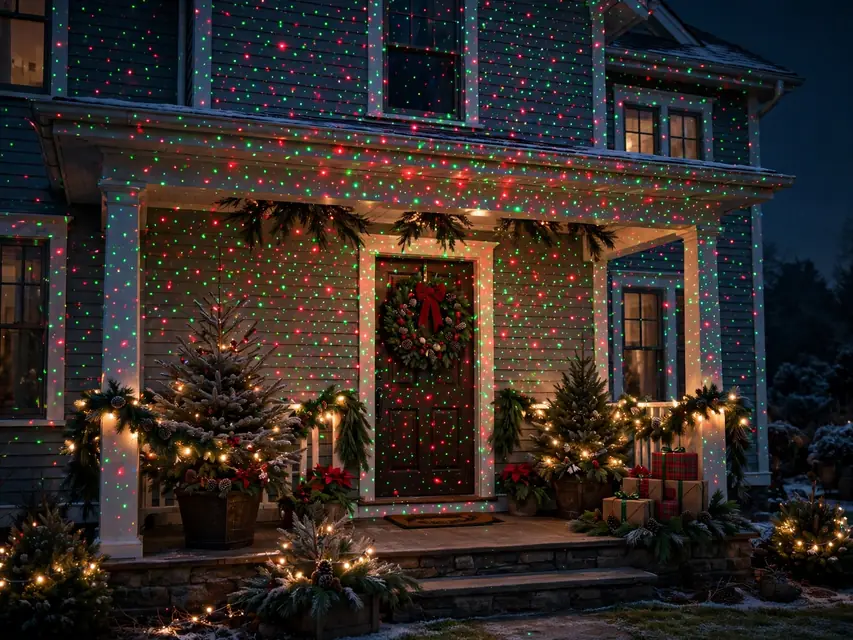
Stake one outdoor laser projector in the front flower bed, about 15 feet from the house, and tilt it slightly upward so thousands of red and green dots wash across the siding, the porch columns and both front windows’ shutters. Choose the slow-drift motion setting rather than strobe, set the coverage dial wide, and let the dots climb into the eaves without crossing onto the roof. A single unit covers a typical two-story front, and the pattern lands on every surface at once, which no string of bulbs can match.
Why it works:
- One unit lights the whole facade in minutes
- Two colors stay festive without looking random
- The pattern covers brick, siding and shutters evenly
2. Laser Star Shower Aimed into a Big Yard Tree
Point a star-shower projector from the lawn, about 20 feet back, straight up into the canopy of your largest front-yard tree, so hundreds of tiny green stars drift slowly through the branches and across the leaves. Stake the unit at the trunk’s drip line, angle it at 45 degrees, and pick the slowest rotation speed so the stars twinkle and wander instead of spinning. On a bare winter tree the points stay crisp against the bark; on an evergreen they scatter like fireflies caught in the boughs.
Budget note: One mid-priced star projector runs about the cost of two long string-light sets, and it replaces the ladder rental entirely, so the tree show pays for itself in one season.
3. White Twinkle Lasers on the Garage Door Canvas
A flat garage door is the biggest blank canvas on most houses, and a white-only laser setting turns it into a field of soft, snowfall-like sparkles. Place the projector on the driveway edge, roughly 18 feet back, centered on the door, and choose the white twinkle pattern at its widest spread so the points cover both door panels edge to edge without spilling onto the driveway.
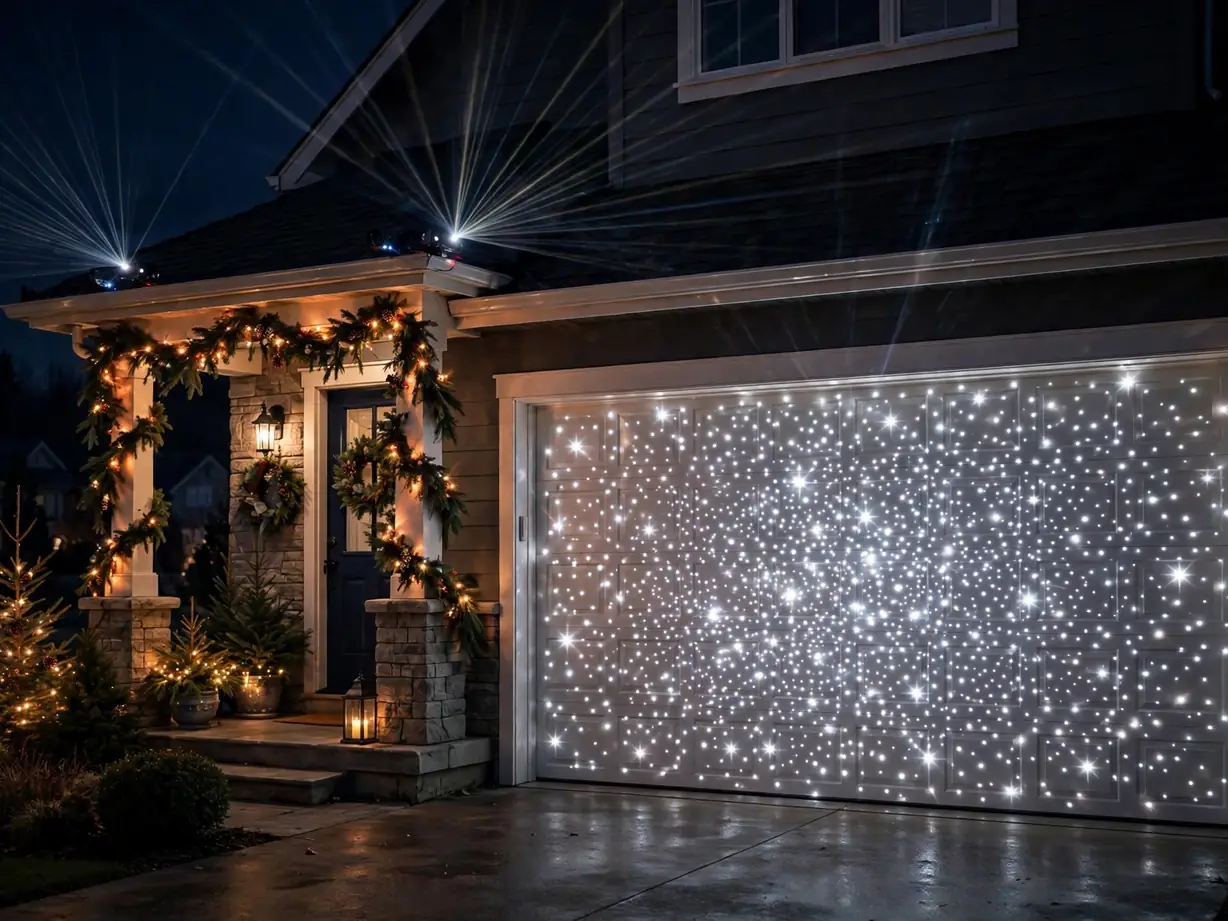
Because the color stays white, it pairs calmly with warm white front porch christmas decor ideas like lanterns and a lit wreath instead of competing with them. It is the calm choice for a street of loud displays.
The formula: white laser projector + flat garage door + warm lantern pair
4. Lasers Layered with Two Real String-Light Trees
Lasers alone can look flat, so anchor the show with two real spiral trees wrapped in warm white string lights, one on each side of the door. The laser projector sits between them in the bed, washing red and green dots across the wall behind, while the two glowing trees give the eye something real to rest on. Run everything from one outdoor timer so the scene switches on at dusk and off at ten.
Get the look:
- Main piece: one red-and-green laser projector in the center bed
- Supporting piece: two 4-foot spiral trees in matching pots
- Texture or material: warm white mini lights on real branches
- Finishing touch: one shared timer for all three pieces
5. Projector Hidden in a Shrub on a Nightly Timer
Tuck the projector low inside a dense evergreen shrub near the porch, lens peeking through a small gap in the branches, so guests see a wall of drifting red and green stars but never find the source. Plug it into a weatherproof outdoor timer set for dusk to 10 p.m., stake the cord flat under mulch, and angle the beam upward across the porch wall and ceiling, where the pattern stretches wide and soft. It is the setup busy households actually keep running all season.
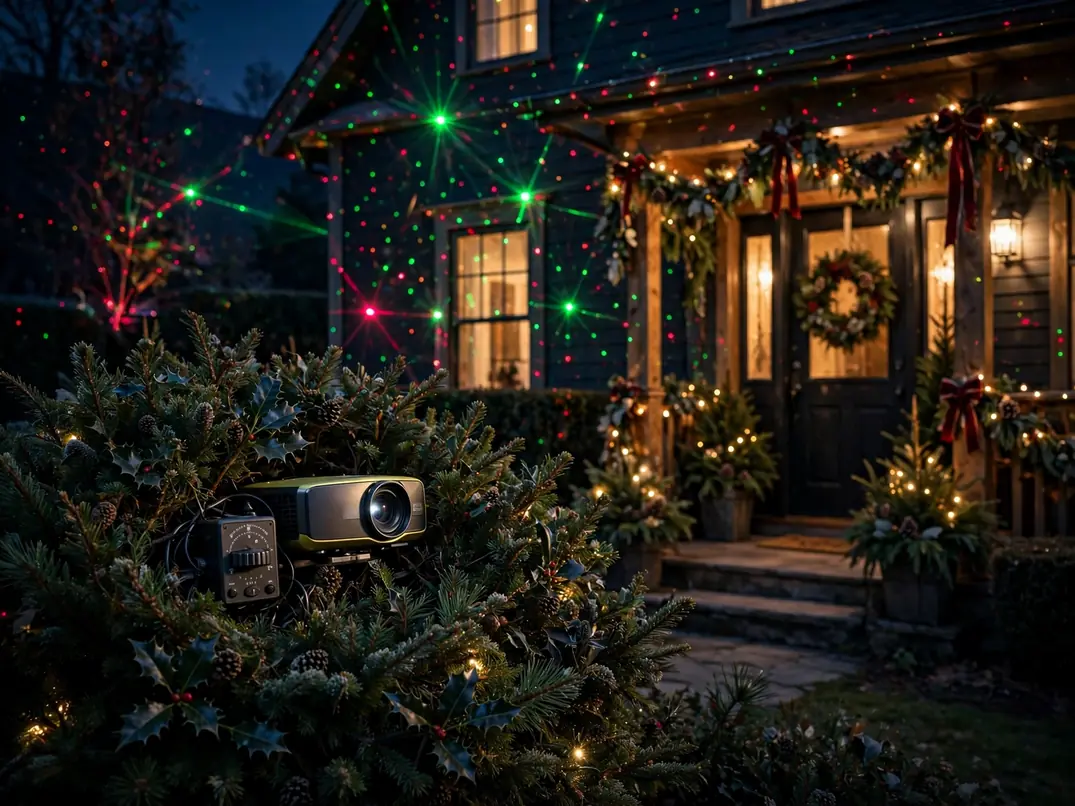
Color note: Red and green read as pure Christmas at this soft density, and the porch’s warm lantern light keeps the cool laser colors from feeling harsh.
6. Blue and White Laser Snowfall on the Porch Wall
Switch the projector to its falling-snow pattern in icy blue and white, and aim it at the porch’s side wall from a planter on the floor, eight feet away. The slow downward drift reads as gentle snowfall against the siding, and because the beam stays on your own wall, no light escapes toward the street. Frame the scene with two christmas planter ideas in action: cedar-filled pots flanking the door, their greenery catching stray sparkles at the edges. Kids will ask to eat dinner on the porch.
Texture note: Smooth siding gives the falling dots a clean screen, while the rough cedar and bark in the pots catch scattered points and add depth at the frame’s edge.
7. Lasers Aimed Up into Branches, Never at Windows
For a canopy of sparkle without any risk, set the projector at the base of a large tree, inside a ring of stones, and aim it straight up into the branches at a steep angle. The dots scatter through twigs and leaves high above the house, never crossing a window, the roofline or the road. Test the aim on the first night from the sidewalk and from your neighbor’s side: if you can see the lens glow directly, lower the angle until only the lit canopy shows.
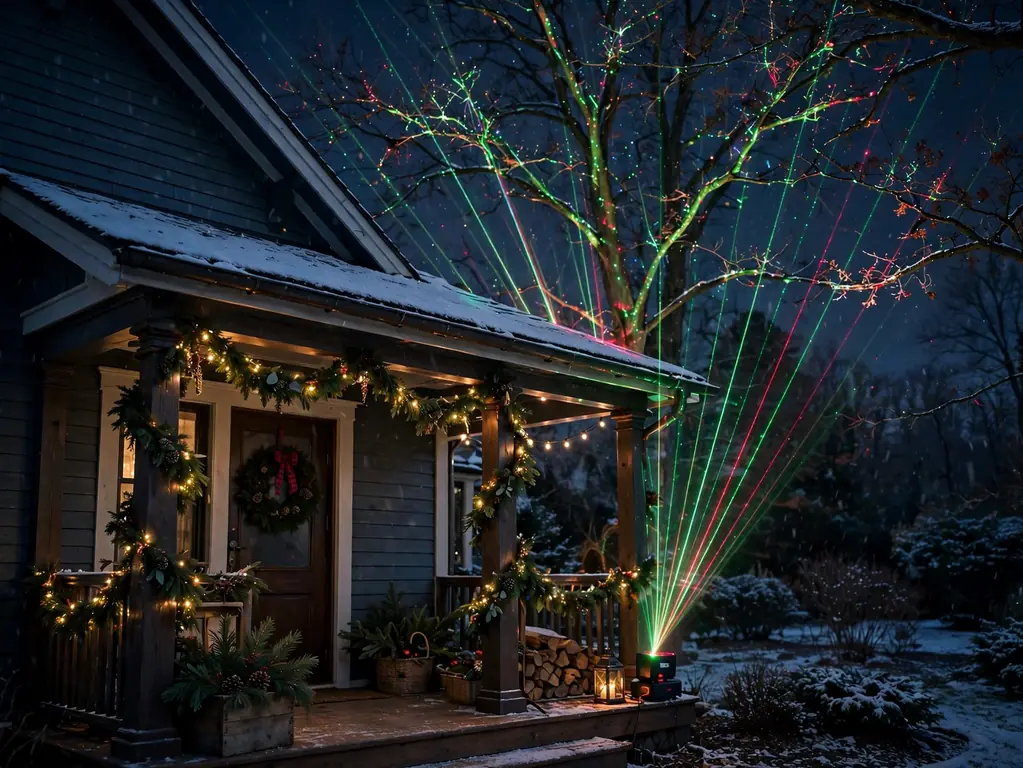
Your neighbors get the sparkle without a single stray beam.
Best for: corner lots and tall trees where beams must stay inside your own yard
8. Second Projector Covering the Side Wall of a Corner House
A corner house has two fronts, and the bare side wall is the one the whole cross street sees. Add a second projector in the side yard, staked about 20 feet from that wall, running the same red and green pattern as the front unit so both faces match. It pairs naturally with the christmas yard decor ideas along the side fence, and a shared timer keeps both projectors in step. Both streets get a finished house, not a dressed front and a forgotten side.
Space note: On a wide side wall, pull the projector back to 25 feet and widen the spread; a wall this big swallows a close-up pattern and leaves dark corners at both ends.
9. Laser Dots on a Fence Backdrop for Family Photos
Turn the back fence into a photo backdrop by aiming a red and green projector at its flat boards from about 12 feet away, low and level, so the field of dots sits evenly behind standing subjects. Mark the photo spot with two lanterns on the ground and a small bench, and keep the beam below fence-top height so nothing spills into the yard behind yours. Phone cameras read laser dots beautifully, so even a quick snapshot looks staged.
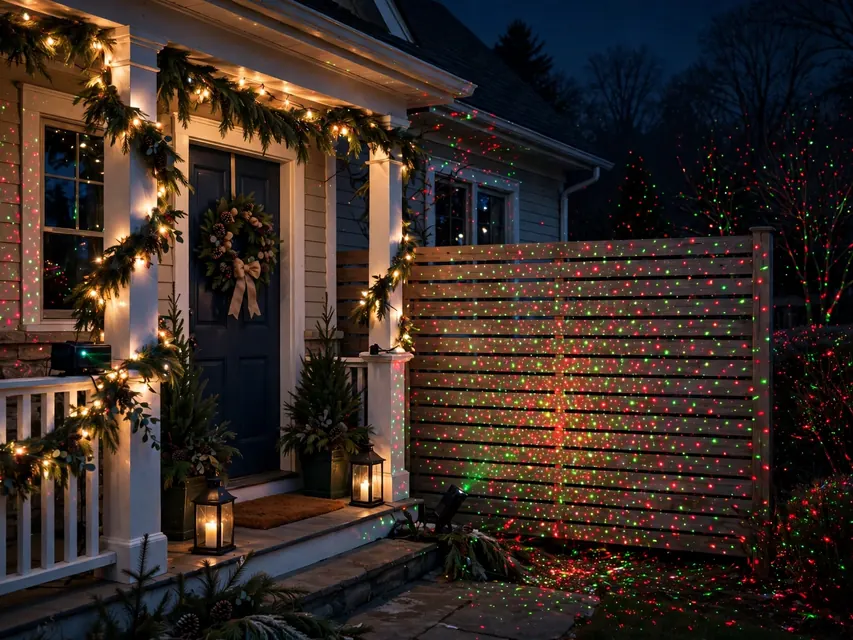
Fit check: Stand where your tallest family member will pose and check the dots reach about a foot above their head; if the pattern tops out at shoulder height, move the projector two feet farther back.
10. Falling Stars Motion Laser Set to an Evening Timer
Choose a motion projector whose pattern sends slow falling stars drifting down the house front, and run it on a timer set from dusk until ten each evening. Movement is what separates a show from a static sprinkle, but the stars should fall gently, at the slowest speed, so the effect feels like weather rather than a game screen. Aim the unit from the lawn’s edge, centered, tilted up just enough to cover the wall without touching the roof or the sky above it.
Style note: The ten o’clock cutoff is part of the style: a show that ends on time feels considered, and the dark house afterward makes tomorrow’s performance look brighter by contrast.