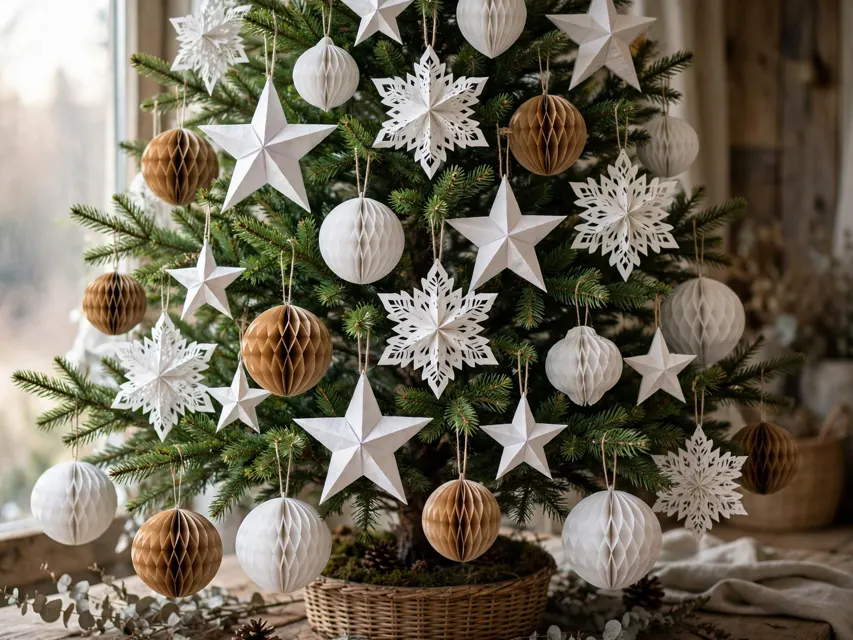
A full set of bought ornaments for one tree can cost more than the tree itself, and half of them are fragile enough to make decorating feel like handling eggs. The craft projects that promise an alternative usually ask for specialty supplies, so they sit saved on a phone and never get started.
Paper is the exception. It folds, layers and cuts into ornaments with real dimension, and it forgives mistakes — a spoiled piece costs exactly one sheet. The only secret is structure: score your folds, layer shapes for strength, and repeat one small palette so twenty different designs still read as one deliberate set.
These 23 paper ornament ideas run from five-minute folds to slow, heirloom quilling, and nearly all of them start with paper and card you already have in a drawer.
Why Paper Punches Above Its Weight
Ornaments are never inspected up close under shop lighting. They are seen from across the room, in warm lamplight, half-hidden in branches — and at that distance, what reads is shape and shadow, not material or price. Paper makes the sharpest shapes of any cheap material: a scored fold holds a clean edge, layered card throws a real shadow, and a cut pattern glows when a tree light sits behind it. That is why a tree dressed in white paper stars photographs like a boutique display, while a tree of thin plastic baubles bought for far more can look flat. Paper also weighs almost nothing, so branches hold their line and even a small, slight tree can carry a full, generous set.
Quick Tip: Hold a finished ornament against a lit window before you make twenty — if the silhouette reads clearly at arm’s length, the design will work on the tree.
The Paper Formula That Keeps Ornaments Crisp, Light and Lasting
- Score before you fold: run a blunt edge along every fold line first – scored paper folds in crisp lines instead of crumpling, and crisp lines are what make paper look crafted, not homemade-wrong.
- Layer for strength and depth: two or three glued layers of card turn a flimsy cut-out into a sturdy ornament with shadow and dimension.
- One palette per tree: paper comes in every colour, which is the trap – choose two colours plus white or kraft and the whole tree of mixed shapes still reads as one set.
- Hang light, store flat: paper’s gift is weight – even a small tree can carry a full paper set, and most designs store flat in an envelope between Christmases.
Example: a tree dressed only in white and kraft paper – scored stars, layered snowflakes and folded fans – looks like a Scandinavian boutique display, and the whole set stores in one flat envelope.
| # | Idea | Best For | Budget/Effort |
|---|---|---|---|
| 1 | 3D Paper Snowflake Ornaments | The whole tree | Free |
| 2 | Paper Honeycomb Baubles | Statement branches | $ |
| 3 | Folded Paper Star Ornaments | Scandi trees | Free |
| 4 | Accordion Paper Tree Ornaments | Kids’ crafting | Free |
| 5 | Book Page Rose Ornaments | Vintage themes | Free |
| 6 | Paper Quilled Snowflakes | Heirloom sets | $ |
| 7 | Origami Crane Ornaments | Elegant trees | Free |
| 8 | Paper Rosette Medallions | Bold colour trees | Free |
| 9 | Striped Paper Ball Ornaments | Playful trees | Free |
| 10 | Paper Angel Choir Ornaments | Traditional trees | Free |
| 11 | Sheet Music Paper Cones | Music lovers | Free |
| 12 | Paper Poinsettia Ornaments | Red accent sets | Free |
| 13 | Rolled Paper Bead Ornaments | Garlands too | Free |
| 14 | Paper Fan Tree Ornaments | Retro themes | Free |
| 15 | Watercolor Paper Disc Ornaments | Soft pastel trees | Free |
| 16 | Paper House Lantern Ornaments | Village themes | $ |
| 17 | Crepe Paper Pom Ornaments | Party trees | Free |
| 18 | Layered Paper Snow Globe Ornaments | Kids’ favourites | Free |
| 19 | Origami Star Boxes | Gift-holding ornaments | Free |
| 20 | Paper Dove Ornaments | Peaceful white trees | Free |
| 21 | Brown Paper Parcel Ornaments | Rustic trees | Free |
| 22 | Paper Icicle Twists | Tree edges and garlands | Free |
| 23 | Layered Paper Wreath Ornaments | Mini wreath sets | Free |
1. 3D Paper Snowflake Ornaments
Cut six identical arms from sturdy white card, fold each arm in half, and glue the folded tips together at the center so the flat pieces spring open into a flake with real depth. Cut a simple pattern into each arm before gluing — three small triangles are enough — and the finished piece throws patterned shadows when a tree light sits behind it. Make the same design in three sizes and hang the largest deep in the branches, the smallest near the tips.
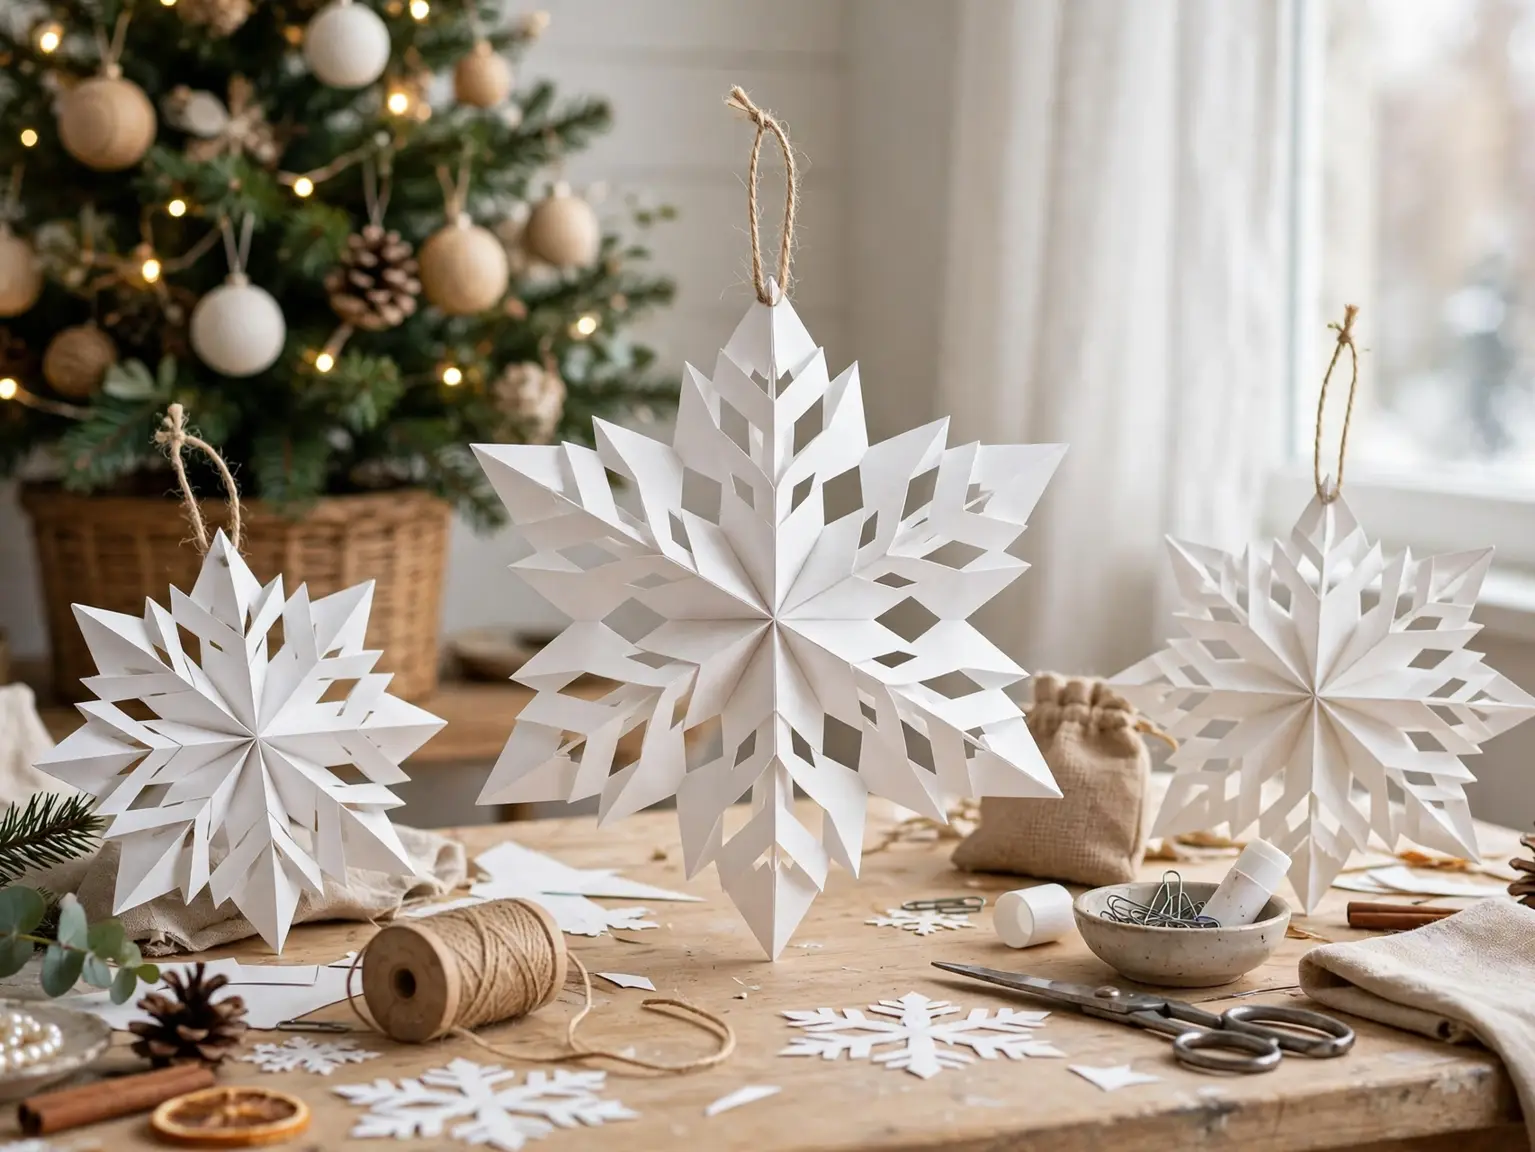
Color note: keep flakes white or pale ice blue inside one palette; a single silver flake in each cluster of five adds light without breaking the calm.
2. Paper Honeycomb Baubles
A honeycomb bauble opens from a flat stack of glued semicircles into a full round ball, and that engineering is what makes it the hardest-working shape in this list. Buy or cut the layers in one strong color, glue the alternating points, and fan the ball open, holding it with a paper clip while the last join dries. Because the finished piece is wide and light, one bauble fills a bare patch of branches that would otherwise take four ordinary ornaments to cover.
Best for: statement branches and the empty middle of the tree, where one wide shape does the work of a cluster.
3. Folded Paper Star Ornaments
The folded star is the Scandinavian workhorse: pointed pockets folded from square paper or light card, joined into a star that stands up off the branch instead of lying flat. Score every fold before you start, keep the points sharp, and thread the string through one tip so the star hangs point-down. In white or kraft it reads calm and architectural, and a dozen of them can carry an entire tree alone.
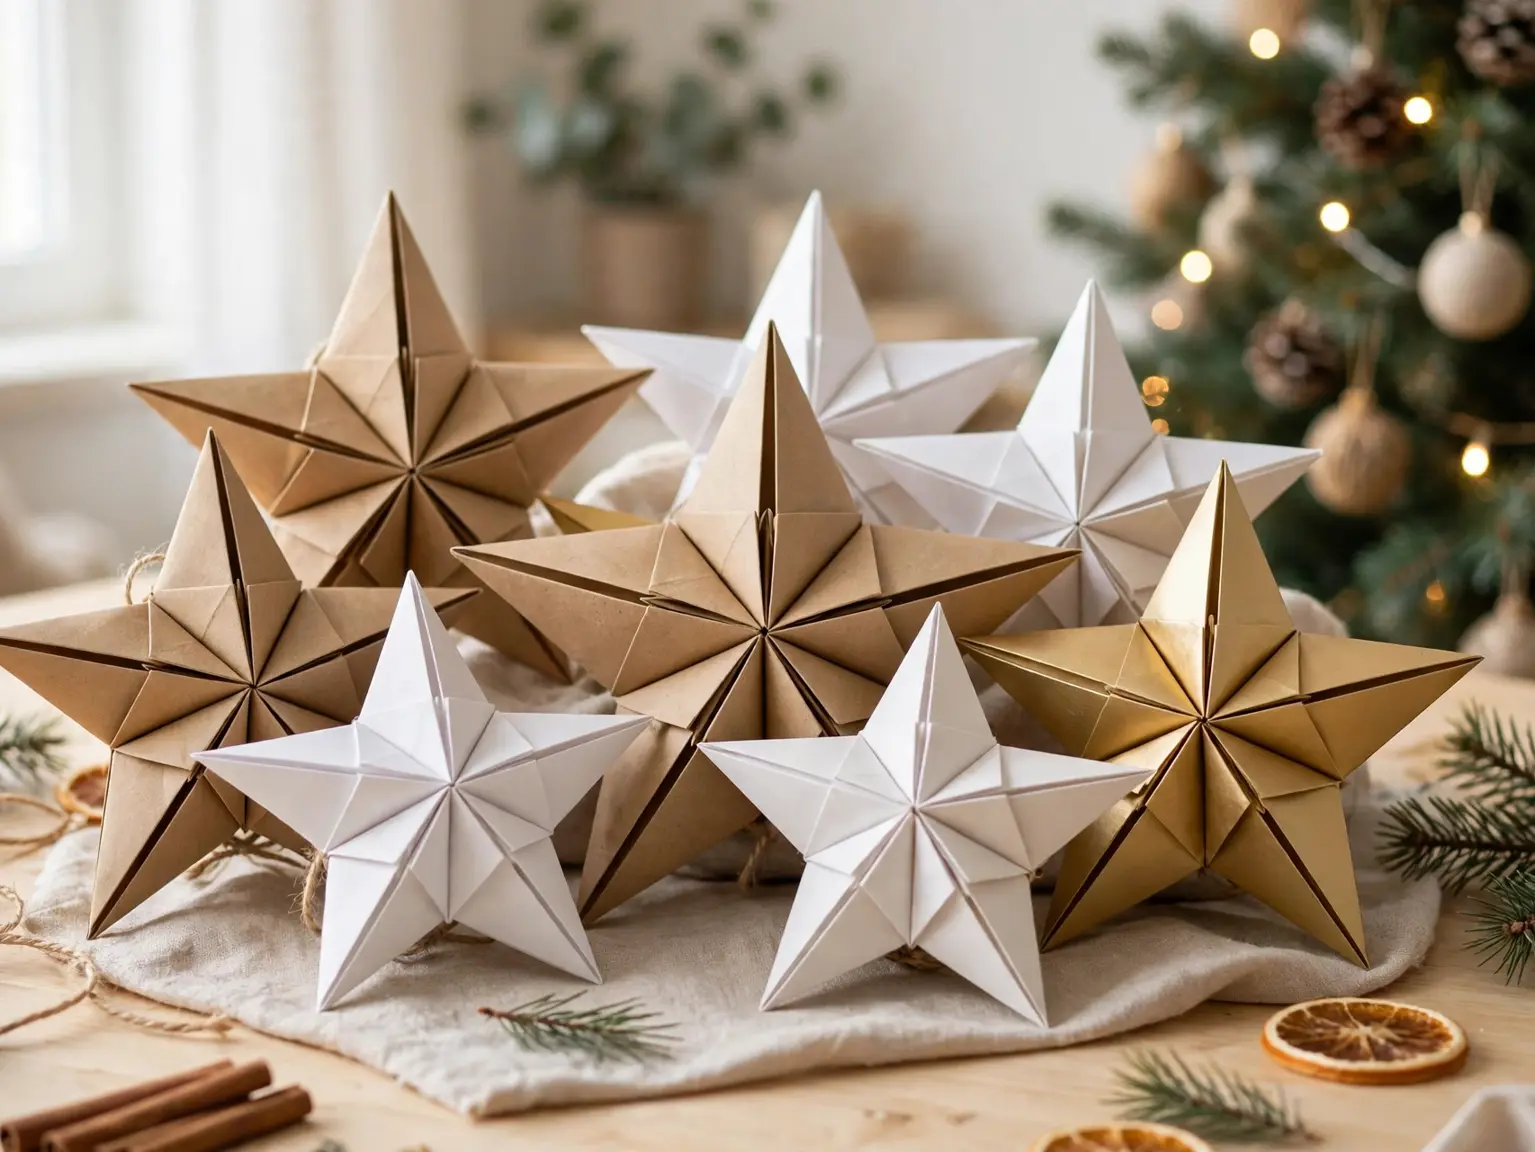
Get the look:
- Main piece: one folded star in white card, a hand-span wide
- Supporting piece: two smaller stars in kraft on the branches beside it
- Texture or material: matte card with a natural twine hanger
- Finishing touch: a tiny wooden bead threaded onto the string
4. Accordion Paper Tree Ornaments
Accordion trees are the friendliest first project for small hands: a strip of green paper folded back and forth, pinched at the top and fanned at the bottom, becomes a layered tree silhouette. Glue two folded strips back to back for fullness and finish with a small card trunk. The same scored-fold logic, scaled up and flattened, sits behind our scandi paper star decor ideas, so a child who masters these trees is one step from the grown-up set.
Texture note: the pleats are the texture — keep the paper plain and let the folds shade themselves; printed patterns fight the ridges and look muddy.
5. Book Page Rose Ornaments
Roll torn strips of book pages into loose spirals, pinch one end into a point, and a rose appears that no two people ever make alike. Pages from a damaged, unsellable book are ideal — never a readable one — and yellowed paper gives the flower a patina new paper cannot fake. Cluster three roses at different tightness on one branch and they read as a single vintage arrangement. In our sitting room they soften the tree’s sharpest, darkest corner.
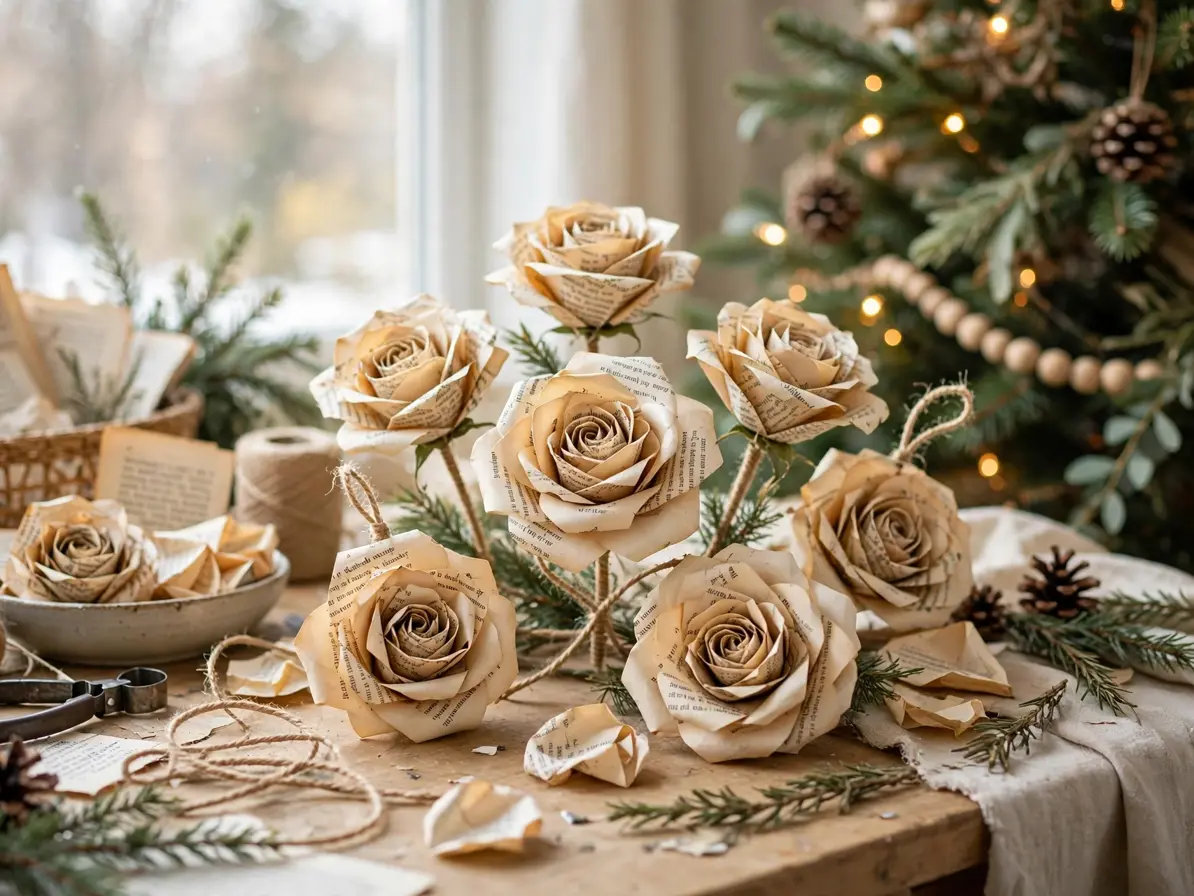
Space note: roses are bulky, so hang them on outer branches where they have room; deep inside the tree they crush against the needles.
6. Paper Quilled Snowflakes
Quilling is the slow end of paper craft: narrow strips rolled into coils, pinched into teardrops and marquise shapes, then glued edge to edge into a snowflake. It asks for patience rather than skill — every coil is the same simple roll — and rewards it with the most delicate ornaments in this whole list. Work over several evenings, keep the coils one size by rolling on the same tool, and seal finished flakes with a light brush of diluted glue.
Why it works:
- It uses the cheapest material in the craft box — paper offcuts.
- Rolled coils are strong in compression, so flakes survive storage.
- The open lacework glows when a tree light sits behind it.
7. Origami Crane Ornaments
A folded crane hangs moving — it turns slowly on its string in the warm air rising off the tree lights, which no static ornament can do. Fold from proper origami paper if you have it, since the thin sheets hold the small reverse folds the beak and tail need. Hang each crane by a thread through the body so the wings balance level, and give it clear space: a crane tangled in branches loses its whole effect. On an elegant tree, six white cranes are a complete statement.
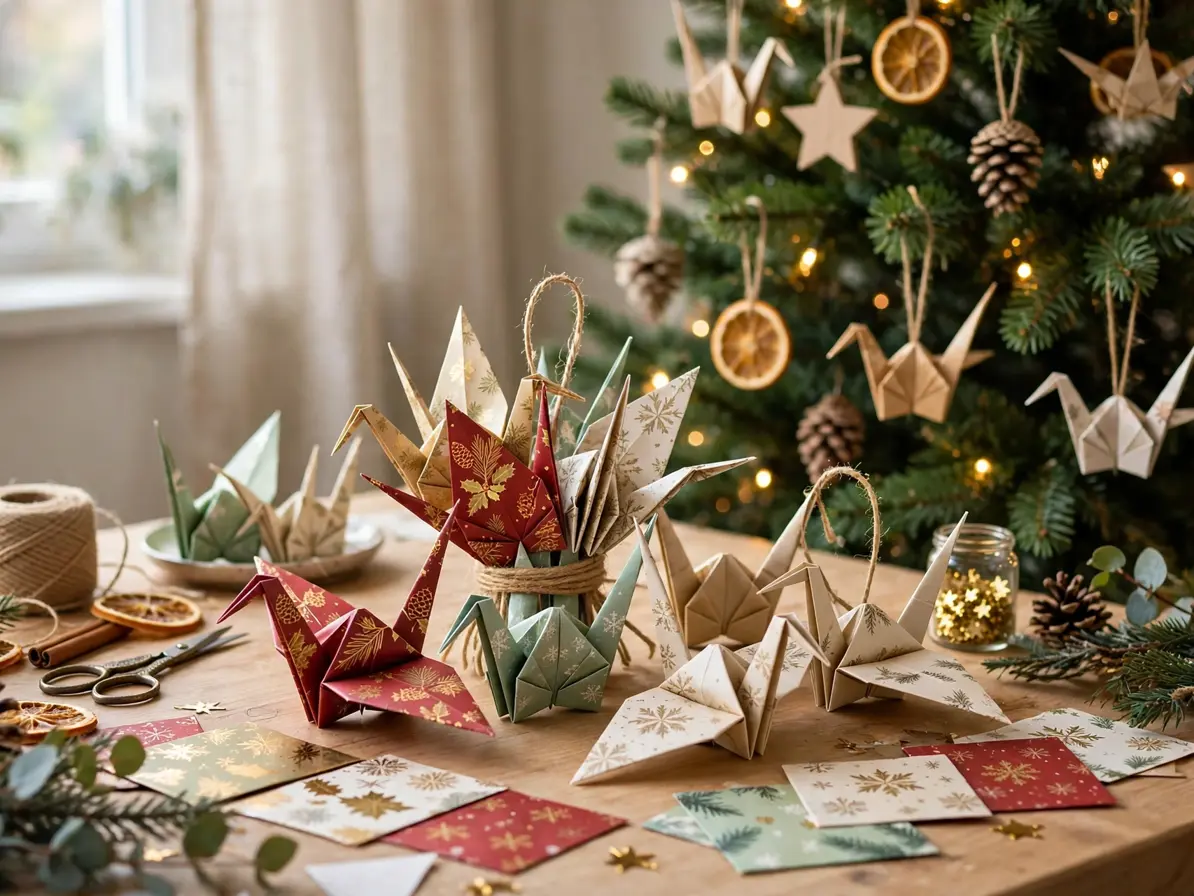
Fit check: test-hang one crane before folding the set — if it tips, move the thread a fraction toward the tail until it levels.
8. Paper Rosette Medallions
A rosette is pure geometry: a long strip accordion-folded, joined into a ring and flattened into a pleated medallion. It is also the fastest way to put a big, bold disc of color on a tree. Make rosettes in your palette’s stronger color and keep the sizes graduated — one wide, two medium, three small — so the branches carry rhythm instead of repetition. A small circle of contrasting card glued at the center hides the join and finishes the piece like a bought medallion.
Style note: rosettes lean retro and bold, so pair them with plain balls and stars; too many competing patterns turn the tree into a party flyer.
9. Striped Paper Ball Ornaments
Glue strips of paper into rings, then join the rings into a ball, and you get a striped sphere that looks woven from across the room. Alternate two colors strip by strip for classic stripes, or build one ball entirely from the offcuts of another design — the mixed stripes read playful rather than scrap-bin. It is a first cousin of origami in spirit: flat strips, no cutting skill, all structure. Kids can run a whole production line of these in one sitting.
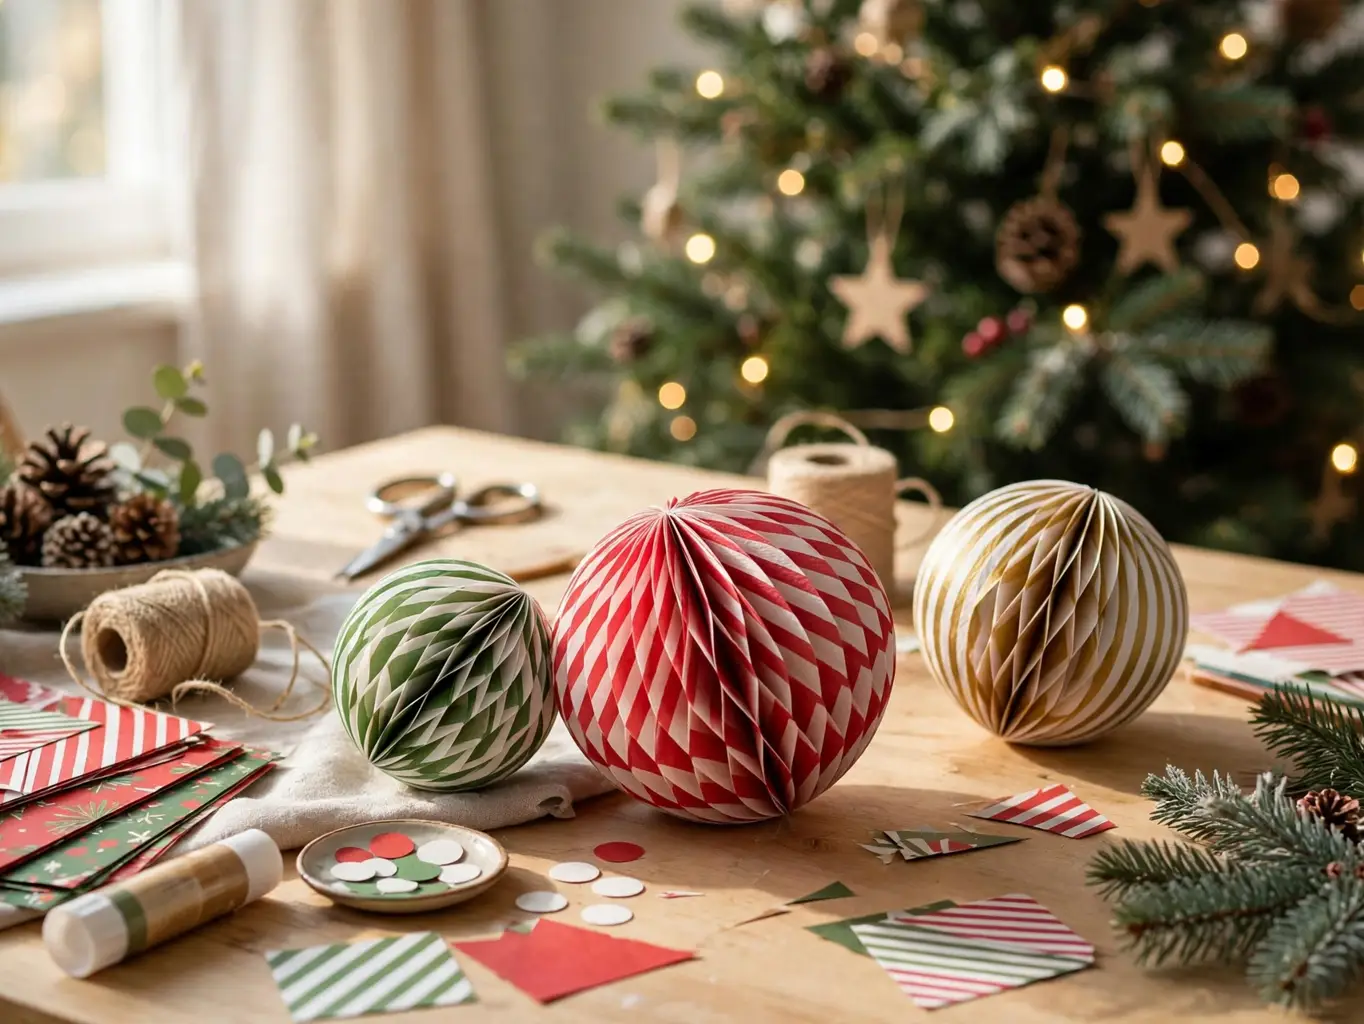
Easy swap: swap fresh card for last year’s wrapping paper offcuts — the glossier finish makes the stripes read brighter on the tree.
10. Paper Angel Choir Ornaments
Cone-shaped angels — a semicircle rolled into a cone for the robe, a circle for the head, and two paper wings — are among the oldest paper ornaments there are, and a row of them still reads as a choir. Make the set together so the sizes match, vary only the robe color within your palette, and line the angels along one branch or a mantel edge rather than scattering them. Their simplicity is the point: on a busy tree, a calm white choir is what the eye rests on.
Seasonal swap: in January the same cone body, minus the wings, becomes a snow-covered tree for winter mantel displays — one fold, two seasons.
11. Sheet Music Paper Cones
Roll a rectangle of old sheet music into a cone, glue the seam, and crimp the top closed around a loop of string. The printed staves do all the decorating — no paint, no glitter needed — and a set of cones hung together looks like a page from a carol book come loose on the tree. Fill them with a few sprigs of greenery or leave them empty; the shape carries itself either way. Ours hang near the piano end of the room, which makes everyone smile.

Budget note: damaged songbooks and single discarded sheets cost pennies at thrift stores, and one page makes two cones.
12. Paper Poinsettia Ornaments
Poinsettias are built, not folded: two layers of pointed petal shapes in deep red, a smaller layer of green beneath, and a cluster of tiny gold circles at the center. Cut the petals from card so they hold a gentle cup when you crease each one down its middle. Because the flower is flat-backed, poinsettias sit beautifully against branches and fill the wide, shallow spaces where round ornaments roll away. A set of five, spaced evenly, gives a plain tree its whole color accent in one afternoon.
The formula: red petal layers + green underlayer + gold bead center.
13. Rolled Paper Bead Ornaments
Roll a tapered strip of paper tightly around a skewer, glue the end, and slide off a bead; a bowl of them becomes a garland, a tree drape, or single statement ornaments on long strings. Beads forgive everything — uneven rolling just varies the sizes, which looks handmade rather than wrong. Vary one thing only: the paper. Magazine pages give marbled, shifting tones no paint can copy, and a long strand of them across the mantel might be the cheapest garland in this entire list.
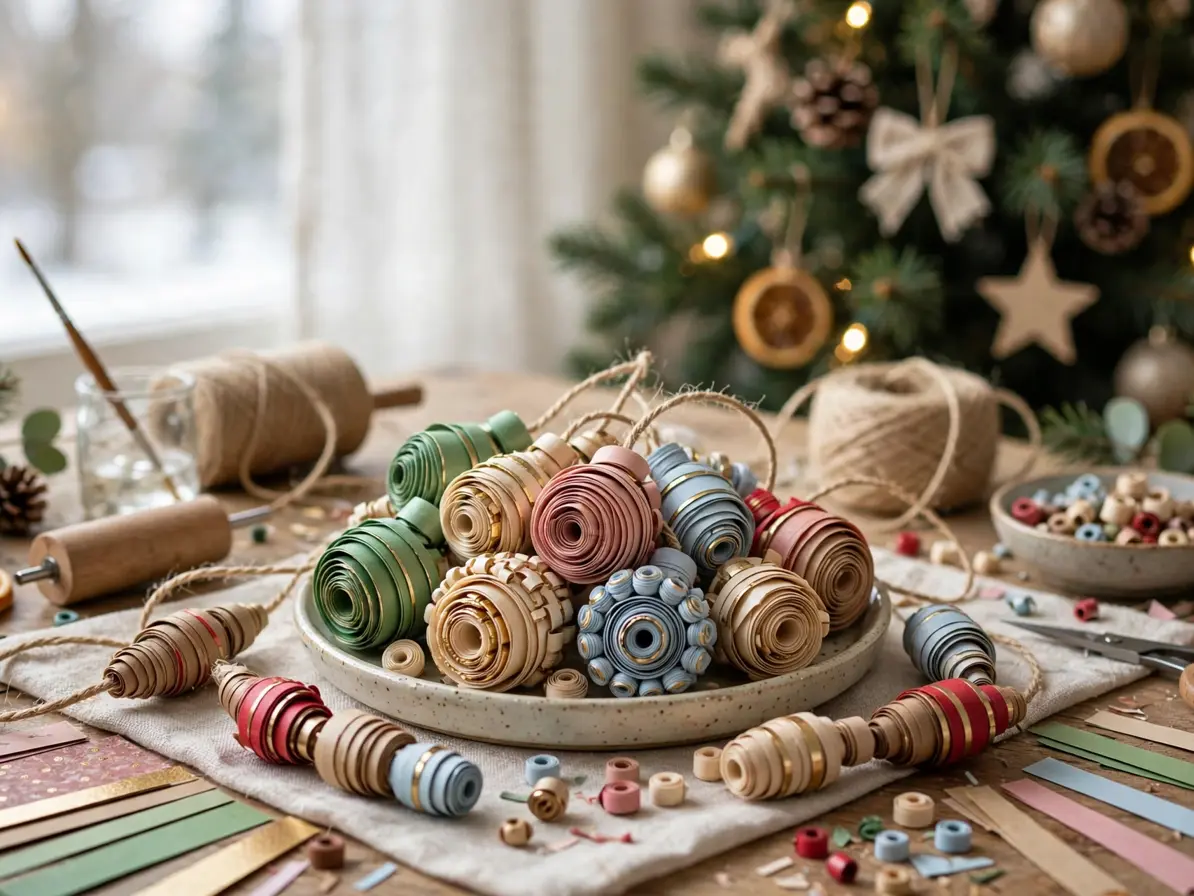
Color note: beads mix every color in the source paper, so keep the rest of the tree quieter — plain stars and white shapes let the beads sing.
14. Paper Fan Tree Ornaments
Two pleated fans glued back to back make a round, ridged medallion, and one fan left single makes a half-moon that sits flat against a branch. Fans were the retro ornament of choice for a reason: they catch light on every ridge and read far bigger than their weight. If your household splits its crafting between paper and the kitchen table, our salt dough christmas ornament ideas make the natural partner set — fans on the tree, dough stars on the gifts.
Best for: retro themes and mid-century trees, where the pleats echo tinsel without shedding a single strand.
15. Watercolor Paper Disc Ornaments
Paint the paper first and cut it second: wash a sheet in your softest palette colors, let the pigments pool and dry, then cut simple discs and back each with plain card. Every ornament comes out related but unique, like pieces of a single sunset. A punched hole and a pale ribbon finish them. Against dark branches, the washed color glows like a real watercolor on a gallery wall.
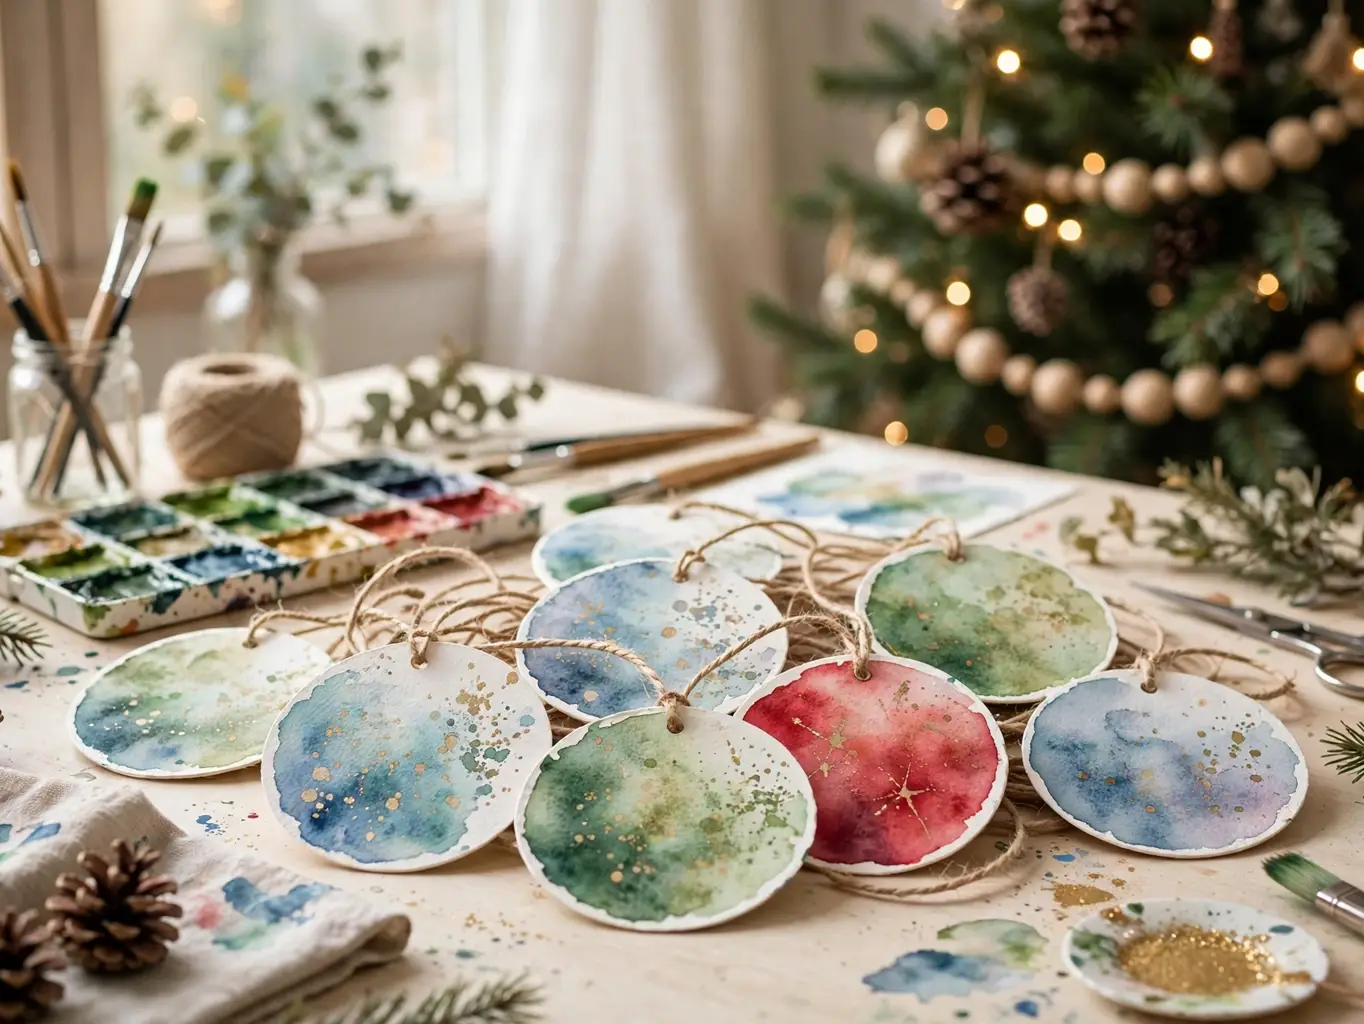
Get the look:
- Main piece: a large disc in the wash’s deepest tone
- Supporting piece: two smaller discs in lighter tones from the same sheet
- Texture or material: rough watercolor paper, left unsealed and matte
- Finishing touch: a narrow silk ribbon in the palest wash color
16. Paper House Lantern Ornaments
Cut a house front, a back and two roof panels from card, score the joins, and glue up a miniature lantern-house — left unlit on the tree it reads as a tiny chalet; set on a shelf with an LED tea light inside, it glows. Keep the architecture simple: one door, two square windows, a steep roof. Fiddly details are what stall this project, and the charm lives in the proportions, not the trim. A village of five houses, all slightly different heights, is worth one slow Sunday.
Texture note: kraft card for the walls and white card for the roof gives the snow-covered look with zero painting.
17. Crepe Paper Pom Ornaments
A crepe paper pom is the softest shape in this list: layers of crepe folded, tied at the center and teased apart into a ball of ruffles. Crepe stretches as you fluff it, so poms forgive rough handling and bounce back from storage better than tissue versions. Make them in the tree’s accent color and hang them low, where children and guests can see the texture up close. A pom branch that picks up the wreath color ties the whole entry together.
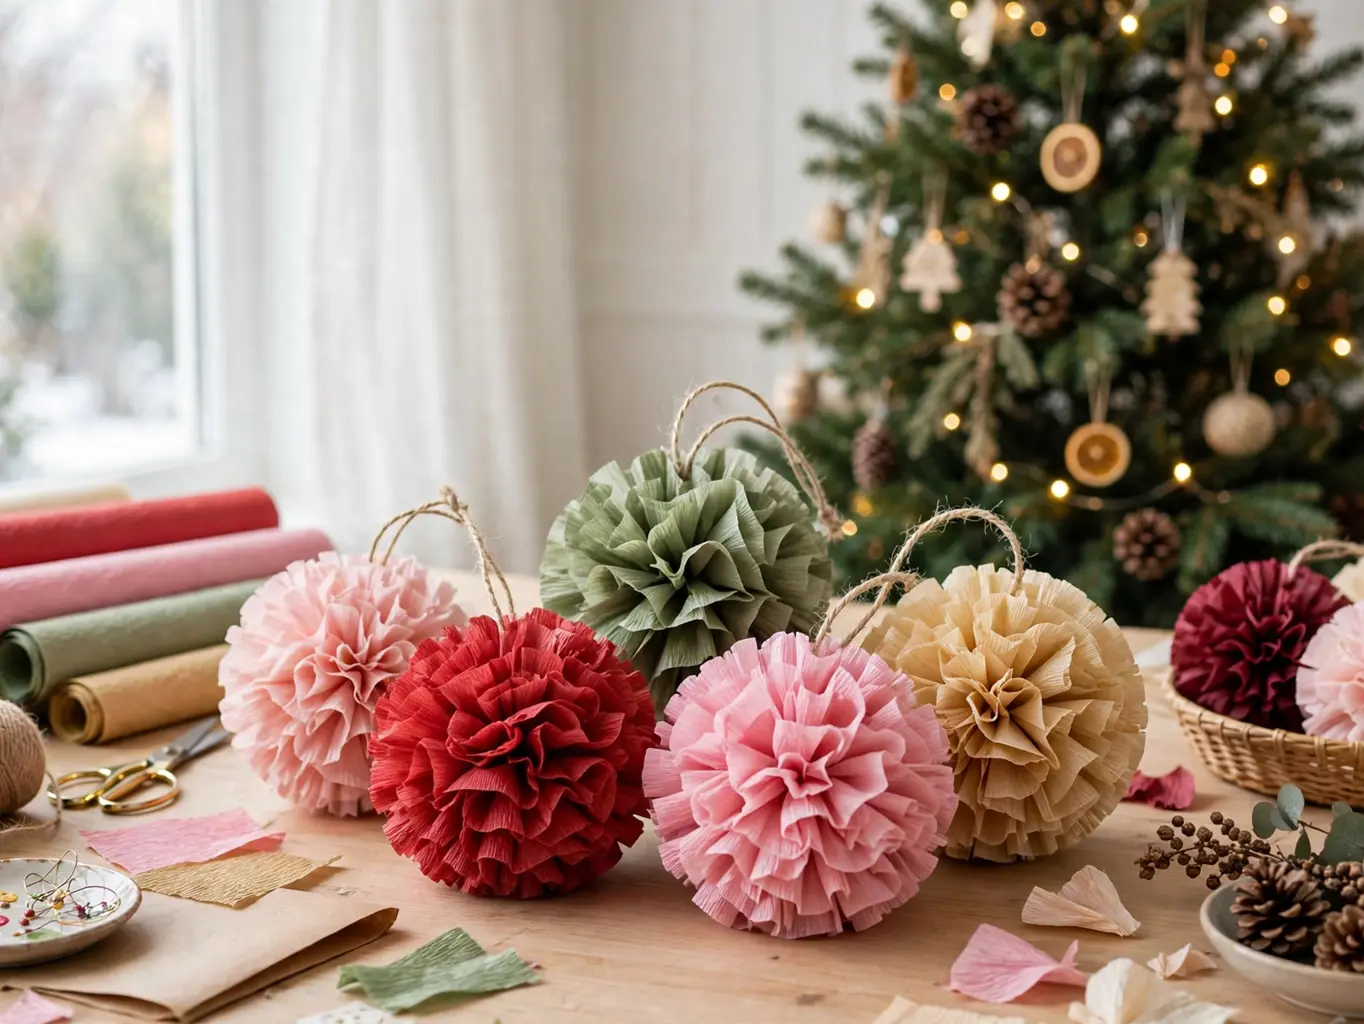
Space note: poms are wide and feathery, so give each one its own branch tip — crowded poms flatten into a single blurry mass.
18. Layered Paper Snow Globe Ornaments
Layer three cut pieces — a solid back circle, a tiny tree or deer scene, and a ring frame on top — and the flat stack becomes a snow globe with depth instead of water. Children grasp the idea instantly because each layer is one simple shape, and they can draw the middle scene themselves. Build the set in one sitting while the layers dry in sequence, and write the maker’s name and year on the back; these are the ornaments that end up kept.
Why it works:
- Layering creates real depth from completely flat materials.
- The middle scene is personal, so no two globes ever match.
- The frame ring protects the edges, so they store well.
19. Origami Star Boxes
An origami star box is folded from one sheet into a star-shaped container with a lid — an ornament that can hold a chocolate, a note or a tiny gift right on the tree. It is the most advanced fold here, and the honest advice is to make the first one oversized in cheap paper until your fingers learn the collapse step. After that, standard sizes take only minutes. A tree carrying a dozen star boxes turns present-giving into a treasure hunt for the children in the house.
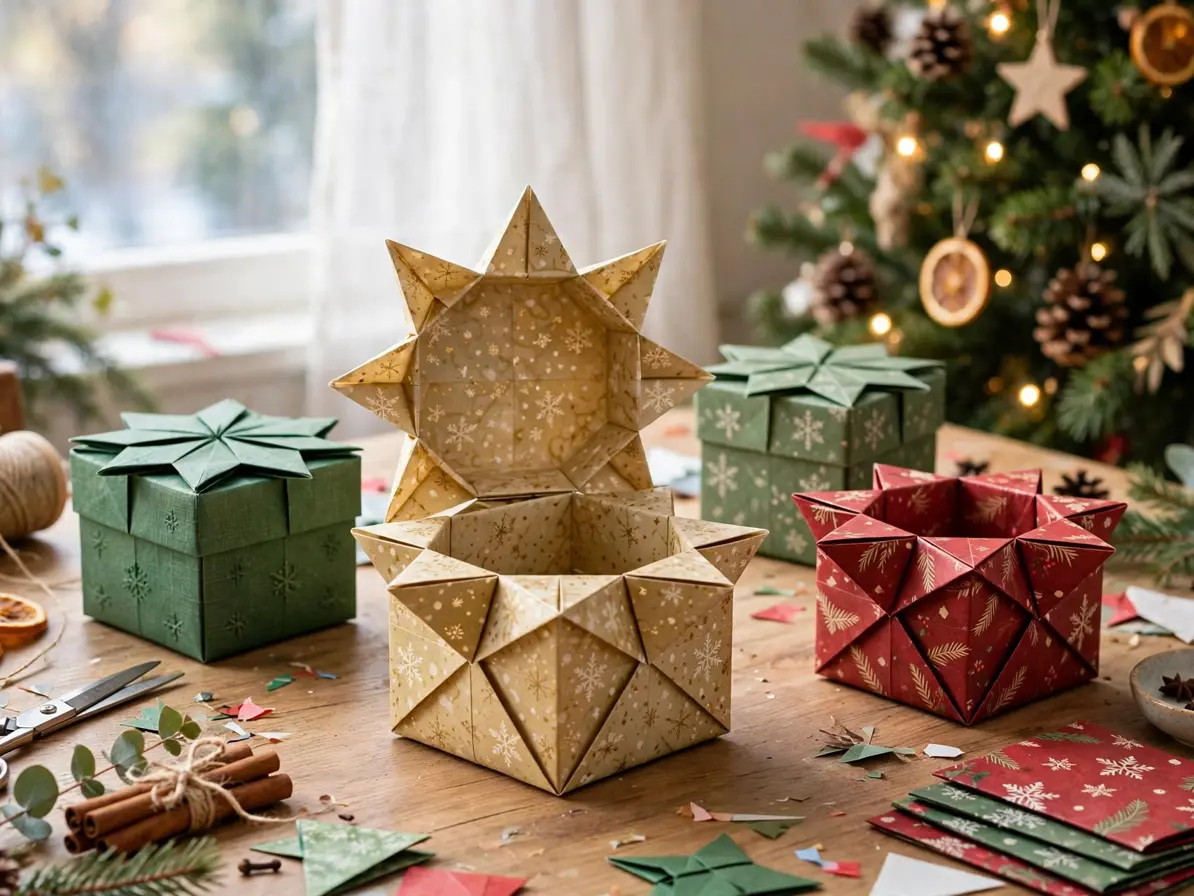
Fit check: the lid should close with gentle pressure only; if it needs force, the next box wants paper one size thinner.
20. Paper Dove Ornaments
A paper dove is two shapes — a body with a slot, and one piece of pleated paper threaded through it to become both wings. It flutters slightly when the tree is touched, and in matte white it is the calmest ornament in this list. Doves suit the same quiet, texture-first rooms as our boho christmas decor ideas, where nothing shouts and everything is soft to the touch. Hang doves high, against the plainest stretch of branches, where their silhouette stays readable.
Style note: one dove per branch section is the rule — a whole flock reads busy, a single bird reads peaceful.
21. Brown Paper Parcel Ornaments
Fold brown paper into a tiny parcel, tie it with twine in a proper cross, and tuck the smallest sprig of greenery under the knot. It takes three minutes and looks like the tree is delivering miniature post. Parcels are the rustic anchor of a paper set: their plain kraft color rests the eye between brighter ornaments, and their weightlessness means even the thinnest top branches can carry them. Make a dozen while wrapping real presents, from the same roll, and the tree and the gifts end up matching.
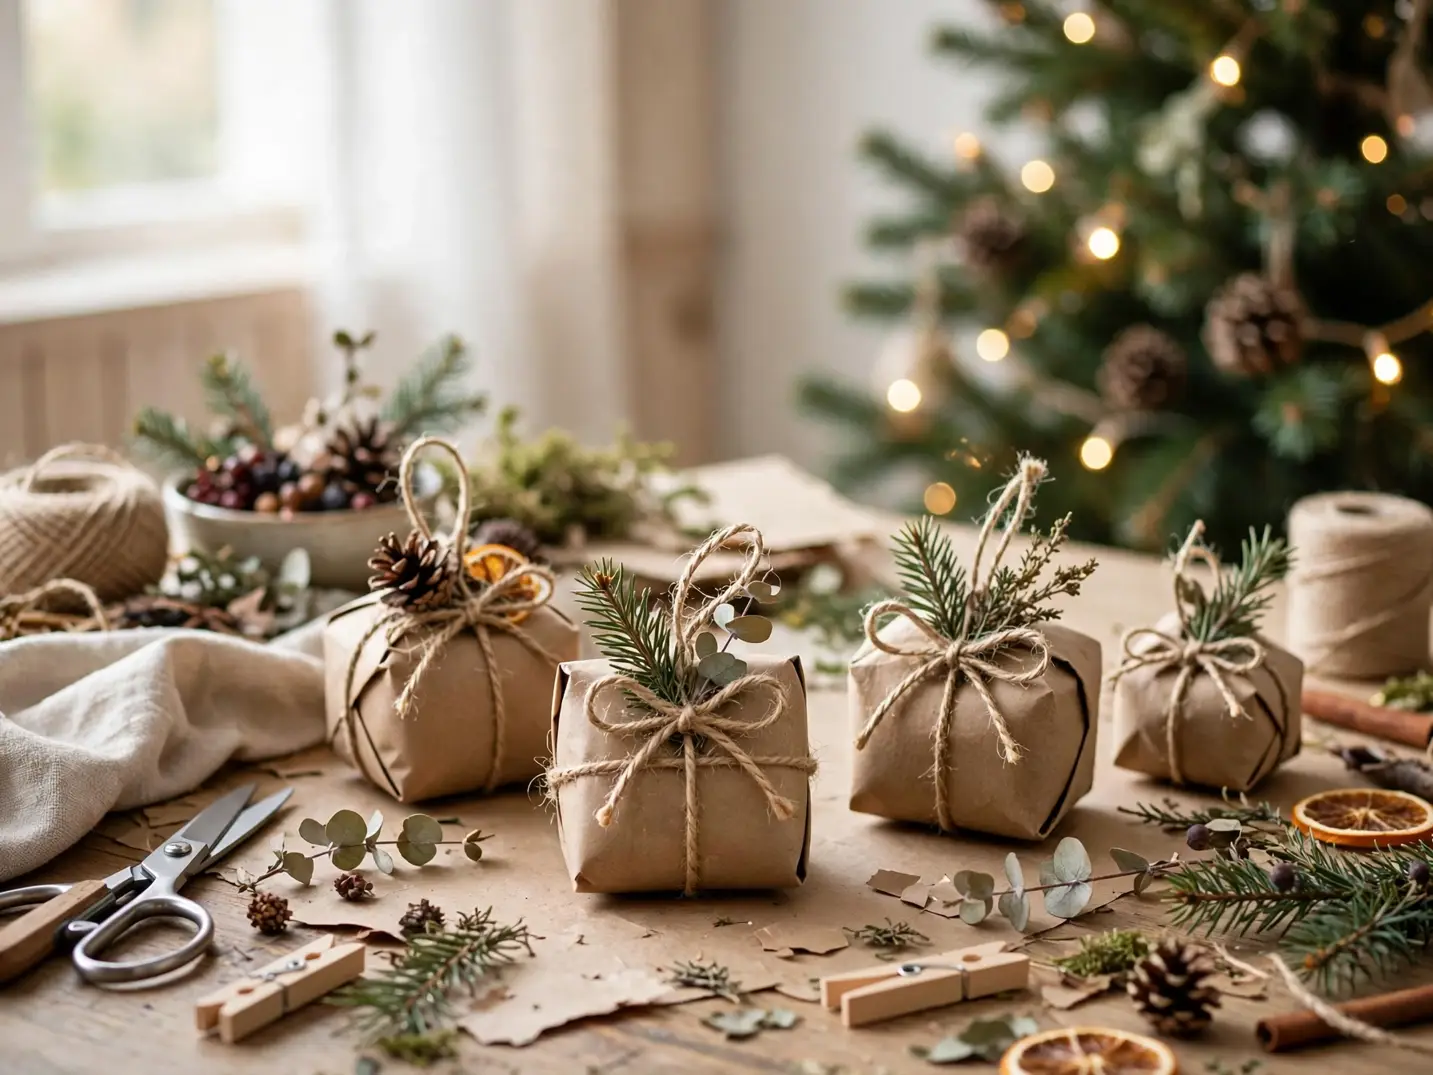
Easy swap: swap twine for thin red ribbon when the tree needs more color; the parcel shape stays rustic, the mood turns festive.
22. Paper Icicle Twists
Twist a long, tapered strip of white or silver paper into a spiral and it sets into an icicle that catches light along every turn. Icicles belong at the tree’s edges and along garlands, where real ones would form — hanging them deep in the branches wastes their sparkle. Group them in uneven lengths, three or five to a spot, and they give a finished tree that dripping, just-snowed outline tinsel used to provide, without a single strand to pick out of the carpet in January.
Seasonal swap: after Christmas, silver icicles move to a winter mantel with white candles and keep the cold-season look going until spring.
23. Layered Paper Wreath Ornaments
The finishing design is a wreath in miniature: a ring of layered paper leaves, or a circle of small folded fans, decorated with three tiny berries. Mini wreaths work where round ornaments cannot — flat against doors, chair backs and the ends of garlands — and a matching set of them is the fastest way to make separate corners of a room feel related. Make the full set in one color story and your tree, door and table suddenly belong to the same house.
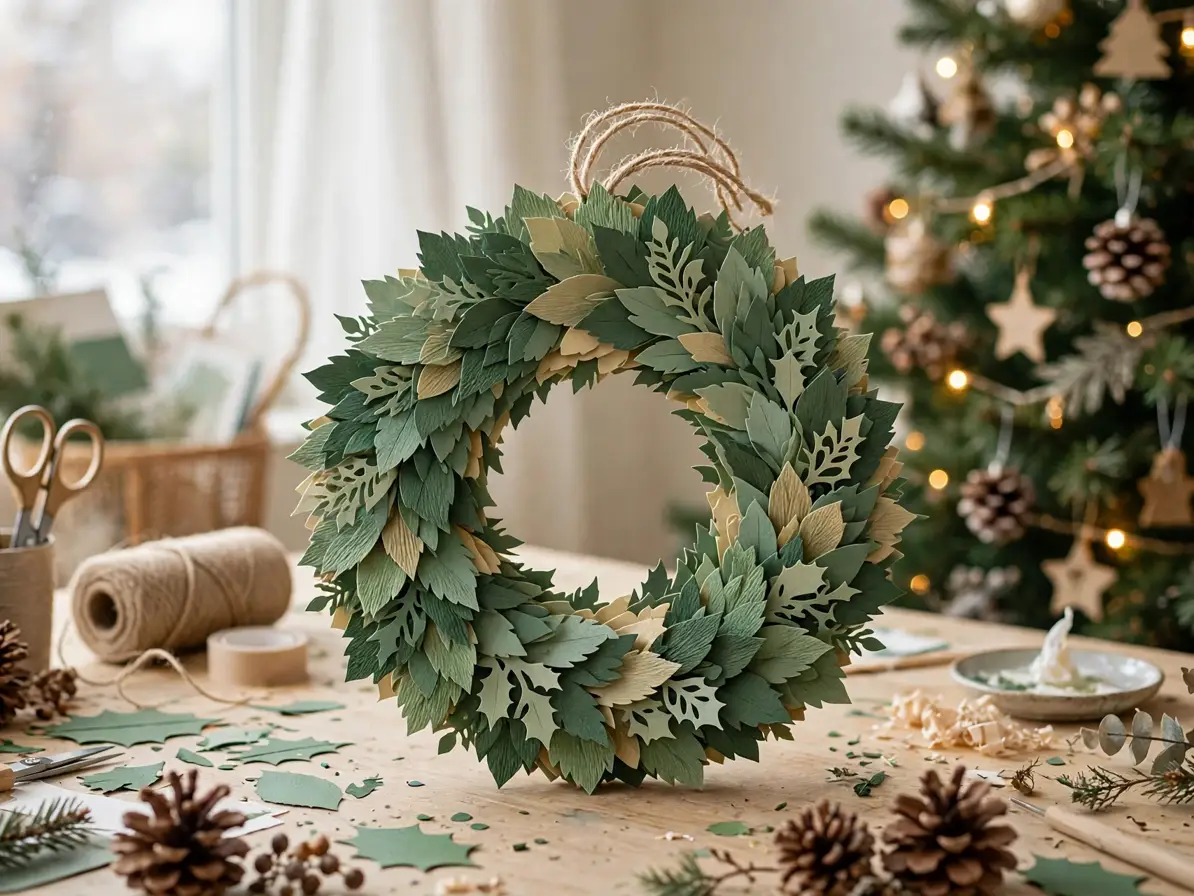
Budget note: wreaths use the strip offcuts left by every other project here, so a full set of eight costs almost nothing extra.
Paper Choices That Make or Break an Ornament
Before the first fold, the paper itself decides how the finished set will look, so choose it with the same care as the designs.
| Item | What to Look For | Why It Works |
|---|---|---|
| Weight | Card stock for structure, light paper for folds | The right weight is the difference between crisp and floppy |
| Finish | Matte over glossy for most designs | Matte paper photographs softly and hides glue marks; gloss shows every flaw |
| Colour | Two colours plus one neutral, bought as one pack | A pad of matching paper guarantees the set looks designed |
| Glue | Glue stick for layers, tacky glue for joins | Wet glue warps paper; dry adhesives keep ornaments flat and crisp |
Old Paper-Craft Habits, Crispers Results
Most disappointing paper ornaments trace back to one of four old habits, and each one has a simple replacement.
| Old Rule | What Works Better Now |
|---|---|
| Fold freehand and hope | Score every fold line first with a blunt edge |
| Use one thin layer for everything | Layer two or three sheets for strength and shadow |
| Every ornament a different colour | One palette of two colours plus a neutral for the whole tree |
| Store ornaments loose in a box | Store flat designs in envelopes, layered with tissue |
Sharp Folds Meet Soft Paper
Paper designs fall into two families. The crisp ones — scored stars, folded fans, twisted icicles — give a tree its architecture: clean lines, clear silhouettes, a sense of order. The soft ones — book page roses, crepe poms, simple doves — give it warmth and blur the hard edges. A tree built from only one family feels off: all crisp reads cold and a little severe, while all soft reads shapeless by the second week. Aim for roughly two crisp designs to every soft one, and let the soft pieces sit near the lights, where their edges glow.
Let One Oversized Paper Piece Lead
Every paper tree needs a few pieces made deliberately too big. Choose one design — the honeycomb bauble or the folded star usually carries it best — and make two or three oversized versions, half again as large as the rest. Hang those first, spaced around the tree at different heights, before a single standard ornament goes on. They become the focal points the eye travels between, and the smaller pieces then read as texture filling in a planned design rather than clutter. Without them, twenty equal ornaments sit at one level of importance and the tree looks busy instead of composed.
When Paper Starts to Look Like Homework
- If the colour mix feels like too much, try an all-white paper tree set with kraft string.
- If the folding feels like too much, try the cut-and-layer designs (discs, wreaths, snow globes) that need no folds at all.
- If the set feels like too much work, try one design repeated twenty times – repetition is a style, not a shortcut.
- If the crisp edges feel like too much precision, try torn-edge designs like book page roses that are meant to be rough.
Build Your Own Paper Formula
Once the method clicks, whole trees plan themselves — pick a row, gather the three pieces, and repeat the design until the tree is full.
| Situation | Formula | Why It Works |
|---|---|---|
| Scandi white tree | Scored stars + layered snowflakes + kraft string | White-on-white works because the shadows do the decorating |
| Kids’ bright tree | Rosettes + striped balls + paper chains of beads | Big simple shapes in bold colours read joyful, not messy |
| Vintage book tree | Book page roses + sheet music cones + parcel ornaments | Old paper brings its own patina, so shapes can stay simple |
| Elegant tree | Quilled snowflakes + origami cranes + watercolor discs | Fine detail at small scale is what reads as luxury |
| Rustic tree | Brown paper parcels + icicle twists + fan trees | Kraft and twine keep paper in the farmhouse family |
The Five-Minute Paper Version
If quilling and cranes feel like a January hobby rather than a December one, take the assembly-line route. Buy one pack of card in your two chosen colors, pick a single cut-and-glue design — layered discs or simple folded stars — and set the steps up in a row: cut, score, fold, glue, string. Put a film on and work through the pile without deciding anything new. Twenty matching ornaments in one evening is a realistic pace, and because every piece is identical, the set looks intentional even though each one took about five minutes.
Paper Ornaments as Gifts and Toppers
Paper ornaments earn a second job in December: they are the one handmade decoration that travels well. Flat designs slip inside a card envelope, weigh almost nothing in a parcel, and cannot shatter in the post, so the same set you make for the tree doubles as gifts. Tie one onto every wrapped present as a topper — it announces the gift’s style before the paper comes off — and make a handful of extras in the tree’s palette for the presents you forgot to plan. Recipients keep them; a paper star on a string tends to find its way onto their own tree for years.
Paper Ornament Questions, Answered
What are paper Christmas ornaments?
Tree ornaments made entirely from paper and card – folded, cut, layered or quilled into stars, snowflakes, baubles and figures – that decorate a tree at almost no cost.
Can beginners make paper ornaments that look good?
Yes – start with scored folded stars or layered discs; scoring the folds and repeating one design in one palette makes beginner work look designed.
How do I make paper ornaments last longer?
Use card stock, layer for strength, keep them away from damp, and store flat designs in envelopes with tissue – good paper ornaments last many seasons.
Do I need special paper or tools?
No – a pad of card stock, scissors, a glue stick and string cover nearly every design here; a scoring tool is just a blunt knife or empty pen.
How do I dress a whole tree in paper without it looking cheap?
Commit to one palette and repeat two or three designs many times – unity and repetition are what separate a boutique paper tree from a craft-fair look.
One Pack of Card, One Evening
A beautiful tree is not a shopping trip; it is one repeated shape in a palette you chose on purpose. Buy one pad of card in two colors tonight and make five folded stars — once those five are hanging, the rest of the set builds itself, one quiet evening at a time.