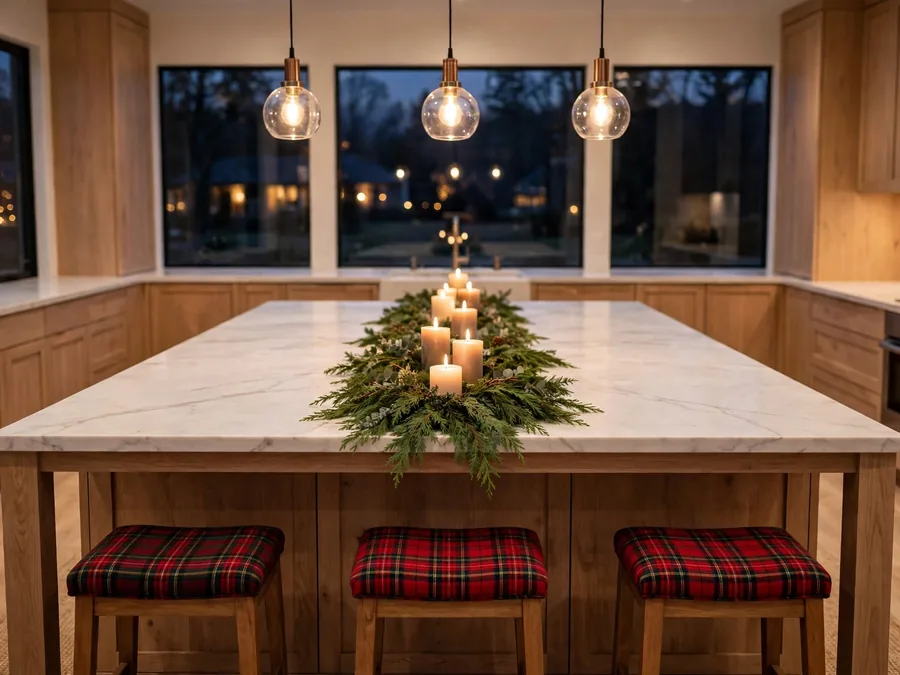
The island is where Christmas cooking actually happens, and that is exactly why decorating it so often backfires. A centrepiece that looks lovely on Monday becomes an obstacle course by Friday, when the turkey needs carving, the cookie trays need landing space, and someone is always reaching across for a serving spoon. Decor that cannot move in seconds ends up shoved into a corner, and the island looks accidental instead of festive.
The islands that work follow one rule: decorate the middle and the air above it, never the edges where hands, boards and hot pans travel. Everything sits in the centre strip, on the ends, or overhead, and everything lifts away in a single move when cooking starts. Good Christmas kitchen island decor ideas treat the island as a worktop first and a display second.
Here are 16 ideas built on that discipline. They use basics most kitchens already own — trays, candles, greenery, towels, a cookbook — arranged so both long edges stay completely clear and the sink or cooktop approach never gets blocked. Pick two or three and the island will carry the whole room’s Christmas feeling without stealing a single inch of cooking space.
The Christmas Kitchen Island Formula That Keeps the Middle Looking Festive
- Claim the centre strip only: keep every piece inside the middle third of the surface so both long edges stay free for boards, pans and elbows.
- Repeat one colour story: pick deep green plus one metal, or red plus warm wood, and let every piece on the island speak that same language.
- Everything lifts in one move: group pieces on trays, stands or in rows you can slide aside whole, because a decoration you cannot move in five seconds will be moved for you.
- Keep one layer removable: let one element — a towel, a cushion cover, a ring of greenery — be the piece that comes off first when a big cooking day arrives.
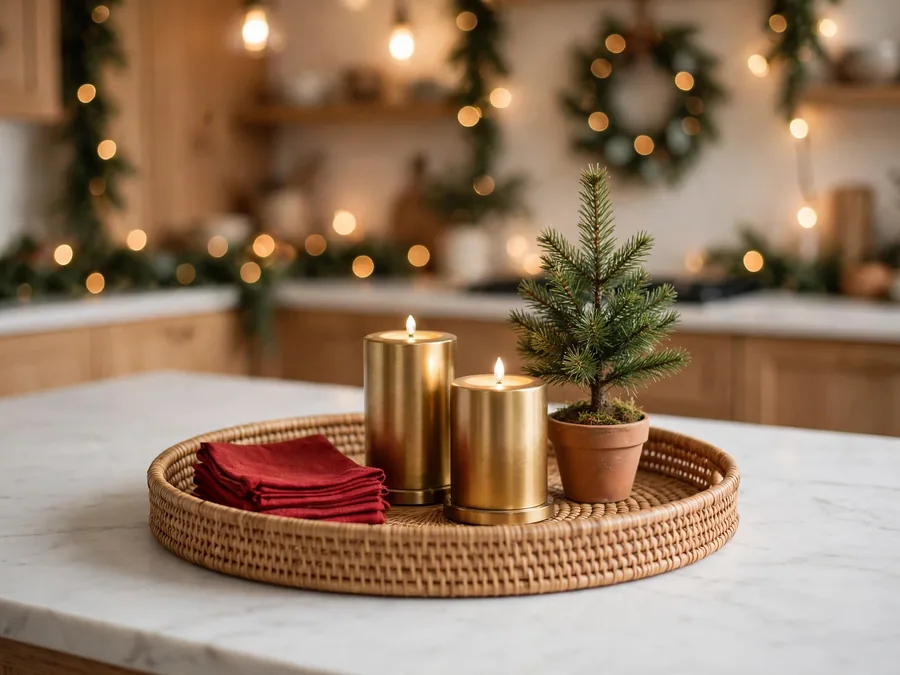
For example: a round woven rattan tray in the centre holding two brass LED pillars and a small potted pine, flat cedar tucked along the strip, tartan cushions on the stools, and both marble edges left completely bare.
| # | Idea | Where it sits | Clears away |
|---|---|---|---|
| 1 | The One-Lift Tray | Centre strip | One lift |
| 2 | Flat Cedar Spine | Centre strip | Rolls up |
| 3 | Pendant Garland Rings | Pendant cords | Stays up |
| 4 | End-Panel Wreath | Island end panel | One hook |
| 5 | Hurricane Row | Centre strip | Slides as a row |
| 6 | Tartan Stool Cushions | Stools | Covers unzip |
| 7 | Gingerbread House on a Stand | Far end | Stand lifts whole |
| 8 | Ornaments in the Pendant Zone | Above the island | Stays up |
| 9 | Mini Tree Bookends | Both surface ends | One in each hand |
| 10 | Under-Overhang Glow Strip | Under the stool-side edge | Stays fixed |
| 11 | Cook-Side Panel Swag | Cook-side panel | Two pins |
| 12 | Christmas Cookbook Stand | Centre strip, cooktop end | Folds flat |
| 13 | Napkin Caddy, Ready to Serve | Centre strip | One lift |
| 14 | White Branches at the Far End | Far end corner | Vase lifts whole |
| 15 | Towel Bar Swap | Island towel bar | Swaps in seconds |
| 16 | Cloche Village in the Middle | Centre strip | One lift |
1. The One-Lift Tray
Build the whole display on one large tray and the island problem disappears. Use a round tray about 22 inches across — the Tava Handwoven Rattan Round Serving Tray from Pottery Barn at $129 is exactly this size — set in the middle of the centre strip. On it, place two brass LED pillar candles, 4 and 6 inches tall, a 10-inch potted faux pine, and a small stack of red linen napkins. Everything shares the tray’s footprint, so when a roasting pan needs the space, the scene lifts off in one move and lands on the dining table.
The formula: one large tray + two LED pillars + one small potted pine.
It survives homework and cooking alike.
2. Flat Cedar Spine
Lay one faux cedar garland flat along the centre strip, pressed flat into a green spine, not a draped swag, and tuck six pinecones and three matte gold ornaments into its folds. Nothing hangs over an edge or trails toward the sink, and both sides stay open for chopping boards. The trade-off: a flat garland gives colour and texture but no drama, and faux cedar costs more than real. When cooking starts, roll it up like a rug — gone in under a minute. The same centre-first thinking runs through these cabinet decor ideas.
Space note: keep the spine under 10 inches wide, so a board’s width stays clear on both sides.
3. Pendant Garland Rings
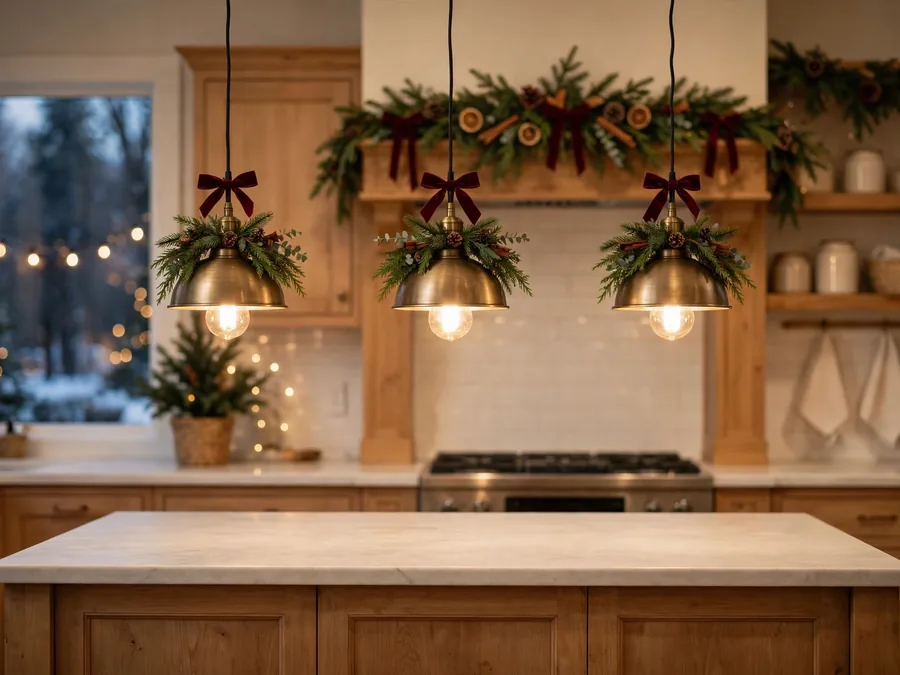
Move the greenery up where it can never meet a knife. Around each pendant cord, just above the shade, slip a small 6-inch faux cedar ring and fix it with a twist of green florist wire; add one tiny burgundy bow at the front of each ring. From the stools the pendants look dressed; from the cook’s side nothing changes — the surface stays empty and the light falls clean. The only cost is a step stool and ten minutes: the rings go up once and stay until January.
Fit check: rings must sit above the shade’s widest point, clear of the bulb; skip any pendant hanging lower than 30 inches above the counter.
4. End-Panel Wreath
The end panel of the island is dead space that faces the room, so give it the wreath instead of the surface. Hang a 16-inch mixed pine and eucalyptus wreath flat against the end panel on a removable hook, with a wide cranberry-red ribbon looped at the top. It reads from the doorway like a Christmas welcome, yet touches no worktop, blocks no drawer and sits nowhere near knees. Choose the end away from the seating side, and check the hook’s grip after day one; a wreath on the floor helps nobody.
Style note: hung flat and centred on the panel’s height, a wreath looks tailored; hung high it looks like it slid down from somewhere else.
5. Hurricane Row
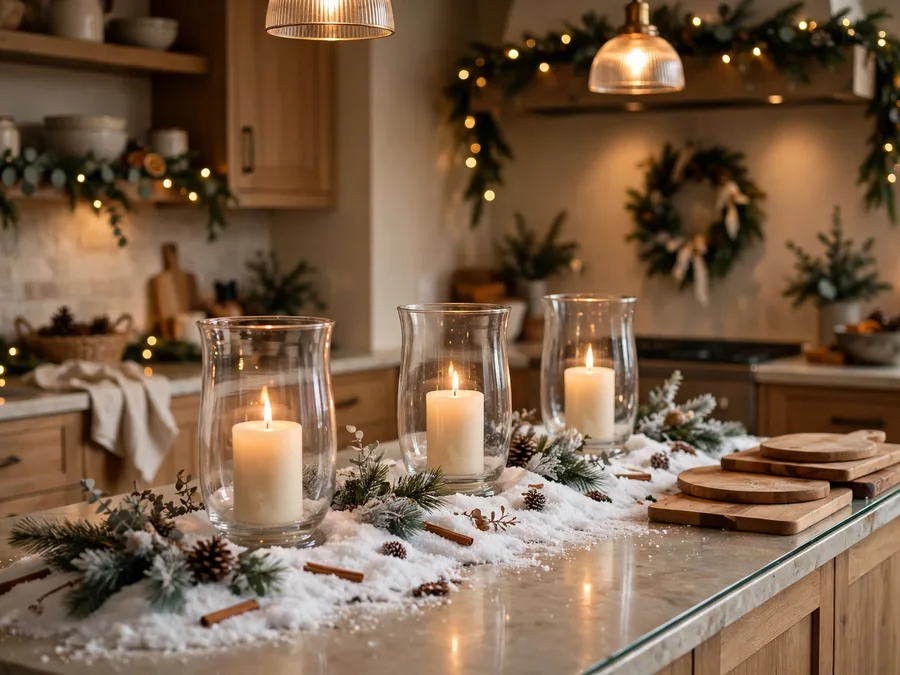
Set three clear glass hurricanes in a straight line down the centre strip — 10, 12 and 10 inches tall — each holding a cream LED pillar on a shallow bed of faux snow. The glass shields the glow from oven-door drafts, the line stays narrow enough to chop beside, and the row slides aside in one push when a platter needs the middle. Real candles are warmer, but open flames beside recipe cards and sleeves are a worry you do not need; LED flicker is close enough at dusk.
Color note: cream pillars against deep green surroundings keep the row calm; mixing in one burgundy pillar at the centre adds a quiet focal point.
6. Tartan Stool Cushions
The seating side of the island can join Christmas without a single object on the surface. Swap the stool cushion covers for a deep red and green tartan, or tie simple tartan pads onto wooden stools with flat bows at the back legs. Nothing dangles into the knee space, nothing competes with plates, and the colour lands exactly where guests sit, so the island feels dressed from the room’s view. The downside is laundry: covers near cooking catch splashes, so choose a washable weave and keep everyday covers nearby for frying days.
Texture note: brushed cotton tartan against smooth stool wood or metal gives the seating side warmth without bulk; avoid velvet here, which shows every splash.
7. Gingerbread House on a Stand
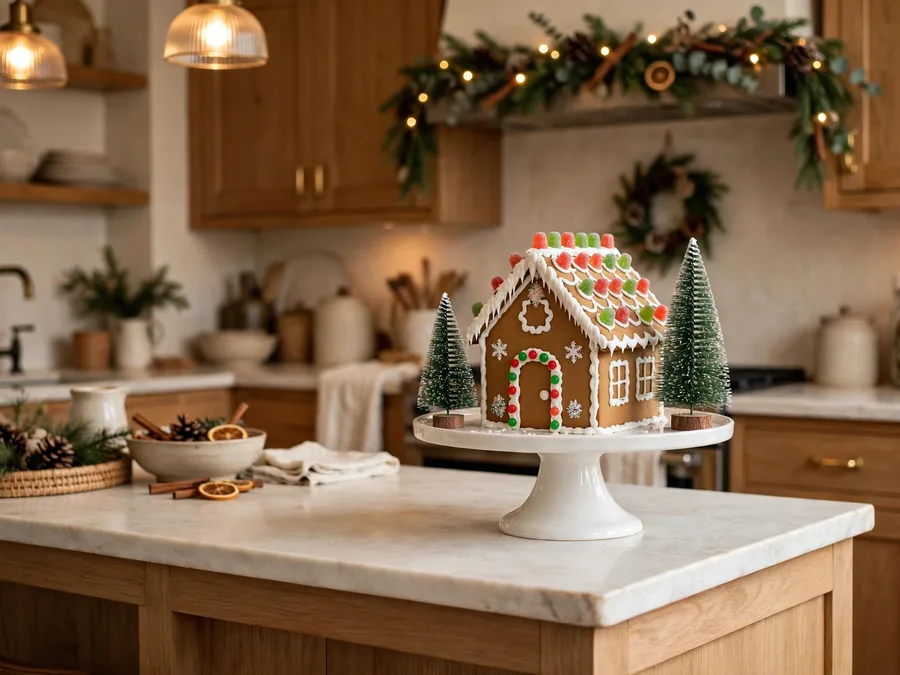
Raise one gingerbread house at the far end of the island on a white ceramic cake stand, about 12 inches across, with two mini bottle-brush trees beside it on the stand’s plate. Height does the decorating here: the house reads from across the room, yet its footprint is a single plate’s width and the stand carries everything away in one lift when the end is needed for cooling racks. The sacrifice is the end — if your island’s far end is the usual landing strip for groceries, give this idea the end nearest the wall instead.
Best for: islands whose far end faces a window or the dining side, so the house gets an audience.
8. Ornaments in the Pendant Zone
Hang five matte ornaments — deep red and brushed gold, 3 inches across — from the pendants on narrow burgundy ribbon, the lowest stopping a full head’s height above the counter. They float in airspace no pan or elbow ever travels, and from the stools they frame the cook. Ribbon length is the whole trick: too long and they swing toward faces; too short and they crowd the shades.
Why it works:
- The decor sits in unused airspace, so the worktop loses nothing.
- They weigh almost nothing, so ordinary pendants carry them easily.
- Staggered heights make the whole kitchen feel taller.
Party households will find this the easiest win of the sixteen.
| Island zone | What belongs there | Keep-clear rule |
|---|---|---|
| Centre strip | Tray, hurricanes, caddy, cloche | Middle third only |
| Both long edges | Nothing, ever | Full board’s width clear |
| Surface ends | Cake stand, branch vase, mini trees | One lift removes each |
| Pendant zone | Greenery rings, hanging ornaments | Above head height over the counter |
| Stool side | Cushion covers, under-overhang glow | Nothing dangling at knee height |
| Panels and ends | Flat wreath, flat swag, towel bar | Flush to the panel, drawers unobstructed |
9. Mini Tree Bookends
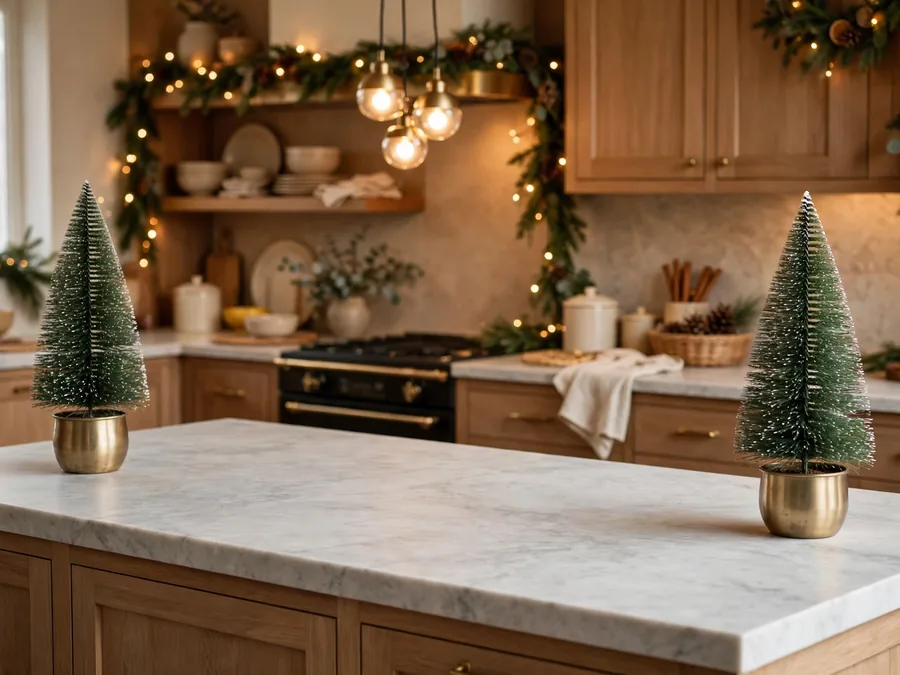
Stand a small tree at each end of the centre strip — 12-inch bottle-brush trees in brushed brass pots — and let them bookend whatever sits between. The symmetry makes even an empty middle look deliberate, and each tree lifts away in one hand when serving bowls claim its end. Match the pair exactly; two different trees read as leftovers, not a design. Bottle-brush sheds a little glitter, so give the strip a wipe in January. The pair also echoes the festive kitchen decor elsewhere in the room.
Easy swap: after Christmas, the same pots hold small faux herbs and the bookends carry into spring.
10. Under-Overhang Glow Strip
Fix a warm-white LED strip under the counter overhang on the seating side, facing down, and the island gains a pool of soft light along the floor where the stools stand. Nothing sits on the surface or hangs at knee height — the strip lies flat underneath — yet by evening the island seems to float on candlelight. Choose a battery strip with a timer; a trailing mains lead undoes the tidiness. The glow flatters the room more than the cook, so keep task lighting as it is.
Budget note: a basic 3-foot battery strip sticks on with its own adhesive — no electrician, no drilling — and peels off in January.
11. Cook-Side Panel Swag
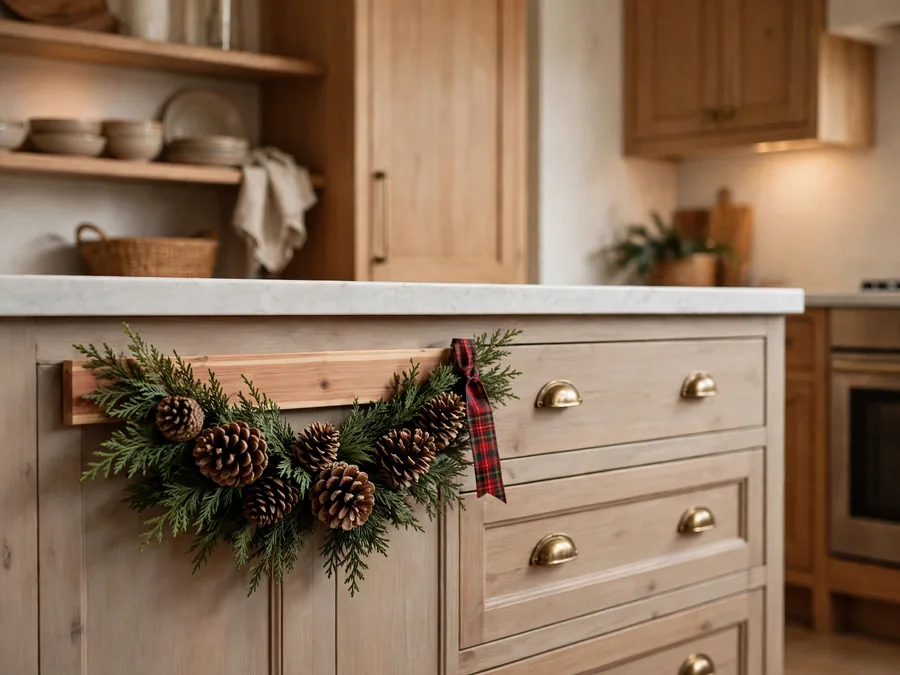
The panel facing the cook is seen a hundred times a day and decorated never. Pin one flat cedar swag, about 18 inches long, to the upper half of that panel with two removable hooks, with three small pinecones and a plaid ribbon tail ending above the drawer handles. It sits flush, so nothing brushes it as you pass, and the cook gets a private piece of Christmas the guests never see. Check that the lowest point clears the top drawer’s swing before you commit to the hooks.
Seasonal swap: the same two hooks hold a small dried-flower swag in spring, so the panel never goes back to blank.
12. Christmas Cookbook Stand
Set a wooden cookbook stand in the centre strip at the cooktop end, open at the prettiest page of a Christmas cookbook — iced biscuits, a glazed ham, a snowy cake. It decorates and works at once, holding tonight’s recipe up while the page does the festive talking. The stand folds flat into a drawer, and the book returns to its shelf in January. Keep it a full forearm’s length from the hob’s splash zone; glossy pages and frying oil are poor companions.
Get the look:
- Main piece: wooden cookbook stand
- Supporting piece: a Christmas cookbook open at a full-page photo
- Texture or material: warm wood against glossy paper
- Finishing touch: one cedar sprig across the base
13. Napkin Caddy, Ready to Serve
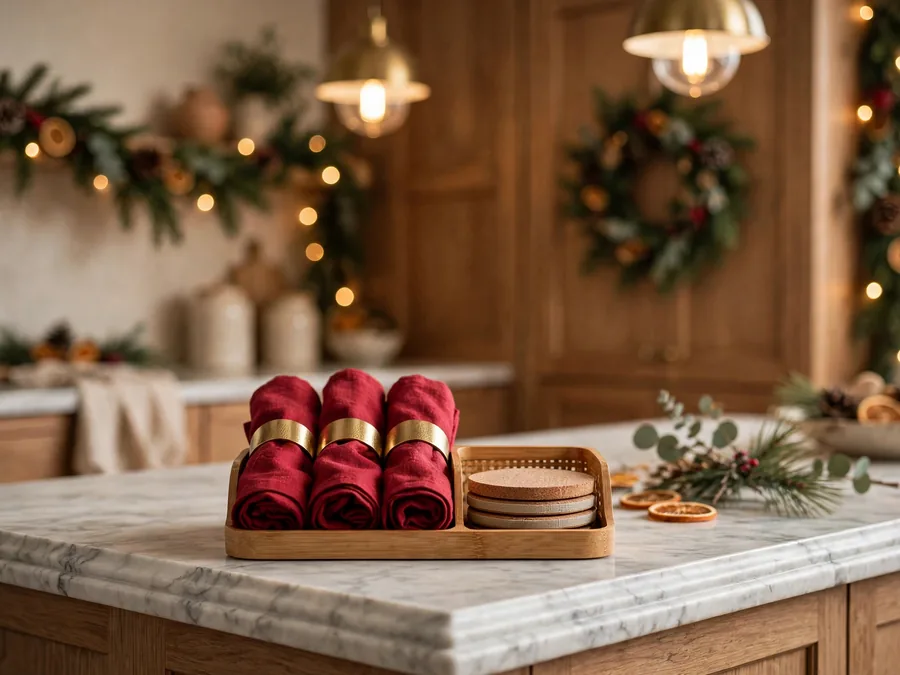
Stand a small divided caddy in the centre strip holding folded crimson linen napkins, each rolled around a brushed-gold napkin ring, with a short stack of coasters in the second compartment. It looks like a styled still life and behaves like equipment: when guests land at the island, drinks and napkins are already there. Because the caddy is one object, it lifts to the dining table in the same hand that carries the glasses. Washable linen matters more than beauty here — paper napkins in a caddy read as storage, not decor.
The formula: one divided caddy + rolled linen napkins with rings + a short stack of coasters.
14. White Branches at the Far End
Fill a heavy stoneware vase with five white-painted branches, each about 30 inches tall, with just three ornaments — one red, one gold, one clear glass. Set it in the far end’s corner, its height balancing the pendants. The arrangement is all air: pretty shadows, nothing edible, and it lifts away by the vase in one hand. Tall branches wobble in a light vase, so half-fill the base with dry rice or pebbles if yours tips. From the stools, it makes a calm backdrop for the cute table decor guests see beyond the island.
Space note: keep the vase in the end’s last 12 inches, branches trimmed so none leans over the seating side.
15. Towel Bar Swap
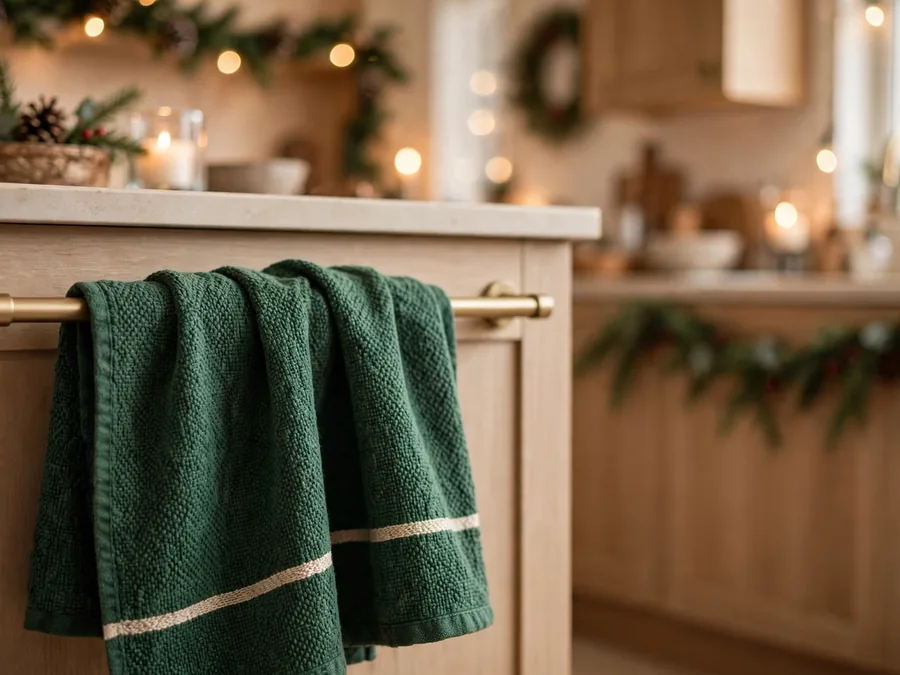
Most islands have a towel bar on an end or the cook’s side, and it is the fastest Christmas change in the kitchen. Swap the everyday towel for a deep green or cranberry woven towel with a simple stripe, folded once so the stripe shows, and let it be the panel’s only decoration. It dries hands all day, never touches food surfaces, and swaps back in ten seconds. Buy two and rotate them through the wash; a single festive towel spends half the season in the laundry basket looking grubby.
Seasonal swap: a pale linen towel with a blue stripe takes the same bar for spring, keeping the one-change habit alive.
16. Cloche Village in the Middle
Set a glass cloche, about 10 inches tall, on its wooden base in the exact centre of the island, covering three mini bottle-brush trees on a drift of faux snow with one tiny brass deer. The glass keeps kitchen splashes and curious fingers off the scene, the base makes it a single lift-away object, and the village glows quietly when pendant light catches the dome. It earns its place by being the island’s one purely joyful object — everything else here works for its living, this one just delights.
Style note: one cloche, centred and alone, looks curated; a second dome anywhere on the island turns it into a collection competing for space.
| Island length | Centre strip to decorate | Clear edge each side | Best fit from this list |
|---|---|---|---|
| Under 5 feet | About 12 inches wide | Full remaining width | One-lift tray or cloche, plus panel ideas |
| 5 to 7 feet | About 14 inches wide | At least 18 inches | Hurricane row or flat cedar spine |
| Over 7 feet | About 16 inches wide | At least 20 inches | Tray plus bookend trees, ends dressed too |
One Island, Dressed and Still Working
The pattern behind all sixteen is simple: the middle, the ends and the air above may celebrate; the edges may not. Keep that one boundary and the island stays the hardest-working surface in the house while quietly carrying the room’s Christmas. Start small, live with it through one real cooking day, and only then add a second idea.
Your one next step: clear the island completely tonight, choose a single centre-strip idea from this list, and set a timer for five minutes — if it is not in place and both edges are bare again by then, pick a smaller idea.