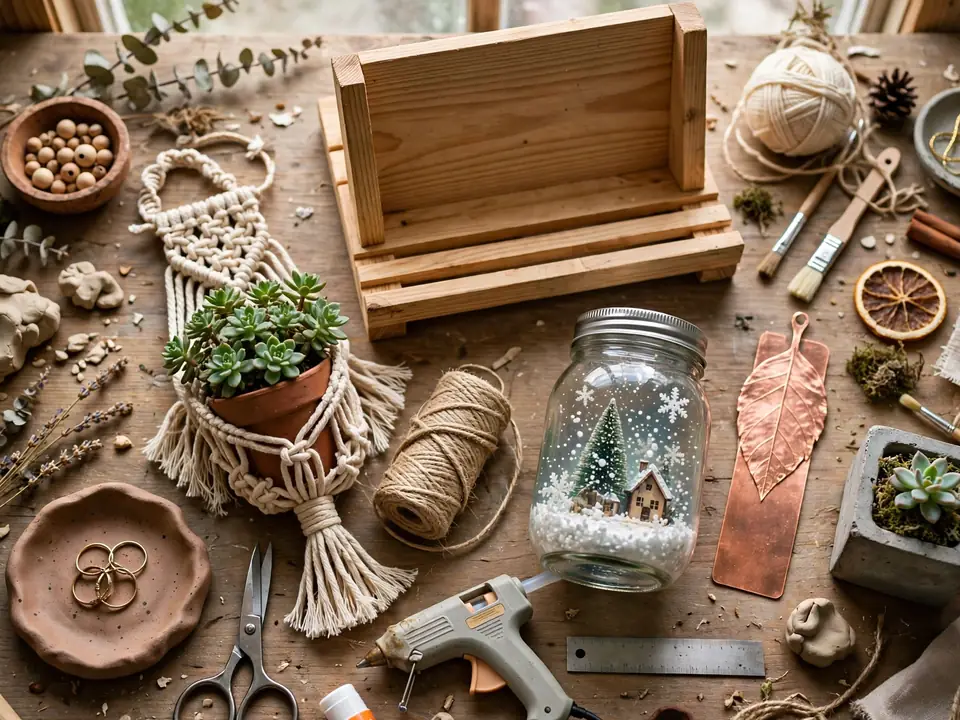
Every December, the handmade list grows faster than the time to make it. One present needs wood and a saw, the next needs clay and paint, the third needs fabric, thread and a free weekend you simply do not have. By mid-month the craft table looks like a jumble sale, and half the gifts are still unfinished.
The fix is to work the way small makers do: one material at a time, finished properly. When every edge is sanded, every surface sealed and every back neat, a simple handmade piece reads as something bought from a good shop, not assembled in a panic.
These 28 ideas are grouped by material, so a single bag of wood offcuts, clay or fabric scraps can carry you through several names on your list. Most use basics you already own, and each one can be personalised with one small swappable detail.
The DIY Christmas Gift Formula That Keeps Handmade Gifts Looking Store-Bought, Not School-Fair
- Master one material at a time: wood, clay, fabric or glass — a small stock of one material makes three different gifts without three different shopping trips.
- Finish like a shop would: sanded edges, sealed surfaces and neat backs are what separate store-bought-looking from school-fair.
- Measure the person’s real space first: a stand, hanger or organiser only delights if it fits their counter, wall or shelf, so check before you make.
- Build in one changeable part: a ribbon, a photo or a colour that can be swapped lets the same design suit a dad, a sister or a neighbour.
For example: a stained cookbook stand with a brass hook for Dad, and the same stand in sage green with a recipe card tucked in for your sister — one design, two people, one afternoon.
| # | Idea | Best For | Budget/Effort |
|---|---|---|---|
| 1 | Wall-Mount Bottle Openers with Cap-Catch Boxes | Dads and home-bar hosts | Low cost / one evening |
| 2 | Wooden Cookbook and Tablet Stands | Keen home cooks | Low cost / one afternoon |
| 3 | Pyrography Wooden Coasters | Coffee-table proud hosts | Low cost / one evening |
| 4 | Sewn Rice Heat Packs | Achy shoulders and cold beds | Very low / one hour |
| 5 | Braided Rope Baskets | Tidy bathroom shelves | Low cost / one evening |
| 6 | Macramé Plant Hangers | Plant-filled sunny windows | Low cost / one afternoon |
| 7 | Patchwork Pot Holders | Busy family kitchens | Scraps / one evening |
| 8 | Denim Pocket Wall Organisers | Teens and desk workers | Free fabric / one evening |
| 9 | Sea-Glass Mosaic Frames | Beach-loving grandparents | Low cost / one afternoon |
| 10 | Homemade Snow Globe Jars | Children and mantel displays | Low cost / one hour |
| 11 | Frosted Painted Glass Vases | Minimalist flower lovers | Very low / one hour |
| 12 | Calligraphy Quote Canvases | New homeowners and students | Low cost / one evening |
| 13 | Wire-Wrapped Stone Pendants | Nature-loving sisters and friends | Low cost / one hour |
| 14 | Hammered Copper Bookmarks | Book club readers | Low cost / one hour |
| 15 | Bent-Wire Word Art | Shelf and desk styling | Very low / one hour |
| 16 | Air-Dry Clay Ring Dishes | Dressing tables and hall consoles | Low cost / two sittings |
| 17 | Clay Herb Markers | Windowsill herb growers | Very low / one evening |
| 18 | Geometric Concrete Planters | Succulent collectors | Low cost / weekend curing |
| 19 | Woven Rag Placemats | Rustic dining tables | Scraps / one afternoon |
| 20 | Punched Tin Can Lanterns | Garden paths and porches | Free tins / one evening |
| 21 | Beach Memory Shadow Boxes | Family holiday keepsakes | Low cost / one afternoon |
| 22 | Wooden Beard Combs | Bearded brothers and partners | Low cost / one hour |
| 23 | Hammered Spoon Plant Markers | Vegetable patch gardeners | Low cost / one hour |
| 24 | Feather Dreamcatchers | Bedroom doors and nurseries | Low cost / one evening |
| 25 | Sock Plush Toys | Toddlers and young cousins | Low cost / one evening |
| 26 | No-Sew Pompom Pillow Covers | Sofa refresh gifts | Low cost / one afternoon |
| 27 | Upcycled Sweater Mittens | Dog walkers and commuters | One old sweater / one evening |
| 28 | Braided Fleece Dog Tug Toys | Dog-owning friends and family | Scraps / thirty minutes |
1. Wall-Mount Bottle Openers with Cap-Catch Boxes
Screw a black cast-iron opener onto a stained pine board, 6 by 8 inches, sanded smooth and finished with clear wax. Below it, fix an open pine box, 4 inches wide, lined with a strip of red ticking fabric to catch the caps. Two brass screws at the top corners make it ready to hang beside a fridge or on a porch wall.
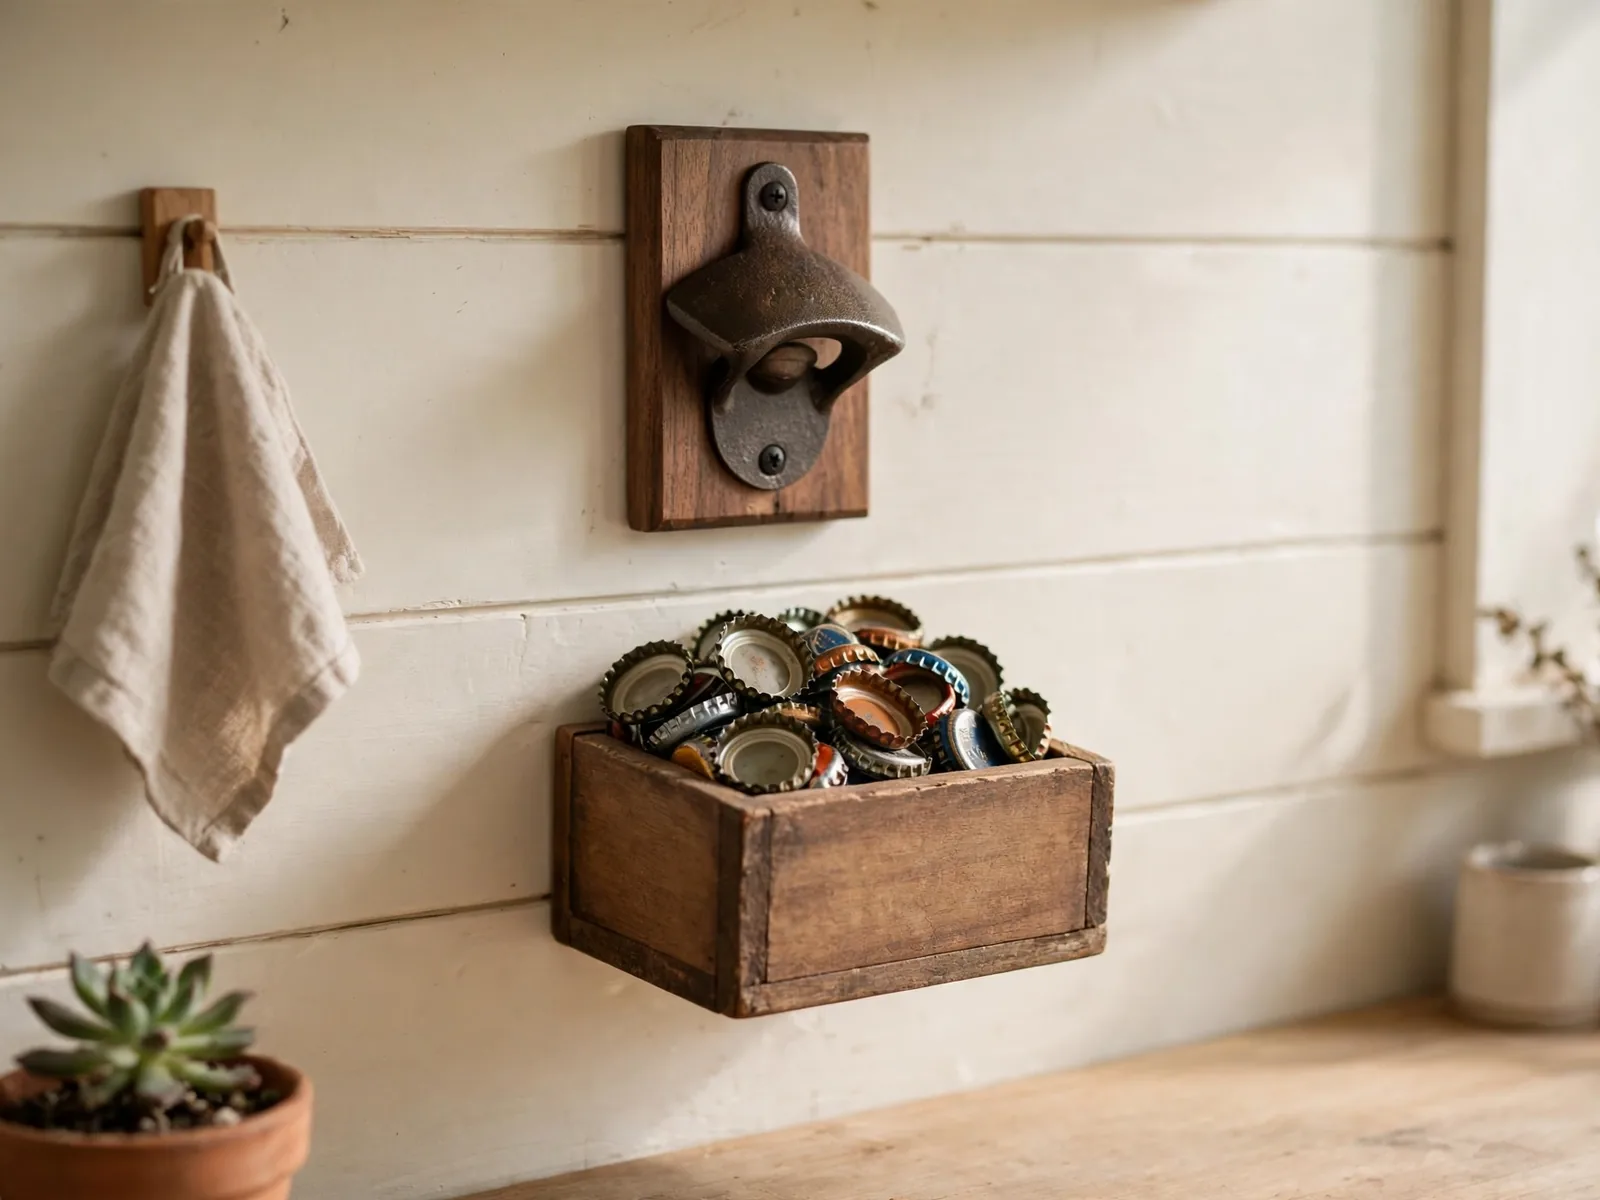
Wrap it in kraft paper with one spare bottle cap glued to the tag, so its purpose is instantly clear.
Seasonal swap: for a summer barbecue version, paint the board sage green, swap the ticking liner for navy canvas, and it suits garden parties as neatly as Christmas drinks.
2. Wooden Cookbook and Tablet Stands
Cut a pine board 10 inches wide and 12 inches tall, add a 2-inch ledge across the bottom front, and hinge a simple prop leg behind it. Sand every edge, stain it warm walnut, and finish with food-safe oil so floury hands can wipe it clean. A brass hook on the ledge holds a measuring spoon or a charging cable.
These make practical diy christmas gifts for family cooks, because one stand props a hardback at reading angle and folds flat into a drawer.
Why it works:
- It solves floury-page flipping during real cooking.
- The ledge fits books and tablets equally well.
- One design suits several cooks in different stains.
3. Pyrography Wooden Coasters
Start with beech coasters, 4 inches across, sanded on both sides. Burn one simple design into each face with a pyrography pen — a pine sprig, a star, a tiny house — keeping lines slow and even. Seal the tops with clear matte varnish, glue cork discs underneath, and stack four in a bundle tied with burgundy ribbon and a sprig of dried rosemary.
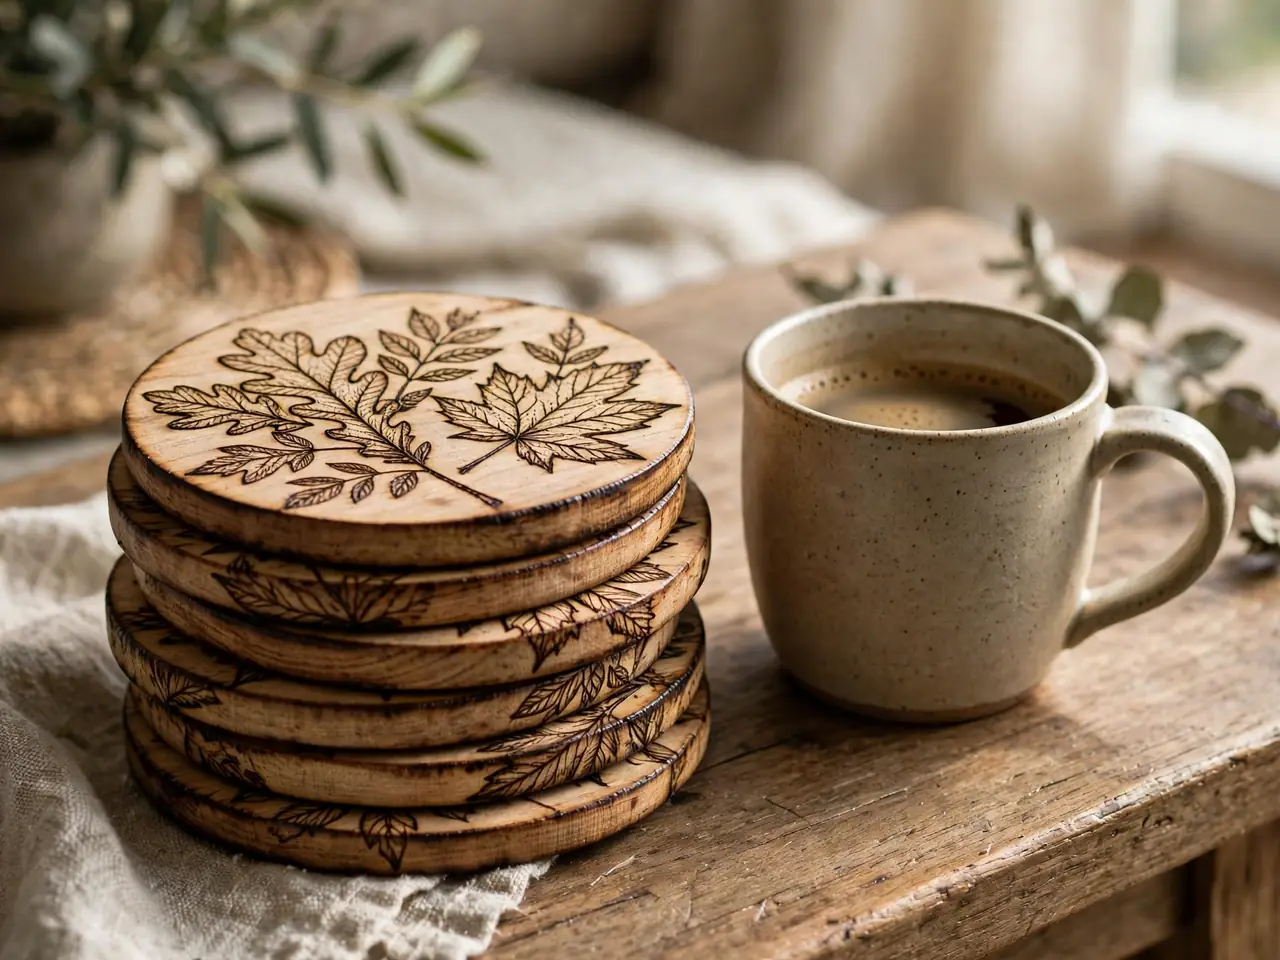
The set looks like something from a craft-market stall, yet the whole batch fits on one tray while it dries.
Budget note: coaster blanks cost little in packs of ten, and one pen serves every set, so four bundles can come from a single small spend.
4. Sewn Rice Heat Packs
Cut two rectangles of brushed cotton, 8 by 20 inches, in a deep red plaid, and sew them into a long pouch divided into three stitched channels. Fill each channel two-thirds full with plain long-grain rice, add a pinch of dried lavender, then close the end with a neat topstitched seam. The channels stop the rice pooling at one end when it drapes over shoulders.
Fold it once, tie with cream twine, and add a handwritten tag with heating times. Ninety seconds in the microwave is all it needs on a cold night.
The formula: plaid rice heat pack + lavender scent + handwritten heating tag
5. Braided Rope Baskets
Braid three lengths of natural cotton rope, each 3 yards long, into one plait, then coil it into a basket 8 inches across, stitching each round to the last with thread. Work two rope handles into the last round and finish the rim with a wrap of sage-green yarn. It stands firm without glue or a frame.
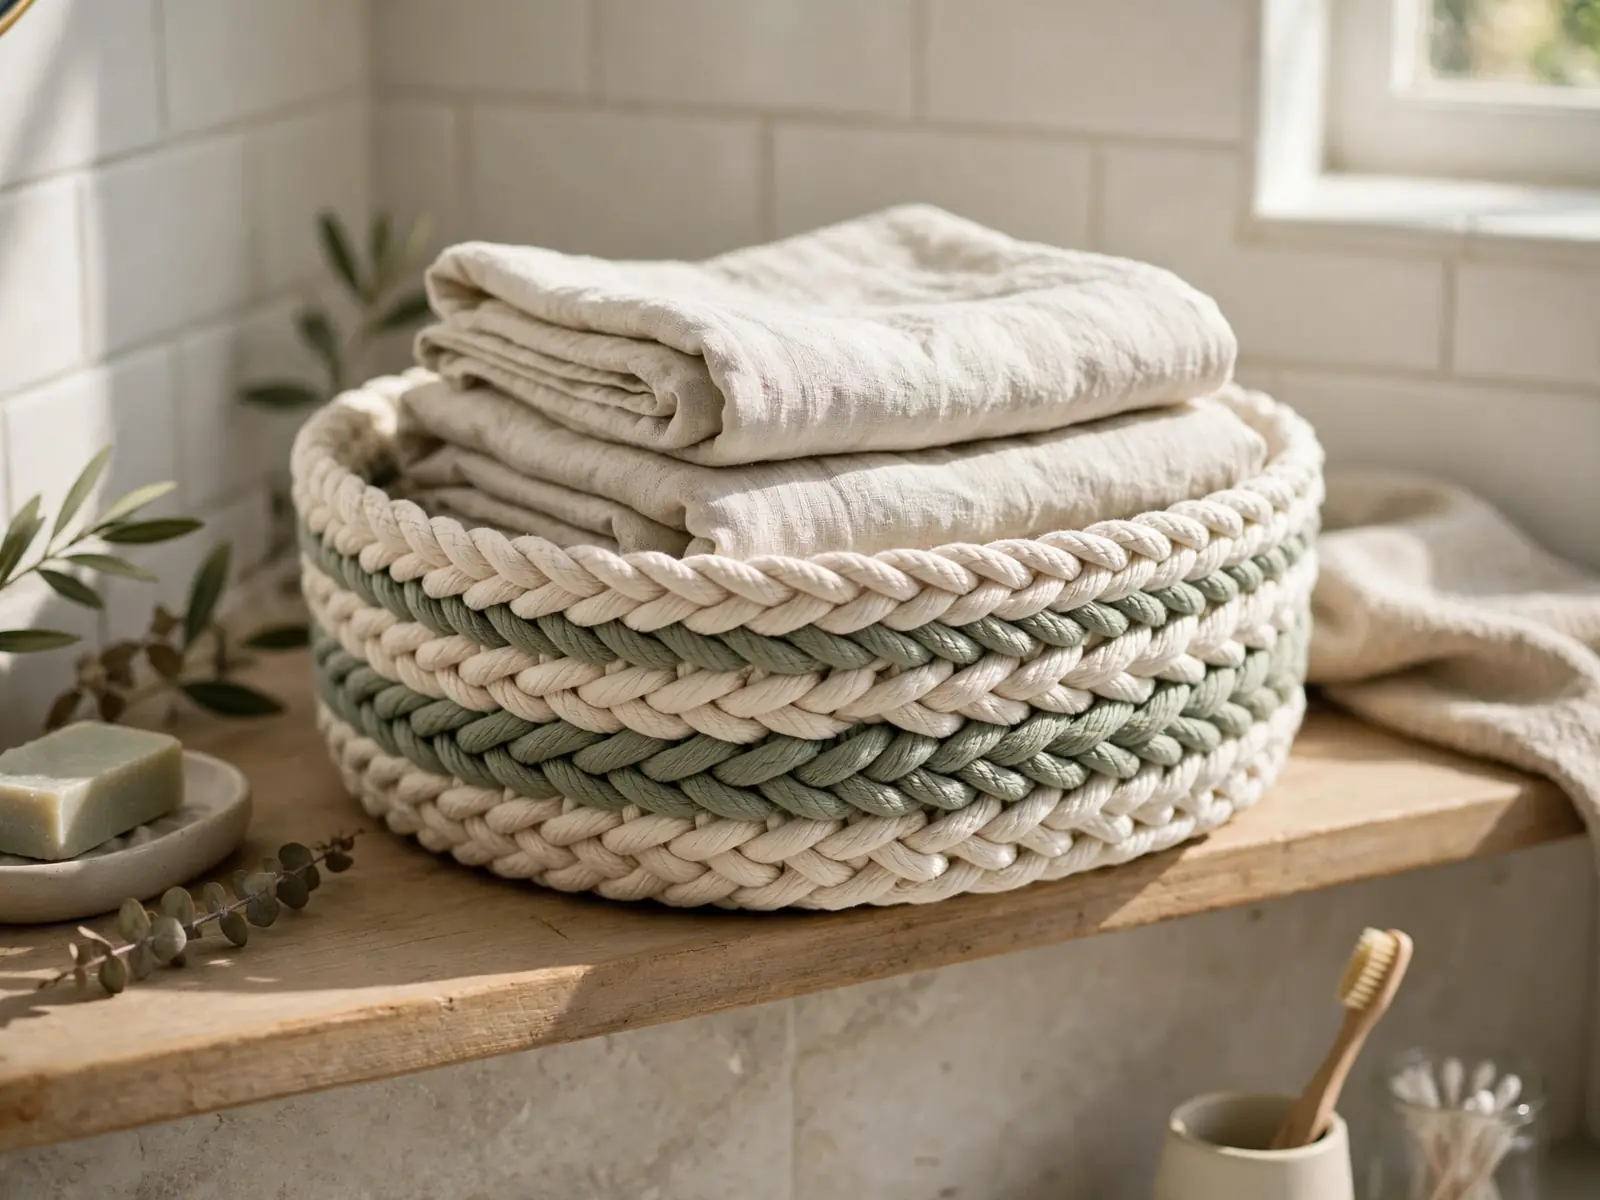
Line it with folded cream linen, fill it with hand towels for a bathroom shelf, or leave it empty so the receiver chooses its job.
Get the look:
- Main piece: coiled rope basket, 8 inches wide
- Supporting piece: folded cream linen liner
- Texture or material: natural cotton rope with sage yarn
- Finishing touch: two rope handles
6. Macramé Plant Hangers
Cut eight cords of natural cotton, each 5 feet long, and knot them into a classic spiral pattern that cradles a 6-inch terracotta pot. A smooth wooden ring at the top keeps the hanger balanced, and the long tail below the pot is trimmed straight at 10 inches. Worked in cream cord, it suits any window; worked in rust red, it feels unmistakably festive.
The craft of macramé needs no tools beyond scissors, so a pair can be knotted in one afternoon by the window.
Color note: cream cord against terracotta and green leaves keeps the palette calm, while one rust-red hanger gives the group a warm Christmas lift.
7. Patchwork Pot Holders
Piece nine 3-inch squares of red, cream and forest-green cotton into a cheerful patchwork top, then layer it over heat-resistant wadding and a plain linen back. Quilt diagonal lines through all three layers, bind the edges with green bias tape, and sew a small hanging loop into one corner. At 9 inches square, the holder grips a roasting tin without folding or slipping.
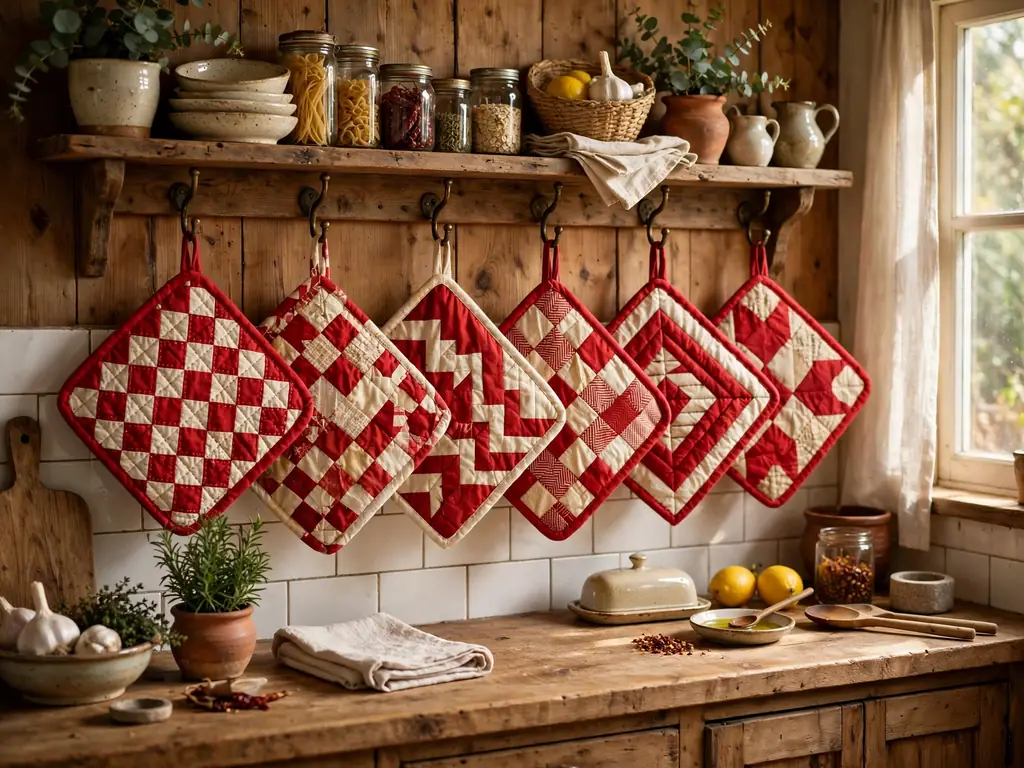
Make them in pairs from the same fabric scraps, and even a first attempt looks deliberate rather than leftover.
Texture note: smooth quilting cotton on top, grippy linen underneath and soft wadding between give the holder its reassuring, padded weight in the hand.
8. Denim Pocket Wall Organisers
Cut the back panels from two pairs of worn-out jeans, keeping the pockets intact, and stitch them onto a rectangle of sturdy cream canvas, 14 by 20 inches. Each pocket keeps its original stitching and rivets, which is exactly what makes the finished piece look bought. Add a wooden dowel through a top channel and hang it from a loop of leather cord.
Pens, glasses, phone chargers and seed packets all disappear into those ready-made pockets. Hung behind a desk or beside a bed, it clears a whole surface in one go.
Best for: a teenager’s bedroom wall or a small home office with no drawer space.
9. Sea-Glass Mosaic Frames
Take a plain wooden photo frame, 8 by 10 inches, and cover its border with frosted sea glass in pale green, aqua and white, fixed with clear craft glue. Press each piece close to its neighbour, fill gaps with white pebbles, and leave the surface ungrouted so the glass keeps its soft, beach-worn glow. Seal with one coat of matte spray once dry.
Slip in a family beach photograph before wrapping, and the frame arrives already holding a memory rather than waiting for one.
Space note: the deep border adds about an inch on every side, so measure the shelf or mantel gap and drop to a 5-by-7 frame for tight spots.
10. Homemade Snow Globe Jars
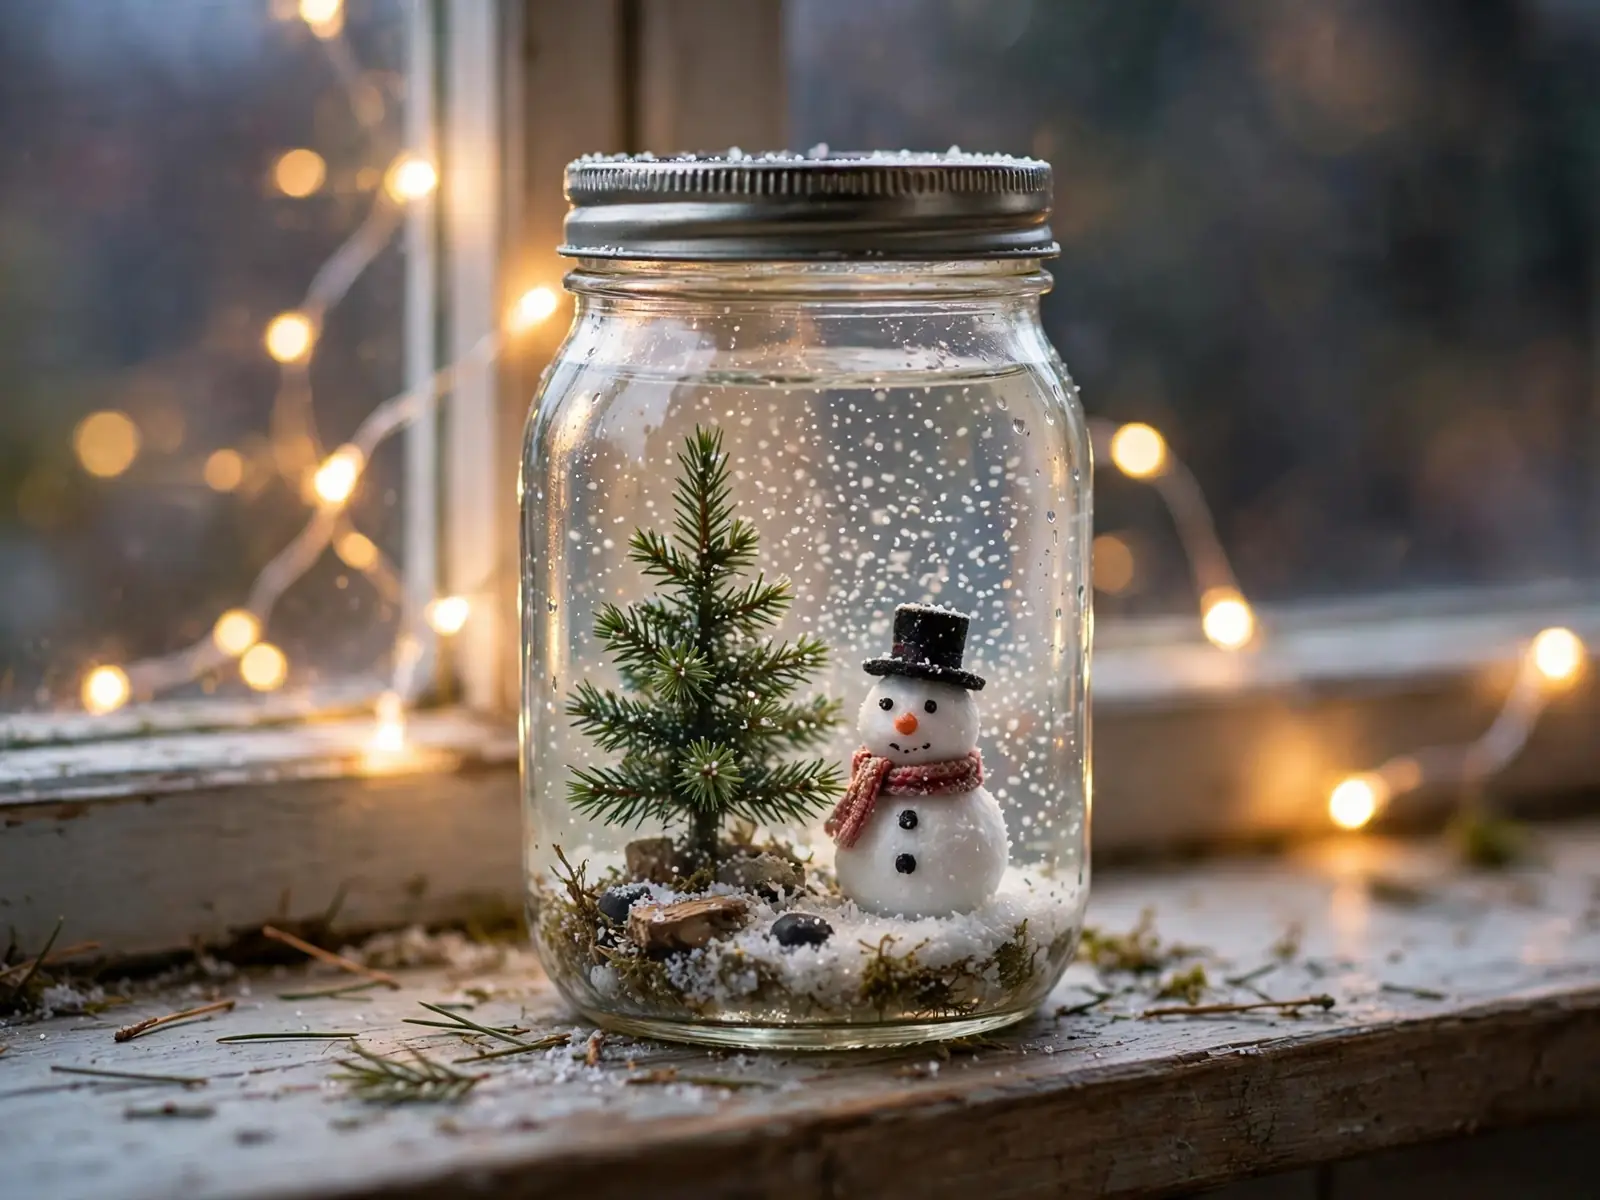
Glue a tiny bottle-brush pine tree and a miniature snowman to the inside of a jam-jar lid, using waterproof glue. Fill the 12-ounce jar with distilled water, add a teaspoon of glycerin and a pinch of white glitter, then screw the lid down tight and seal the rim with a bead of silicone. Turn it over, and the snow falls slowly.
Fans of homemade christmas gifts love it because a ribbon around the lid and a kraft tag finish it like a shop-bought globe.
Fit check: test the sealed jar upside down over a sink for ten minutes; if one drop escapes, dry the rim, add silicone, and test again before wrapping.
11. Frosted Painted Glass Vases
Save a smooth glass bottle or jar, wash it well, and sponge on two thin coats of white frost paint, leaving a 1-inch clear band at the neck. When dry, the glass glows like ice, and a few stems of red berries or white tulips show through the clear band beautifully. Tie natural twine twice around the neck and tuck in a tiny pinecone.

Grouped in threes on a windowsill, these catch the low winter light in a way plain glass never does.
Style note: the clear band at the neck is the detail that lifts it — the arrangement looks designed, with stems visible like flowers standing in real ice.
12. Calligraphy Quote Canvases
Stretch a plain canvas, 10 by 12 inches, and paint it with one smooth coat of warm white acrylic. When dry, write a short line in black brush lettering across the middle — a family phrase, a song lyric, two names and a date — keeping letters tall and unhurried. A single gold stroke under one word is enough decoration. Seal with matte spray so the lettering cannot smudge.
Because the words are chosen for one person, this gift never gets mistaken for anyone else’s.
Easy swap: swap brush lettering for neat stencilled capitals if your handwriting wobbles; the personal words matter far more than perfect flourishes.
13. Wire-Wrapped Stone Pendants
Choose a smooth river stone about 1 inch long, in grey, rust or soft green, and wrap it with 0.8mm copper wire, crossing the front twice and twisting a neat bail at the top. Thread it onto a leather cord tied at 18 inches, and polish the wire with a cloth until it shines. No two stones wrap the same way, which is the point.
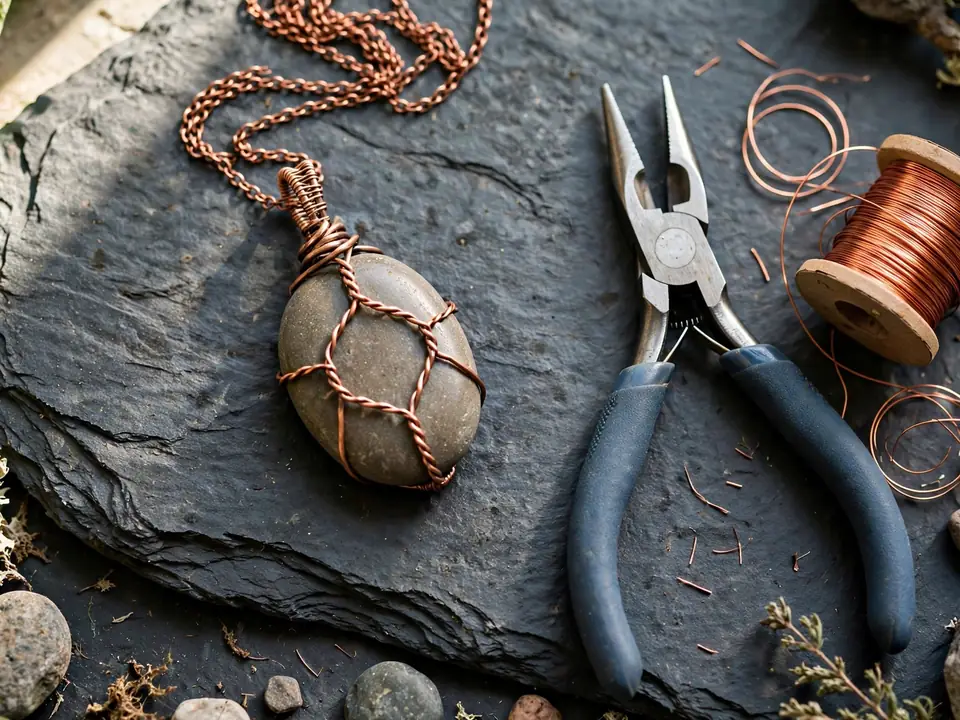
Of all the christmas gift ideas here, this costs almost nothing yet looks like a gallery piece in its linen pouch.
Seasonal swap: for spring, choose a pink or white stone and silver-coloured wire on a tan cord, and the design reads fresh instead of wintry.
14. Hammered Copper Bookmarks
Cut a strip of copper sheet, 6 inches long and three-quarters of an inch wide, and file every corner round. Hammer the surface lightly all over with the round end of a small hammer until it catches the light like beaten metal, then punch a hole at the top and thread a short tassel of burgundy thread. Stamp or etch one initial near the bottom edge.
The strip is stiff enough to hold a heavy hardback’s place without bending, and it will slowly deepen in colour with handling.
Why it works:
- Hammering hides small mistakes and looks intentional.
- Copper feels precious without a precious price.
- An initial makes a simple strip unmistakably personal.
15. Bent-Wire Word Art
Bend one length of copper or black craft wire, about 3 feet long, into a joined-up word — gather, home, or the family’s surname — using round-nose pliers and slow, confident curves. Mount the word on a slim pine board, 12 inches long, with two brass pins, or leave it freestanding to lean on a shelf. Keep the letters at least 3 inches tall so the word reads across a room.
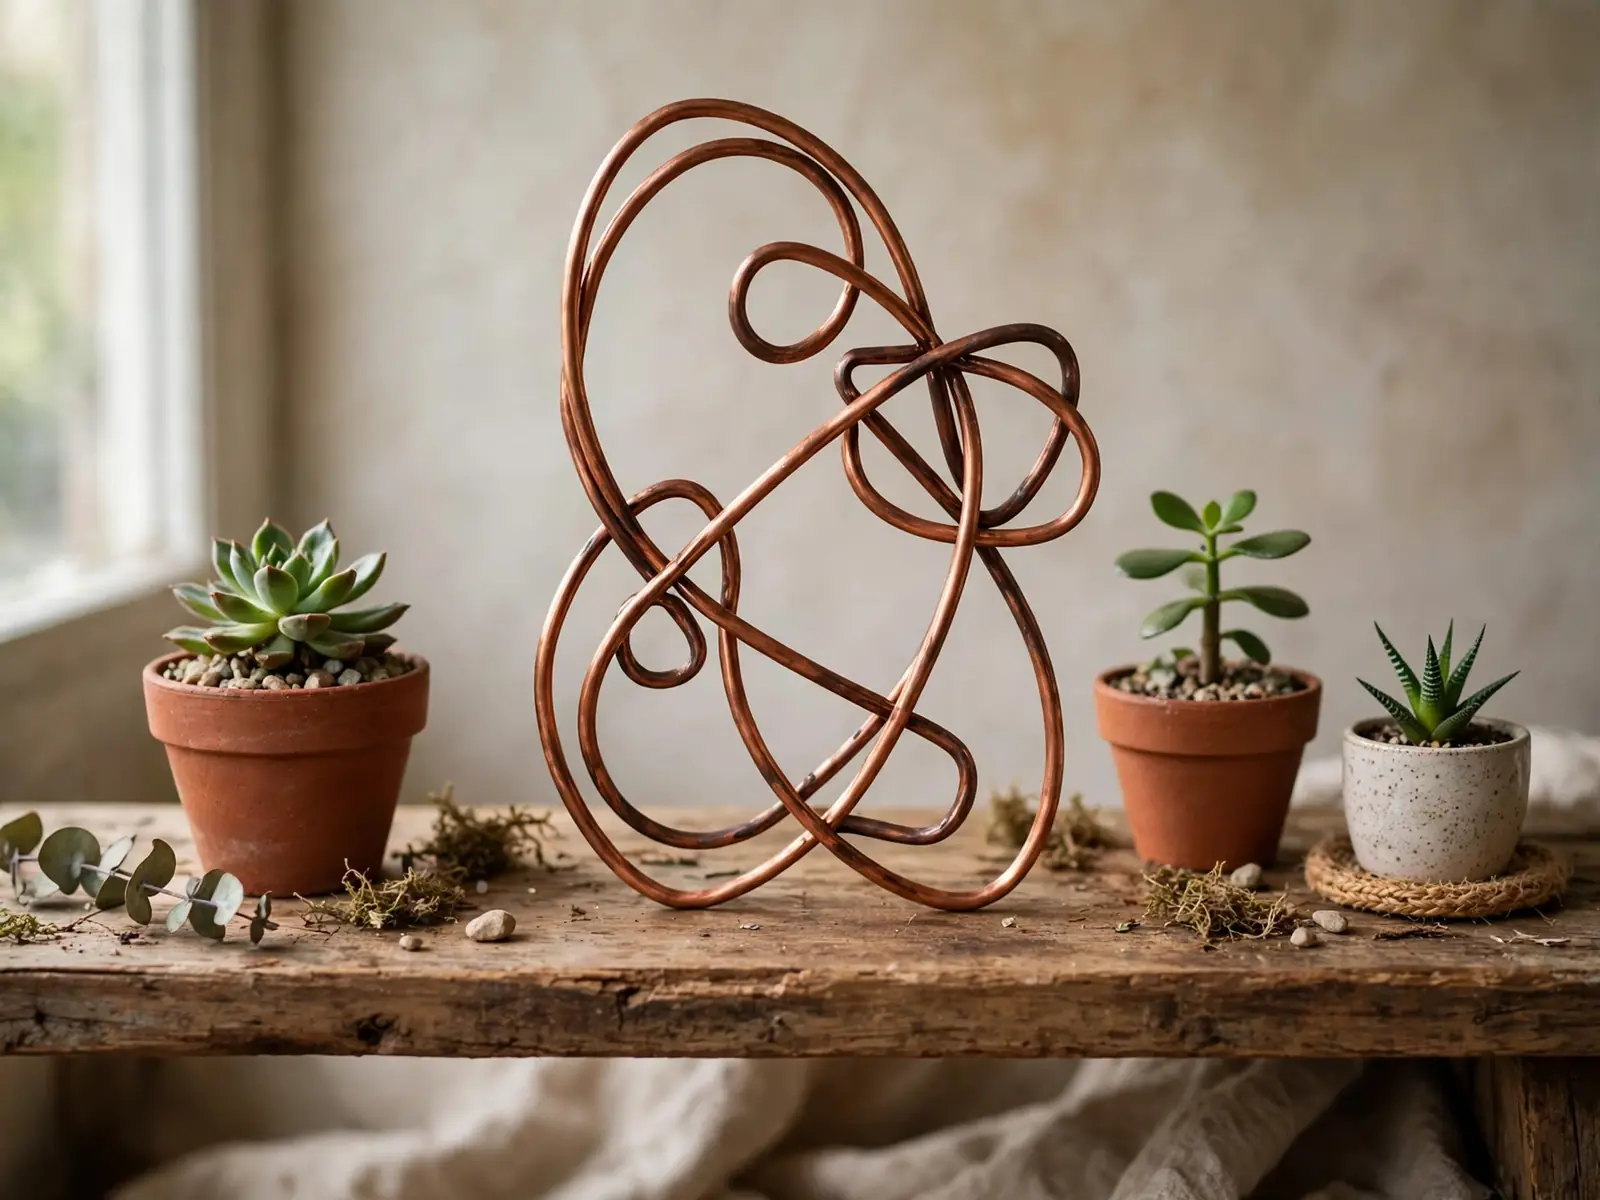
It weighs almost nothing, posts flat in a padded envelope, and still lands as proper decor.
Budget note: one reel of craft wire makes four or five words, so a shelf of gifts for neighbours can come from a single purchase.
16. Air-Dry Clay Ring Dishes
Roll air-dry clay to a quarter-inch thickness and cut a circle 4 inches across. Press a real leaf or a piece of lace into the surface, lift it away, then shape the circle inside a small bowl so the edges curve up. When dry after two days, sand the rim, paint the inside cream and the rim gold, and seal with clear varnish.
Beside a bed or a sink, it quietly catches rings, earrings and the day’s loose change instead of letting them wander.
The formula: leaf-pressed clay dish + gold-painted rim + clear sealed finish
17. Clay Herb Markers
Roll air-dry clay into paddles, 3 inches long, with a pointed stake at one end. While the clay is soft, stamp each herb’s name in capital letters — BASIL, MINT, THYME, ROSEMARY — and press a leaf print beside the word. Let them dry flat for two days, paint the faces cream, rub dark wax into the letters, and seal with outdoor varnish.
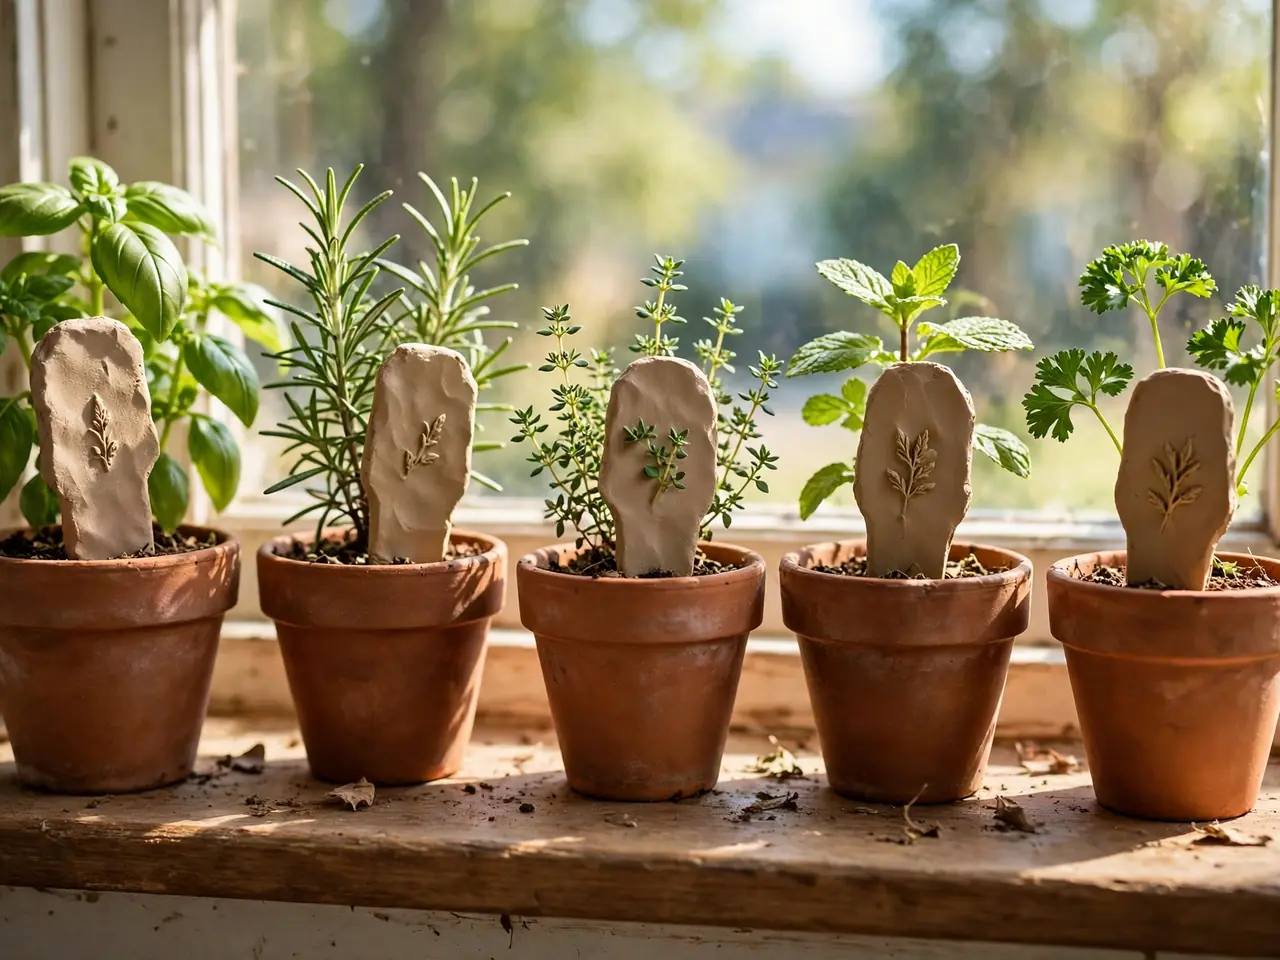
A bundle of six, tied with twine, turns a windowsill herb pot into a finished gift.
Get the look:
- Main piece: stamped clay herb markers, set of six
- Supporting piece: small terracotta herb pot
- Texture or material: matte clay with waxed lettering
- Finishing touch: green twine tying the bundle
18. Geometric Concrete Planters
Mix small-batch concrete and pour it into a geometric silicone mould, pressing a smaller mould into the centre to form the planting well. Leave it to cure for two full days, then ease it out, sand the edges lightly, and seal the inside with waterproof sealant. The finished planter, about 4 inches wide, has the weight and cool touch of a design-shop piece.
Plant one with a small green succulent and top the soil with white gravel before wrapping, so it arrives ready to display.
Color note: natural grey concrete stays neutral, but stirring a spoon of black pigment into one batch and leaving another pale gives a striking matching pair.
19. Woven Rag Placemats
Cut worn cotton shirts and old table linen into strips 1 inch wide, in reds, creams and soft greens. Weave them on a simple frame loom into firm rectangles, 12 by 16 inches, packing each row down tight with a fork so the mat lies flat. Knot and trim the ends into a short, even fringe. A pair makes a table look dressed in seconds.
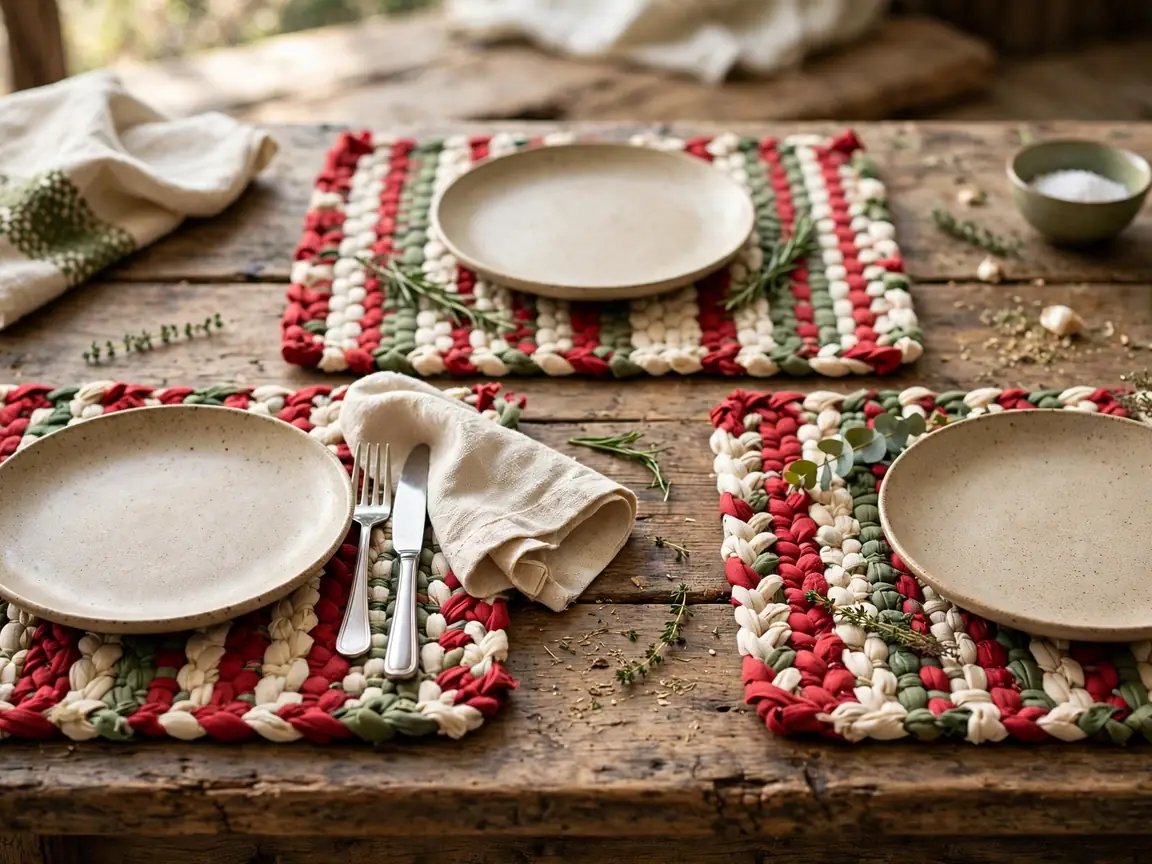
Because every strip carries its own history, no two mats match exactly — and at a family table, that is their charm.
Texture note: the mix of shirt cotton, linen and one flannel strip gives the mats a slightly uneven surface that grips plates and glasses.
20. Punched Tin Can Lanterns
Wash a tall tin can, fill it with water and freeze it solid, so the sides hold firm while you work. Draw a star or snowflake on paper, tape it to the can, and punch the pattern through with a hammer and nail. Let the ice melt, dry the can, spray it deep green or leave it silver, and drop in a battery tealight.
A row of three along a garden path glows through the punched holes long after real candles would have blown out.
Best for: a porch, garden path or windowsill where real candles would be a worry.
21. Beach Memory Shadow Boxes
Take a wooden shadow box frame, 8 inches square and 2 inches deep, and line the back with pale sandpaper or a thin layer of real sand fixed with glue. Arrange shells, a starfish and pebbles from one family holiday across it, and fix a 4-by-6 photograph in the centre, slightly raised on foam pads. A handwritten place and date on a tiny kraft label finishes the scene.
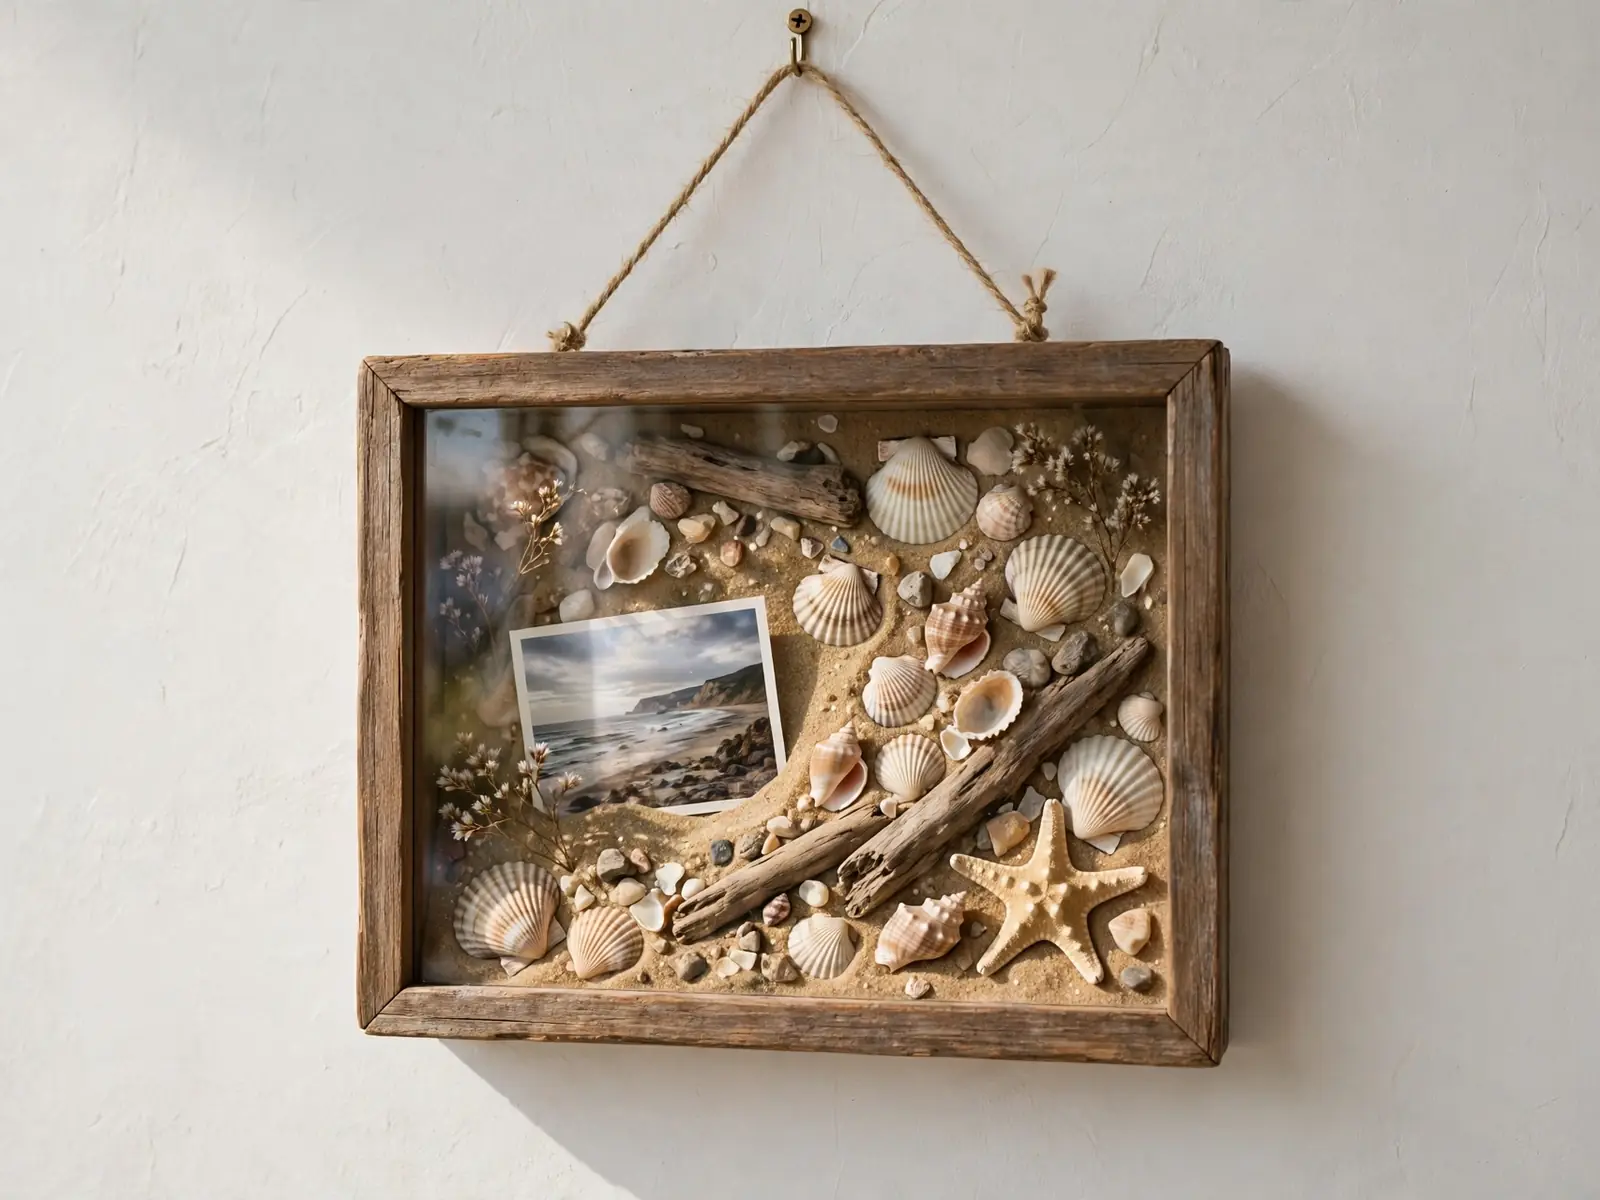
Hung in a hallway, it does the job of a photo album in one square of wall.
Space note: at 2 inches deep it stands on a shelf as happily as it hangs, which helps anyone whose wall space is already full of frames.
22. Wooden Beard Combs
Cut a comb blank from a hardwood offcut — walnut or beech — about 5 inches long, with teeth spaced wide at one end and finer at the other. Saw and file the teeth, sand the comb through three grades of paper until it feels like silk, and rub in a little beard oil or food-safe wax. It should glide through hair without a single snag.
Presented in a kraft box on a bed of wood shavings, it looks like grooming-shop stock, not a workshop spare.
Fit check: run the comb through your own hair or a wig first; if any tooth catches, that tooth needs another minute of sanding before wrapping.
23. Hammered Spoon Plant Markers
Flatten the bowl of a vintage teaspoon on an anvil or a solid block with steady hammer taps until it is a smooth oval. Stamp the name of a herb or vegetable across it in small metal letter stamps — TOMATO, SAGE, KALE — then darken the letters with a permanent marker and wipe the excess away. The handle pushes straight into soil or a pot.
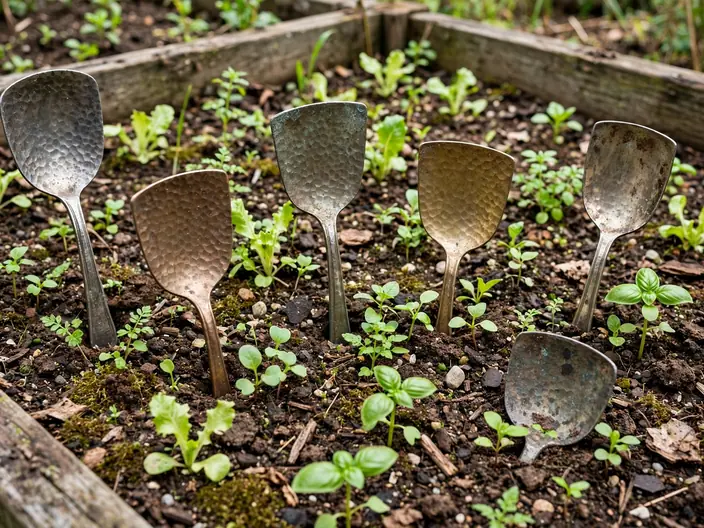
A set of four, bundled with twine, survives seasons outdoors in a way wooden markers never quite manage.
Style note: slightly crooked, hand-stamped letters are the charm here; perfectly straight rows would look machine-made and lose the garden character entirely.
24. Feather Dreamcatchers
Wrap a metal or willow hoop, 8 inches across, with cream suede cord, then weave a loose web of natural twine across the centre, leaving uneven gaps. Knot three lengths of cord along the bottom, thread on wooden beads, and tie soft white and speckled brown feathers to their ends. A small brass bell at the centre catches both light and sound.
Hung over a bed or a child’s door, it moves gently whenever the door opens, which is half its magic.
Easy swap: swap feathers for ribbons and tiny wooden stars for a nursery version with nothing small or sharp to worry little hands.
25. Sock Plush Toys
Take a clean, colourful striped sock and fill the heel and toe with soft stuffing to form a rounded body and head. Stitch the opening closed, sew on two black button eyes and an embroidered smile, then use a second sock to make two floppy ears or arms. A ribbon collar hides the neck seam and adds the finished, toyshop look.

Made in an evening in front of a film, it is usually the gift the youngest person at the table refuses to put down.
Seasonal swap: use a red-and-white striped sock and add a tiny felt Santa hat in December, then swap to a plain bow for a year-round birthday version.
26. No-Sew Pompom Pillow Covers
Cut two squares of soft fleece, 18 inches across, in warm cream, and fringe every edge into strips 3 inches deep. Lay a cushion pad between the squares and knot the matching fringe strips together all the way round — no sewing anywhere. Edge the finished cover with a row of small yarn pompoms in rust red, glued or tied at each corner.
The result is plump, washable and cosy enough to change the feel of a whole sofa for the price of one cushion.
Why it works:
- Knotting is fast, forgiving and needs no machine.
- Fleece never frays, so edges stay neat.
- Pompoms make a simple cover look shop-finished.
27. Upcycled Sweater Mittens
Take a worn-out wool sweater, in deep red or forest green, and wash it hot so the fibres felt together. Draw around a hand, add a seam allowance, and cut two mitten shapes from the body, plus cuffs from the ribbed hem. Sew each pair with the right sides together, turn them out, and line with soft fleece from an old scarf.
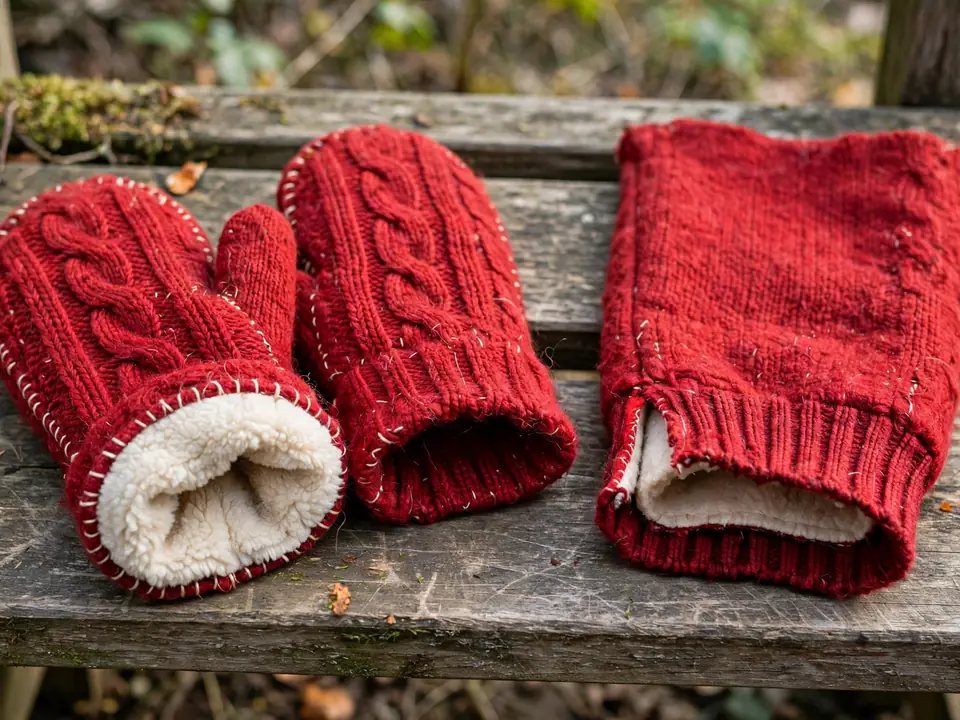
They come out thicker and warmer than most bought mittens, and the old sweater gets a second winter outdoors.
Budget note: one charity-shop sweater yields two full pairs of mittens plus a matching hat band, so the cost per finished gift stays remarkably small.
28. Braided Fleece Dog Tug Toys
Cut six strips of fleece, 2 inches wide and 24 inches long, in two contrasting colours — red and cream work well. Knot them together at one end, braid tightly in three double strands, and knot the far end, leaving short tassels both sides. A tight braid matters: it stretches during play without unravelling, and the fleece is gentle on teeth and easy to wash.
Trim the tassels even, shake the toy out, and it is ready for the most enthusiastic member of the family.
The formula: tight fleece braid + firm end knots + even trimmed tassels