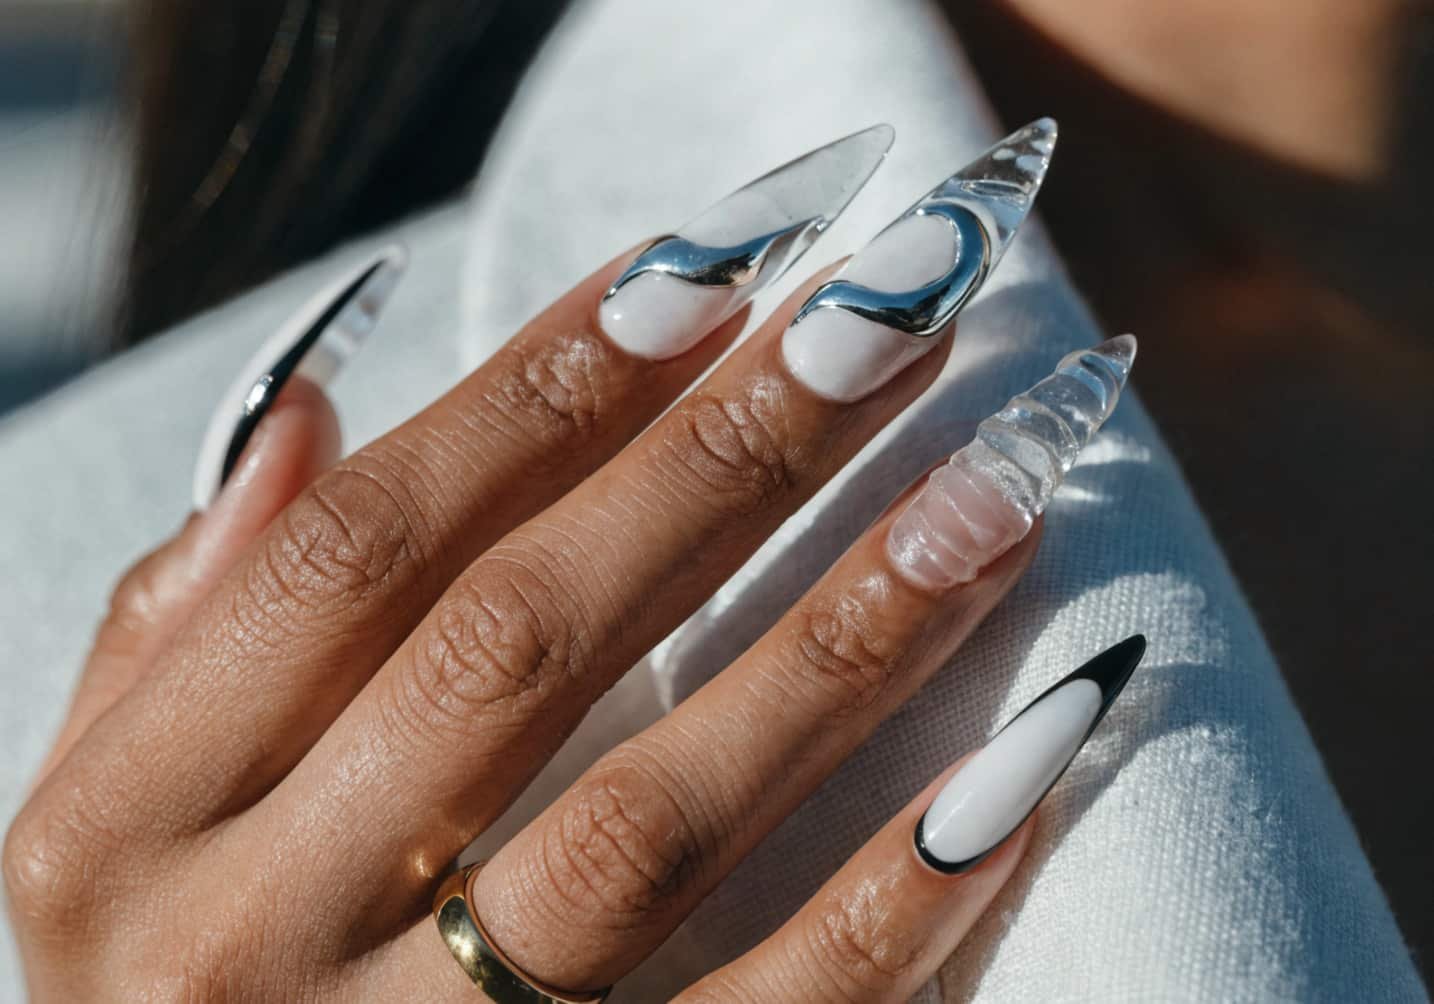
If you’ve ever had a manicure chip on day two, you already know why acrylics have stuck around since the 1970s. They’re not trendy in the fragile, here-today-gone-tomorrow sense — they’re a system that’s been refined for decades because it solves a real problem: nails that actually survive a week of dishes, gym sessions, and typing.
This isn’t a “top 10 cute nail ideas” roundup. It’s a practical look at what acrylics are, which shapes and finishes hold up in real life, and where people usually go wrong with them.
1. What Are Acrylic Nails?
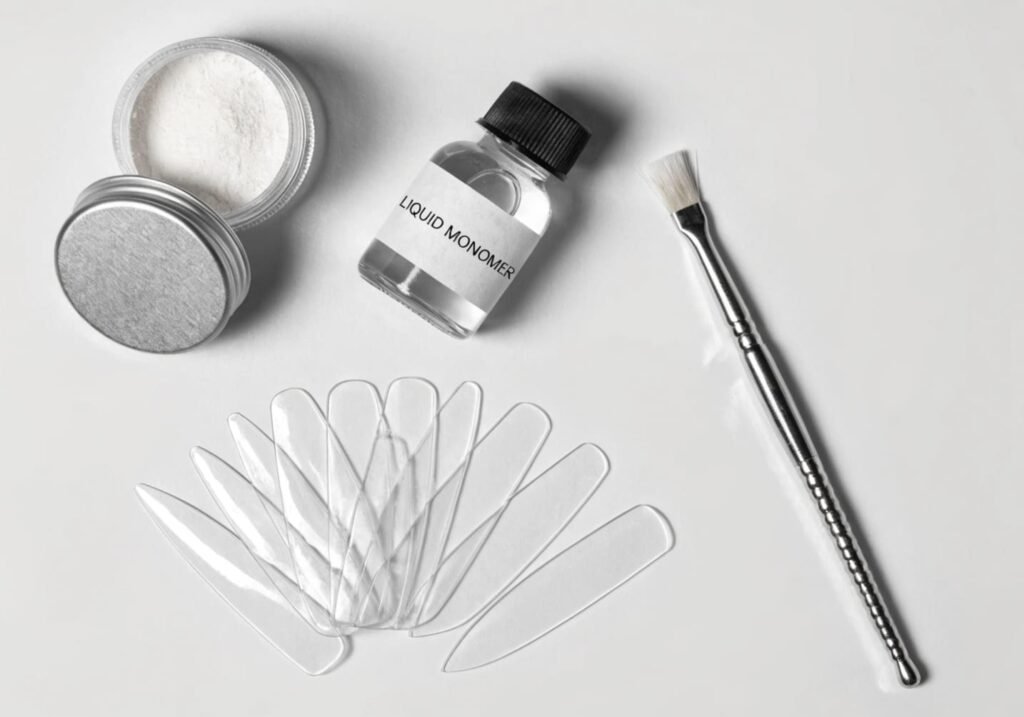
Acrylic is a two-part system: a liquid monomer and a powder polymer that react together to form a hard, durable layer over your natural nail or a plastic/nail tip extension. A technician dips a brush into the liquid, picks up powder to form a small bead, then sculpts it onto the nail before it cures — no UV lamp needed, unlike gel. That chemical reaction (not light) is what makes acrylic set hard within a few minutes at room temperature.
This matters practically: acrylic is repairable. If you crack a tip, a tech can blend in fresh product over the break instead of removing the whole nail, which is one reason acrylics remain the go-to for people who work with their hands.
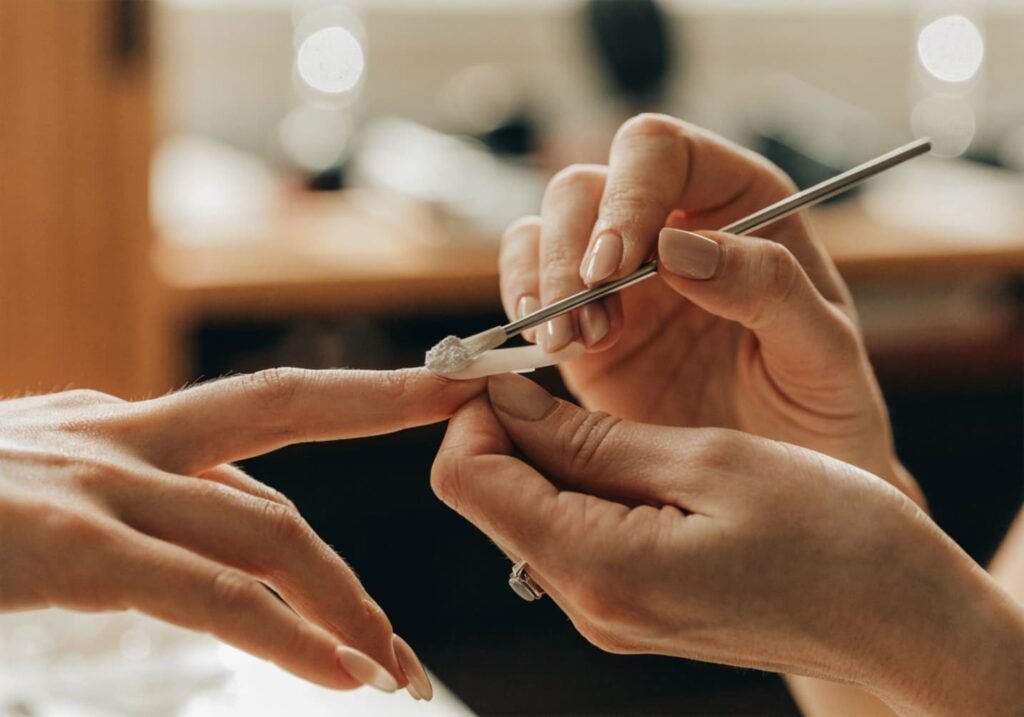
2. The Trend of Classy Acrylic Nails
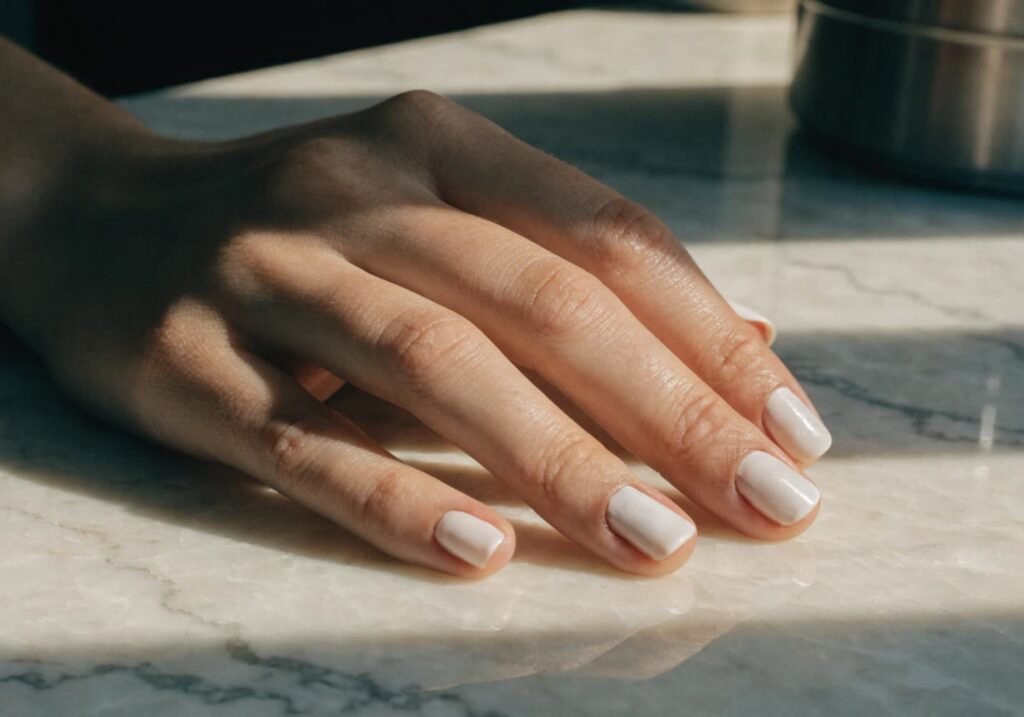
The current shift isn’t away from acrylics — it’s away from the ultra-long, bedazzled 2000s look toward shorter, structured sets in muted colors: milky whites, cocoa browns, soft mauves, “your nails but better” nudes. Salons are calling this “quiet luxury nails,” and it’s really just acrylic done with restraint — clean cuticle lines, a subtle shine, no more than one accent detail per hand.
The practical upside of the shorter trend is durability. A set extending 3–5mm past the fingertip breaks far less often than the 2cm stiletto sets that dominated a decade ago, so this trend and long-term wear happen to align.
3. Acrylic Vs Natural Nails
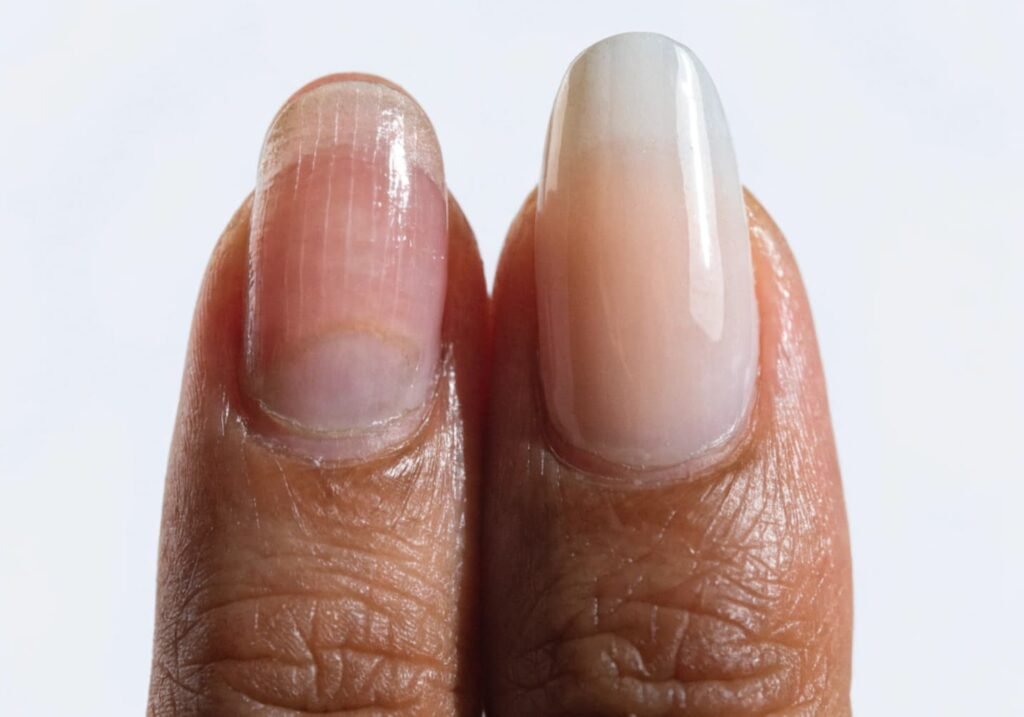
The honest trade-off: acrylic gives you strength and shape control your natural nail can’t match, but it comes at the cost of nail health if it’s applied or removed carelessly. Natural nails are more flexible and lower-maintenance, but they’re also thinner and more prone to splitting, especially if you have brittle nails to begin with.
Here’s the part most articles skip: the damage people blame on “acrylics” is almost always damage from improper removal — peeling or picking the set off — not from wearing acrylic itself. Soaked-off correctly, acrylic removal takes roughly the same toll on your nail bed as a gel manicure. If you bite your nails or have weak natural nails, a properly maintained acrylic set can actually protect the nail underneath while it grows out.
Recommendation: choose acrylic if you need strength for manual work or you’re a nail-biter trying to break the habit. Choose natural or a lighter gel-x system if your nails are already healthy and you mainly want polish, not structural reinforcement.
4. Best Shapes for Acrylic Sets
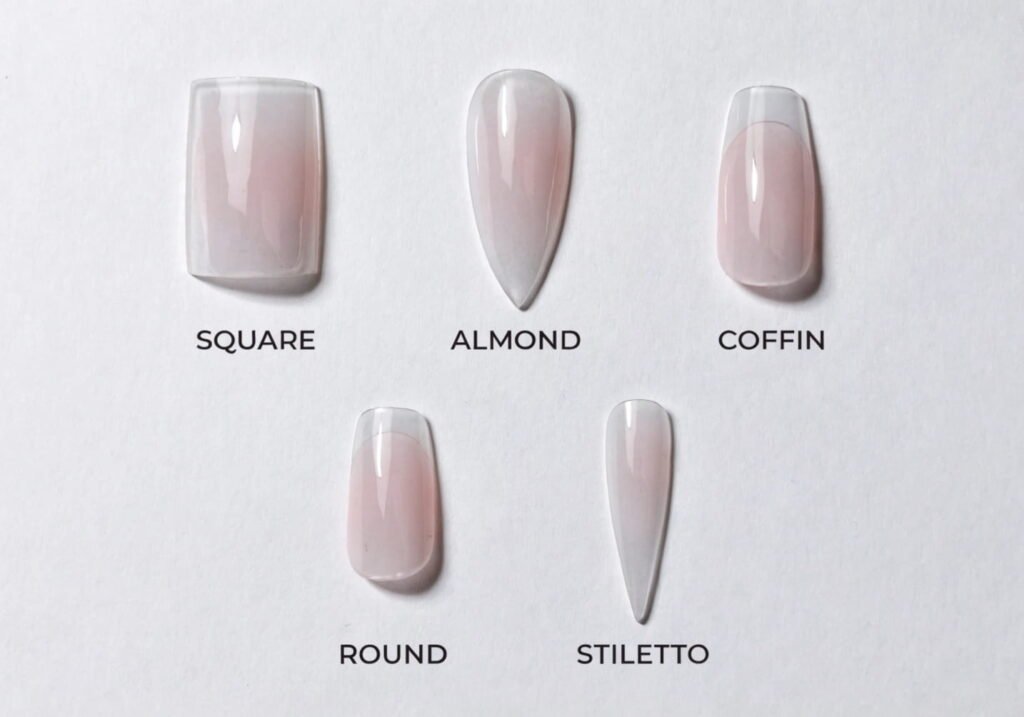
Shape choice should follow your finger width and daily activities more than what’s on Pinterest. Wider nail beds usually look more proportional in coffin or square shapes, while narrower beds suit almond or oval, which visually elongate the finger. If you type a lot or work with your hands, shorter lengths in any shape will simply last longer regardless of trend.
5. Coffin Shape Acrylic Nails
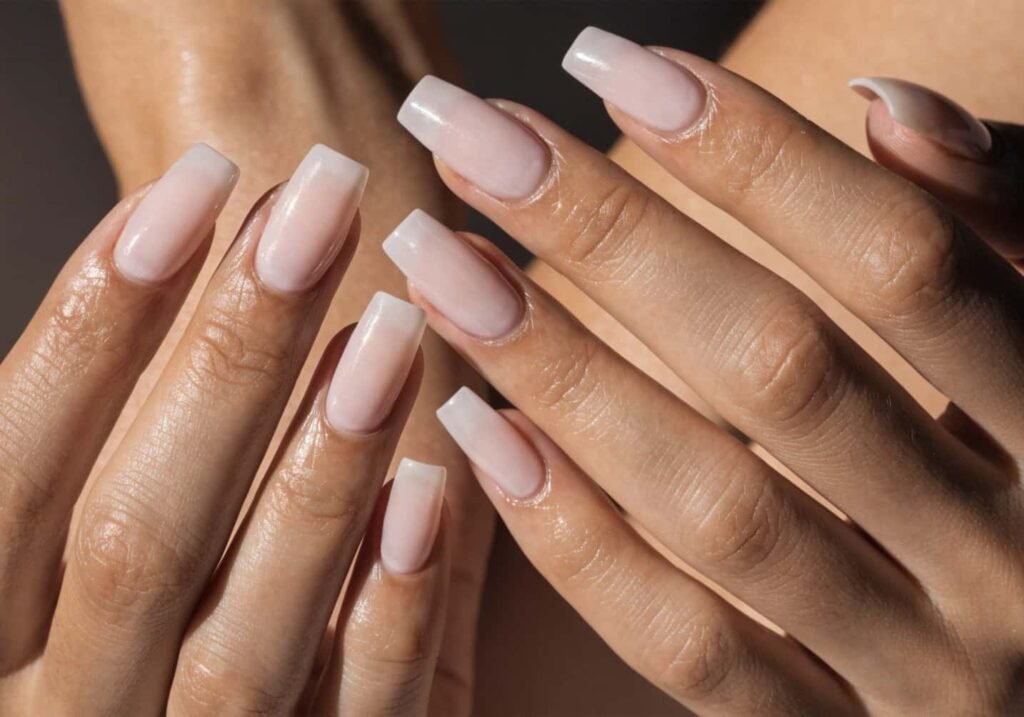
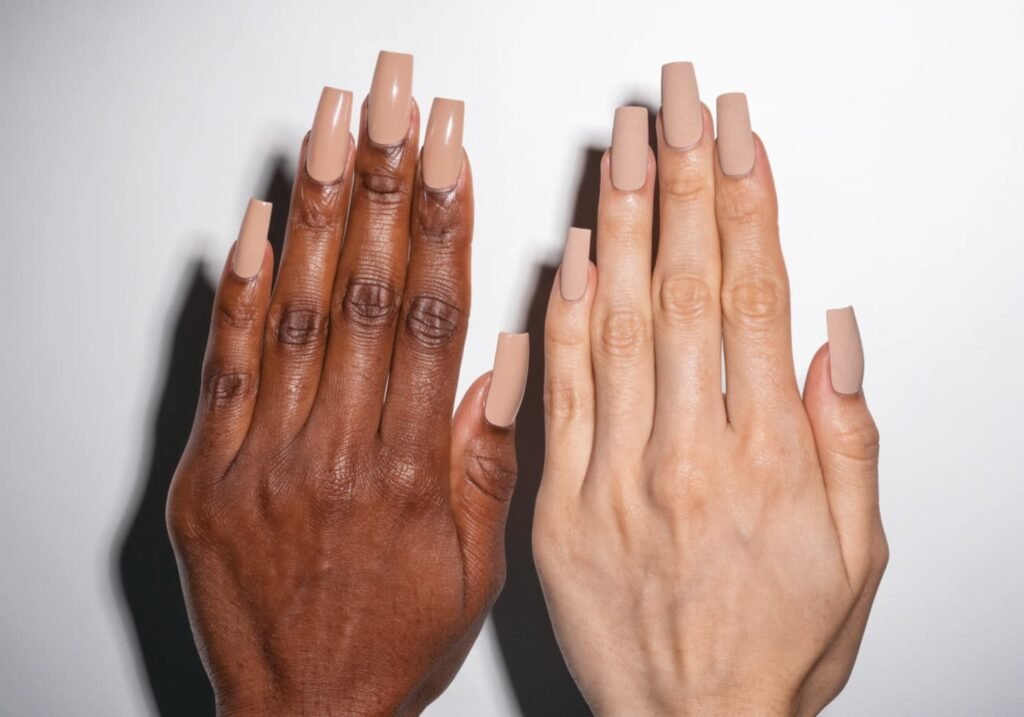
Coffin (also called ballerina) shape tapers in at the sides and finishes with a flat, squared-off tip — think of a fashion runway shoe silhouette. It’s the shape that photographs best for nail art because the flat tip gives you a wide, even canvas, which is why it dominates Instagram sets.
The catch: coffin nails need more length to look balanced — under about 4mm past the fingertip, the flat tip can look stubby rather than sleek. That means they’re less ideal if you need short, practical nails for daily typing or lab/kitchen work.
 .
.
6. Almond Shape Acrylic Nails
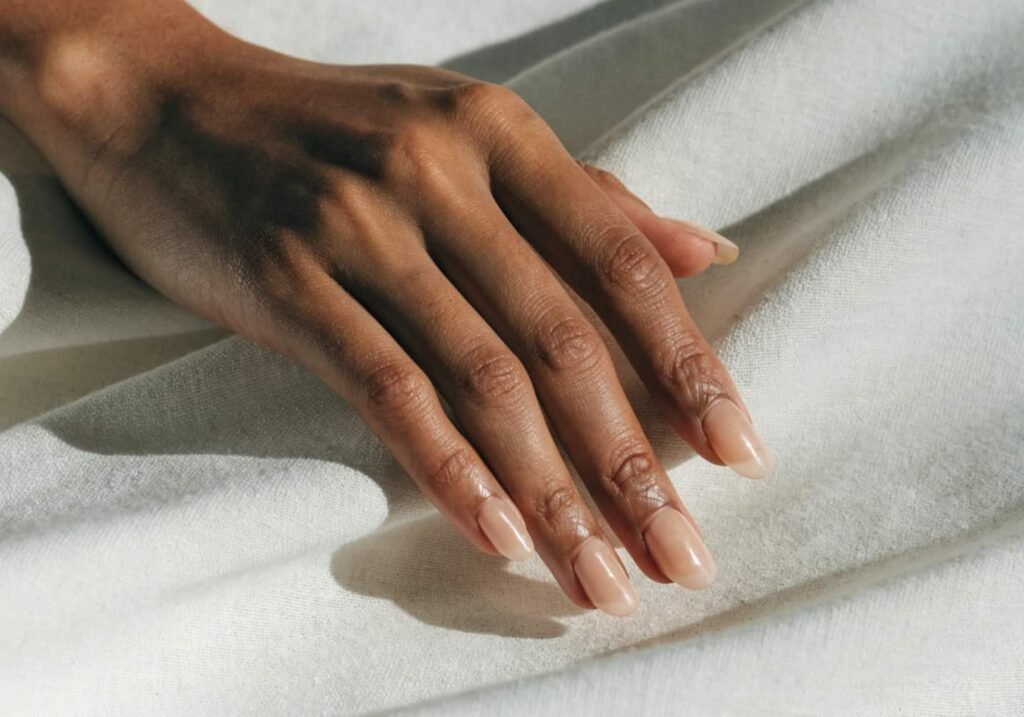
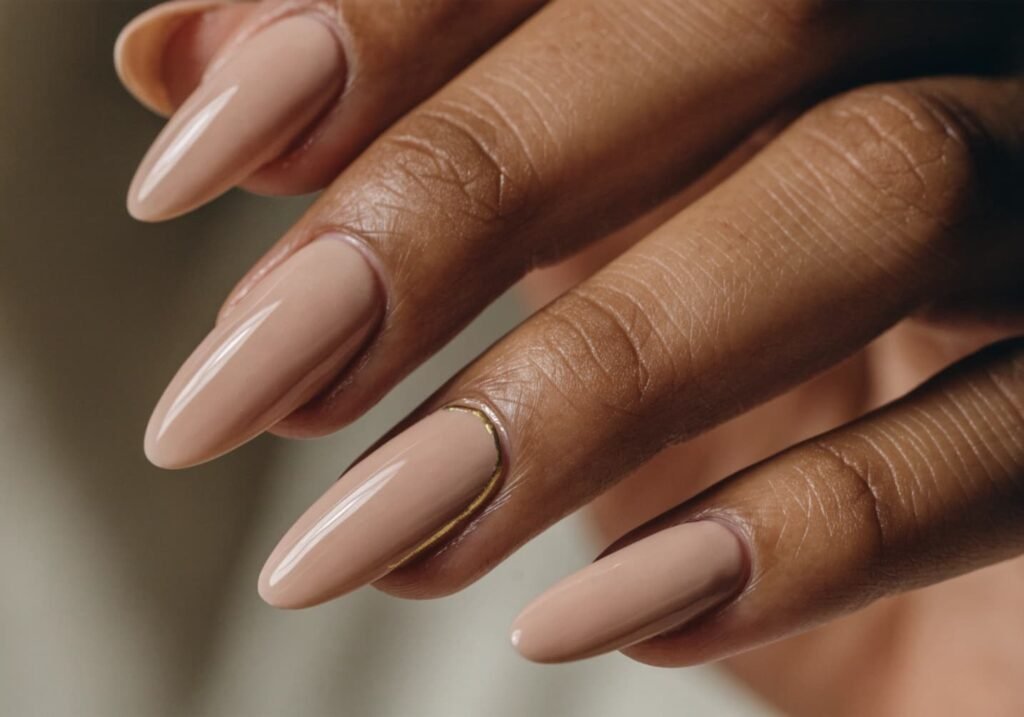
Almond shape tapers to a rounded point, mimicking the natural almond seed. It’s the most forgiving shape for nail health because the rounded tip distributes pressure more evenly than a squared corner, meaning fewer snags and fewer corner breaks — genuinely useful if you’ve broken acrylics before at the side edges.
It also requires the least length to look intentional; even a short almond set (2–3mm extension) reads as elegant rather than stubby, which is why it’s a solid pick for a first-time acrylic wearer.
7. Square Shape Acrylic Nails
Square nails have straight sides and a flat top with sharp 90-degree corners. They’re the most structurally durable shape because there’s more surface area at the tip supporting the free edge — this is genuinely the strongest shape for people who type constantly or work with tools, not just an aesthetic choice.
The trade-off: sharp corners catch on fabric (sweaters, tights, bedding) more than any other shape. Many techs now soften the corners slightly — sometimes called “soft square” or “squoval-square” — to keep the strength but cut down on snagging.

8. Color Choices for Classy Acrylic
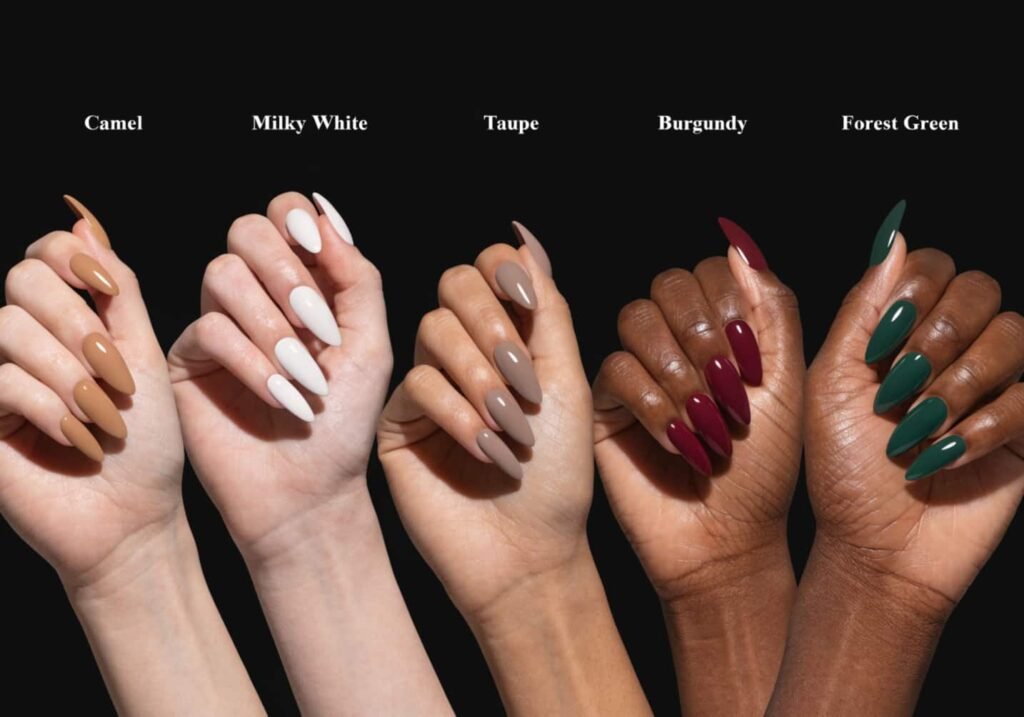
For a “classy” look specifically, colors that read as sophisticated rather than costume-y tend to sit in three families: warm nudes (camel, caramel, dusty rose), cool neutrals (milky white, soft grey, taupe), and a small set of deep saturated tones (burgundy, espresso brown, forest green) used as seasonal statement colors rather than everyday wear.
One correction worth making: plain white or bright red can actually show chips faster than mid-tone nudes because the contrast against the growing-out nail line is sharper. If low maintenance matters to you, a mid-tone nude that’s close to your natural nail bed color will disguise 1–2 weeks of regrowth far better than a stark white French tip.
9. Glossy Vs Matte Acrylic Finish
Glossy top coat is UV-cured or air-dried resin that reflects light and generally photographs “wealthier” — it’s the safer choice for weddings or professional headshots. Matte top coat is a flattening agent, usually a separate matte gel top coat, applied over the color layer; it reads as more modern and editorial but shows fingerprints and oil smudges within a day or two of wear.
Practical tip: matte finishes lose their flat look faster with hand cream or cooking oils, so if you’re choosing matte, ask your tech for a matte top coat rated for longer wear (some brands last 2–3 weeks matte, cheaper ones go glossy again within days as the flattening agent wears off).
10. Acrylic Nail Art Ideas
Classy doesn’t have to mean plain. The detail that separates a refined set from a busy one is restraint in placement — one accent nail (usually the ring finger), not five decorated nails. Popular low-effort, high-impact techniques right now: a single fine gold line near the cuticle (called a “French reverse” or “cuticle line”), micro chrome fleck on just the tips, or a single embedded pearl or small stone on one nail only.
Avoid mixing more than two techniques per hand (e.g., chrome + line art is fine; chrome + line art + rhinestones + ombré starts to look cluttered rather than intentional).
11. Acrylic Nails for Weddings
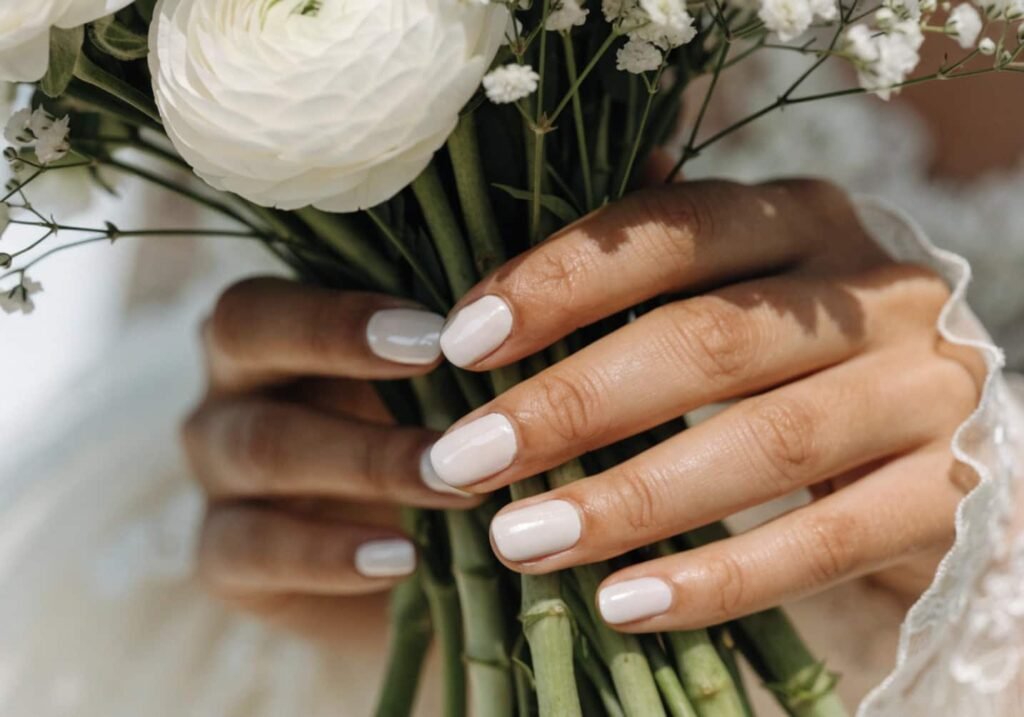
Bridal sets are usually booked 5–7 days before the event, not the day before — this gives any minor irritation from the application time to settle and lets you do a “trial run” if the shape or length feels off. Most bridal techs recommend medium almond or short coffin in glossy white, milky nude, or a soft pink, since these read well in both flash and natural light wedding photography without competing with the dress.
A detail worth knowing: very glossy, stark white tips can throw an odd reflection under flash photography, sometimes reading almost translucent-blue in photos. A slightly off-white or milky shade photographs more reliably than pure white.
12. Acrylic Nails for Office
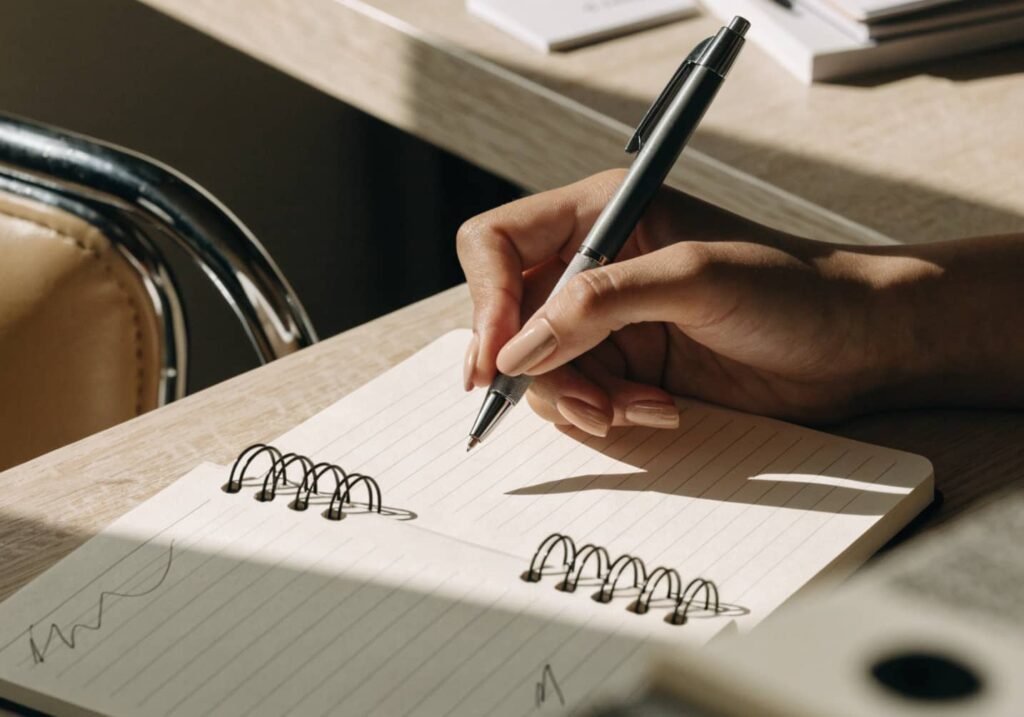
For a corporate setting, length and shape matter more than color. Anything past about 5mm extension starts to interfere with typing speed and can be genuinely distracting in meetings when it taps on a desk or table. Short square or short almond, in a low-key nude, taupe, or soft pink, reads as polished without drawing attention.
If your job involves a lot of paperwork or lab gloves, ask your tech to keep the acrylic thin at the free edge — a thick tip is more likely to catch on paper and gloves and is a common (avoidable) reason office workers break acrylics within the first week.
13. Acrylic Nail Care Guide
A few things that actually extend wear, beyond the generic “moisturize your cuticles” advice:
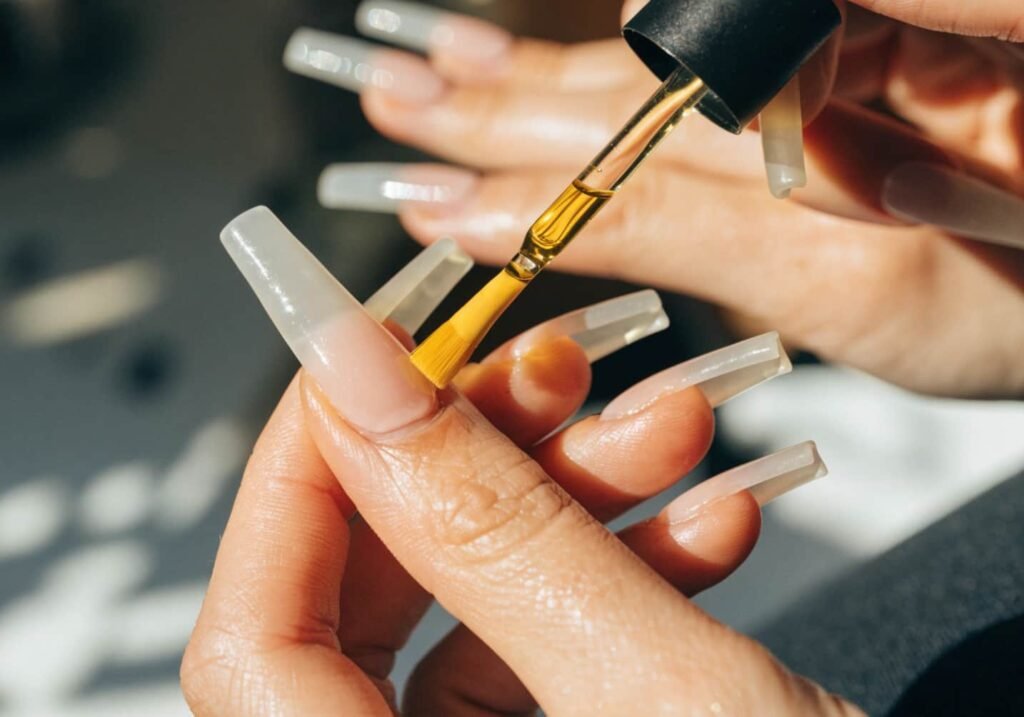
- Cuticle oil, applied nightly, not just at the salon. This keeps the seal between the acrylic and natural nail flexible, which reduces lifting at the edges.
- Gloves for dishwashing and cleaning. Prolonged water exposure is the single biggest cause of lifting — not impact damage.
- Avoid using nails as tools. Opening cans, scratching stickers off — this is the #1 cause of full-nail cracks, not fashion wear.
- Fill appointments every 2–3 weeks. As your natural nail grows out, the gap between cuticle and acrylic widens and traps moisture, which is when infections (usually a greenish discoloration under the nail) start.
14. Cost and Maintenance Factors
A full acrylic set at a mid-range U.S. salon typically runs $45–75, with fills every 2–3 weeks costing $30–50. High-end salons in major cities can charge $90–150 for a full set with intricate art. DIY acrylic kits (liquid monomer, powder, forms, and tools) run about $20–40 and can last for several applications, but they take real practice — most first attempts have uneven C-curves or lifting within a few days.
Over a year, someone getting monthly fills spends roughly $400–700 on maintenance alone, which is worth knowing upfront if you’re comparing acrylic to a one-time gel manicure that runs $35–55 and lasts about 2 weeks without fills.
15. How to Safely Remove Acrylic Nails
Never peel or pry acrylics off — this pulls layers off your natural nail plate along with the product and is the actual cause of most “acrylics ruined my nails” complaints. The correct method:
- File off the top glossy layer so the acetone can penetrate.
- Soak cotton balls in 100% pure acetone (not nail polish remover, which is diluted).
- Press the soaked cotton onto each nail and wrap in a small square of aluminum foil to hold it in place and slow evaporation.
- Wait 15–20 minutes, then gently push off the softened acrylic with a cuticle stick — it should slide, not require force.
- If it resists, re-wrap and soak another 5–10 minutes rather than scraping.
Afterward, your natural nail will look thin and a little dehydrated — that’s normal acetone effect, not damage, and it recovers with a few days of oil and a break from polish.