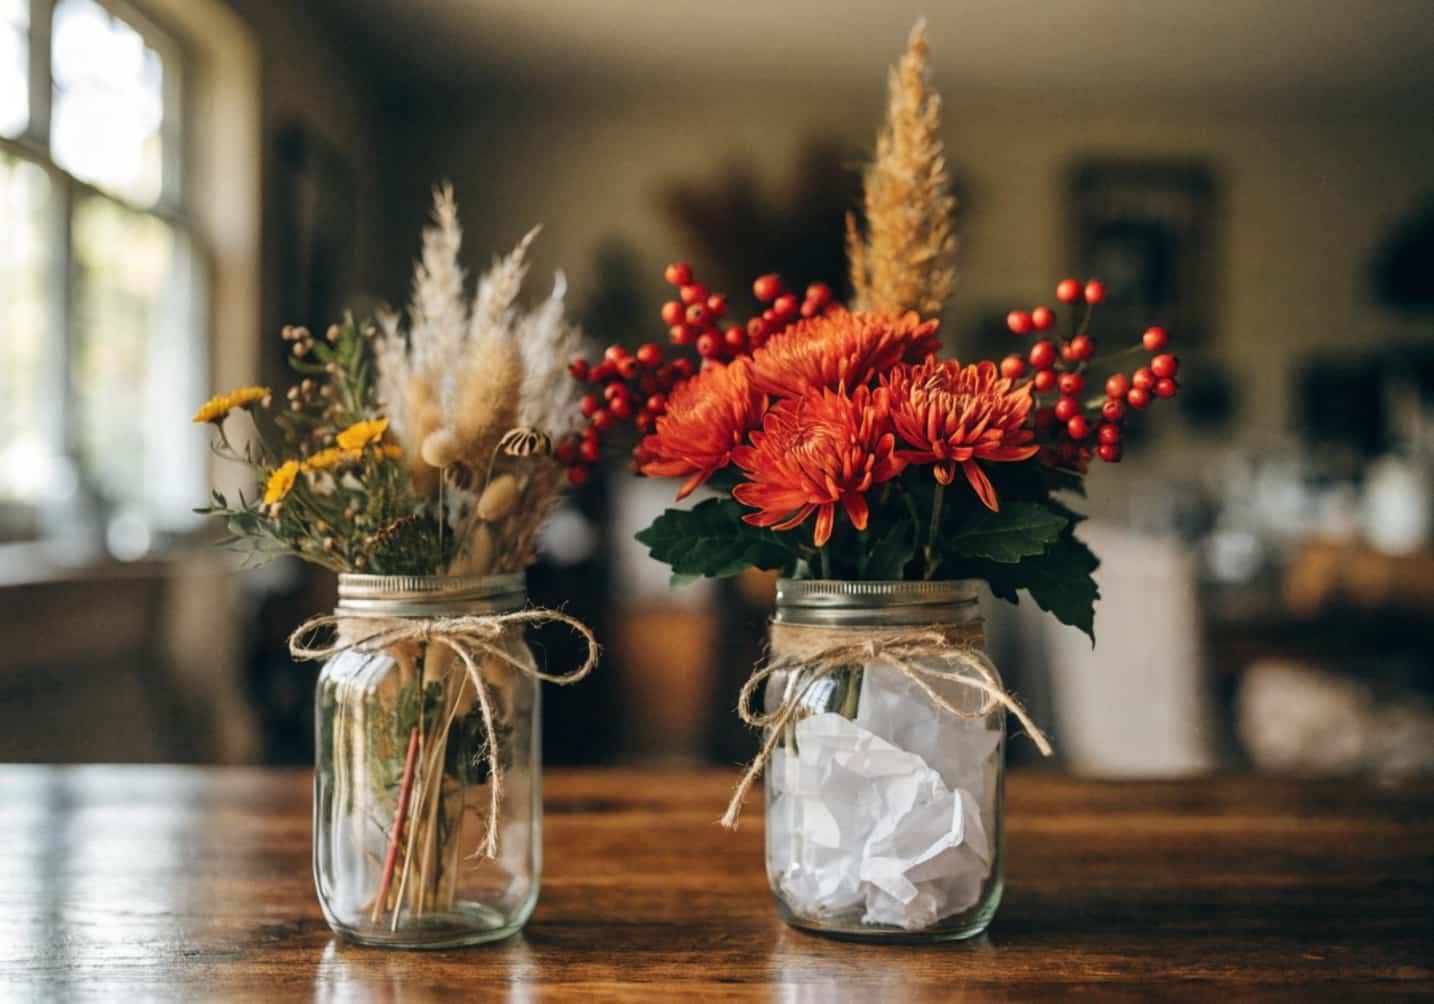
Mason jars are cheap, they’re everywhere, and they don’t require any craft skill you don’t already have. That’s really the whole appeal. Below are eleven ways to turn a $1 jar from the pantry aisle into something you’d actually want on your table through October and November — plus the mistakes that ruin most of these projects before they even get to the table.
1. Why Mason Jars Are Perfect for Fall Décor
A regular 16 oz wide-mouth Ball or Kerr jar runs about $0.90–$1.50 each when bought by the case, and you probably already have a few in the recycling bin from pickles or salsa. That’s the real draw — most fall centerpiece ideas (ceramic pumpkins, wood crates, lanterns) cost $10–$25 per piece if you’re outfitting a whole table. A jar costs pennies and takes glass paint, twine, wax, or dried florals equally well because the surface is smooth and non-porous, so nothing you glue or paint on it peels off from moisture the way it would on cardboard or unfinished wood.
2. Supplies You’ll Need to Get Started
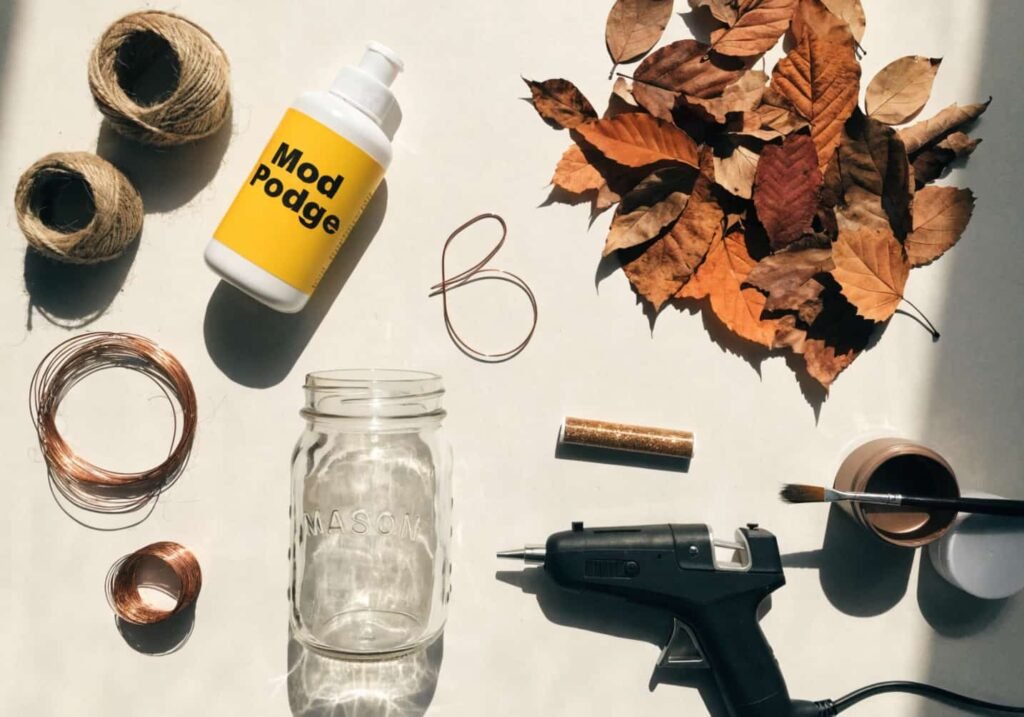
You don’t need a craft store haul. Core list: wide-mouth pint or quart jars, Mod Podge (matte, not gloss — gloss yellows over time under candlelight), 2-inch natural jute twine, a hot glue gun with at least 20 sticks, floral wire (24-gauge is easiest to bend by hand), battery tea lights or a 10-ft string of micro fairy lights, and either chalk paint or glass-specific acrylic paint if you’re doing the painted jars in section 7. Budget for supplies alone, if you’re starting from zero, is around $25–$35 and will make 6–8 jars with leftovers.
One thing worth knowing before you buy: florist’s foam (the green block kind) does not work well inside glass jars for dried arrangements — it holds too much moisture against the glass and you’ll get mold on the underside within a couple weeks if the jar isn’t fully dry. Skip it for anything dried; use crumpled kraft paper or a bed of dried moss instead to hold stems in place.
3. Classic Autumn Leaves Mason Jar Idea
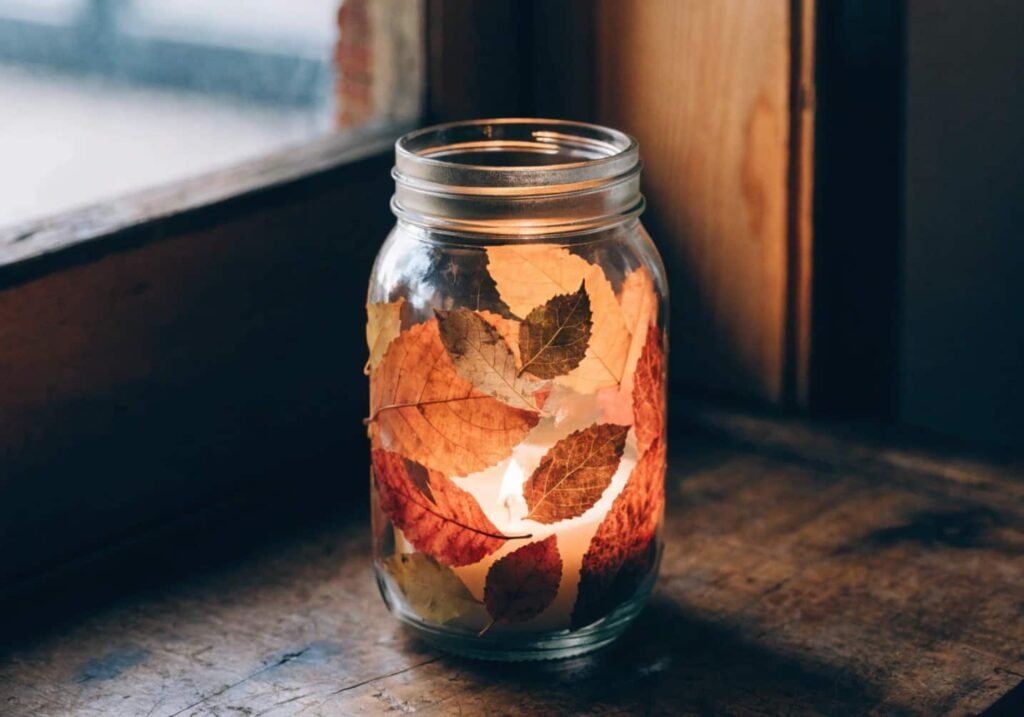
Press real leaves flat for 3–4 days between the pages of a heavy book before using them — skip this step and they’ll curl and crack the moment Mod Podge hits them. Brush a thin layer of Mod Podge onto the outside of the jar, press the leaf on, then seal over the top with a second coat once it’s tacky (about 10 minutes). Do this in 2–3 leaf layers, slightly overlapping, working your way around the jar. Let the whole thing cure for 24 hours before handling it much, since Mod Podge stays a little tacky until fully dry.
If you want a faster, no-mess version, silk or artificial leaves attached with hot glue instead of Mod Podge hold up just as well and you can reuse the jar next year without scraping anything off.
4. Pumpkin Spice Candle Jar Centerpiece
Soy wax flakes (about $8 for a 2 lb bag) pour cleaner than paraffin and hold scent longer in an open jar. For a pint jar, you’ll need roughly 10–12 oz of melted wax, one pre-tabbed cotton wick centered and held straight with a pencil laid across the rim, and about 1 oz of fragrance oil per pound of wax — more than that and the scent won’t bind properly and will “sweat” as oily beads on the surface once it cools. Pour the wax at around 185°F, let it set at room temperature (not the fridge — rapid cooling causes cracking and sinkholes in the middle), and trim the wick to a quarter inch before the first burn.
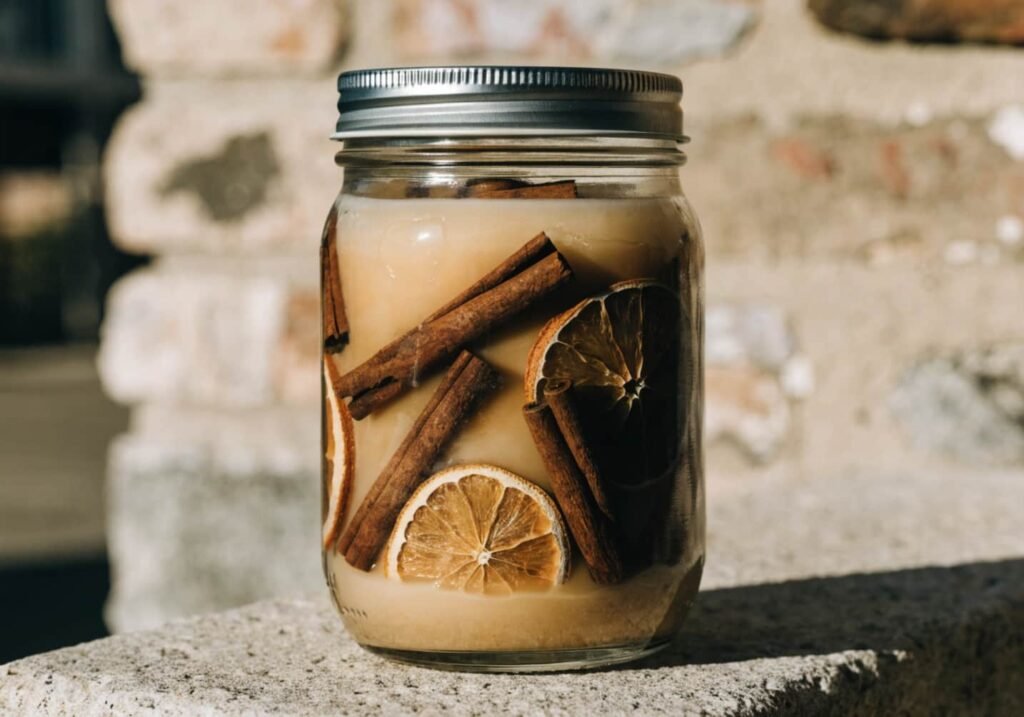
Cinnamon sticks, dried orange slices, or star anise pushed into the wax while it’s still soft (not liquid) around the edges give you that “pumpkin spice” look without needing a pumpkin-scented oil that can smell artificial.
5. Rustic Twine and Burlap Jar Design
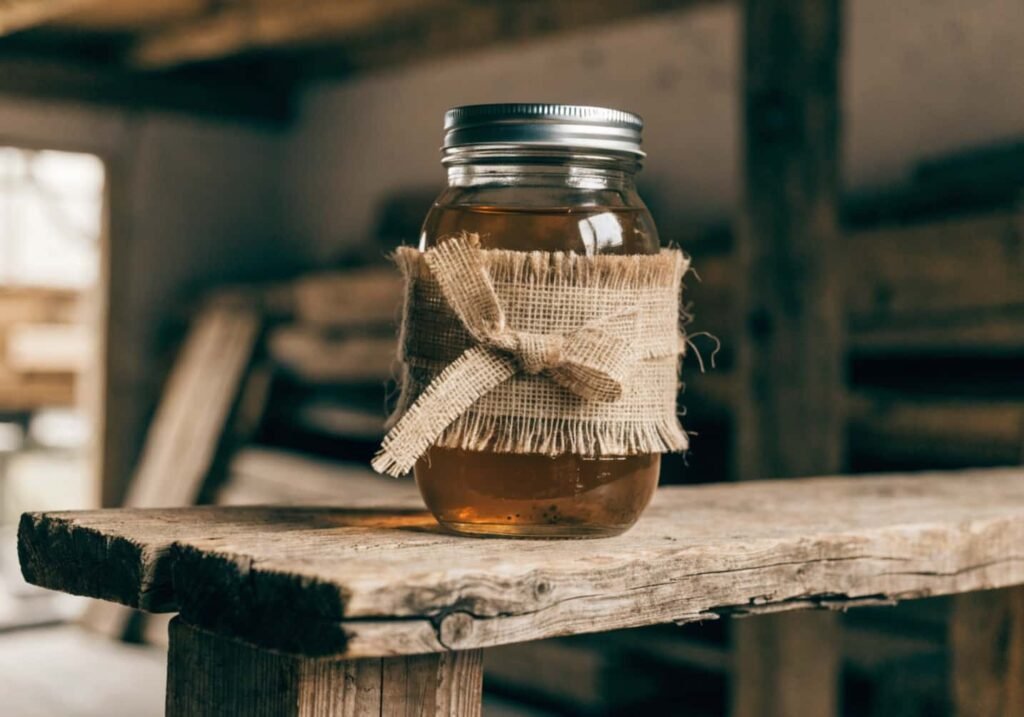
Wrap jute twine starting from the base, keeping each wrap snug against the last with a dot of hot glue every 3–4 wraps rather than gluing the whole length — full-length gluing makes the twine buckle and go crooked as it dries. Leave the top inch of the jar bare so you can still see a candle glow through clear glass. For burlap, cut a strip about 2 inches taller than the jar, wrap it around, and secure with a short piece of twine tied in a bow rather than glue, so it can be removed and the jar reused without scraping burlap residue off later.
6. Mini Pinecone and Berry Jar Arrangement
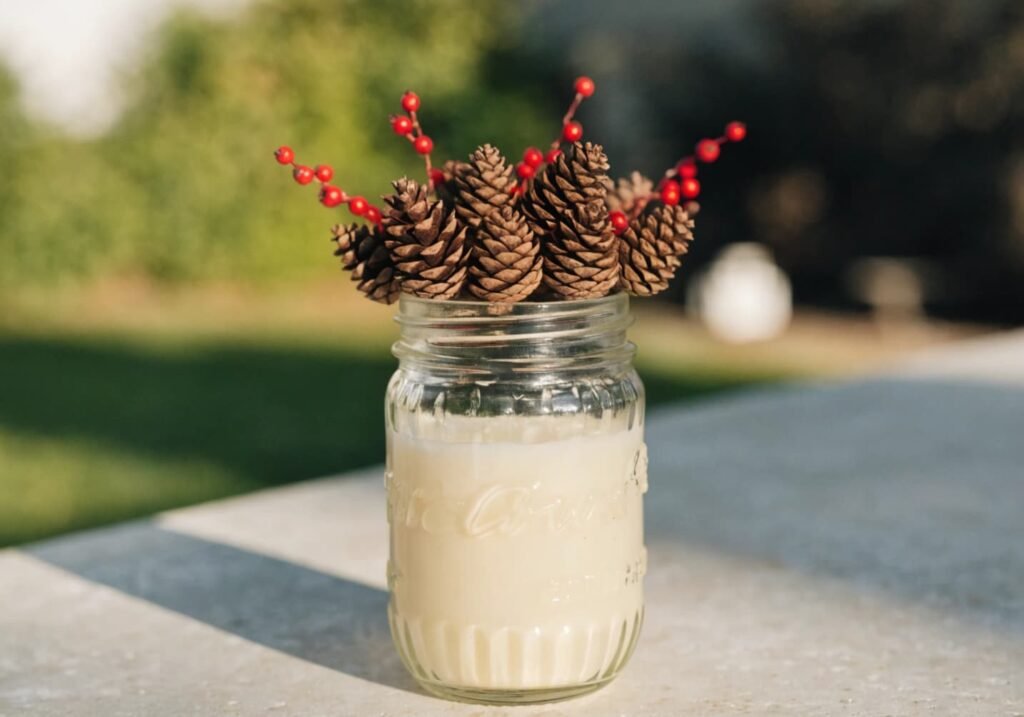
If you’re foraging pinecones instead of buying a bag, bake them first — 200°F for 30–45 minutes on a foil-lined tray. This kills off any insects and dries out the sap so they don’t leak resin onto your table later. Skip this step and you’ll find out the hard way in about a week. Once cooled, hot glue mini pinecones and a few stems of faux red winterberry around the jar’s rim in small clusters of three, alternating spacing rather than evenly spacing every cluster — even spacing tends to look artificial from a few feet away.
7. Painted Mason Jar Techniques for Fall Colors
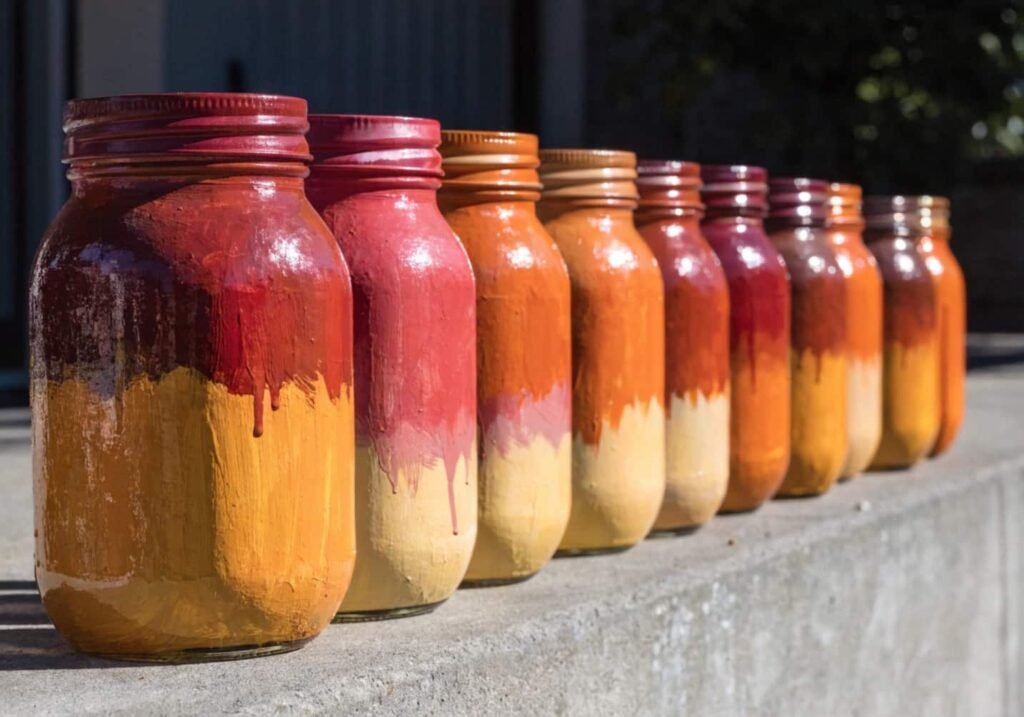
Chalk paint (like Rust-Oleum Chalked or FolkArt Home Decor) goes on matte and grips glass without primer, which makes it the easier option for beginners. Regular craft acrylic will bead up and peel within days unless you use a bonding primer or a paint labeled specifically for glass and ceramic — that’s the most common reason people’s painted jars chip within a week. For an ombré look, dip the jar partway into diluted paint (about 1 part water to 3 parts paint) rather than brushing, which avoids visible brush strokes. Two thin coats beat one thick coat every time; thick coats crack as they dry.
8. Adding Fairy Lights for a Cozy Glow
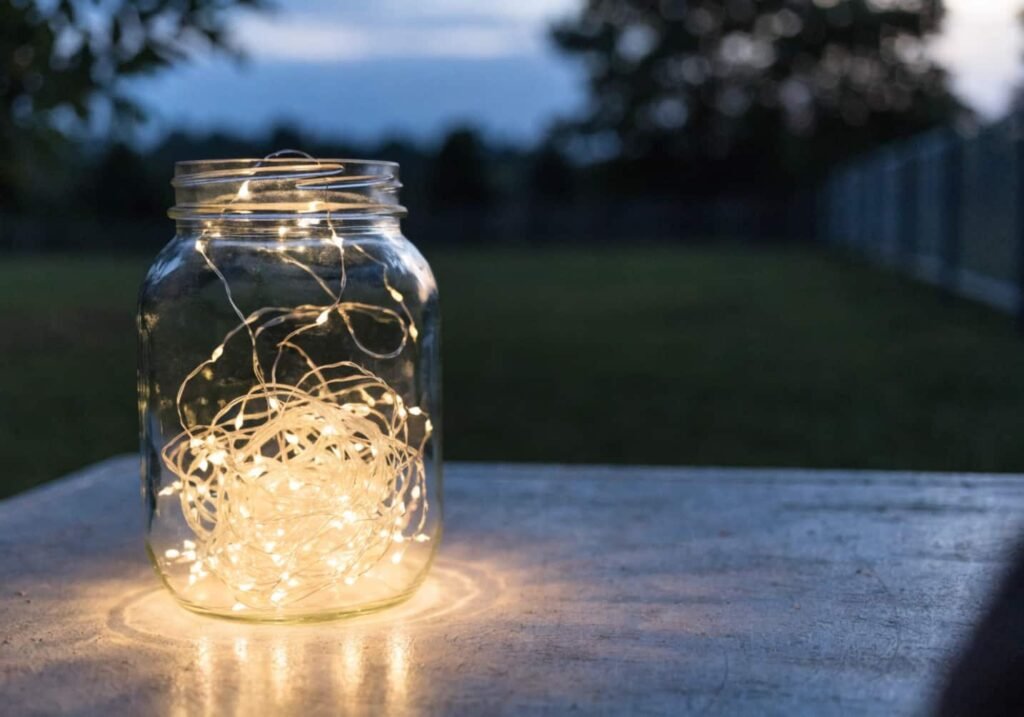
Battery-powered micro LED strings (the 2mm wire kind, not the thicker holiday-light style) coil into a jar without looking bulky. Stick to warm white at 2700K color temperature — cool white (5000K+) reads more like a hospital light than candlelight and clashes with autumn colors. A standard 2-AA battery pack on the timer setting (6 hours on, 18 hours off) will run for roughly 150–200 hours before the batteries need replacing, which is about 25 nights on the 6-hour cycle. Loosely coil the lights rather than packing them tight against the glass — bunched wires create a visible clump of light in one spot instead of an even glow.
9. Budget-Friendly Fall Centerpiece Tips
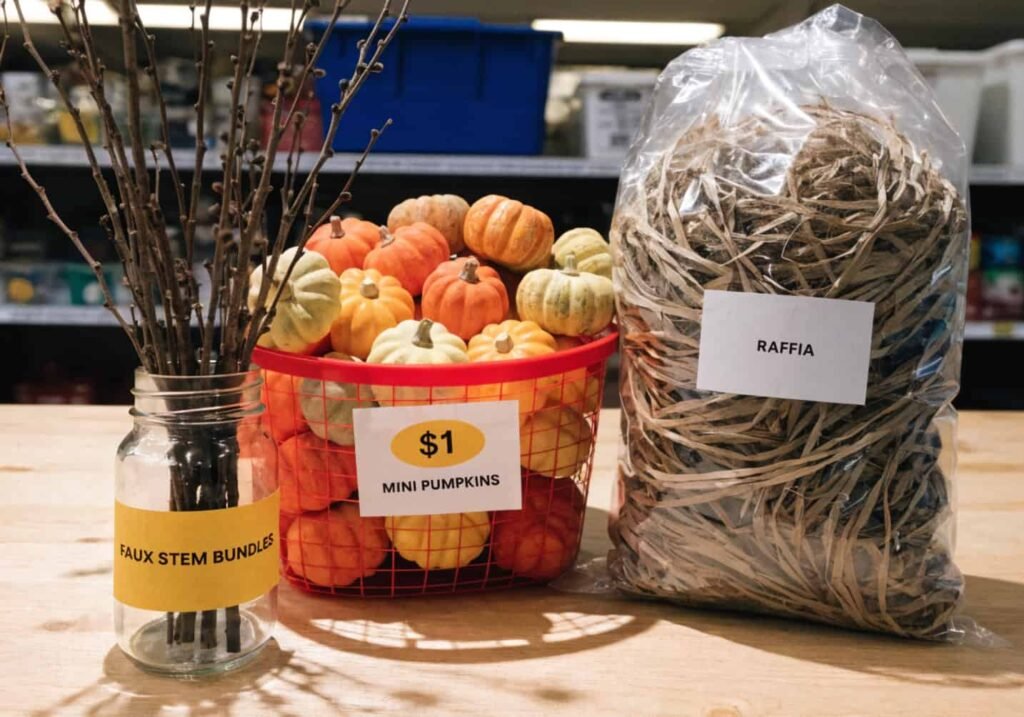
Dollar stores reliably stock faux fall stems, mini pumpkins, and raffia around late August through October, usually $1.25–$3 per bundle — that’s where to buy filler greenery, not the good stuff. Spend your actual budget on the jar itself and one focal element per jar (a good candle, a nice ribbon, real dried flowers) rather than spreading a few dollars thin across five different embellishments, which tends to look cluttered rather than intentional. Buying jars by the case (12-pack) instead of individually usually cuts the per-jar cost by close to 40%.
10. Table Setting Ideas Using Mason Jars
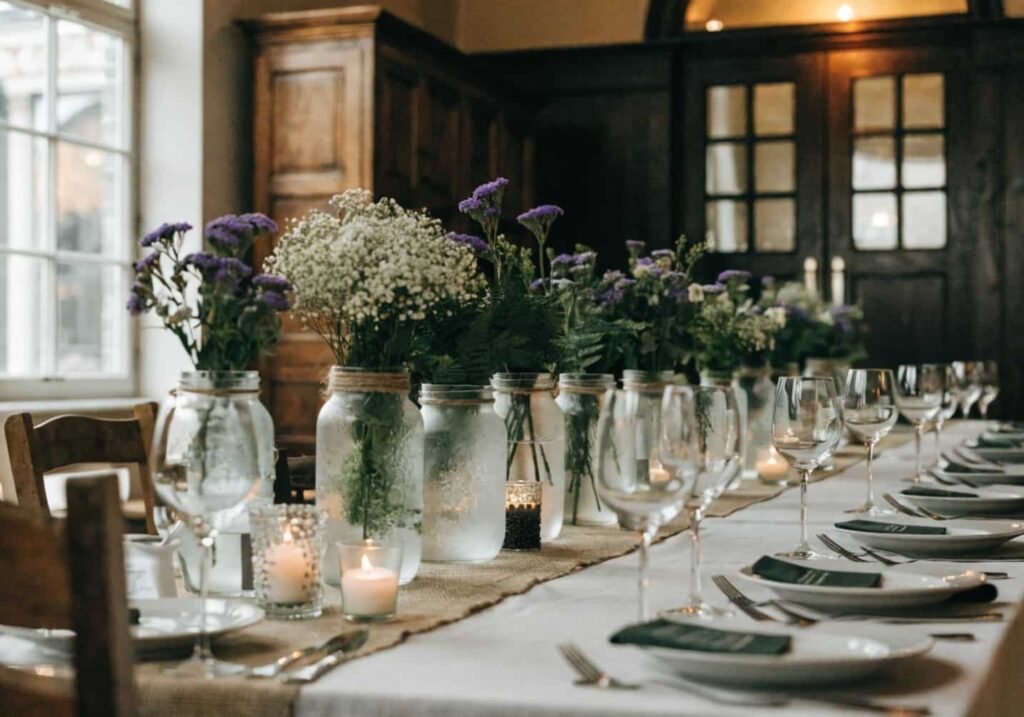
Vary the height. A row of identical jars down the center of a table reads flat from a seated guest’s eye level — put every third jar on a low wood riser or a stack of two coasters so the line has some rhythm to it. For a long table (6 feet or more), space jars roughly 18 inches apart so they don’t block sightlines across the table for conversation. A burlap table runner under the jars hides any glue residue rings on the tablecloth and ties the whole look together without extra cost.
11. Storing and Reusing Jars for Next Season
Leftover wax pulls out easiest if you pop the jar in the freezer for an hour first — the wax contracts and separates from the glass, and you can usually pop it out in one piece with a butter knife. Glue residue from twine or burlap comes off with a Goo Gone soak (15 minutes) rather than scraping, which risks scratching the glass. Paint is the one finish that doesn’t come off easily — if you used chalk paint, plan on repainting over it next year rather than stripping it, since chalk paint bonds too well to glass to remove cleanly without a lot of scrubbing.